

Databricks setup
Connect Databricks to Bloomreach, then import customer, event, and catalog data or export data back to Databricks.
Before you start, confirm you meet the access and data format requirements.
Set up the Databricks integration
-
Go to Data & Assets > Integrations and click + Add new integration.
-
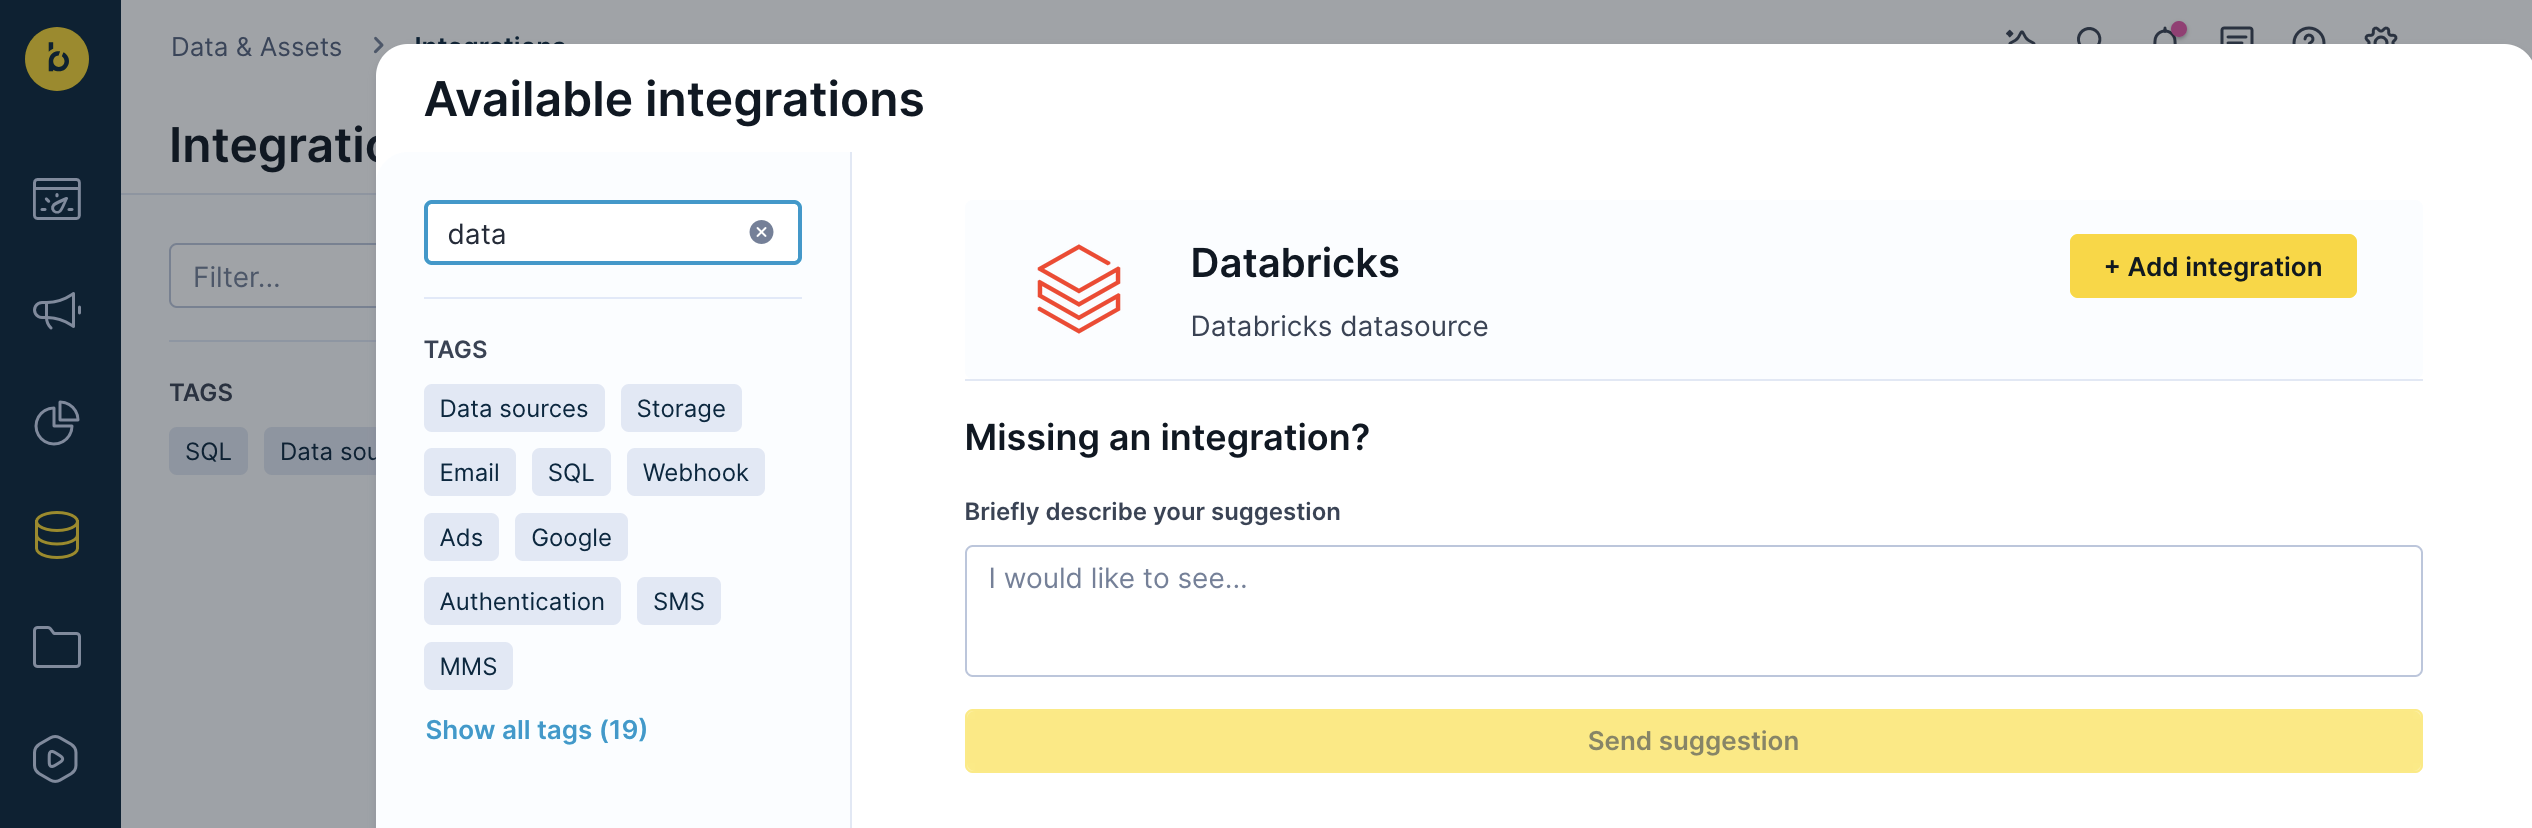
In the Available integrations dialog, enter "Databricks" in the search box.
-
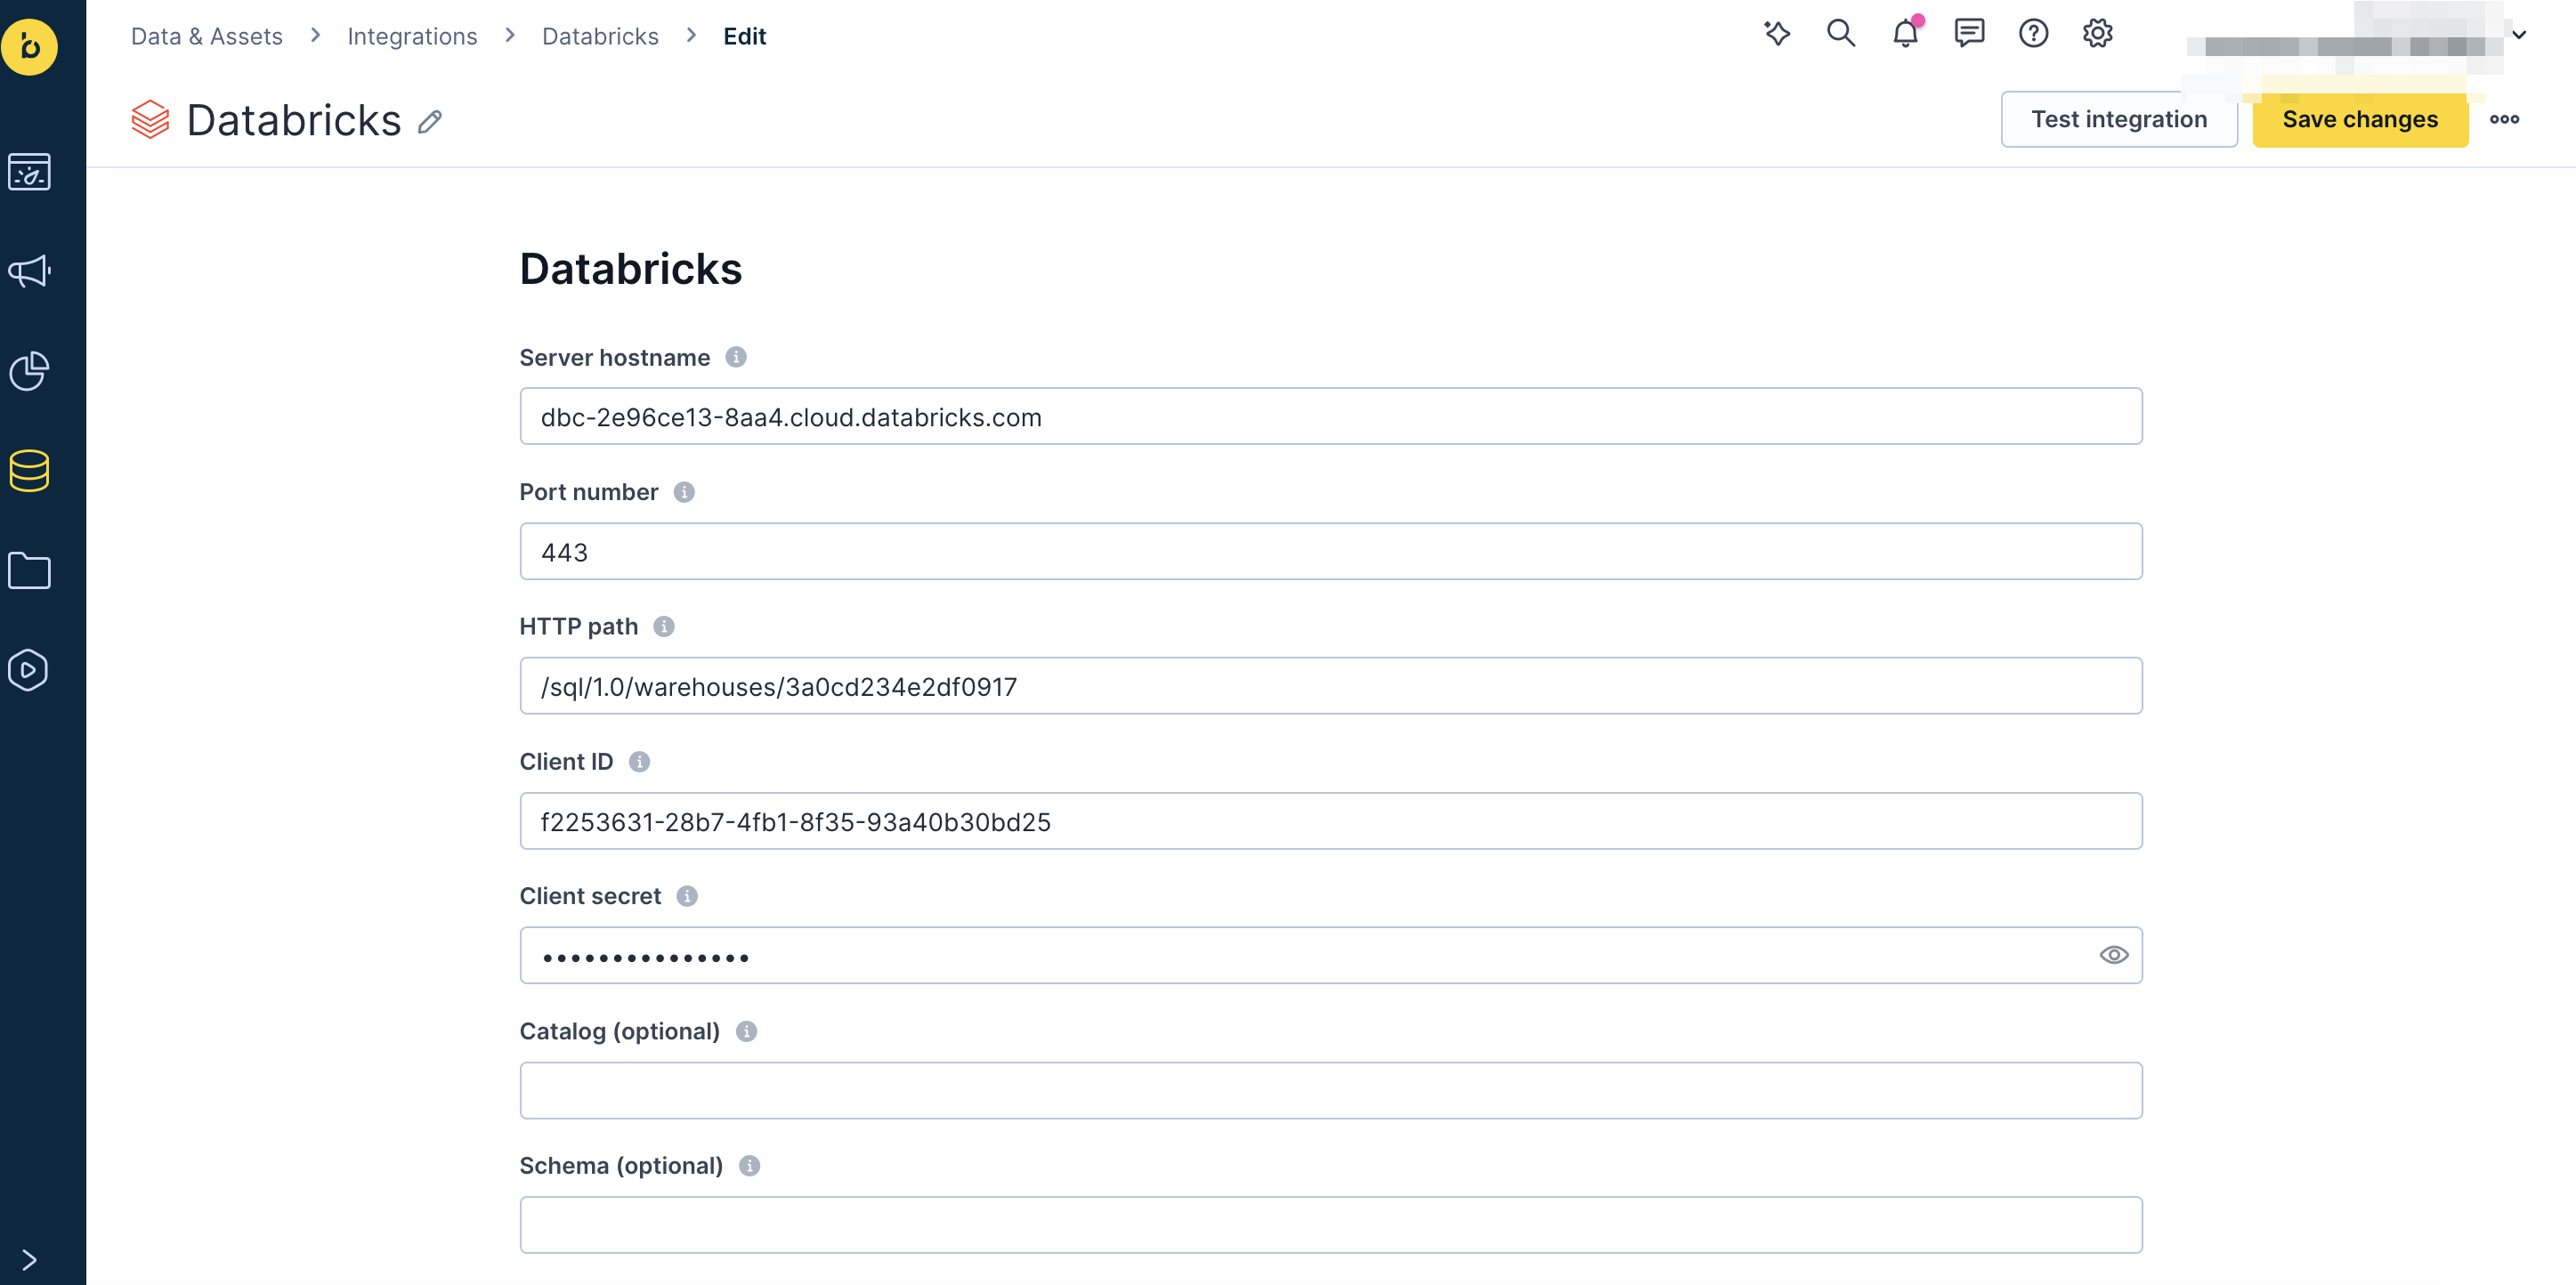
Fill in the following fields. Tooltips guide you to the correct format for each:
-
Server hostname
-
Port number
-
HTTP path
-
Client ID
-
Client secret
-
Catalog (optional)
-
Schema (required if you specify a catalog)
-
-
Click Save integration.
ImportantRemoving the integration or deleting an import cancels all future delta updates. Data already imported from Databricks remains in Bloomreach, and any import already in progress completes.
Import data from Databricks
The import process follows the same steps for all data types, with a few configuration differences for each type.
-
Go to Data & Assets > Imports and click + New import.
-
Select your data type and complete any type-specific selections.
-
Enter a name for the import (for example, Databricks customers import).
-
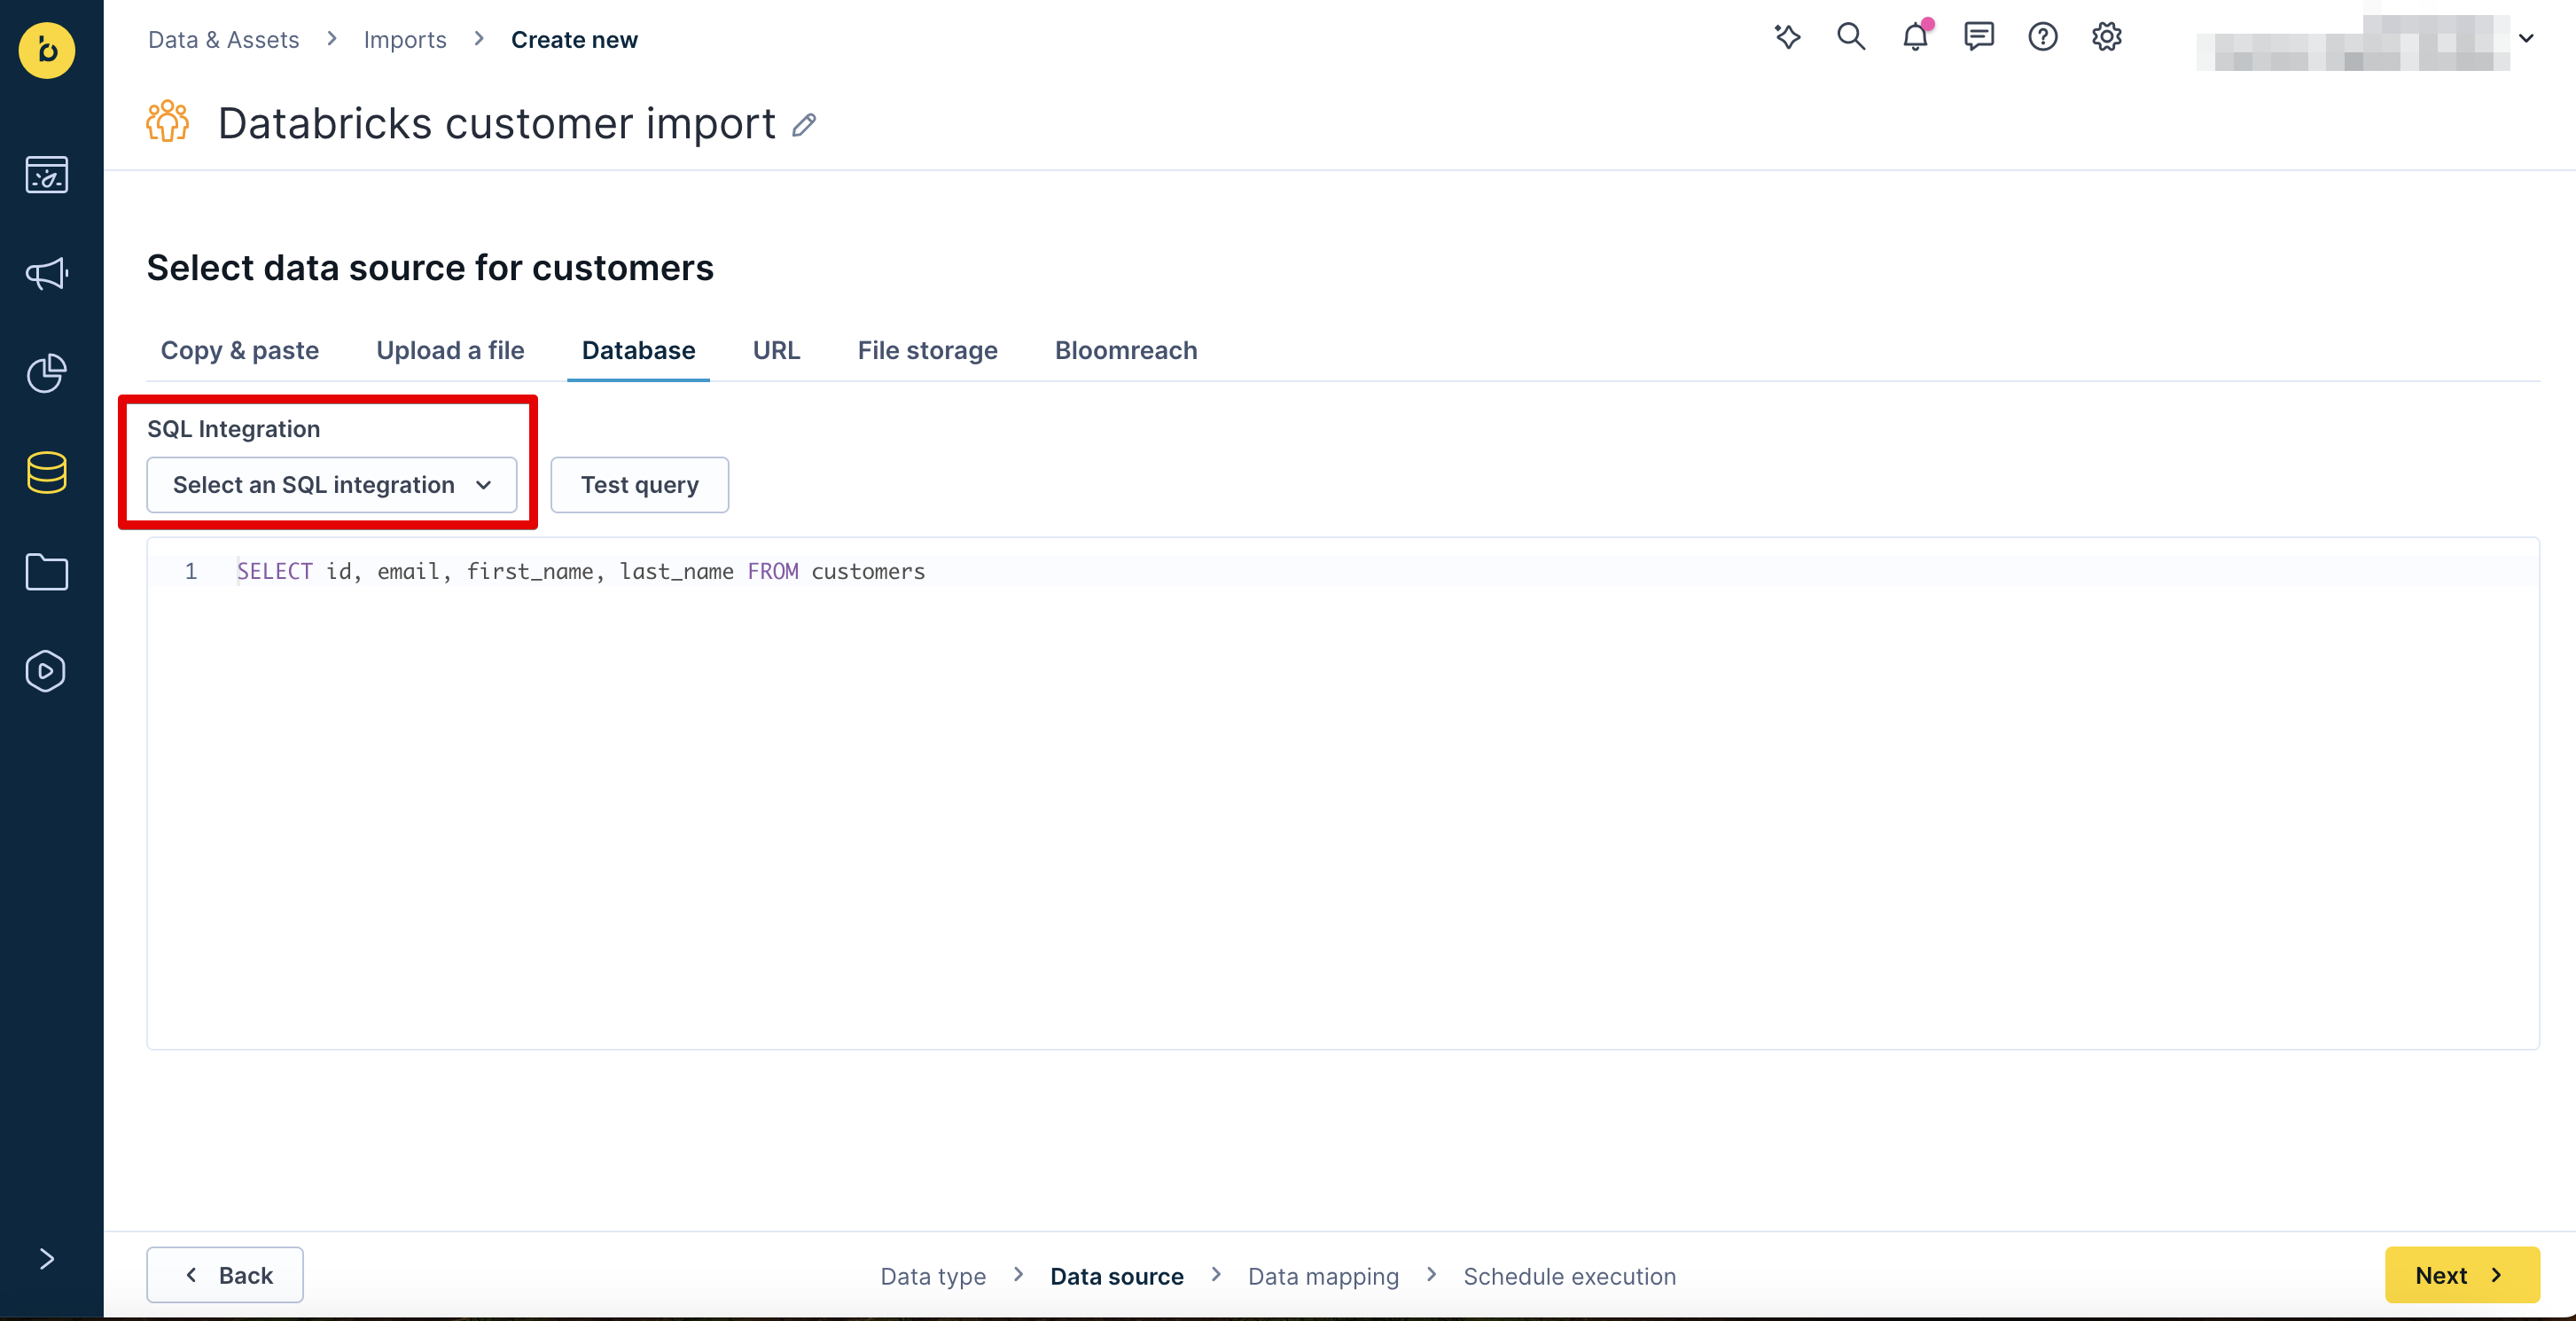
On the Database tab, select the Databricks integration in the SQL Integration dropdown.
-
Select Table, then select the table from available tables/views, or Query to write a custom SQL query, to import from in the Source Table dropdown.
-
Click Preview data to verify the data source is working, then click Next. If your preview times out, see Preview timeout.
-
Map your ID to the matching column in the Databricks table using drag and drop, then click Next.
-
Configure your schedule and click Finish to start the import.
Preview timeout
The preview wraps your query in LIMIT 5 and is capped at 60 seconds. The cap applies to the preview only—the scheduled import run can take hours.
The LIMIT 5 wrap doesn't speed up complex queries. With GROUP BY, window functions, multi-table joins, repeated CTEs, or ORDER BY without an inner LIMIT, Databricks computes the full inner result before trimming it to 5 rows. Simplifying the query helps because it removes operations that block LIMIT pushdown.
If your preview times out:
- Import from a materialized view. Create a Databricks materialized view that holds the rows you want, then point the import at it in Table mode. This is the recommended approach for any scheduled import, since it moves the heavy work to Databricks.
- Preview on a smaller sample. Configure the import with a reduced dataset using a limited view, then swap the full SQL back in before running the actual import.
- Simplify the SQL query. Remove
ORDER BY(or add an innerLIMIT), reduce joins, narrow the columns, or tighten the time window.
Query shape and warehouse sizing are Databricks-specific. Your Databricks administrator controls the warehouse size and the workspace-level STATEMENT_TIMEOUT.
Customers
Map your customer ID (typically ID registered) to the matching column in the Databricks table.
As a best practice, add a timestamp column to your customer table that updates every time customer data changes. Map this column to update_timestamp during import setup. This prevents delta updates from overwriting customer property values tracked in Bloomreach since the previous import.
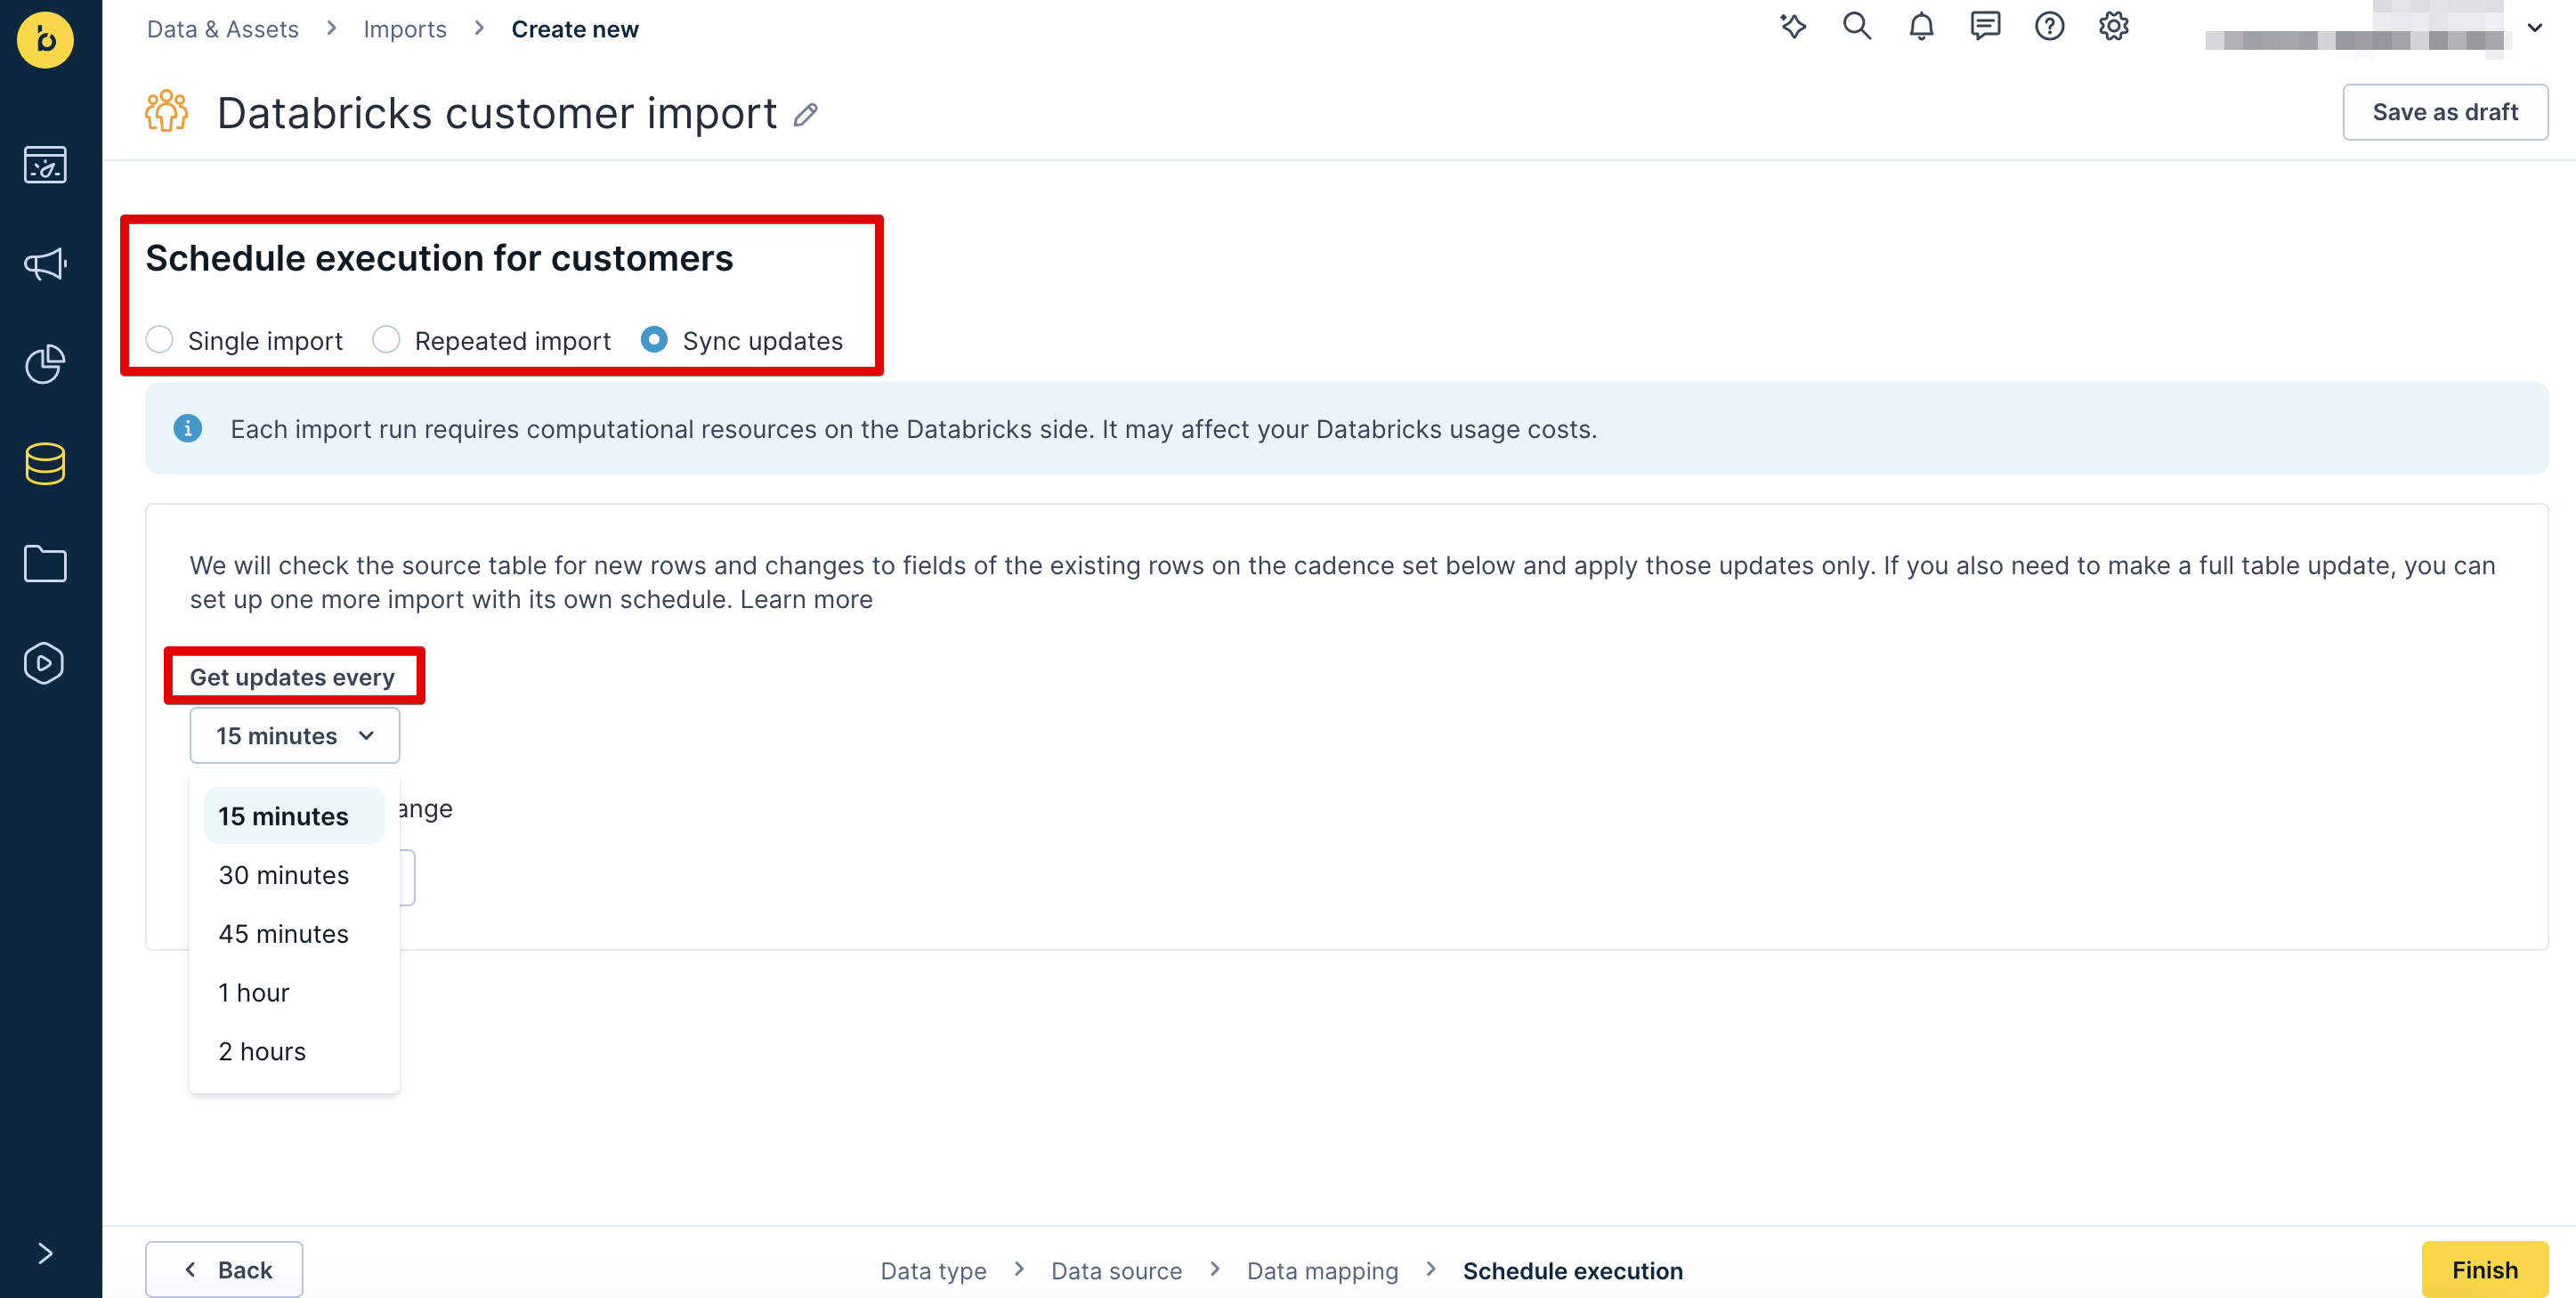
Schedule options:
-
Single import: A one-off import of all records.
-
Repeated import: A scheduled, recurring import of all records.
-
Sync updates: A scheduled, recurring delta import of changes since the previous import.
-
Schedule frequency: every 15, 30, or 45 minutes, 1 hour, or 2 hours, with an optional time range (start and end dates).
ImportantDeleting a customer profile in Bloomreach doesn't delete it in Databricks. If the record hasn't changed in Databricks since it was deleted in Bloomreach, it won't be recreated on the next sync. It will only be recreated if the record is updated in Databricks, which triggers the import job to re-import it.
Events
- Select Events and select or enter the event type to import, for example,
view, then click Next. - Map your customer ID (typically
ID registered) to the matching column in the Databricks table.
Schedule options and frequency are the same as for customers.
Use Sync updates to keep both platforms in sync. This generates compute costs on your Databricks side, so use it only for your most critical data. Use Single import for fixed data that doesn't change.
Important
- Each import handles one event type. To import multiple event types, set up a separate import for each.
- Events are unchangeable. Delta updates add new events but don't update previously imported ones.
Catalogs
Configure product data Databricks imports through Data hub imports. For general catalogs, follow the steps in Data hub catalogs.
ImportantDeleting a catalog item in Bloomreach does not delete it in Databricks. If the record hasn't changed in Databricks since it was deleted in Bloomreach, it won't be recreated on the next sync. It will only be recreated if the record is updated in Databricks, which triggers the import job to re-import it.
Export data to Databricks
Exports can be done in scheduled mode only.
- Export your data from Bloomreach using the Exports to Google Cloud Storage (GCS) option.
- Store your data in a GCS-based data lake.
- To load files into Databricks database tables, use
LOAD. See the overview article by Databricks. - To trigger automatic file loading, call the public REST API endpoints. See the Databricks article on bulk loading from Google Cloud Storage for details.
Delete data in Bloomreach
Using the API, you can anonymize customers individually or in bulk. To delete customers, mark them with an attribute, filter by that attribute, and delete them manually in the UI.
You can delete events by filtering in the UI. Delete catalog items using the Delete catalog item API endpoint.
Example use cases
- One-time imports: Import purchase history for historical analysis and segmentation.
- Regular delta imports: Keep customer attributes in sync so marketing campaigns always use current data.
Related pages
Updated about 1 month ago