

Mobile push notifications
Mobile push notifications are messages you send directly to your app users' devices. They can include text, images, and action buttons, making them a powerful channel for timely, personalized outreach.
As mobile app usage grows, push notifications give you a direct line to your customers outside of email and web. By connecting Bloomreach to your mobile app using one of our SDKs, you can send targeted, personalized notifications at scale.
How mobile push notifications work
Mobile push notifications follow a three-step delivery flow:
- Bloomreach sends the push message to a push notification provider.
- The provider delivers the message to the user's device.
- Your mobile app uses the SDK to display the notification on screen.
Set up push notification campaigns in Integrations and create them in Scenarios. Use the visual editor for standard campaigns or the code builder for advanced configurations.
Set up mobile push notifications
WarningFor push notifications to work, verify three things before you start: the
notification_stateevent is in your allowed events list (Data & Assets > Events > Event Types), Data Manager allows tracking of undefined events, and your mobile app's API key has permission to tracknotification_state. If any of these are missing, push token registration fails silently. See Mobile SDKs API Access Management.
Before your app can receive and display push notifications, complete these steps:
- Install one of the mobile SDKs.
- Configure the SDK with your Bloomreach project credentials.
- Add your push service credentials to Project settings > Campaigns > Channels > Push notifications.
- Obtain user consent and capture push tokens.
- Launch your first campaign.
SDK installation guides
Select the SDK for your platform and follow the push notifications configuration guide:
- iOS SDK: watch the iOS SDK integration video guide for a step-by-step walkthrough.
- Android SDK
- React Native SDK
- Flutter SDK
- MAUI SDK
- Xamarin SDK
After installation, configure your push service credentials under Data & Assets > Integrations.
If you manage more than one mobile app, see Multiple mobile apps per project for configuration details.
Push notification integrations
Bloomreach uses third-party push services to deliver notifications to users' devices. To connect a push service, go to Data & Assets > Integrations.
Each push service receives delivery requests from Bloomreach and routes them to the correct device using a push token. The SDK handles token management automatically — when a user subscribes to push notifications, the SDK registers the token for their customer profile.
NotePush notification tokens are considered personal data (PII). Mark the token attribute for each integration as private personal data in Data & Assets > Data Manager to ensure correct data handling and compliance.
SDK versions and token tracking
The way Bloomreach stores push tokens depends on your SDK version.
SDK versions from September 26, 2025 and later
Push tokens are tracked using notification_state events instead of customer properties. This event-based approach:
- Supports multiple mobile applications per customer profile.
- Includes the Application ID, Device ID, and push token in each event.
For details on when and how the SDK tracks notification_state events, see the token tracking guide for your platform: Android SDK | iOS SDK
Using the default Application ID (default-application) maintains backward compatibility with both legacy (customer property) and new event-based tokens during migration.
If you're upgrading from an earlier SDK version, see Migrate to event-based push notification tokens for step-by-step migration guidance.
SDK versions prior to September 26, 2025
Push tokens are stored as customer profile attributes. Each customer profile can hold one token per platform — one iOS, one Android-Firebase, and one Android-Huawei token. Customers with multiple devices can only receive one notification per platform, based on whichever token is stored in their profile.
For all push integrations:
- Set up under Data & Assets > Integrations.
- Select under Project settings > Campaigns > Channels > Push notifications.
When you change the selected integration and save, all push notification nodes across all scenarios immediately switch to the new integration.
Bloomreach supports three push services, covering all major device types.
Firebase Cloud Messaging (Android)
Bloomreach uses Firebase Cloud Messaging (FCM) to send push notifications to Android devices, excluding Huawei devices. For more information about FCM, see the Firebase Cloud Messaging documentation.
- SDK support: All SDKs
- Configuration guide: Firebase Cloud Messaging for Android SDK
- Legacy token attribute:
google_push_notification_id(SDK versions prior to September 26, 2025)
WarningGoogle deprecated and removed the FCM legacy API in June 2024. Bloomreach now uses the Firebase HTTP v1 API. To continue sending push notifications to Android devices, add a new FCM integration.
Huawei Push Service (Android)
Bloomreach uses Huawei Push Service (HPS) to send push notifications to Huawei Android devices. Older Huawei devices used Google Play Store and Firebase Cloud Messaging — newer Huawei devices use Huawei Mobile Services and require this integration. For more information, see the Huawei Push Kit documentation.
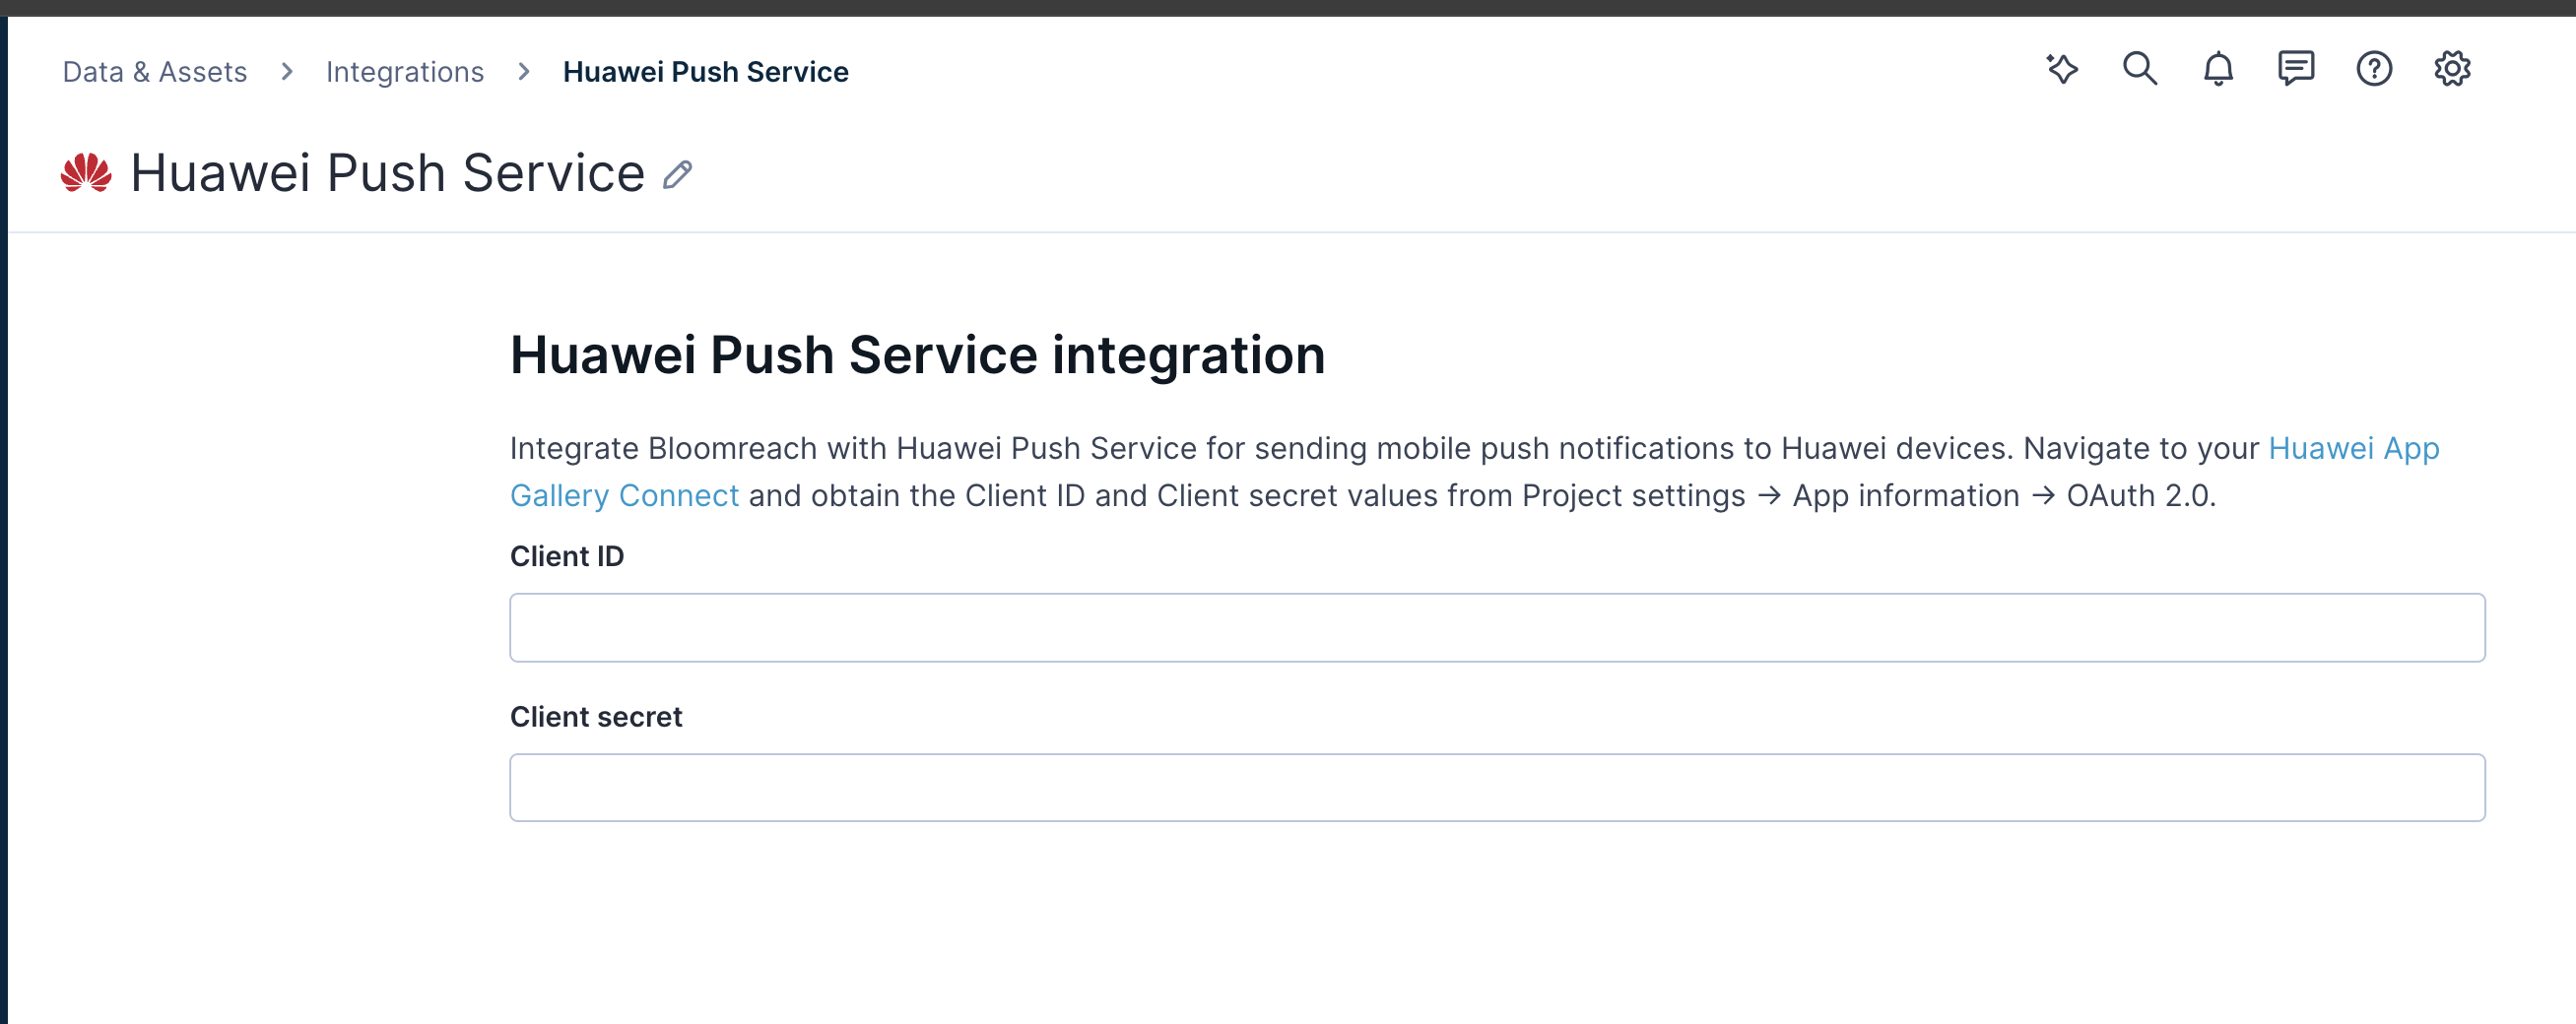
Huawei Push Service integration configuration
- SDK support: Android SDK 3.0.0 and higher, or the latest versions of the Flutter, Xamarin, and React Native SDKs
- Configuration guide: Huawei Mobile Services for Android SDK
- Legacy token attribute:
huawei_push_notification_id(SDK versions prior to September 26, 2025)
Apple Push Notification service (iOS)
Bloomreach uses Apple Push Notification service (APNs) to send push notifications to iOS devices. For more information, see the APNs overview.
- SDK support: All SDKs
- Configuration guide: Push notifications for iOS SDK
- Legacy token attribute:
apple_push_notification_id(SDK versions prior to September 26, 2025)
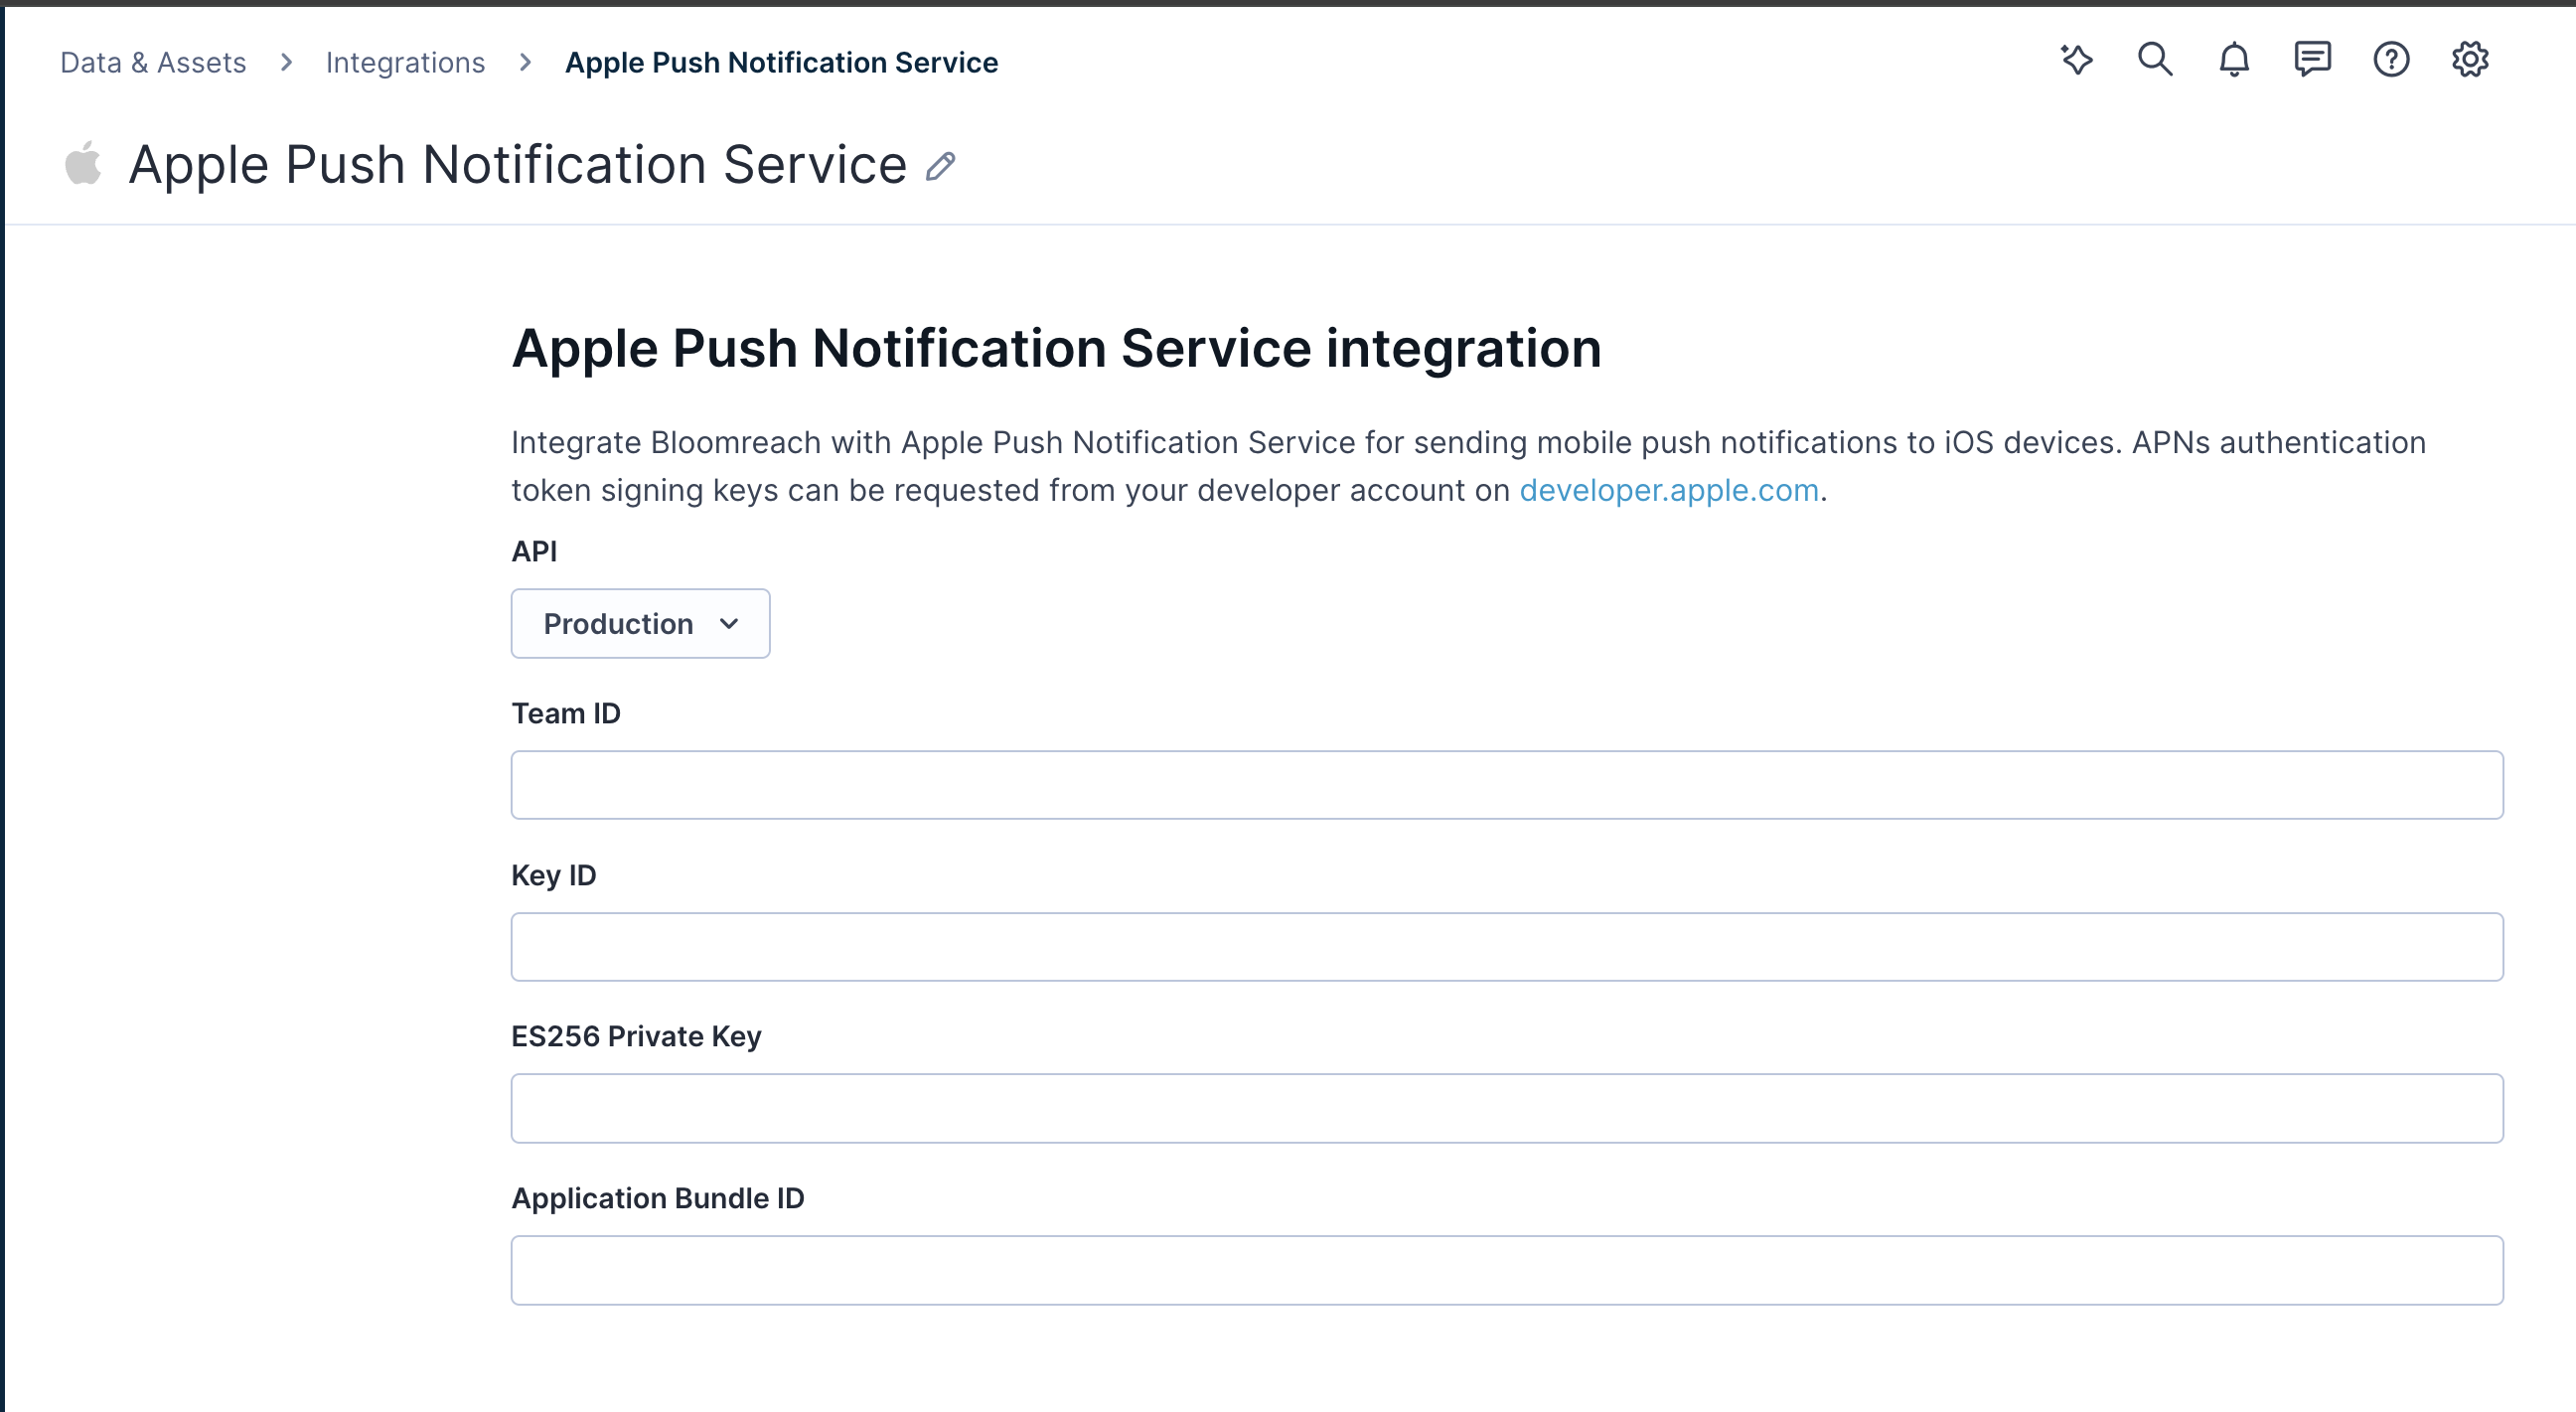
Apple Push Notification service integration configuration
Create and configure notifications
Once your integrations are set up, you're ready to build your first notification. Learn how to use the notification editor, configure settings, and send test notifications in Configure mobile push notifications.
Limitations
- Each customer profile can store one push token per platform for SDK versions prior to September 26, 2025.
- Customers with multiple devices on older SDK versions receive only one notification per platform.
- Silent push notifications require SDK version 2.8.0 or higher for Android and 2.7.0 or higher for iOS.
- GIF images are not supported for Android push notifications.
- When using Jinja in push notifications, always use single quotes — double quotes are not currently supported and will cause an error.
Updated 3 days ago