

PassMachine
Integration
This guide shows you how to connect PassMachine with Bloomreach Engagement.
PassMachine is a digital wallet solution. It helps businesses create and share digital cards for Apple Wallet and Google Wallet. This integration lets you deliver personal customer experiences. You can create loyalty cards, member cards, and discount coupons. The cards send real-time notifications and location alerts to customers.
Use cases
PassMachine supports various digital card types for different business needs:
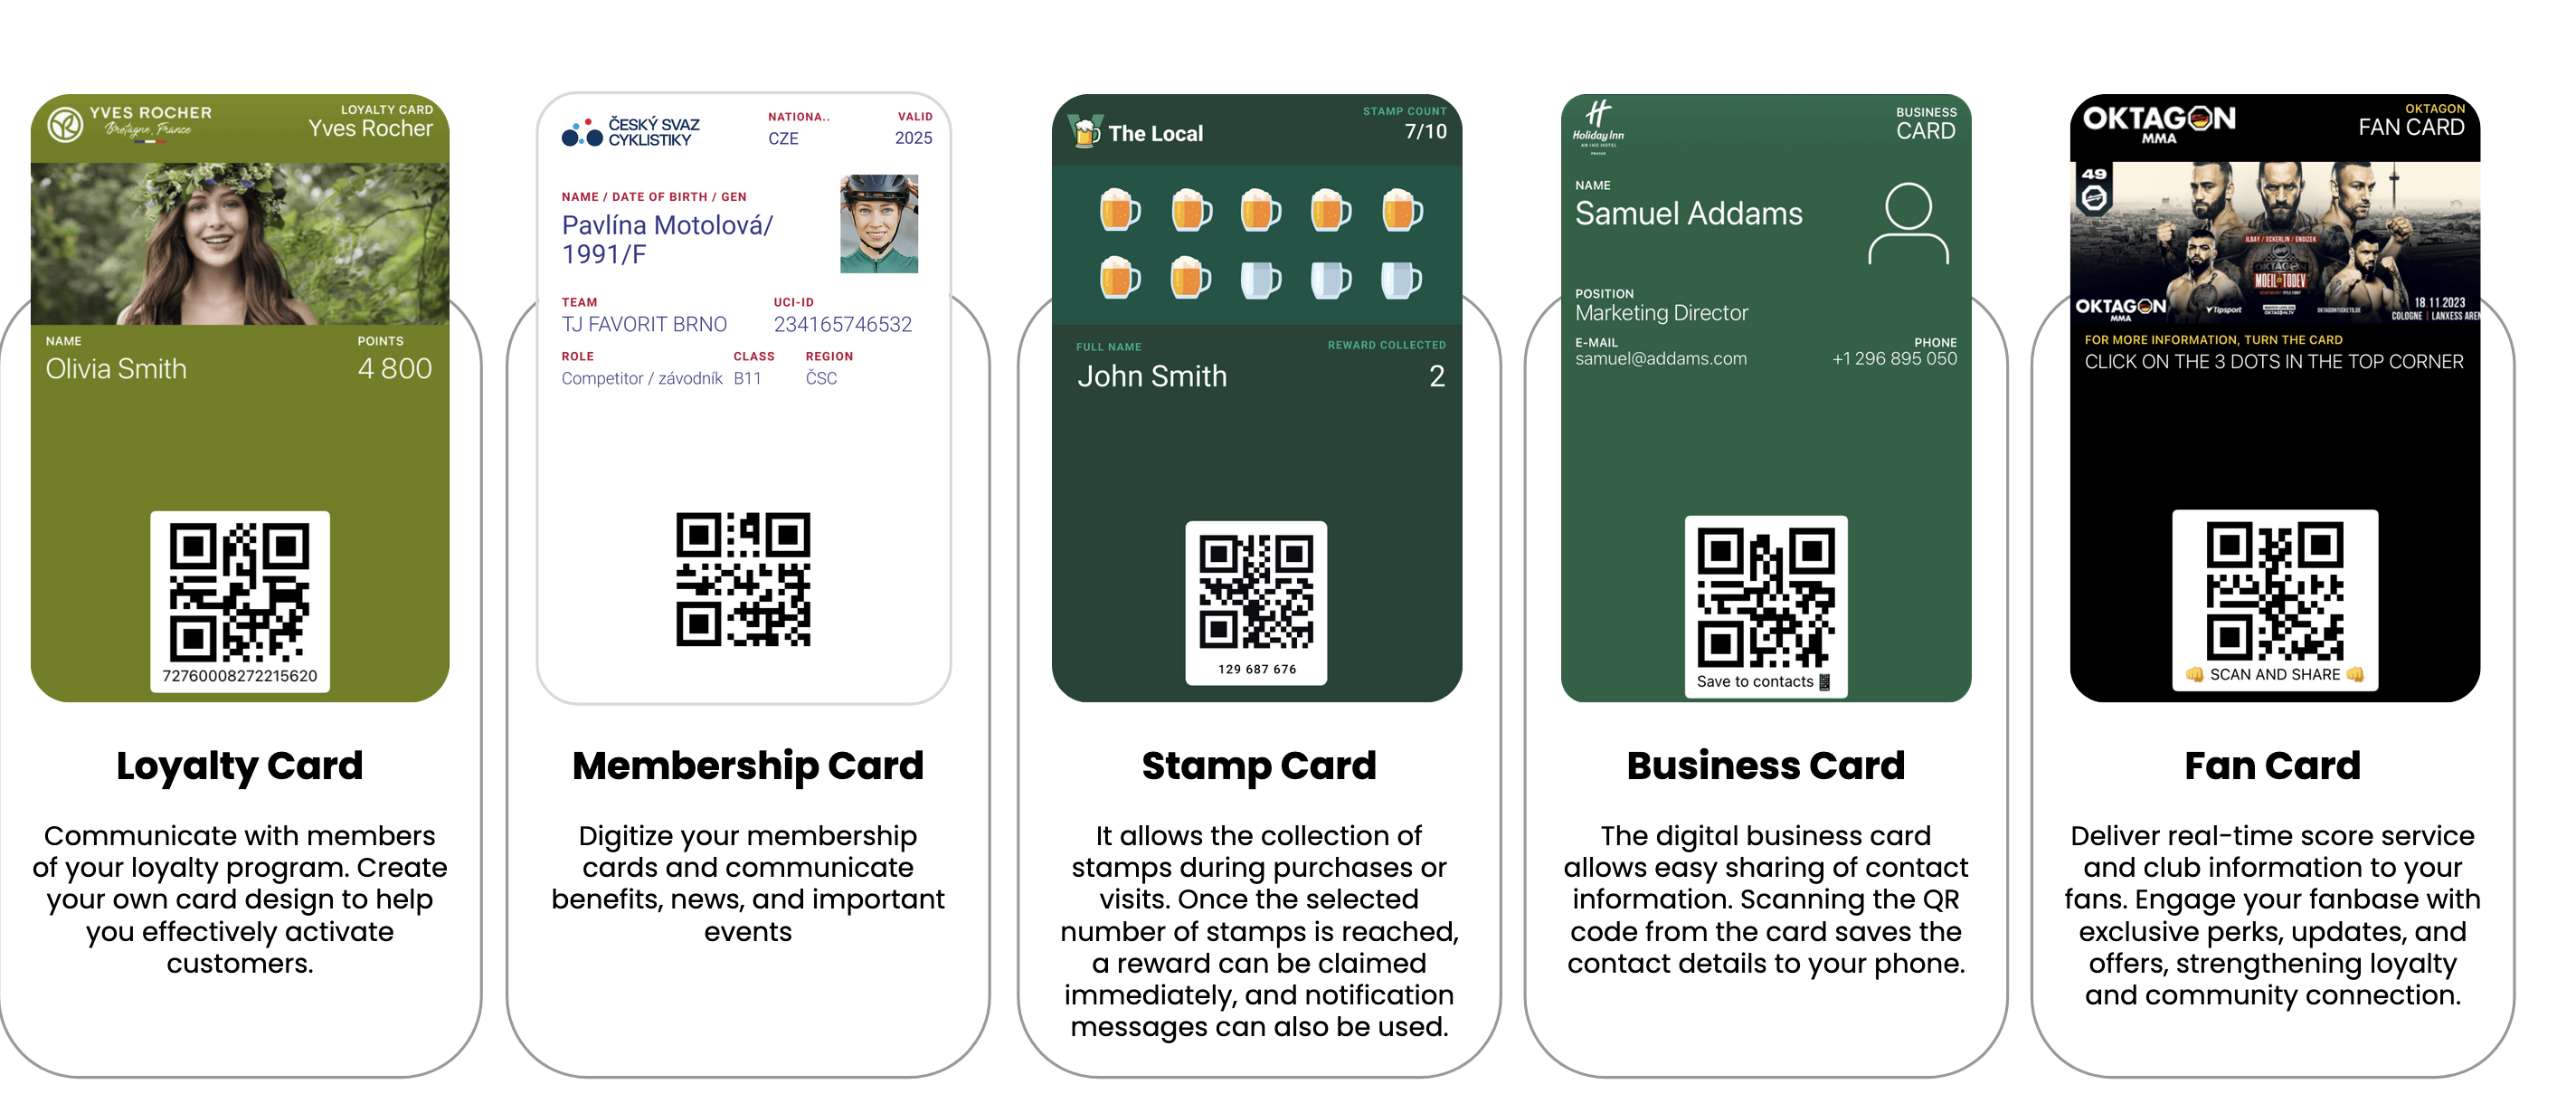
Customer engagement cards
- Loyalty cards: Reward customers with points and communicate program benefits.
- Membership cards: Digitize membership information and share important events.
- Stamp cards: Track customer visits and purchases with digital stamp collection.
- Business cards: Share contact information with QR code scanning.
- Fan cards: Deliver real-time updates and exclusive offers to fans.
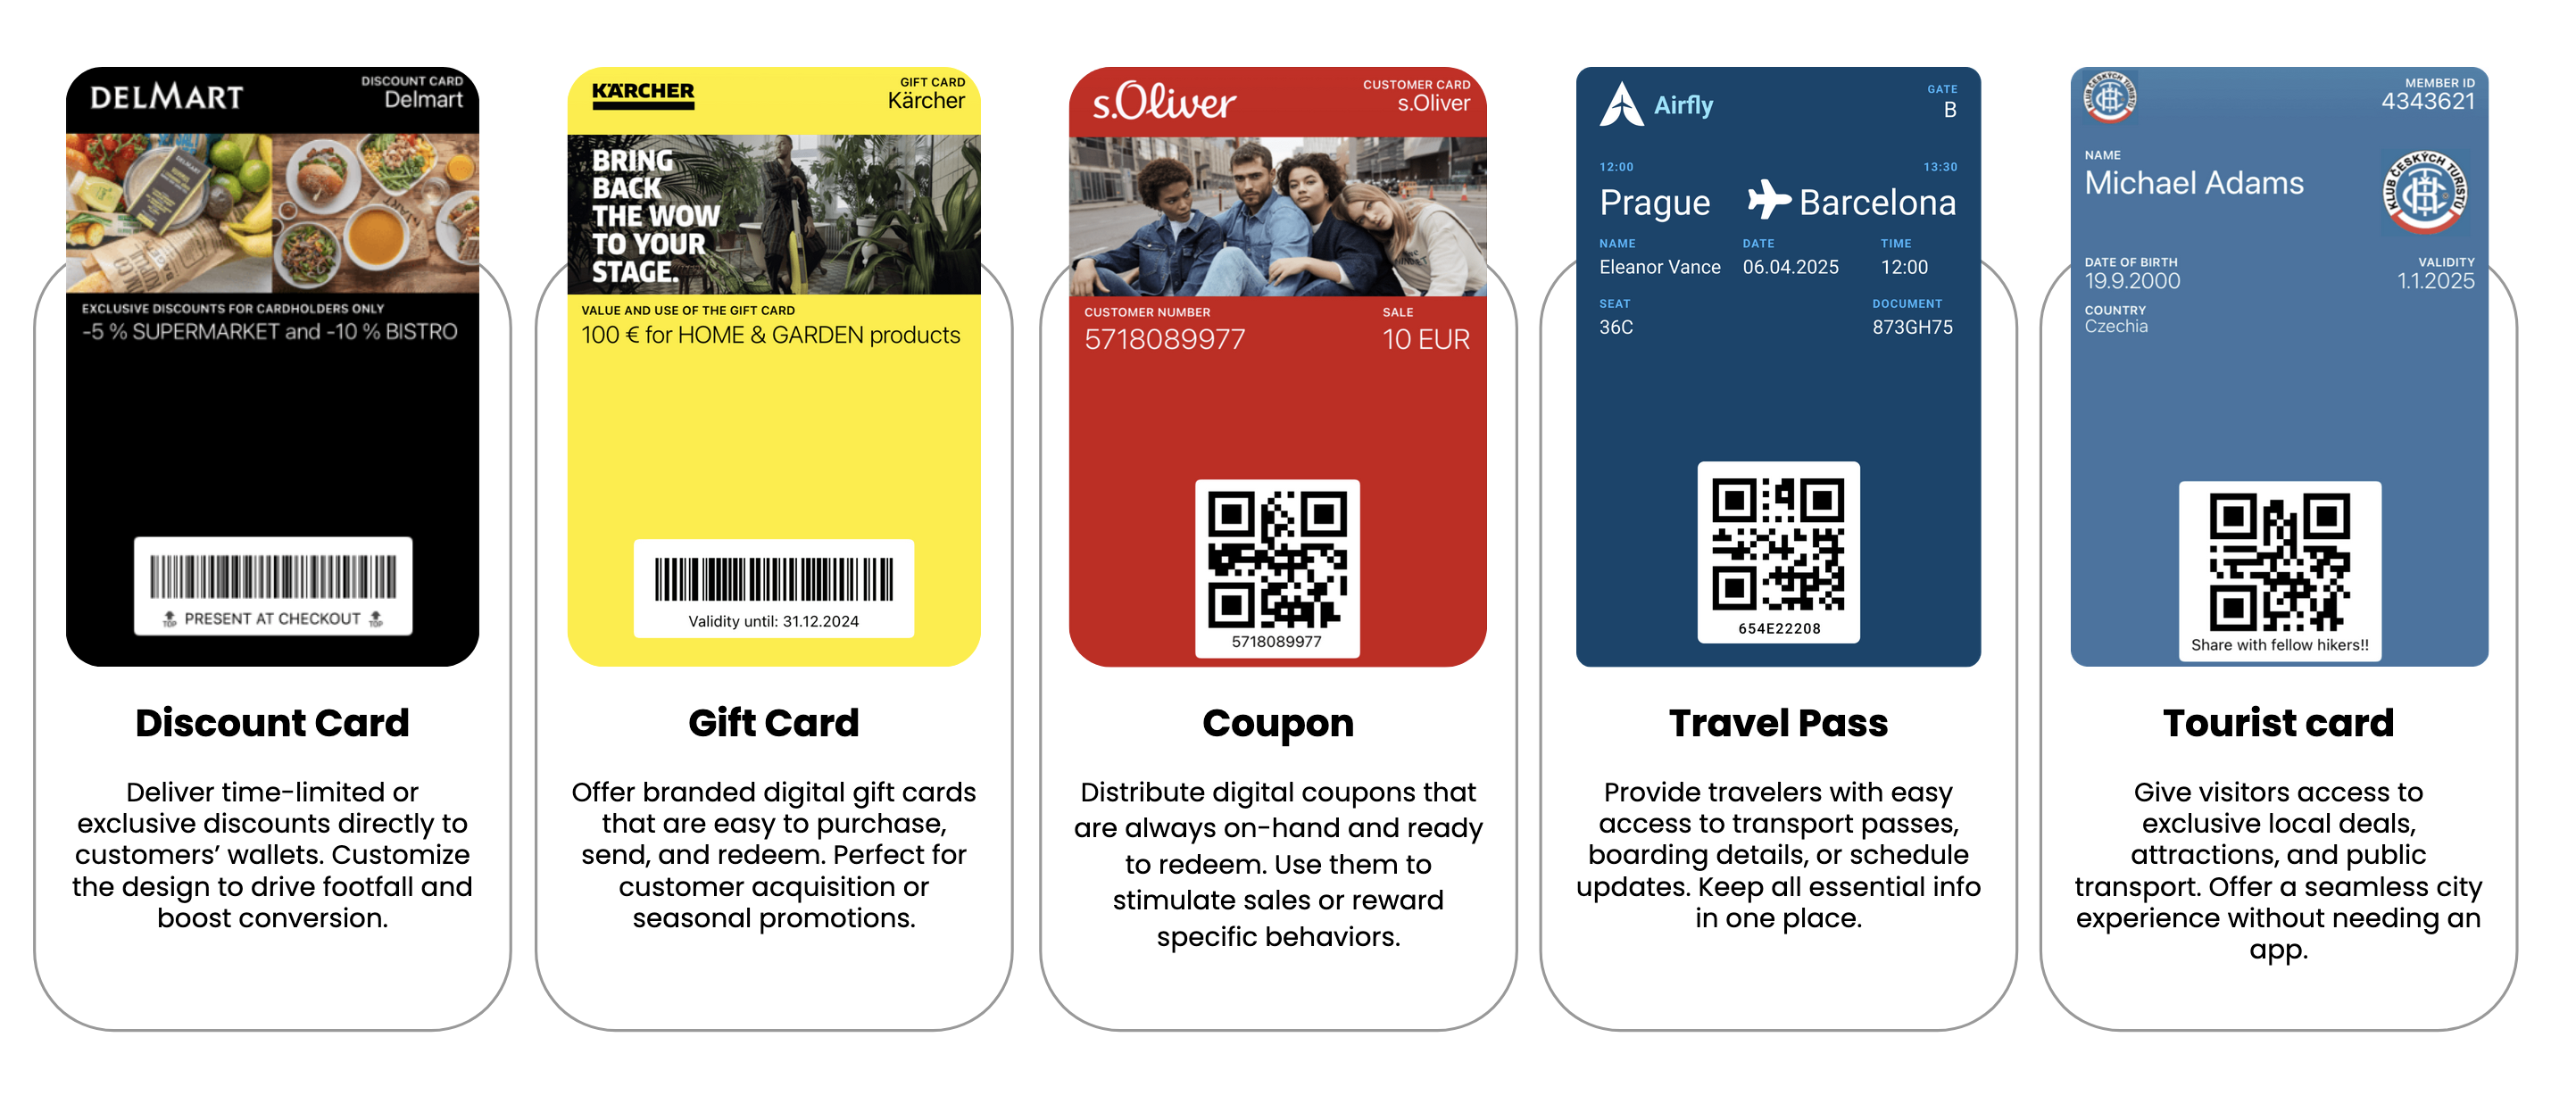
Promotional and transactional cards
- Discount cards: Distribute time-limited or exclusive discounts directly to customers.
- Gift cards: Offer branded digital gift cards for easy purchase and redemption.
- Coupons: Share digital coupons that are always available and ready to redeem.
- Travel passes: Provide easy access to transport information and schedule updates.
- Tourist cards: Give visitors access to local deals and transport options.
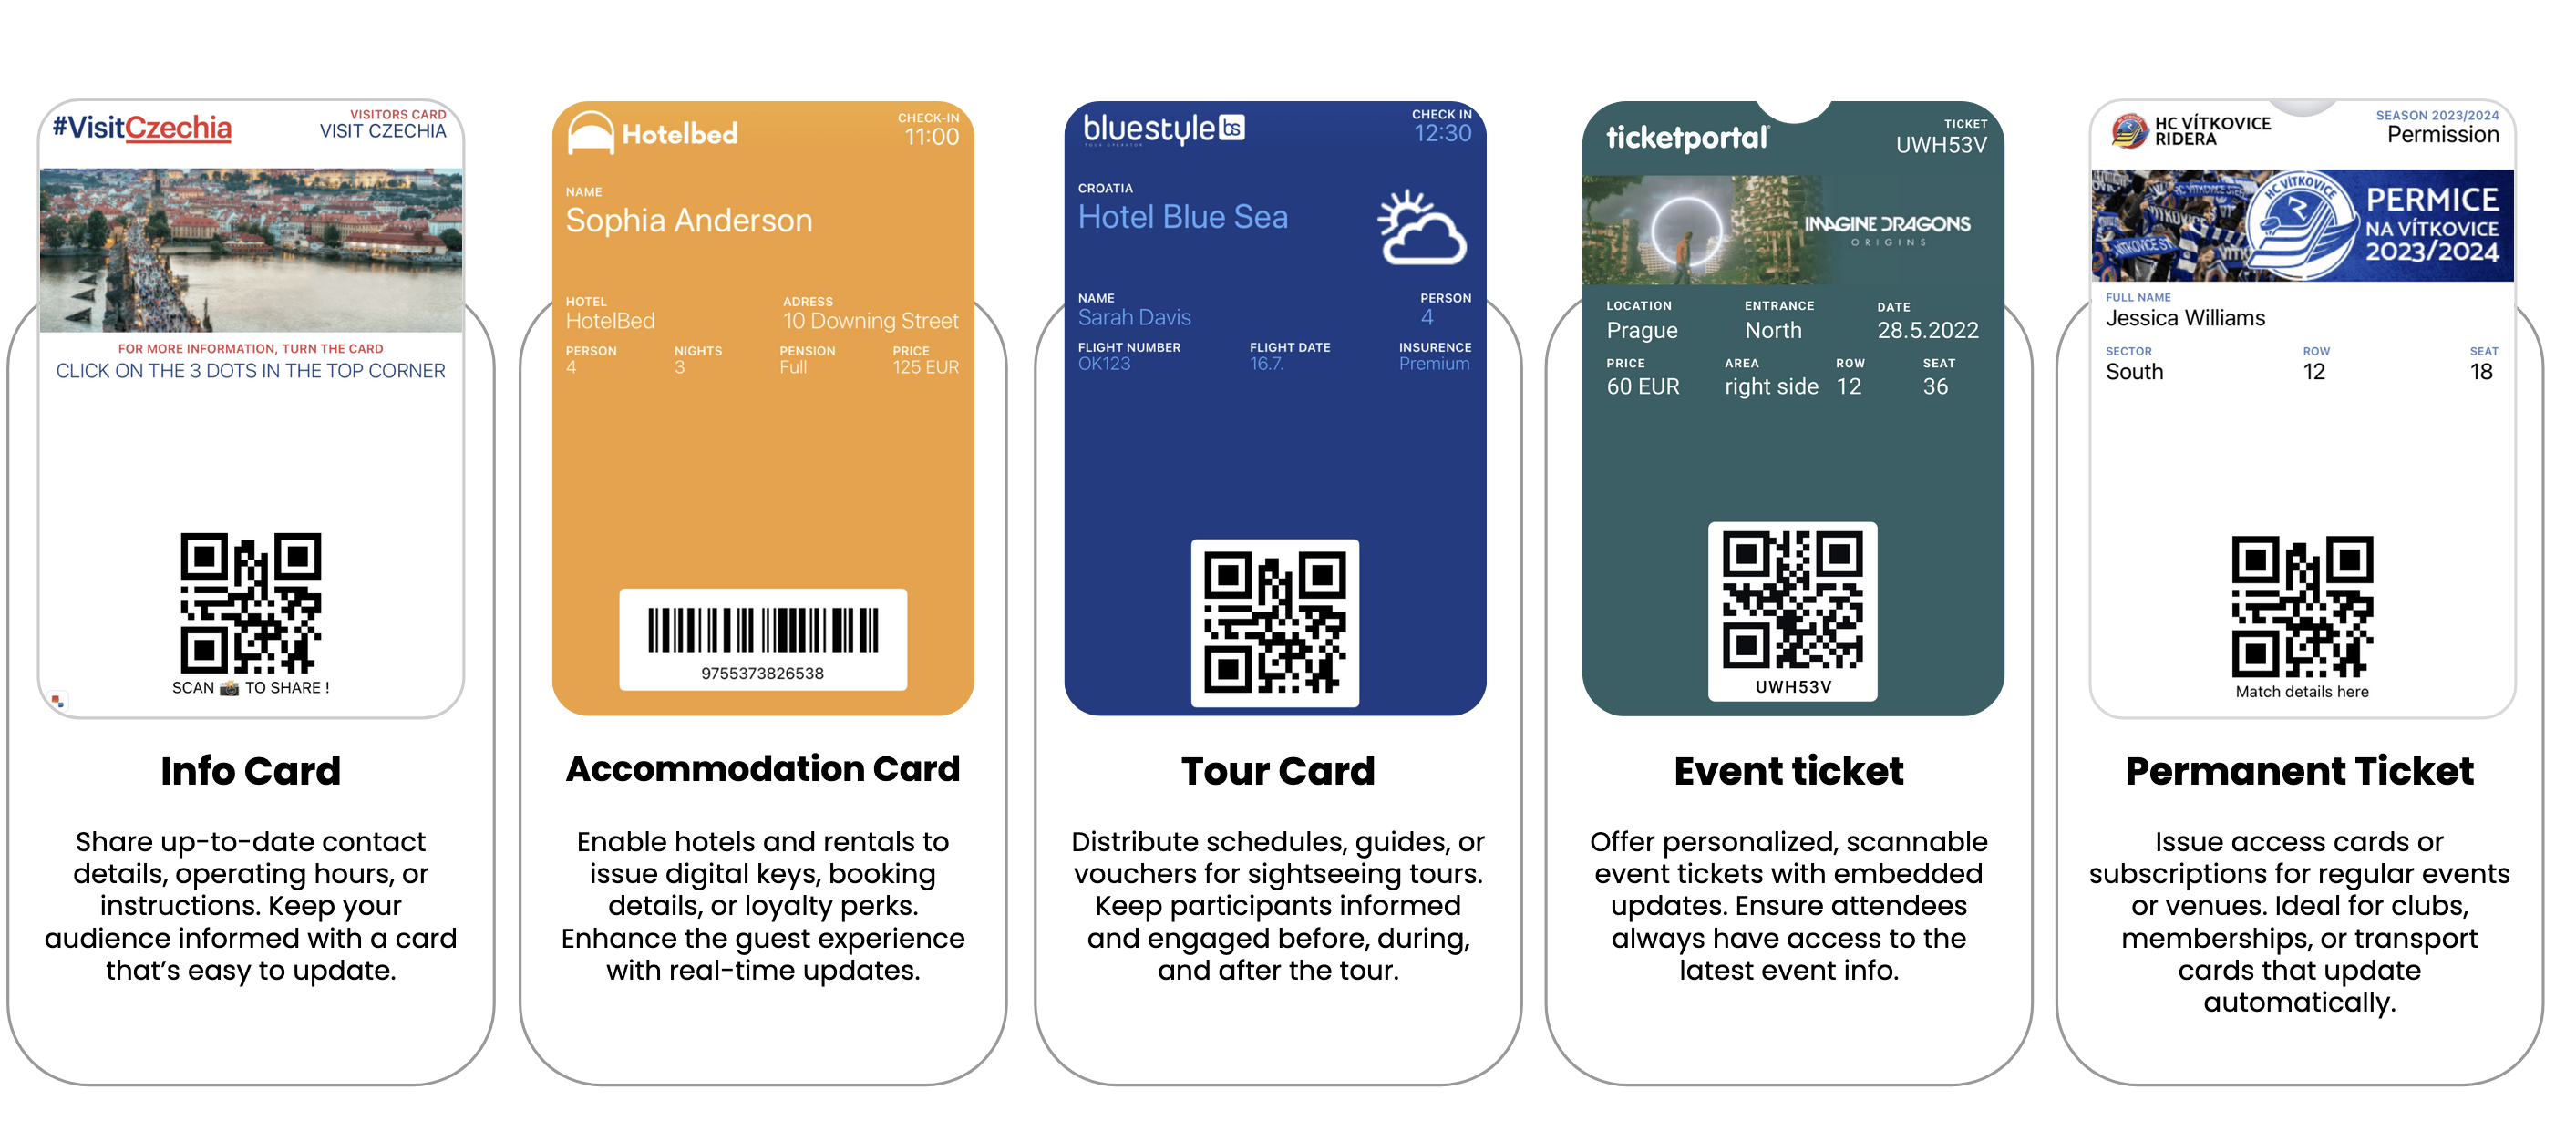
Service and event cards
- Info cards: Share contact details, hours, or instructions that stay up-to-date.
- Accommodation cards: Enable hotels to issue digital keys and booking details.
- Tour cards: Distribute schedules, guides, or vouchers for sightseeing experiences.
- Event tickets: Offer personalized, scannable tickets with embedded updates.
- Permanent tickets: Issue access cards for regular events, venues, or transport.
Prerequisites
Before you start, you need:
- A Bloomreach Engagement account.
- API keys from your Bloomreach Engagement project.
- Admin access to PassMachine.
- PassMachine account credentials for token creation.
1. Set up the connection
Authentication setup
You need to connect Bloomreach Engagement to PassMachine. Create an HTTP Authentication Schema in Bloomreach Engagement:
- Go to Data & Assets > Integrations, click + Add new integration.
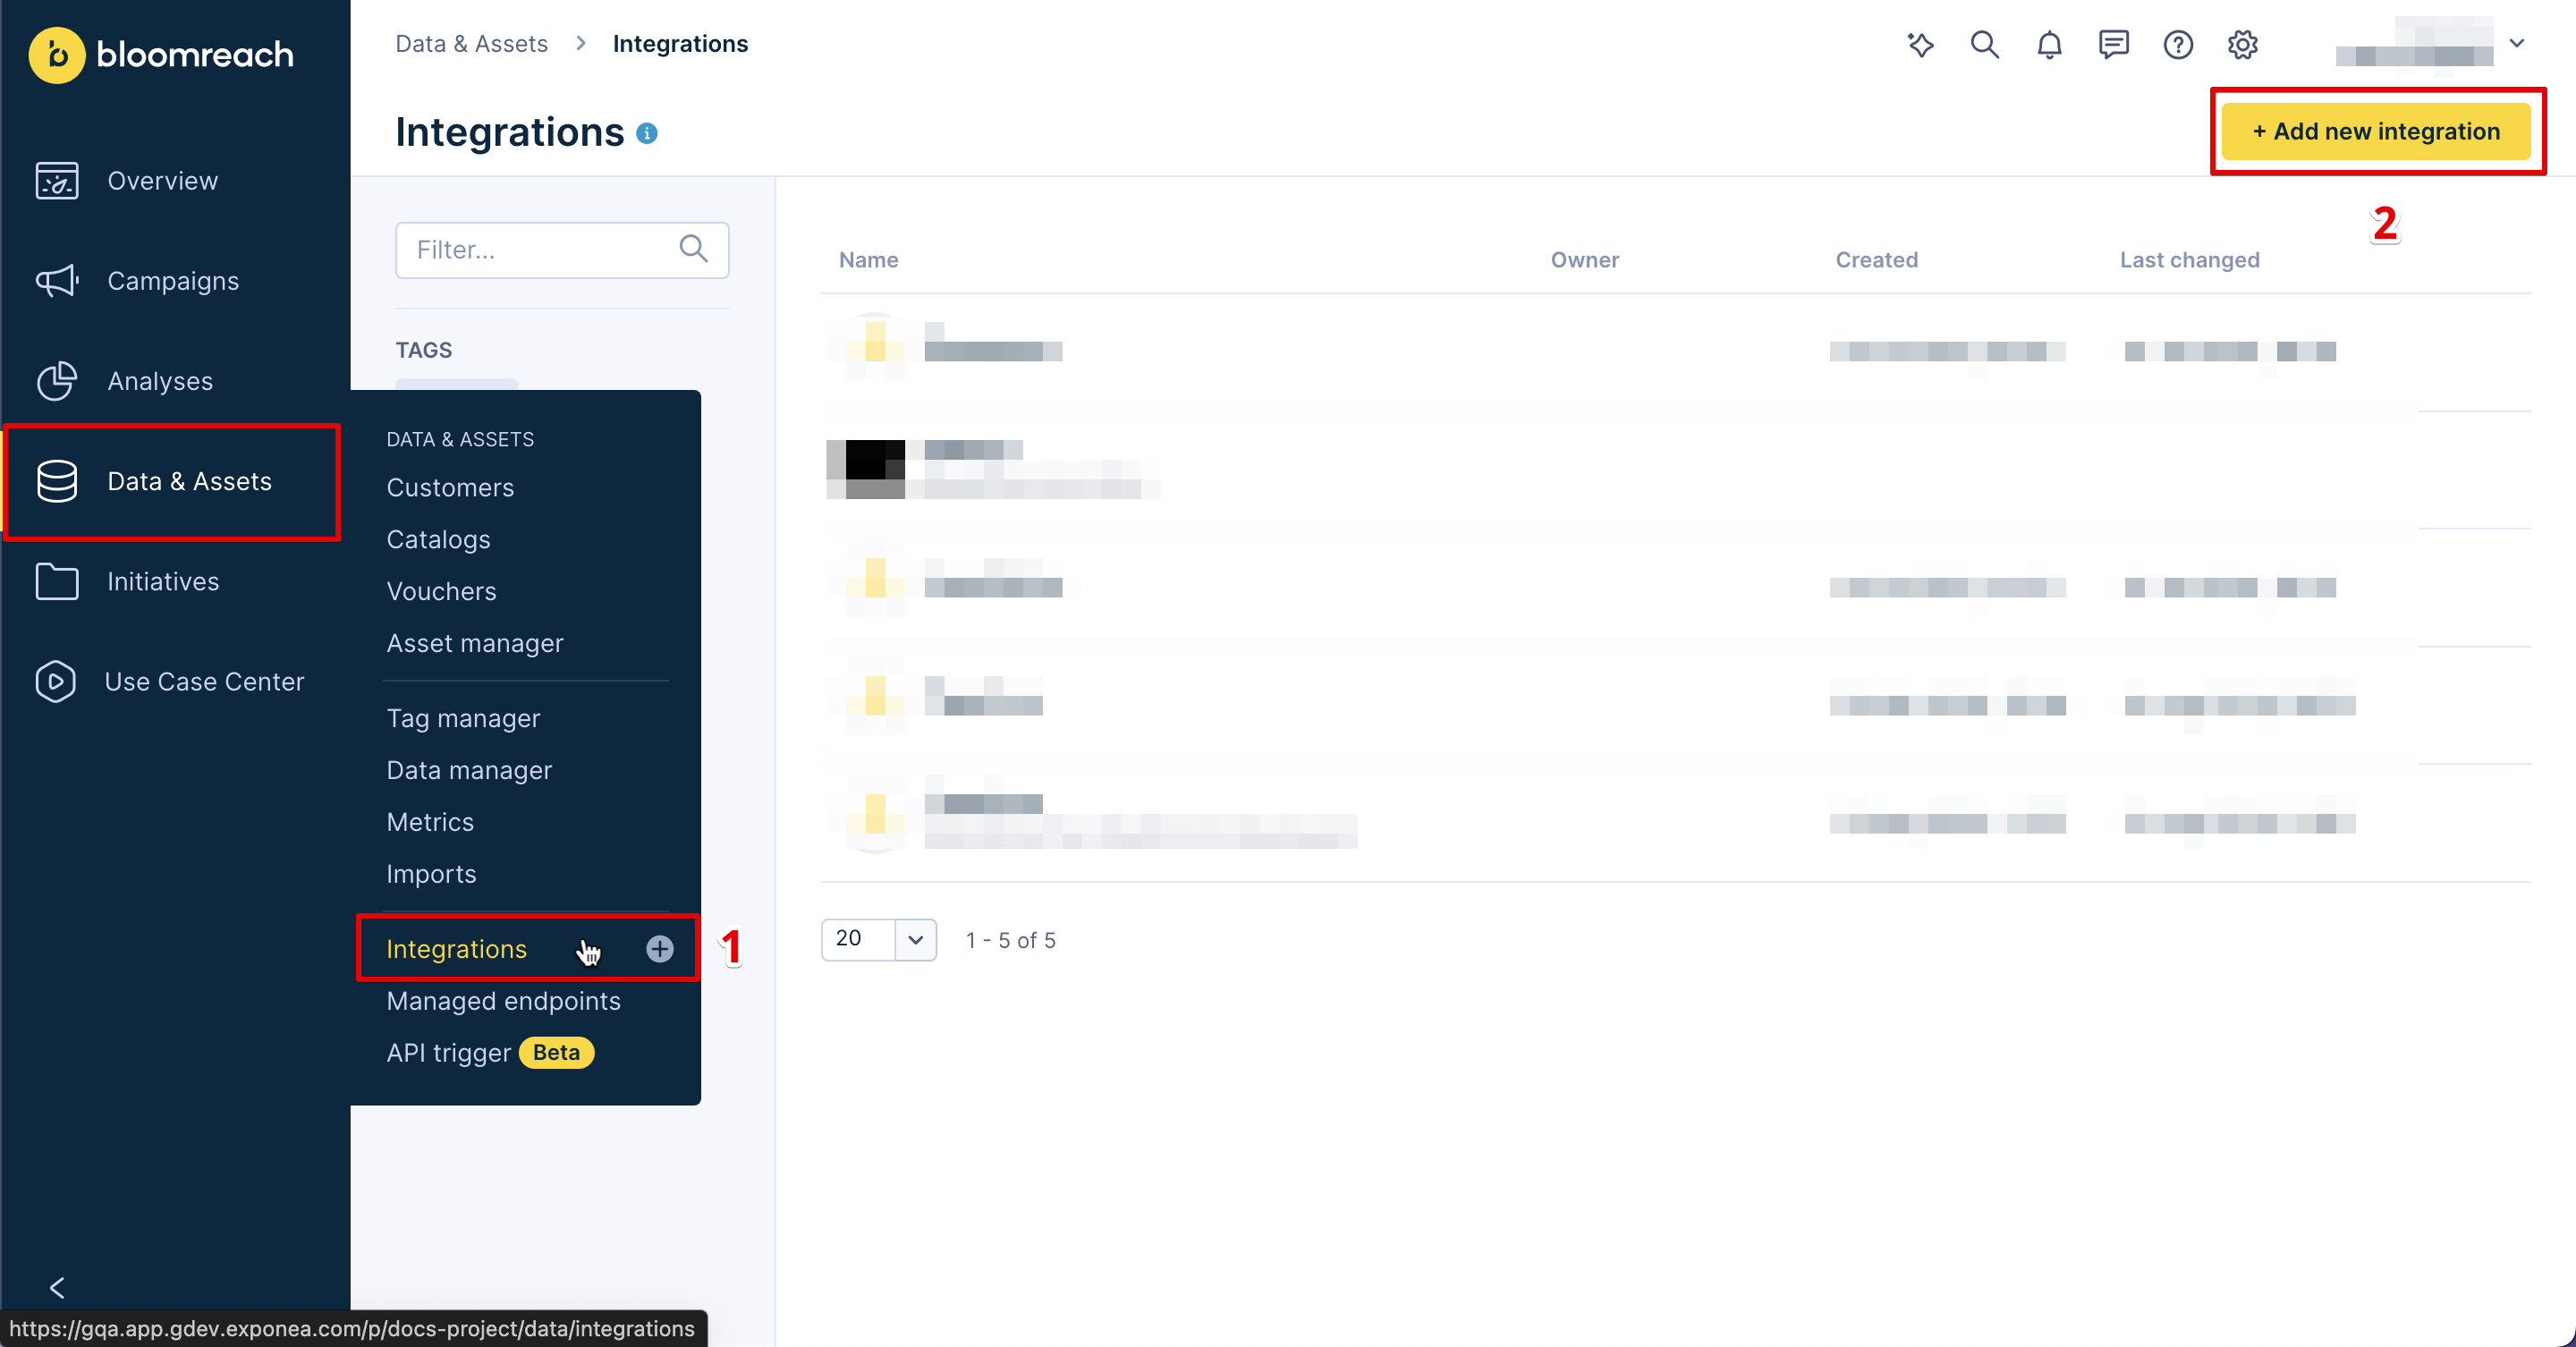
- Search for HTTP Authentication Schemas and select + Add integration.
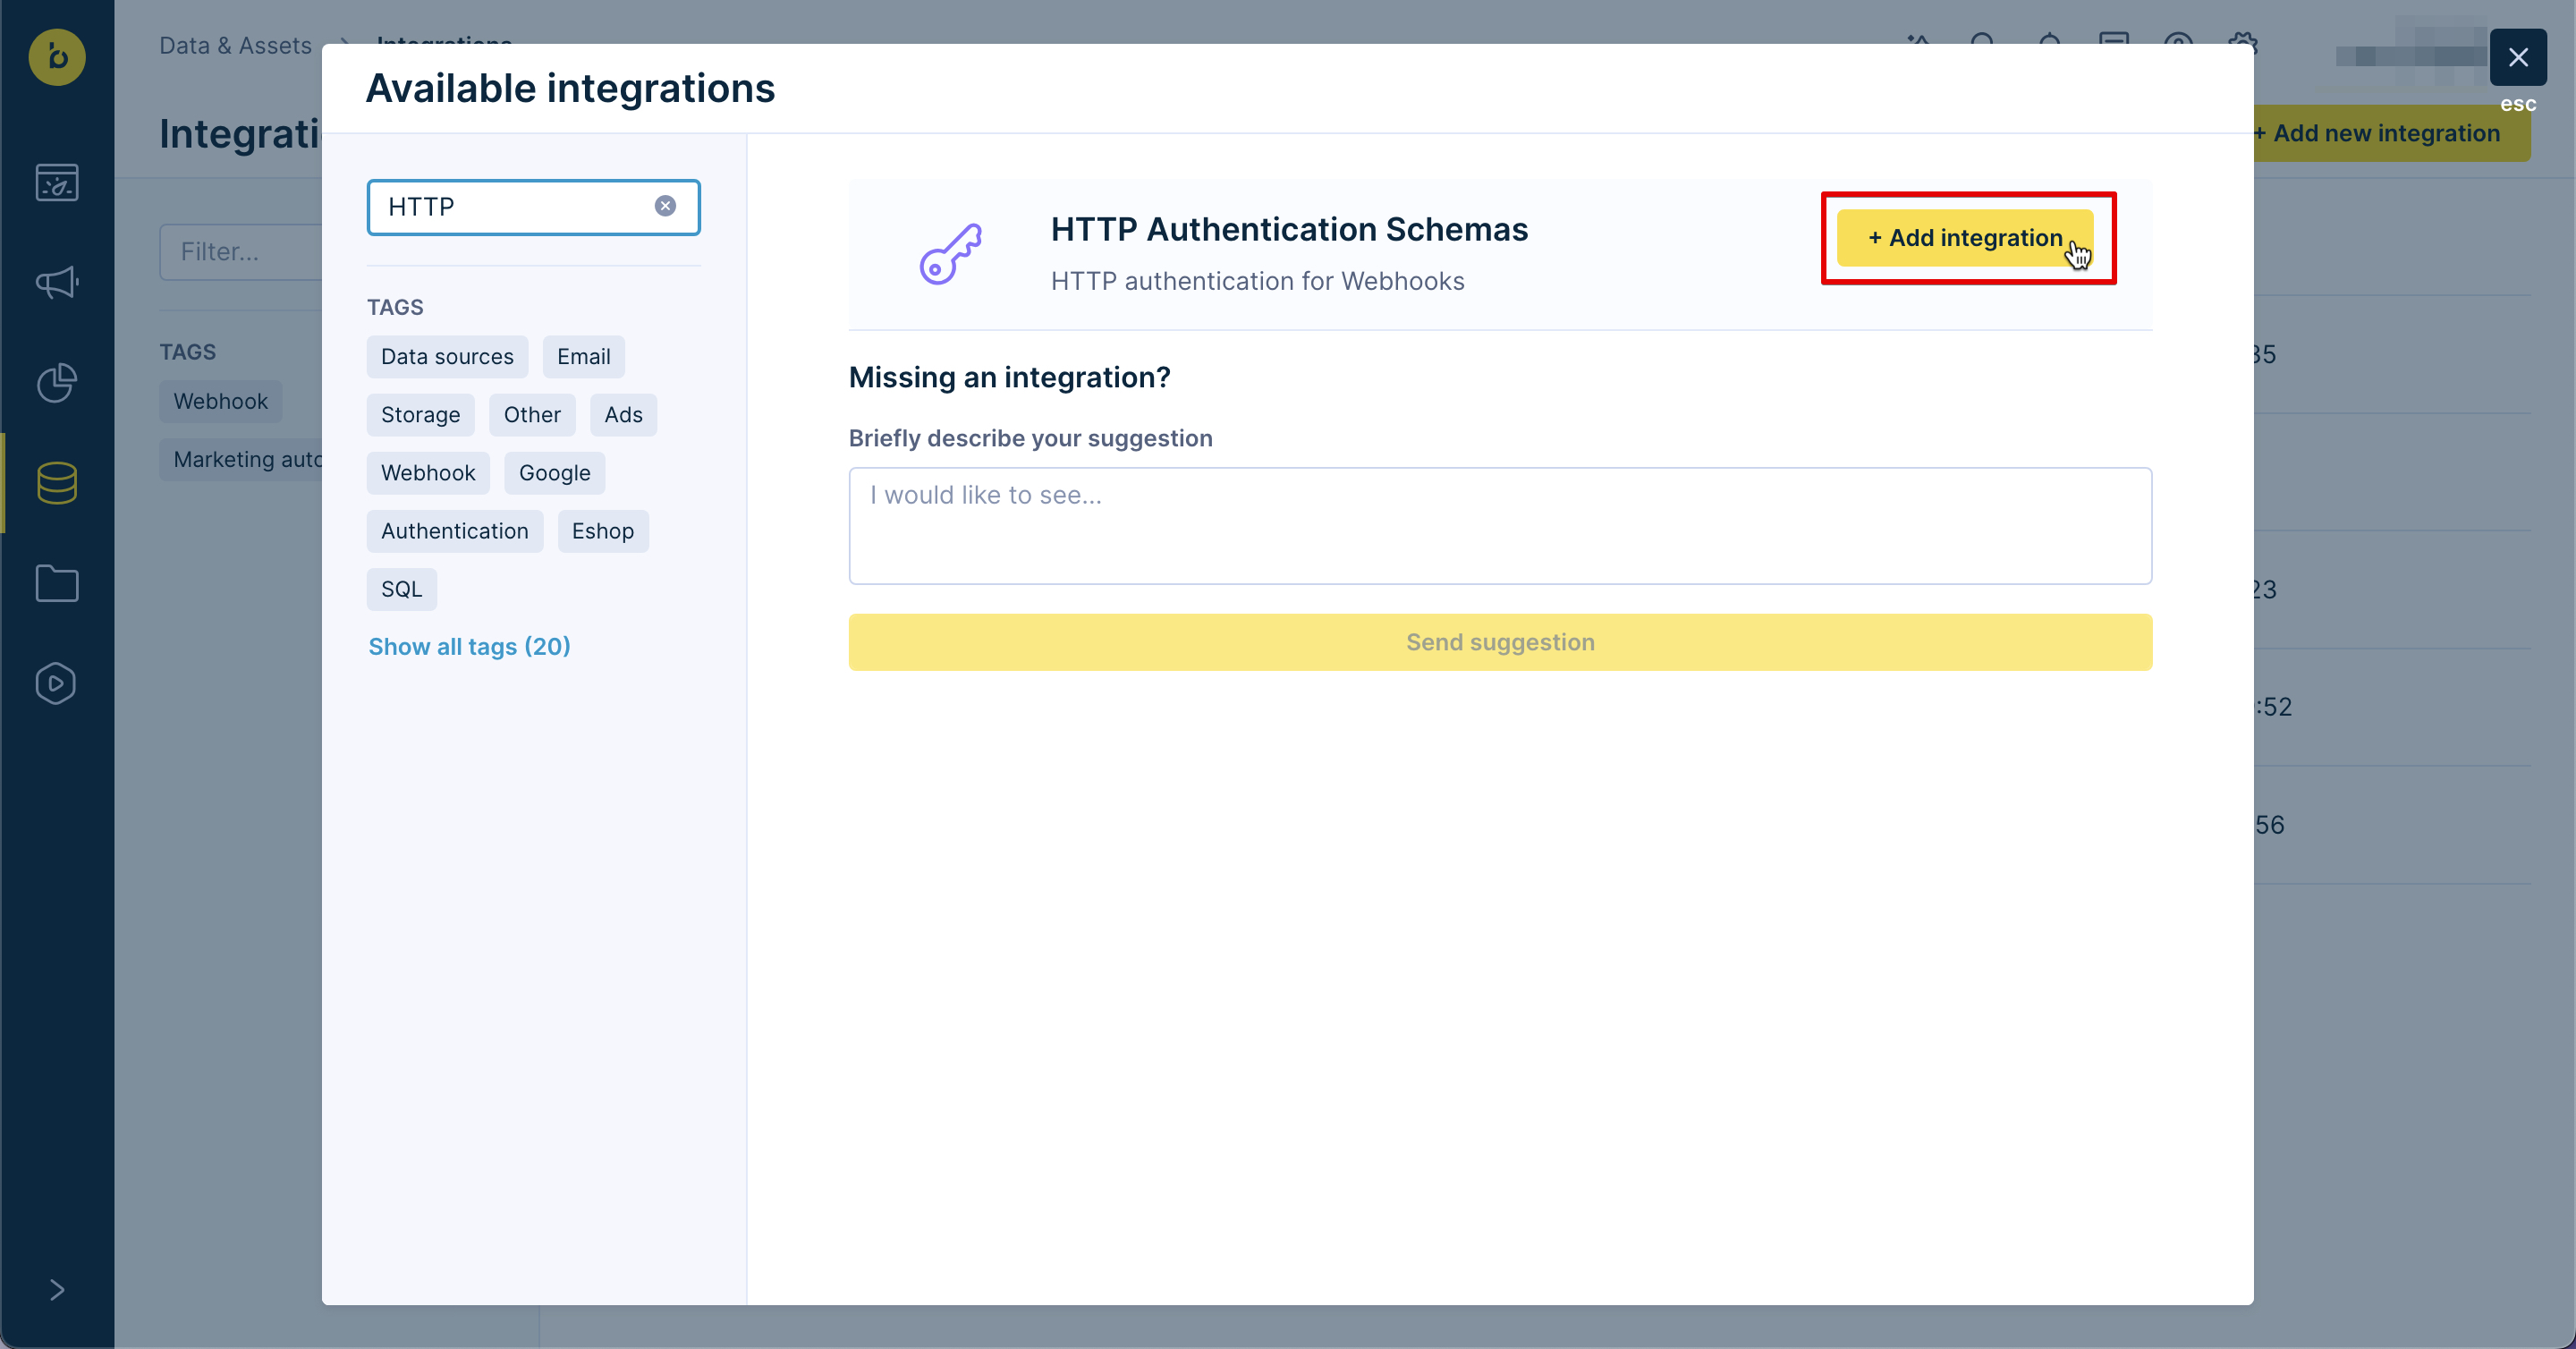
- Enter the following information:
- Endpoint: https://api.passmachine.cz
- Type: Custom headers
- Key: Authorization
- Value: Bearer
{token_passmachine}
Get your token
Get your {token_passmachine} from PassMachine:
- Request type: GET
- Endpoint:
https://api.passmachine.cz/authenticate?validTo={timestamp} - Credentials: Use your PassMachine account login credentials (Secret/Public token)
NoteThe authentication token expires after a set period. You need to refresh it regularly to keep the integration working.
2. Create digital cards
This webhook creates new digital cards for customers. The cards go directly to their mobile wallets.
- Request type: POST
- Endpoint:
https://api.passmachine.cz/accounts/{account_id_passmachine}/passes - Authentication method*: HTTP PassMachine
- Header: Key: X-Timestamp, Value:
{{time}}, Type: Public - Response processing: Process response as JSON
- Throughput policy: Limit = 10
Card setup
{
  "templateId": "temple_id_passmachine",
  "templateVariables": {
    "kpFirstName": "{{ customer.first_name }}",
    "kpLastName": "{{ customer.last_name }}",
    "kpCardNumber": "{{ customer.id }}",
    "kpDiscountCode": "SALE123",
    "fieldValue": "NOTIFICATION",
    "changeMessage": "{% set timestamp = time %}{% set timeshift = 604800 %}{% set month = timestamp | from_timestamp('%-m') | int %}{% set weekday = timestamp | from_timestamp('%w') | int %}{% set dayofmonth = timestamp | from_timestamp('%-d') | int %}{% if month < 3 or (month == 3 and dayofmonth < 25) %}{% set timezone_difference = 3600 %}{% elif (month == 3 and weekday < (dayofmonth - 24)) %}{% set timezone_difference = 7200 | int %}{% elif month == 3 %}{% set timezone_difference = 3600 | int %}{% elif month < 10 %}{% set timezone_difference = 7200 | int %}{% elif (month == 10 and weekday < (dayofmonth - 24)) %}{% set timezone_difference = 3600 | int %}{% elif month == 10 %}{% set timezone_difference = 7200 | int %}{% else %}{% set timezone_difference = 3600 | int %}{% endif %}{% set x = timestamp + timezone_difference + timeshift | int %}{% set y = x | string %}{% set t = y.split(\".\") | first | int | from_timestamp(\"%d-%m-%Y %H:%M:%S\") %}{{ t }}"
  },
  "metadata": {
    "email": "{{ customer.email }}",
    "registered": "{{ customer_ids.registered }}"
  }
}
What each variable means
- {account_id_passmachine} - Your PassMachine account ID.
- {template_id_passmachine} - Your card template ID from the PassMachine account.
- {{ customer.first_name }} - Customer's first name displayed on the card.
- {{ customer.last_name }} - Customer's last name displayed on the card.
- {{ customer.id }} - Customer ID number displayed on the card.
- SALE123 - A static discount code; can be linked to an attribute or a voucher pool.
- NOTIFICATION - Notification text.
- {{ customer.email }} - Customer's email.
- {{ customer_ids.registered }} - Customer's hard ID.
- {{ time }} - Current timestamp.
Save card data
After you create a card, you get back information about that specific card from the webhook response. Save this data as customer attributes:
{
  "passmachine_pass_id": "{{ webhook.data.id }}",
  "passmachine_pass_link": "{{ webhook.data.ro.microsite.url }}",
  "passmachine_pass_gendate": "{{time}}"
}
This stores the card ID, download link, and creation date. You can use this information later for customer management.
3. Send push notifications to cards
Send targeted push notifications to specific digital cards. This helps you engage customers with personal messages.
- Request type: PATCH
- Endpoint:
https://api.passmachine.cz/accounts/{account_id_passmachine}/passes/{{ customer.passmachine_pass_id }} - Authentication: HTTP PassMachine
- Header: Key: X-Timestamp, Value:
{{time}}, Type: Public - Response: Don't process response
- Limit: 10 requests
Notification setup
[
  {
    "op": "replace",
    "path": "/templateVariables/fieldValue",
    "value": "NOTIFICATION"
  },
  {
    "op": "replace",
    "path": "/templateVariables/changeMessage",
    "value": "{% set timestamp = time %}{% set timeshift = 604800 %}{% set month = timestamp | from_timestamp('%-m') | int %}{% set weekday = timestamp | from_timestamp('%w') | int %}{% set dayofmonth = timestamp | from_timestamp('%-d') | int %}{% if month < 3 or (month == 3 and dayofmonth < 25) %}{% set timezone_difference = 3600 %}{% elif (month == 3 and weekday < (dayofmonth - 24)) %}{% set timezone_difference = 7200 | int %}{% elif month == 3 %}{% set timezone_difference = 3600 | int %}{% elif month < 10 %}{% set timezone_difference = 7200 | int %}{% elif (month == 10 and weekday < (dayofmonth - 24)) %}{% set timezone_difference = 3600 | int %}{% elif month == 10 %}{% set timezone_difference = 7200 | int %}{% else %}{% set timezone_difference = 3600 | int %}{% endif %}{% set x = timestamp + timezone_difference + timeshift | int %}{% set y = x | string %}{% set t = y.split(\".\") | first | int | from_timestamp(\"%d-%m-%Y %H:%M:%S\") %}{{ t }}"
  }
]
Variables for notifications
- {account_id_passmachine} - Your PassMachine account ID
- {{ customer.passmachine_pass_id }} - The card ID stored in customer data
- NOTIFICATION - Your alert text
4. Get data from PassMachine
PassMachine can send data back to Bloomreach Engagement. For example, it can tell you when a card gets added to a mobile wallet.
API credentials setup
In your Bloomreach Engagement project:
- Go to Project settings, clickAccess management, and select API.
- Create + new group and make it private.
- Give access to the
passmachineevent - Share these details with PassMachine:
- Project token
- Project API Base URL
- Public token (API Key ID)
- Secret token (API Secret)
Webhook mapping
Contact your Bloomreach Customer Success Manager. Ask them to map all webhooks from PassMachine to the passmachine event. This ensures proper functionality.
5. Best practices
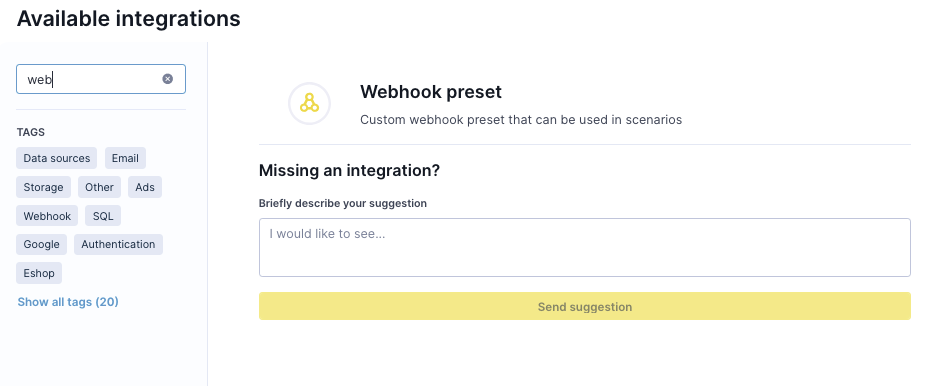
Use webhook presets
Save all webhooks as a preset in Bloomreach Engagement. This makes them easy to manage and reuse.
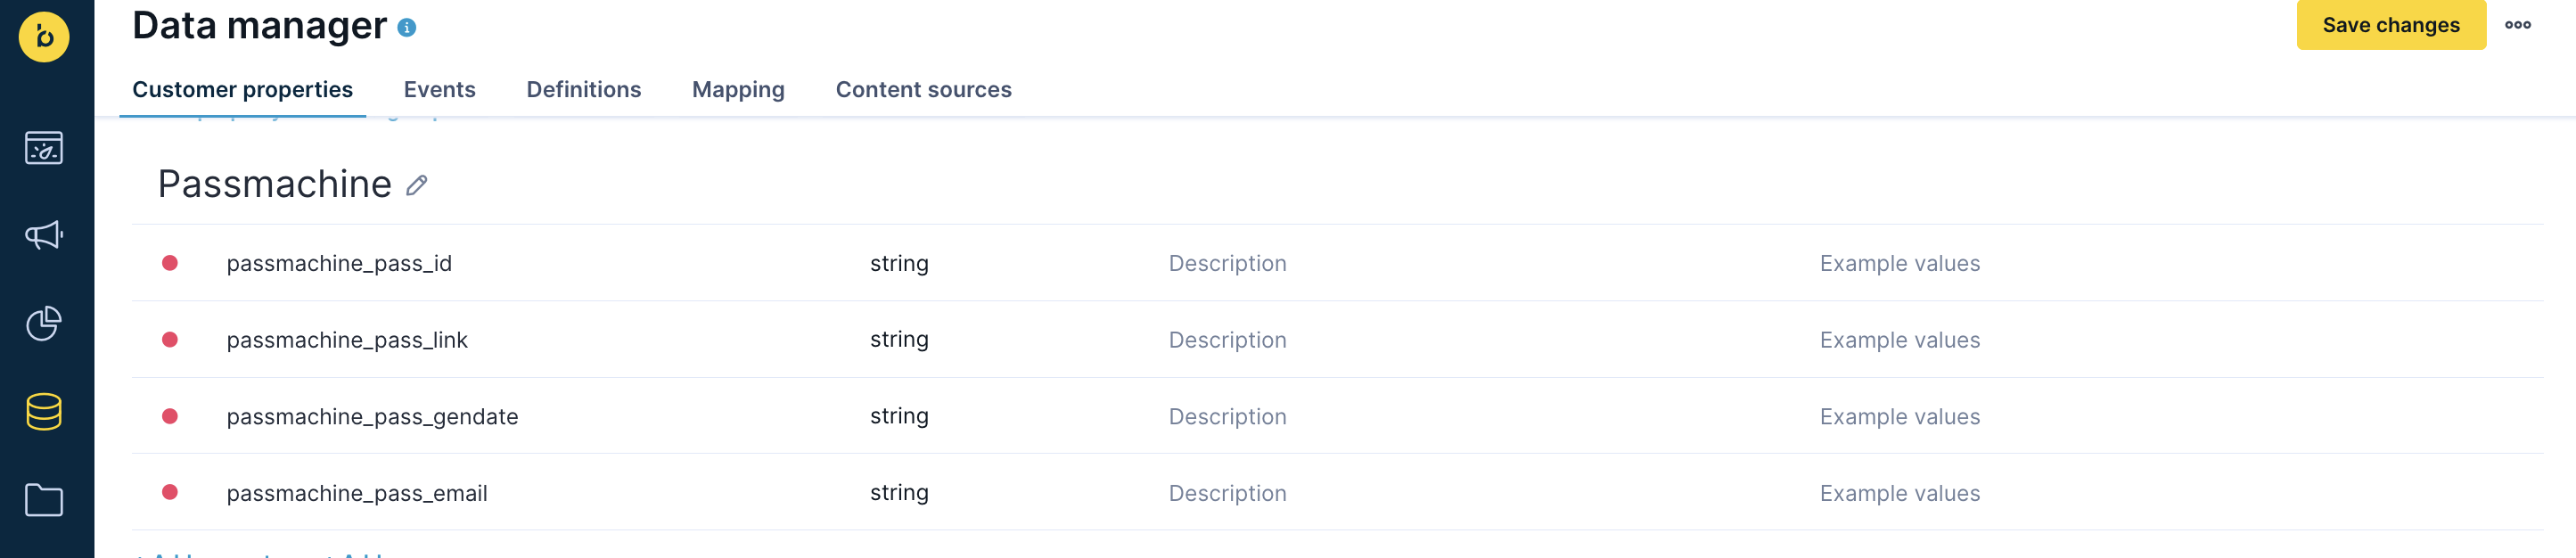
Organize your data
Create a "PassMachine" group in the Data Manager. This helps you organize all card data like:
passmachine_pass_idpassmachine_pass_linkpassmachine_pass_gendatepassmachine_pass_email- Other card-specific attributes
Updated 4 months ago