

Weblayers in scenarios
Weblayers are website banners that appear on your site based on customer behavior, profile data, or campaign logic. You can use them to show targeted messages—promotions, surveys, sign-up forms, or time-sensitive offers—without interrupting the rest of the page experience.
Adding weblayers to scenarios connects them to your broader customer journey. Instead of running weblayer campaigns in isolation, you can trigger them as part of a workflow that already includes email, SMS, and mobile push. A customer who ignores an email can see a related banner the next time they visit your site, all within the same scenario flow.
NoteThis feature requires the Web Personalization package. Contact your Customer Success Manager (CSM) to enable it for your project.
Why use weblayers in scenarios
Weblayers in scenarios let you reach customers at the right moment, on the right channel. Here are the most common ways to use them:
- Follow up on missed emails: Show a related banner to customers who didn't open your email, giving your promotion another chance to be seen.
- Recover abandoned carts: Display reminders when customers with items in their cart return to your site.
- Create urgency: Use countdown timers for sales and limited-time offers to drive faster action.
- Grow your audience and data: Collect customer data or encourage newsletter sign-ups by offering incentives through weblayers.
- Run coordinated campaigns: Keep messaging consistent across email, mobile, and web for events like Black Friday.
Add weblayers to scenarios
- Go to Campaigns > Scenarios.
- Click New Scenario, then Create New Scenario in the dialog.
- Under Actions, click Weblayer to add a weblayer node.
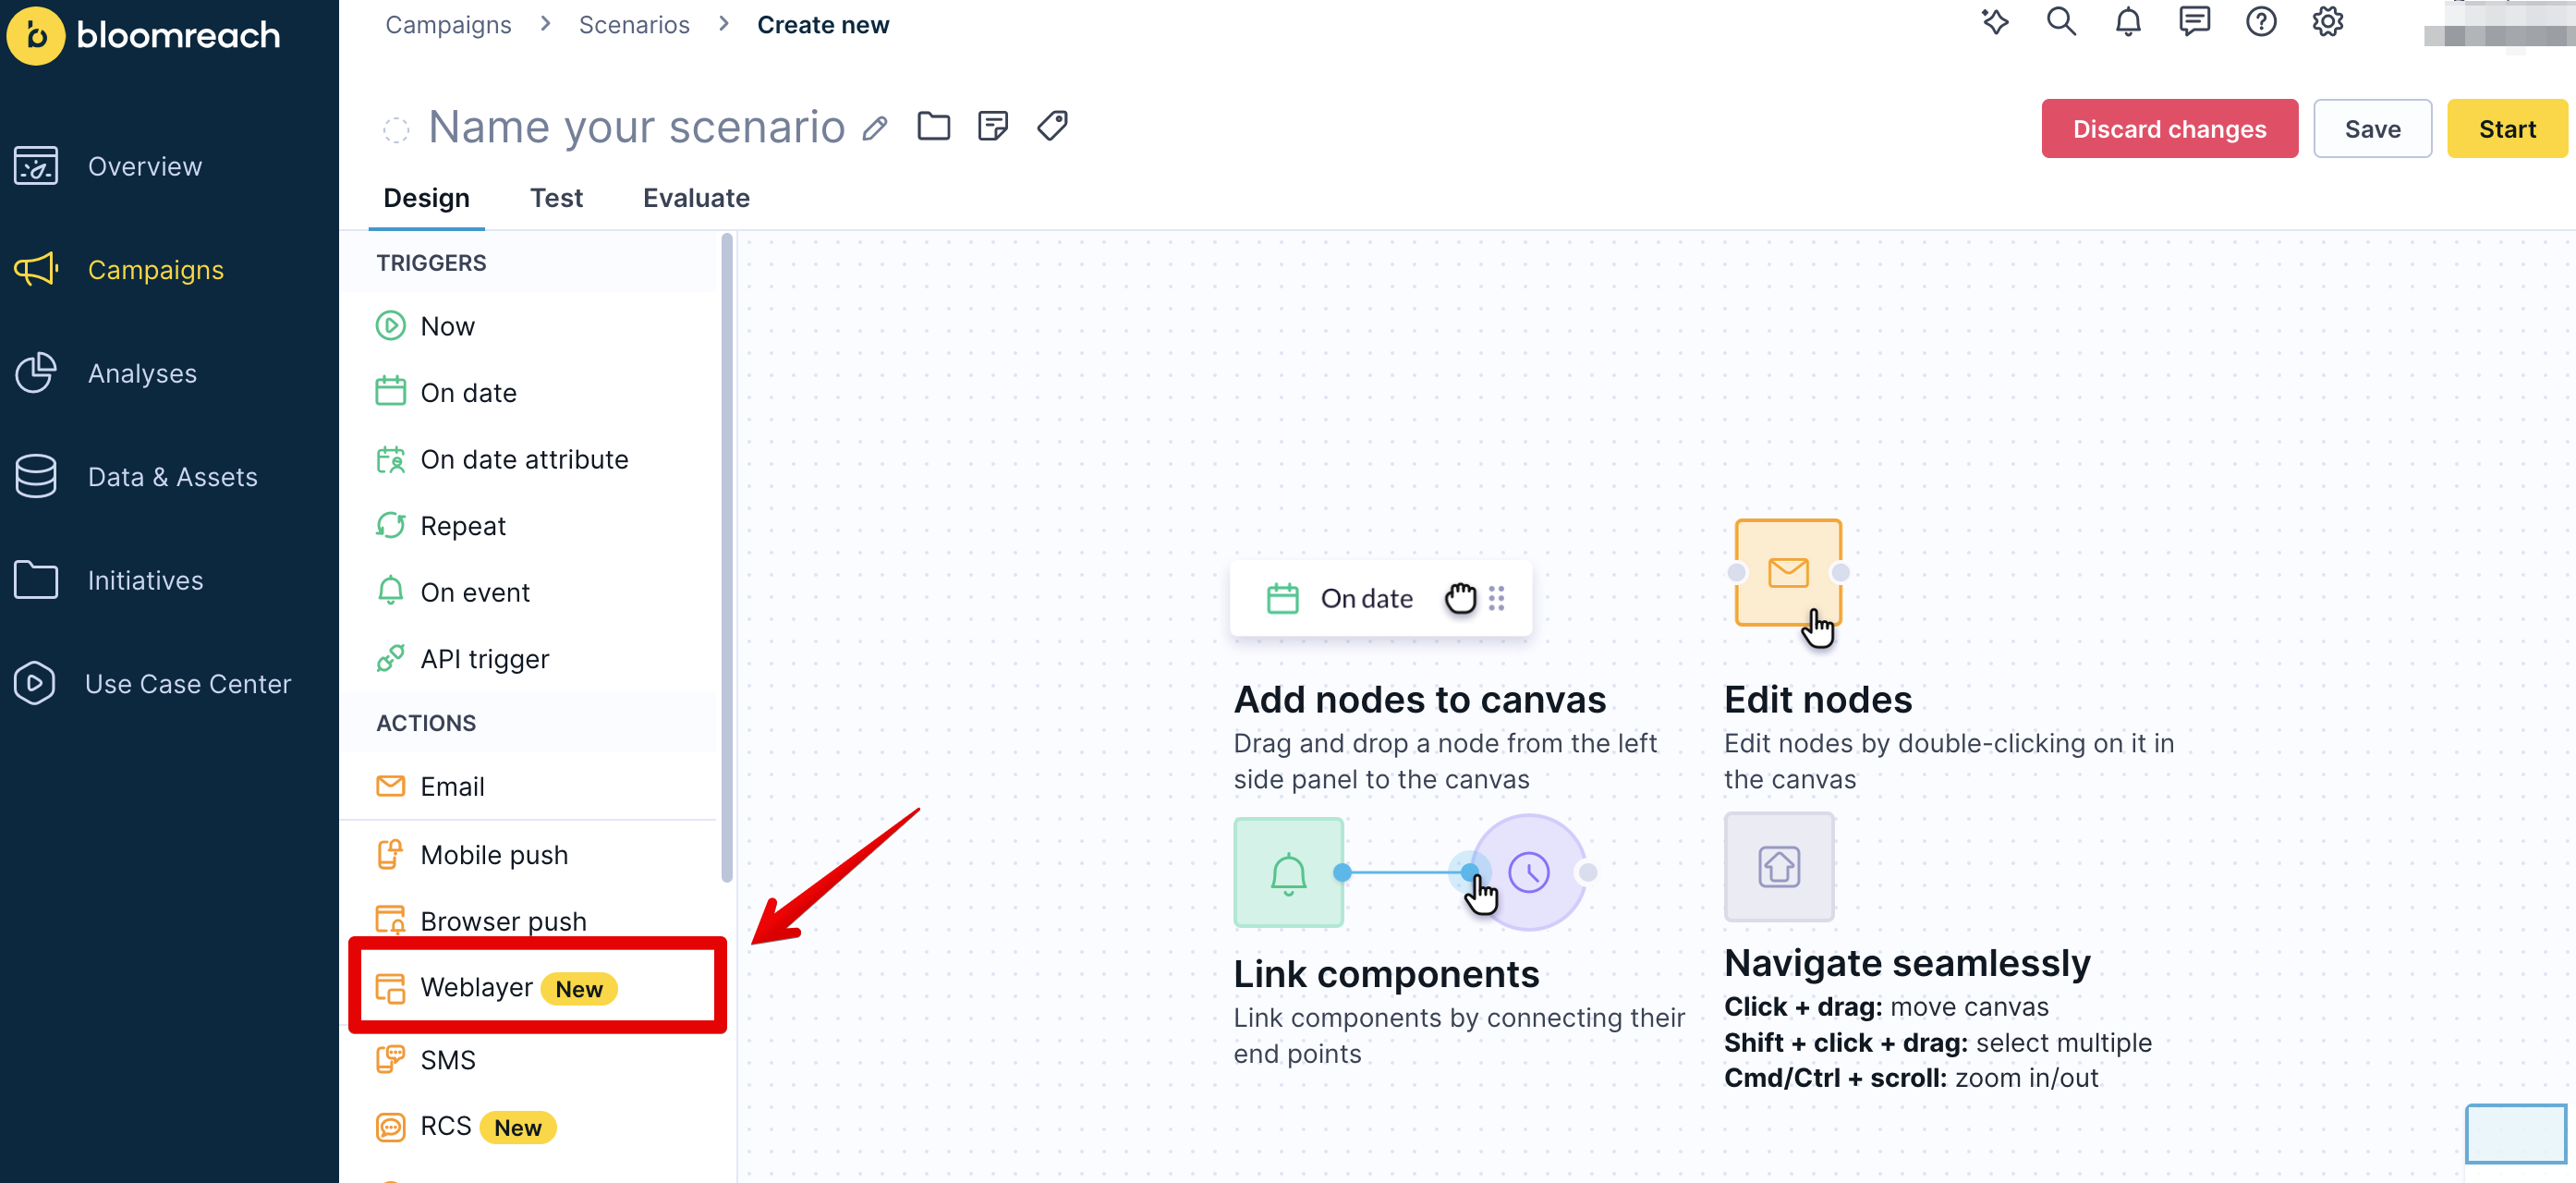
- Double-click the weblayer node to edit it.
- Choose a template:
- Blank template: Start from scratch.
- Project templates: Use templates you've already created for your project.
- Predefined templates: Select from ready-made templates.
NoteNon-personalized weblayers aren't available in scenarios. This option is only available in standalone weblayer campaigns.
- Go to the Settings tab to configure your weblayer:
- Set your target audience in Entry criteria
- Adjust timing and display rules in Display settings
- Go to the Design tab to build your content.
- Click Save.
Configure your weblayer
In the Settings tab, define your weblayer's audience, display rules, and performance settings. Weblayers in scenarios only target users who reach the weblayer node — they can't expand beyond your scenario's original audience.
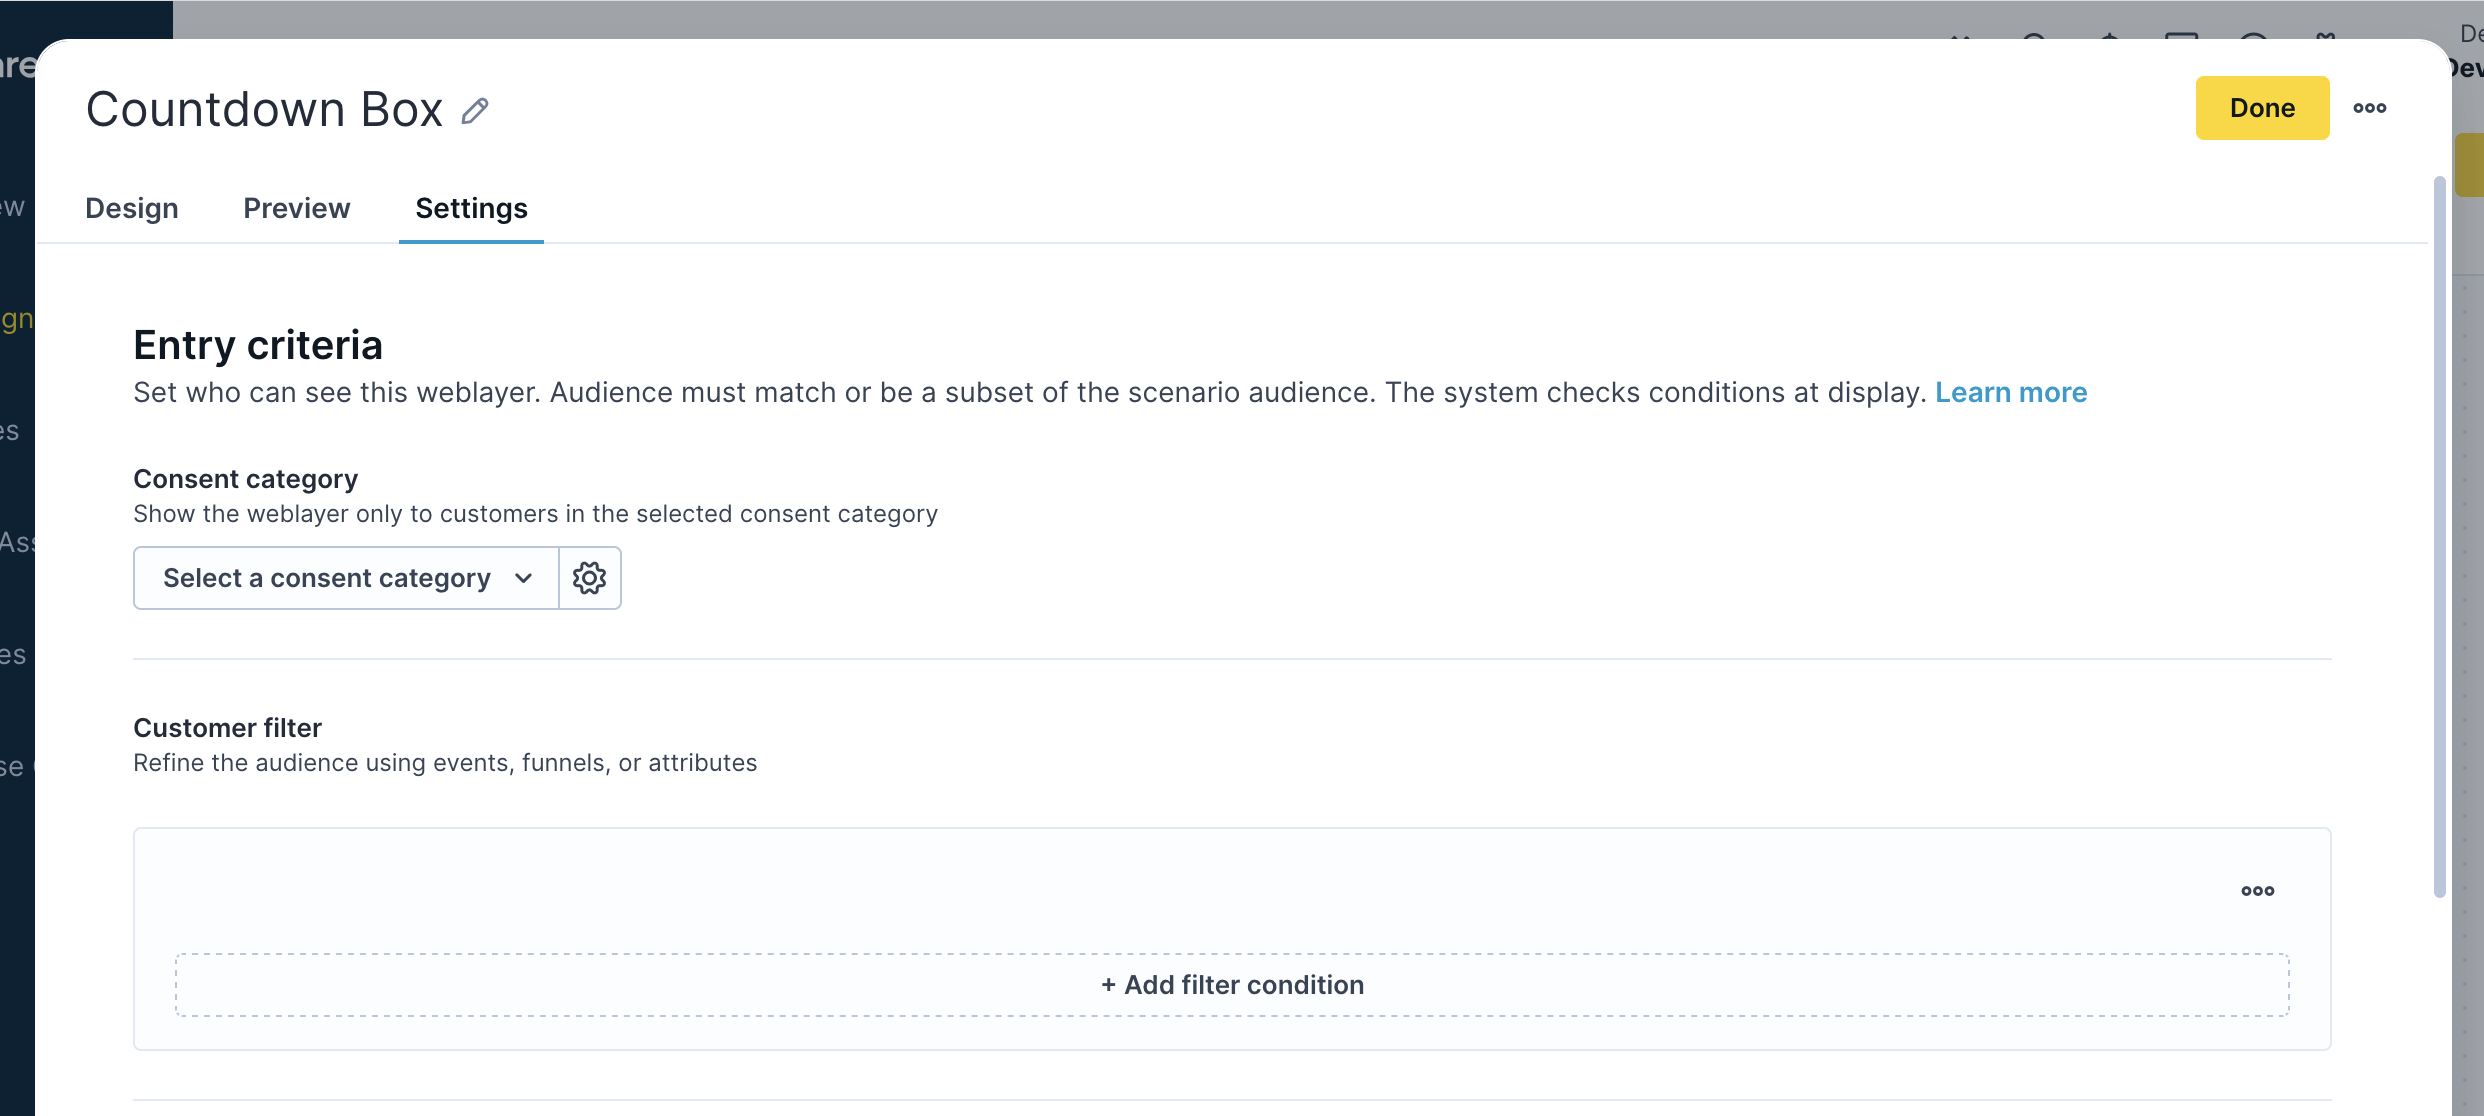
Entry criteria
Entry criteria controls who can see your weblayer. You have two filtering options:
- Consent category: Show the weblayer only to customers who've given specific types of consent. Choose from your existing consent categories or create custom ones based on your privacy requirements.
- Customer filter: Narrow your audience by adding conditions based on customer behavior, profile data, or funnel progress—for example, customers who abandoned their cart in the last 24 hours or VIP members in a specific location. Click + Add filter condition to build these rules.
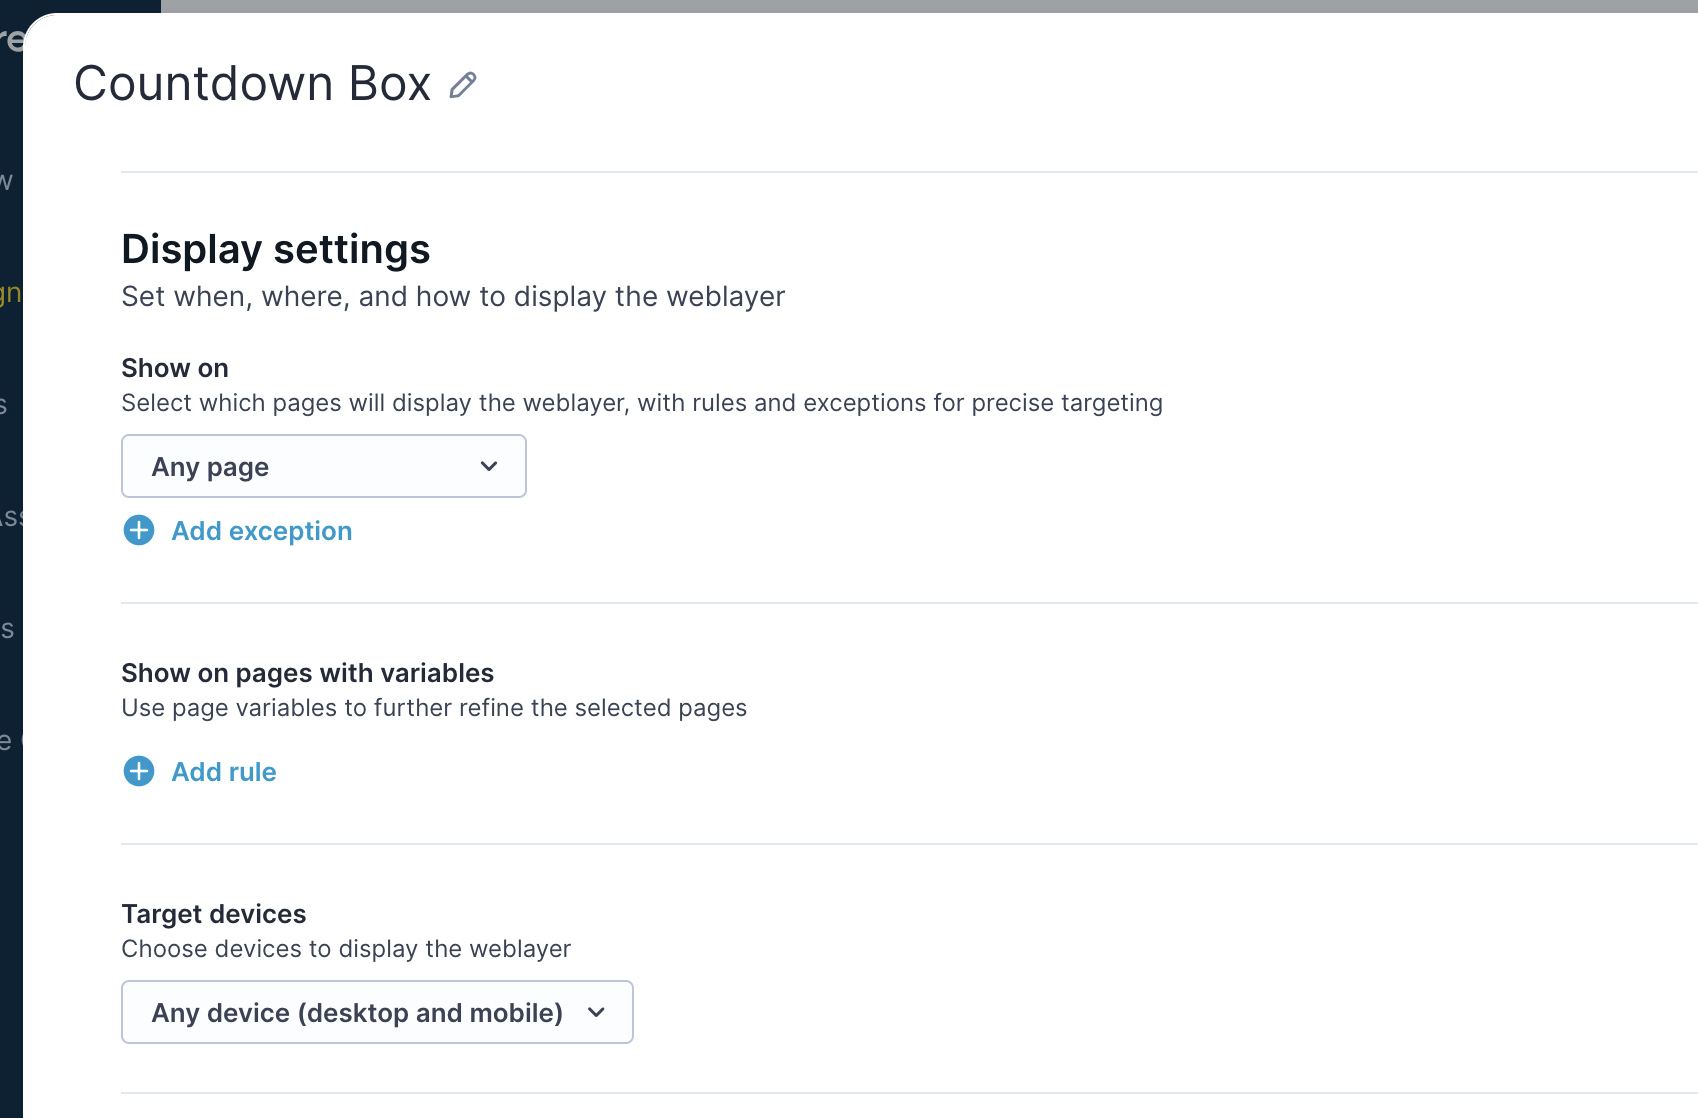
Display settings
Display settings controls when and where your weblayer appears:
- Show on: Choose which pages display your weblayer—all pages, specific URLs, or pattern matching. Use Add exception to exclude pages where a weblayer would disrupt the experience, like checkout or login.
- Show on pages with variables: Show different weblayers based on page-level data, such as product category or user behavior tracked through page variables.
- Target devices: Choose desktop, mobile, or both.
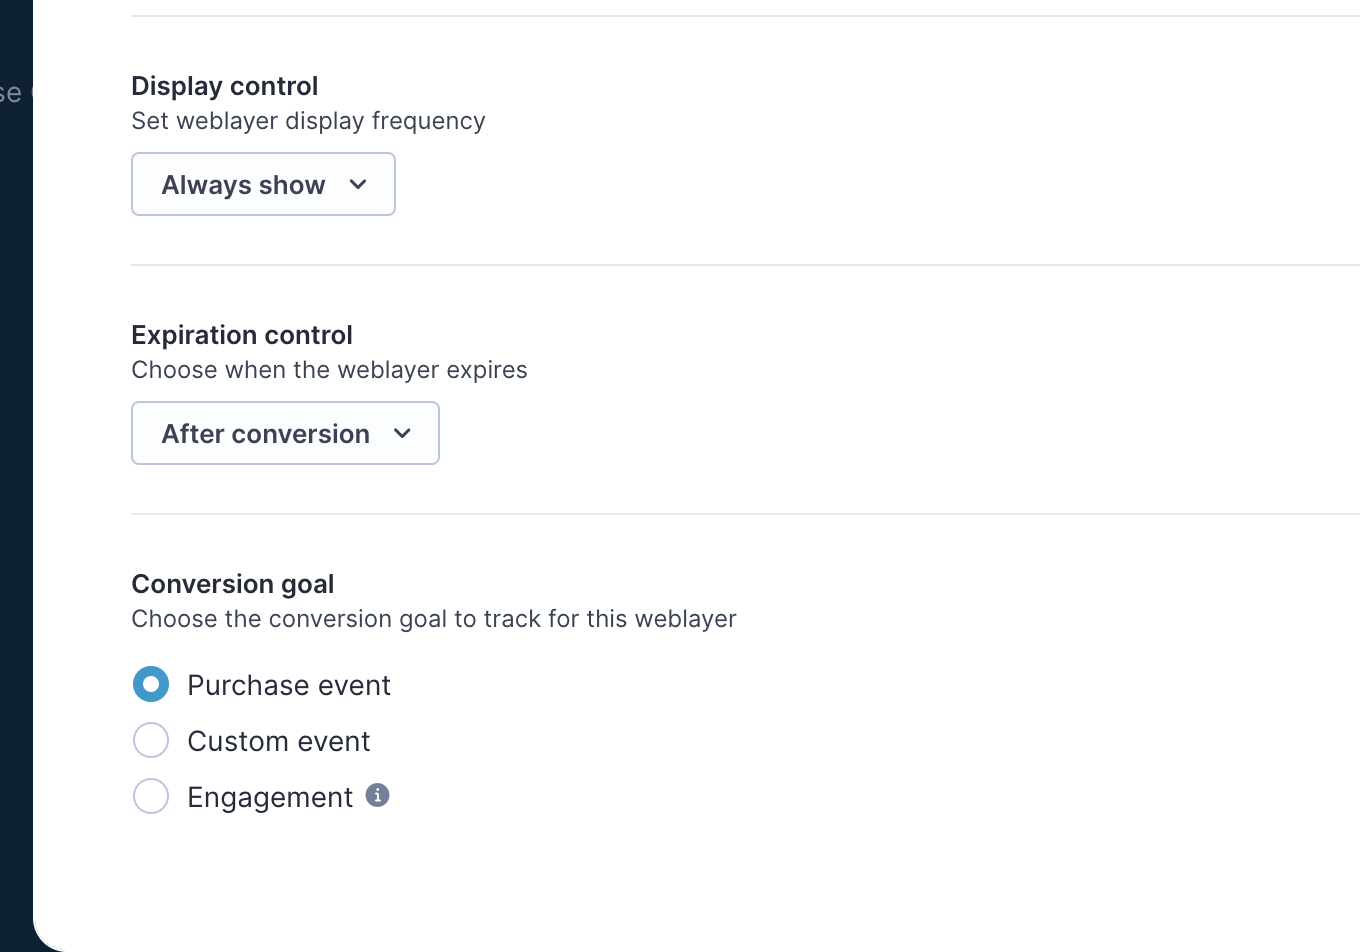
Display control
Display control determines how often users see your weblayer:
- Always show: Best for critical announcements that need maximum visibility.
- Once only: Good for welcome messages or one-time offers.
- Once per visit: Works well for session-based promotions without overwhelming return visitors.
- Until interaction: Keeps the message visible until the customer engages.
Expiration control
Set when your weblayer stops displaying:
- After conversion: Hides the weblayer once the customer completes your goal.
- After specific date/time: Sets a hard end date for time-sensitive campaigns.
- After time period: Creates urgency with a countdown-based expiration.
- After interaction: Removes the weblayer once the customer clicks or engages.
Conversion goal
Select the event that counts as a conversion—a purchase event for sales campaigns, a custom event like a newsletter signup, or an engagement metric for awareness.
Differences from standalone weblayer campaigns
Weblayers in scenarios behave differently from standalone campaigns in a few important ways.
| Feature | In scenarios | In campaigns |
|---|---|---|
| A/B testing | Use A/B test node instead | Built-in |
| Creation | Scenario editor | Weblayers tab |
| Evaluation | Not available (use custom dashboards) | Built-in |
| Expiration control | Available | Not available |
| Personalization | Available with consent | Available with consent |
| Stop/start | Controlled through the scenario | Can pause individually |
| Visibility | Linked to the scenario only | Listed in Weblayers tab |
Known limitations and workarounds
- No individual weblayer control: You start or stop the entire scenario, not individual weblayer nodes.
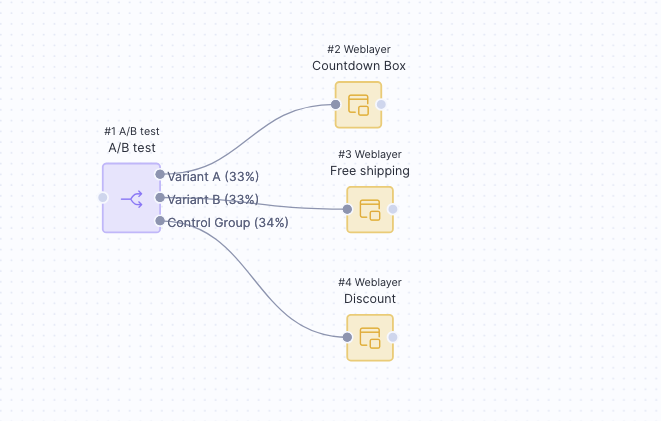
- No built-in A/B testing: Add an A/B test node to your scenario and connect different weblayer nodes to each branch, then set your percentage split. This lets you test different messages, designs, or targeting strategies within the same workflow.
- No Evaluate tab: Set up a custom dashboard to track performance.
- Limited visibility: Weblayers created in a scenario are only accessible through that scenario.
- No Jinja access to scenario context in weblayer nodes: Weblayer nodes use the same Jinja as standalone weblayers. They don't have access to the scenario execution context, so Jinja that references webhook responses (
{{ webhook['data'] }}) or cross-node event attributes isn't supported. Use customer profile attributes or page variables for dynamic personalization instead.
Evaluate performance
Weblayers in scenarios don't have a built-in Evaluate tab. Use a custom dashboard to track performance instead.
How tracking works
The platform tracks 2 separate events when a weblayer runs in a scenario.
When a customer reaches the weblayer node in a scenario, the system tracks a campaign event with action = serve. This confirms the customer passed all scenario conditions and reached the node. It doesn't mean the weblayer was displayed.
The weblayer is displayed only when the customer also meets the weblayer's own entry criteria (consent, filters, display rules). When that happens, the platform tracks a separate banner event with action = show.
This distinction matters when analyzing performance. A high serve count with a low show count means customers are reaching the node but being filtered out by the weblayer's entry criteria.
Campaign event attributes
The campaign event generated by a weblayer node includes the following attributes. Use action_type = banner to filter campaign events for weblayer nodes specifically.
| Attribute | Example value | Description |
|---|---|---|
status | serve | Customer reached the weblayer node. |
action_type | banner | Channel type for weblayer nodes. |
action_id | 2 | Sequential node ID within the scenario. |
action_name | Blank template | Weblayer template name. |
campaign_id | 69bd0f58e368 | Scenario campaign ID. |
campaign_name | 202603_target_medium_content | Scenario name. |
campaign_trigger | now | Trigger type. |
Set up a dashboard
To track a scenario weblayer’s performance, use its campaign_id. This ID is in both campaign events (status = serve, action_type = banner) and banner events, so you can connect scenario delivery with impressions (action = show), clicks, closes, and conversions.
Updated 24 days ago