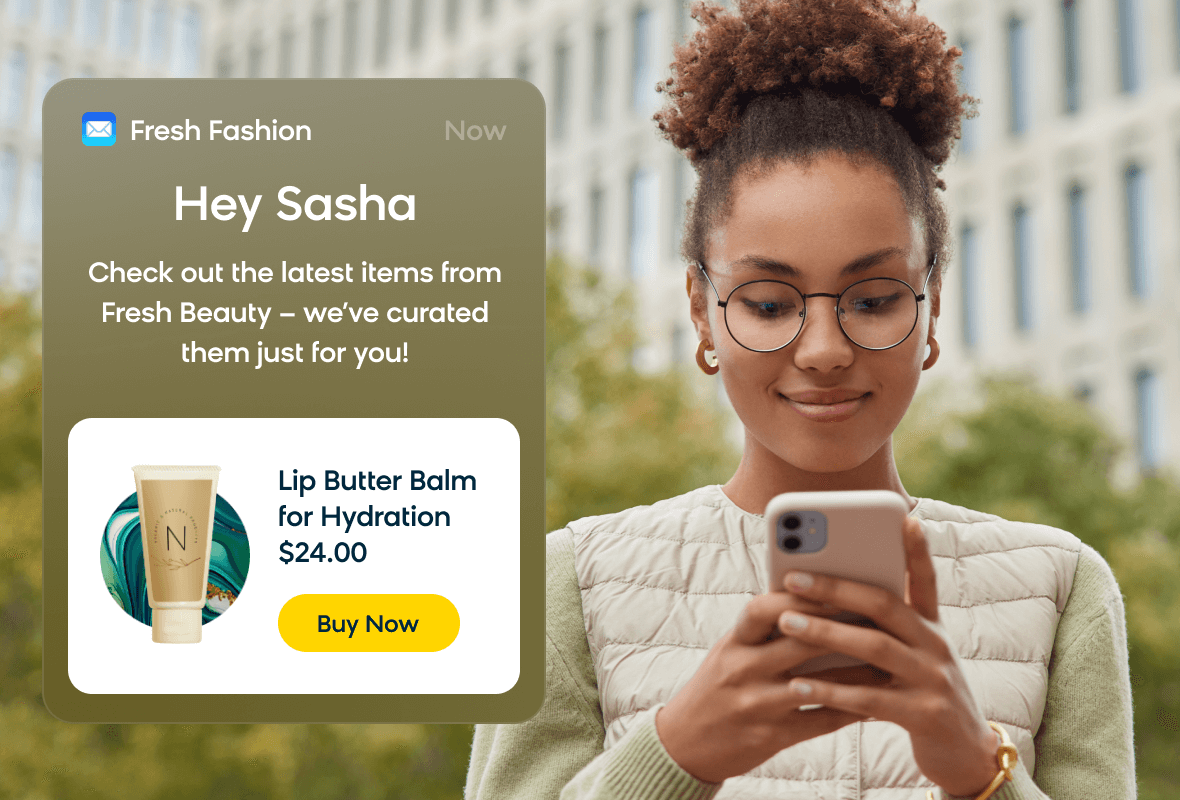
Automated favorite brand newsletter with new items
What to Expect From This Use Case
The Automated Favorite Brand Newsletter With New Items automates a newsletter that showcases new items from a customer's favorite brand, defined by their purchase and viewing history. This personalized exposure promotes a strong affinity for the brand and potentially boosts purchasing behavior. This strategy directly nudges purchase rates, overall company revenue, and critical email engagement metrics.
Tip
Visit our microsite to read more about this and other use cases developed by a team of Bloomreach experts.

Use Case Items
With this use case, you’ll get a:
- Ready-to-use automated favorite brand newsletter with new items email
- Pre-defined evaluation dashboard
- Recommendations engine
How to deploy the Use Case
After downloading the use case, follow these steps:
Step 1: Meet the Requirements
Verify if the data in your project meets the requirements. Follow this step-by-step setup guide in case of problems.
Step 2: Understand the Use Case Logic
An automated newsletter that informs customers about new items available in the store from their favorite brand.
This scenario runs once a week. First, to not break the GDRP rules, we check if a customer still has emailing consent. If that is true, the customer has to pass these conditions to receive an email: Bought more than 5 products, or viewed more than 10 products in their lifetime.
Then, based on the customer's previous shopping behavior, their favorite brand is recognized. The recommendation engine considers customers' most commonly purchased and most frequently viewed brands.
The Favourite Brand Newsletter contains the newest products from the customer's favorite brand based on the recommendation engine [LBAN] New Items from Customer's Favourite Brand [Automated Favorite Brand Newsletter With New Items ] and its frequency is limited to one email per 14 days.
Follow the description and labels in the scenario in case of uncertainty.
Tip
The logic of this use case is built on best practices and only requires adjustments if you want to further customize the use case. Get instant value by launching this campaign in just a few clicks.
However, we highly recommend you adjust the use case design and copy to fit your business needs.
Step 3: Adjust the Use Case
Now that you understand the use case logic, you can set up the use case according to your preference.
3.1 Email Settings
If you decide to customize the email settings, follow this detailed guide to make the adjustments.
3.2 Design & Copy
Customize the email visuals and copy to align with your company's brand identity.
Otherwise, you can go through this guide for more information.
Follow this guide to adjust the email template with products in the email node.
3.3 A/B test
A/B test the use case to better understand the email performance and revenue generated.
This use case's A/B test traffic distribution is set to variant A at 50 % and the control group at 50 %. We recommend keeping this distribution as it brings quick and statistically significant results.
Learn more about the dos and don'ts when modifying your A/B tests in this guide.
Step 4: Test and Run the Use Case
When you are done adjusting the use case, we recommend to always test the use case before deployment. When testing, double-check if the use case design, copy, and settings work as preferred.
Warning
You should only deploy a use case after testing. Testing prevents sending unfinished or imperfect campaigns to your customer base.
Run the use case once the testing is over. When you open the email, click the Start button in the upper right corner to launch the campaign.
Congratulations!
If you got here, you have successfully deployed this use case.
Step 5: Evaluate the Results
Remember to run the use case for a few days to see the impact.
After this initial period, use the prebuilt and ready-to-use evaluation dashboard specifically included in this use case to measure and analyze relevant data.
To evaluate, open the evaluation dashboard, enter the email's name (e.g. Automated Favorite Brand Newsletter With New Items), set the attribution window for revenue in hours (e.g. 24) and click the Refresh button in the upper right corner to see the results.
If you encounter any problems, read this article for insights on evaluating the use case.
Tip
Don’t forget to regularly check the results so you can optimize the use case for better performance.
Additional Resources
Learn how to enhance and optimize email performance with different tips and tricks from Bloomreach experts.
Updated 9 months ago
