

Data imports
Imports let you bring data from outside the platform directly into your project—whether that's a one-time historical load or an ongoing automated feed.
This guide explains how imports work, what sources are supported, and how to monitor and manage your imports.
Data types
The platform supports four types of importable data. Each has its own import guide:
Data sources
All import types support the same data sources. After selecting a source, always click Preview data to confirm the format is correct. If the preview looks off, check that the right delimiter and encoding are selected.
| Source | Description |
|---|---|
| Copy and paste | Paste data directly into the app. Maximum size: 500,000 bytes (500 KB). |
| Upload a file | Upload a CSV or XML file by selecting it or dragging it onto the canvas. Maximum size: 1 GB. |
| Database | Pull data from an integrated database using SELECT statements. All commonly used databases are supported. |
| URL | Feed data from an online file, for example: https://www.hostname.com/exports/file.csv. You can include a username and password for HTTP Basic Authentication. Passwords are stored securely and aren't visible to other users. |
| File storage | Import files from your SFTP server, Google Cloud Storage (GCS) bucket, Amazon S3, or Azure storage. Select an existing integration or click + to set up a new SFTP or GCS integration. |
| Bloomreach | Import data from analyses in the app, in the current or a different project. Note that analyses use the time zone from your user settings, while imports use UTC. This can cause discrepancies between analysis data and imported data. |
Data hub catalogs
For Data hub enabled general and product catalogs, review the supported import types.
File storage imports
File storage is one of the most secure and convenient ways to automatically transfer data. File storage imports support:
- Filtering files using a regex match. Enclosing slashes
/are mandatory to identify a regular expression. for example:/filename[0-9]+/.
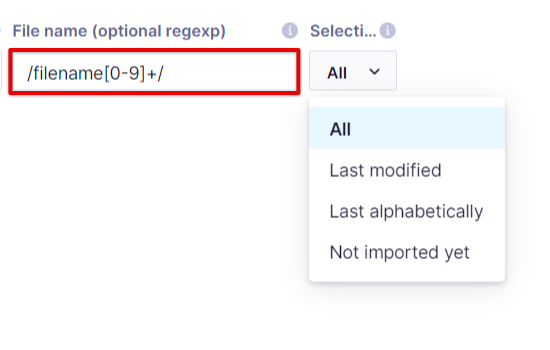
Use a regex pattern to filter which files in your file storage should be imported.
-
A new file trigger that checks for new files every 5 minutes and imports those not yet processed.
-
State memory — the platform tracks all files already uploaded per active import. Deleting an import also clears its remembered files.
Only modify an import's schema—for example, updating a regex pattern or changing the data structure—after all currently scheduled files have been processed. Changing the schema mid-import can cause pending tasks to be canceled.
Selection rules
When multiple files match your file search, the selection rule determines which files are imported:
-
All: All matched files are imported. If already-imported files aren't removed, this causes repeated imports.
-
Last modified: Only the most recently modified matching file is imported. Previously imported files are skipped.
-
Last alphabetically: Only the last matching file when sorted alphabetically is imported. Previously imported files are skipped.
-
Not imported yet: All newly discovered files are imported. The platform tracks which files have already been processed per active import.
Scheduling file imports with the selection rule All and execution rule New file uploaded isn't allowed. Using All or Not imported yet has a hard limit of 200 files—including already-imported files. Clean up your file storage regularly to avoid hitting this limit.
This 200-file limit applies only to files that match your import's parent path and regex/naming mask (including files previously imported by this same import). Other files in the same folder that don't match the pattern are ignored and don't count toward the limit.
Automatic imports example
You have a DWH that exports data to file storage on a daily basis (for example, purchases). The exported file name will be different every day (regex match) and can be finished at a different time due to the complexity of the export (new file trigger).
Schedule repeated imports
For dynamic sources—File storage, Database, URL, or Bloomreach—you can schedule repeated imports. In the final step of import setup, click Schedule repeated import. Options include:
-
Daily: Run multiple times per day.
-
Weekly: Run at a set time on selected days.
-
Monthly: Run at a set time on selected days each month.
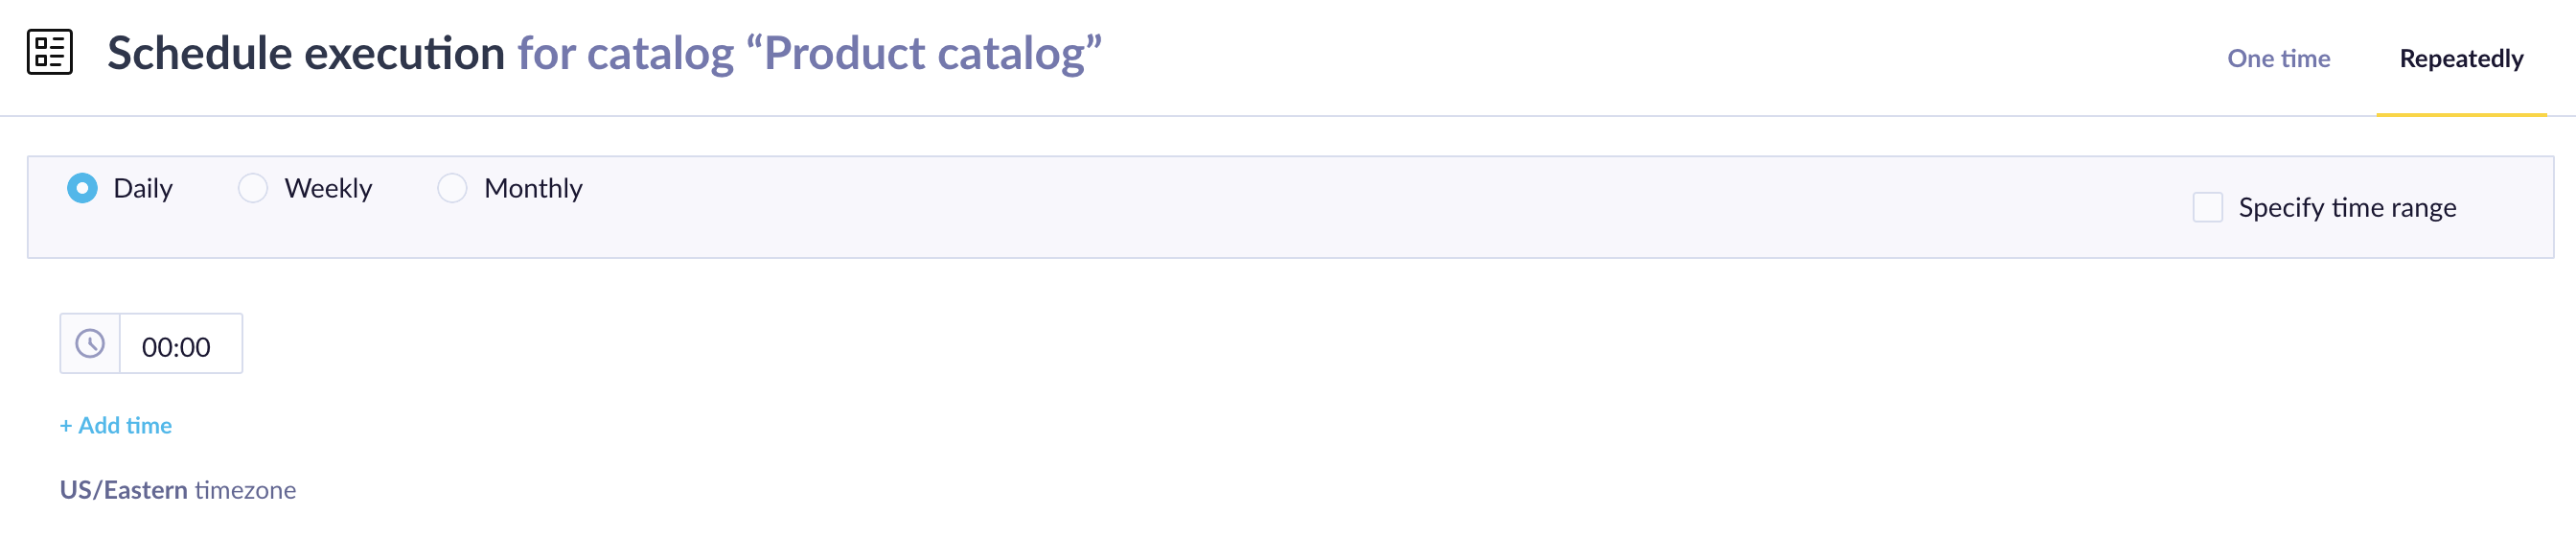
Schedule repeated imports from dynamic sources such as databases, URLs, or file storage.
You can also set an end date to automatically stop the repeated import.
Track import progress
After starting an import, monitor it using the progress bar in the import overview.
NoteOnce an import starts, you can't stop it. Wait for it to complete before taking any further action.
There are 2 stages:
-
Import phase: Data is loaded into the platform.
-
Processing phase: The platform maps and formats the loaded data.
Both the import and processing phases must complete before your data is available in the system.
Data is available only after both stages are complete. All imports on an instance share the same processing queue, so large or numerous imports in one project can delay others.
Import run history
The import run listing shows jobs completed within the last 30 days.
Notifications for imports
The platform sends ImportError and ImportRowsDiscarded notifications to all users with the permissionportal-app.imports.update permission. Failed import notifications go to the user who last saved the scheduled import and to everyone with this permission —not necessarily the original import owner.
Roles that include this permission:
-
Analyses Editor
-
Campaigns Admin
-
Campaigns Editor
-
Project Admin
-
Project Developer
-
Technical Support
-
Imports Admin
NoteImport failure notifications are deduplicated. You receive one notification per unique failure within a 4-hour window.
Failed import email notifications are also limited to 20 emails per user within a 24-hour window. The 24-hour window starts when the first notification email is sent. This isn't a continuously rolling 24-hour period.
Technical reference
For technical details on deduplication, timestamp handling, ID trimming, specifications for CSV and XML imports, and timeouts, see the Imports technical reference article.
What's next
Updated 7 days ago