

Google Ads Audiences
Remarketing campaigns show ads to people who visited your online store but didn't buy. They see your ads when they visit other websites. Bloomreach helps you create automated campaigns that deliver personalized messages to these customers.
This guide shows you how to create a remarketing campaign that builds an audience from your customer list and uploads it to Google Ads.
NoteTo learn how to create an ad audience through Google Analytics instead, read Google Analytics retargeting. However, this is an experimental feature with limitations—read the warning at the start of that article carefully.
Choose your integration method
You can connect Bloomreach with Google Ads audiences in 2 ways.
Method 1: Google Ads Customer Match (recommended)
Connect your Google Ads account directly with Bloomreach. Use Google's Customer Match feature to create custom audiences based on:
- Customer email addresses or phone numbers.
- Pre-hashed email addresses or phone numbers (
email_sha256andphone_sha256). - Mobile device IDs (for mobile app retargeting).
- User IDs from Google Ads tags.
Method 2: Google Analytics integration (experimental)
Connect your Google Analytics account with Bloomreach. Create a Google Analytics audience based on cookies, then import it to Google Ads.
Customer Match requirements
Customer Match isn't available to all Google Ads advertisers. Your Google Ads account must have:
- Good policy compliance history with Google Ads.
- Good payment history in Google Ads.
- At least 90 days of Google Ads history.
- More than USD 50,000 total lifetime spend on Google Ads.
- Edit rights for your Google Ads account.
Learn more in Google's Customer Match policy.
Consent requirements for Google Ads API
With Google Ads API version 15 and above, you need both required consents:
ad_user_dataad_personalization
You're responsible for tracking the right consents and making sure they work with the Ad Audience node.
Set up your integration
Step 1: Connect your Google Ads account
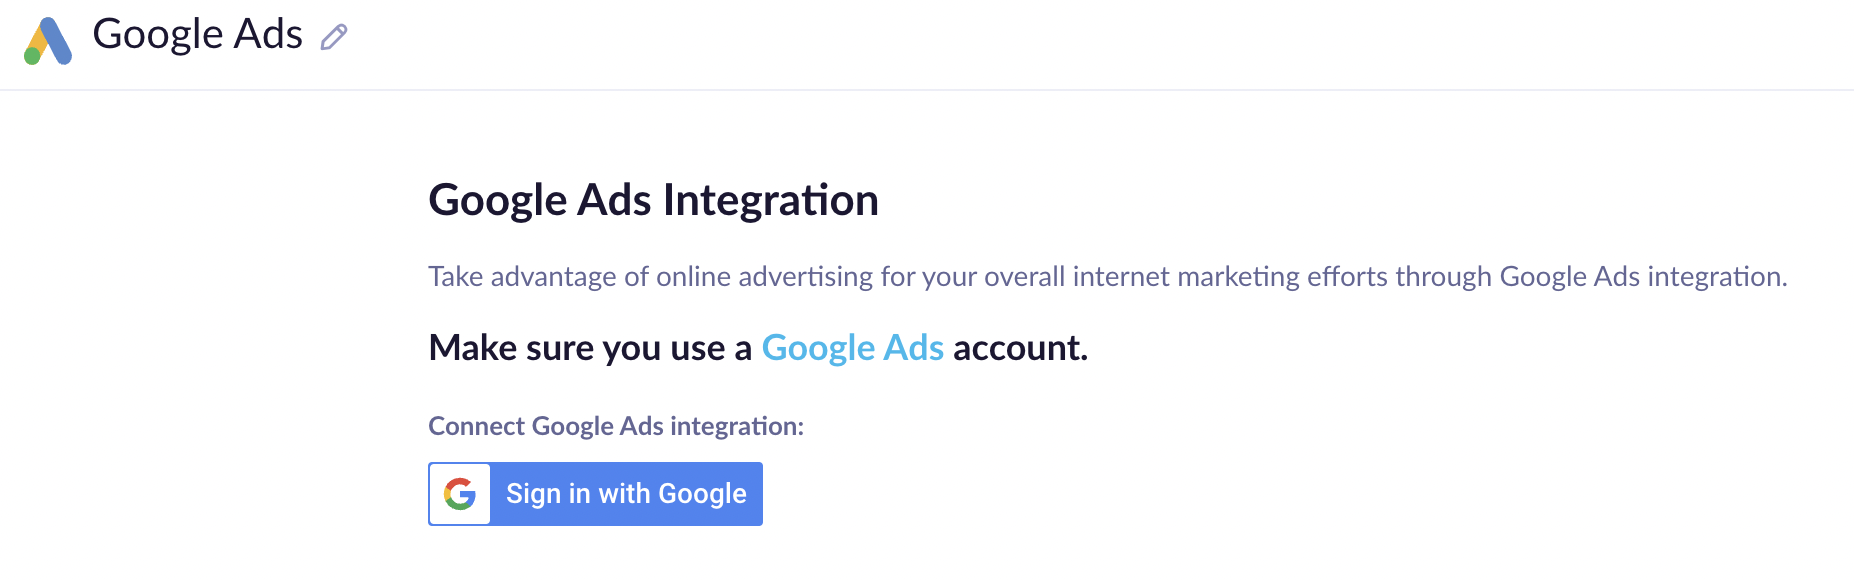
- Go to integrations in Bloomreach.
- Connect your project to your Google Ads account.
Single tenant instances
If you see "This app is blocked" or similar errors, contact Support. Google requires verification before integrating because Bloomreach handles sensitive customer data.
Step 2: Create your audience scenario
- Create a scenario that defines your target customer group for retargeting.
- Add them to your Google Ads audience.
- Build the flow as shown in the scenario editor.
Step 3: Configure the Ad Audiences node
- Double-click the Ad audiences node to open its settings.
- Select Google Ads, then Customer match.
- Click Customer matching to enable matching by email, phone, mobile advertiser ID, Google Ads ID, and pre-hashed identifiers (
email_sha256andphone_sha256).
Customer matching options
| Customer ID | Description |
|---|---|
| Must be an email the customer used to create their Google account—Gmail or any email used to log into Google properties. Gets hashed before sending to Google. | |
| Phone | Customer's phone number in international format E.164. If not already in E.164 format, the platform tries to convert it. All non-number characters, leading zeros, and "+" signs are removed before sending to Google. Gets hashed before sending. |
email_sha256 | Use when you can only provide pre-hashed email addresses, for legal or compliance reasons. |
phone_sha256 | Use when you can only provide pre-hashed phone numbers, for legal or compliance reasons. |
The system checks that pre-hashed values are correctly formatted as SHA256 before sending them to Google Ads. This prevents double hashing and ensures successful audience matching, and meets Google Ads Customer Match API requirements for privacy.
Step 4: Set up your audience
- From the Audience dropdown, select + Create new.
- Give your audience a name and save it.
- Click Save again to return to the scenario editor.
- Save the entire scenario.
- Click Test to see how many customers will flow to the Ad Audiences node.
- Start the scenario to add your defined customers to your Google Ads audience.
Step 5: Verify your audience was created
- Go to your Google Ads account.
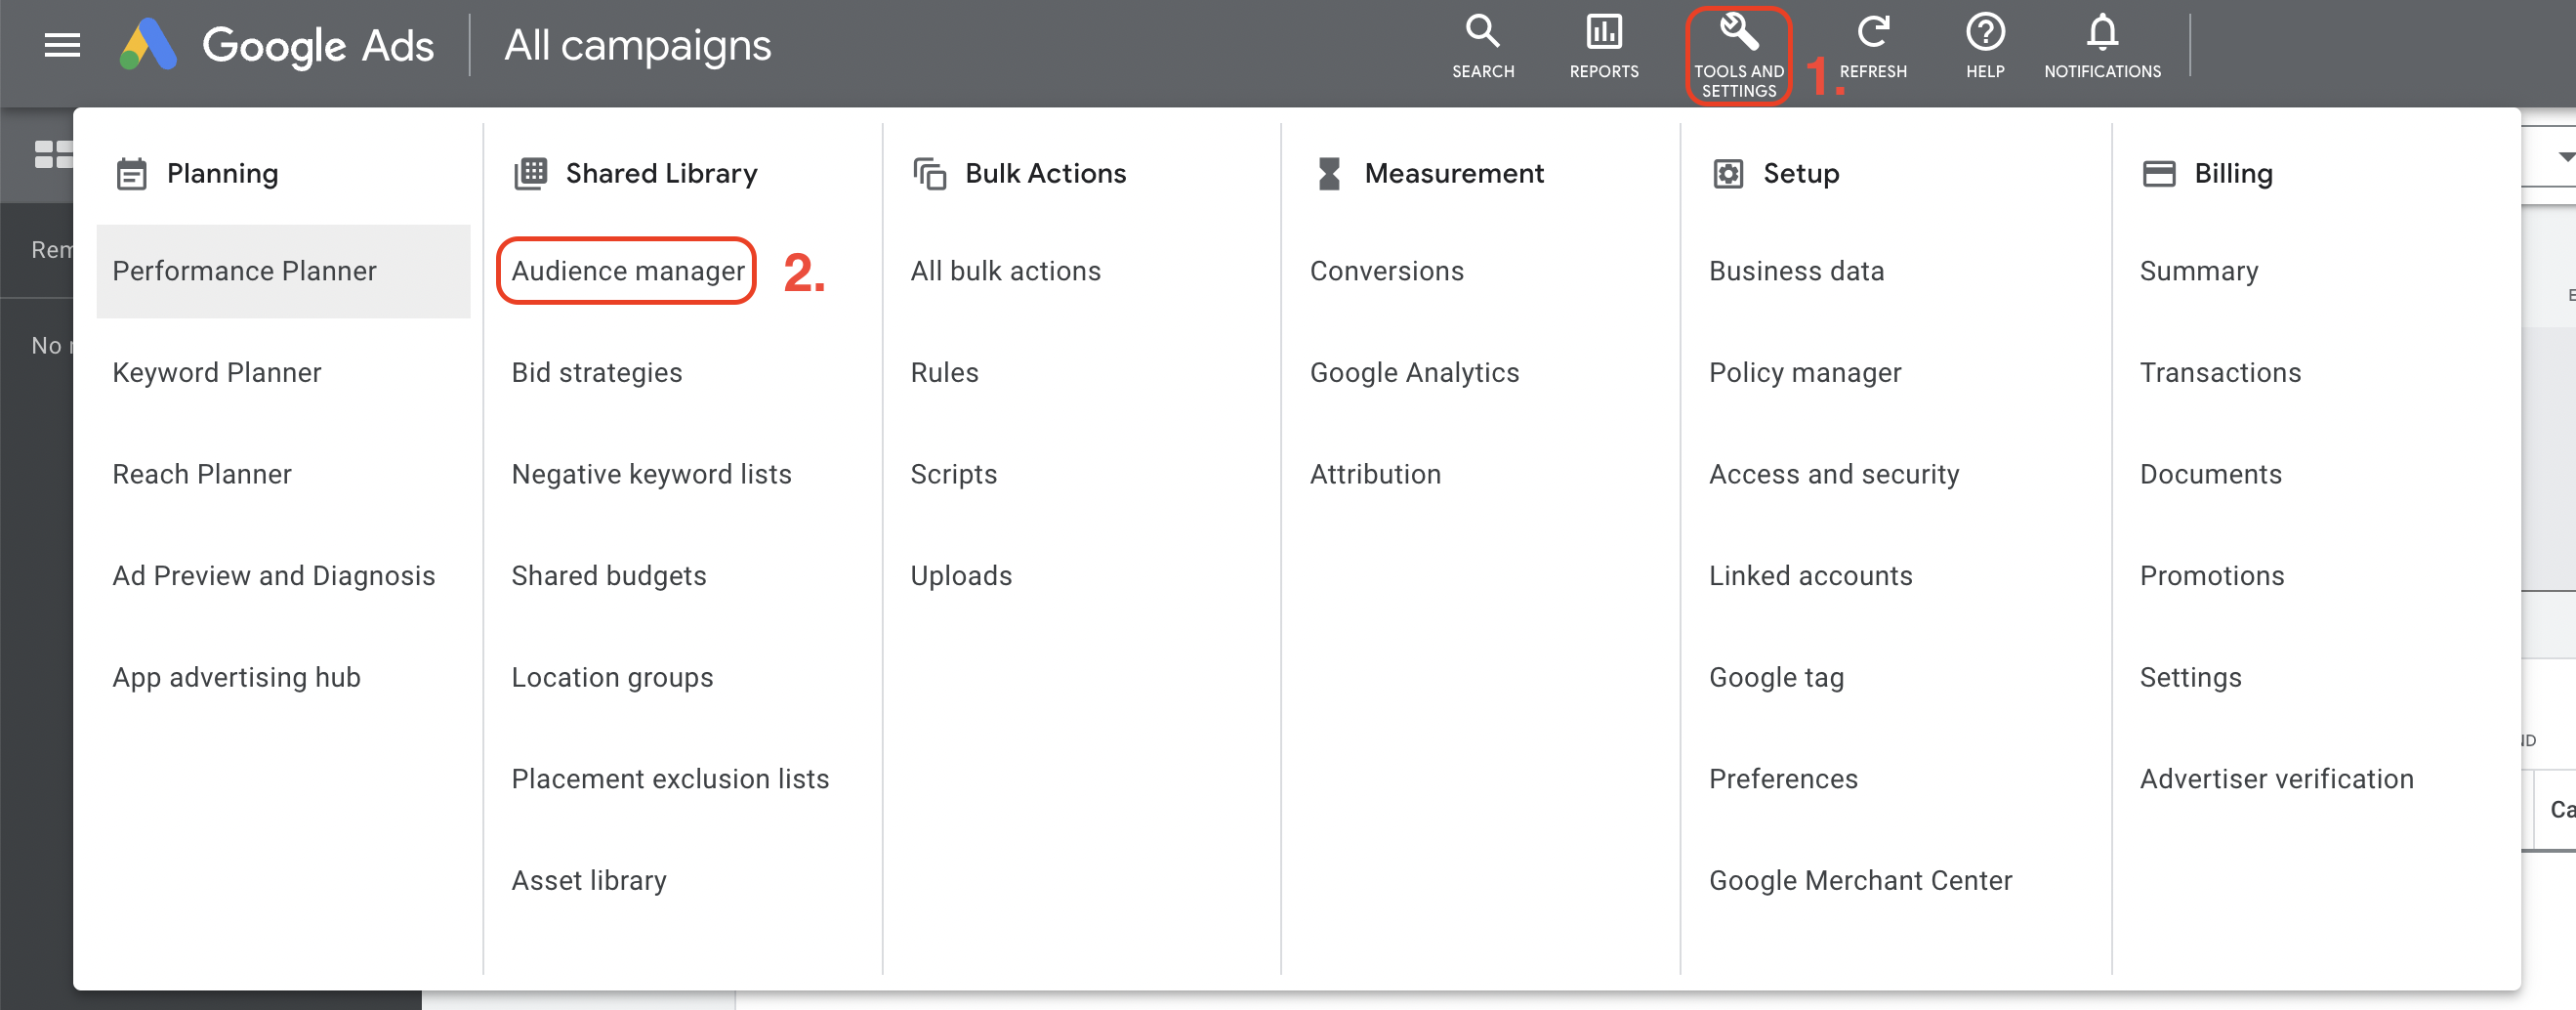
- In the Tools menu, go to Shared Library > Audience manager.
- Check that your audience uploaded successfully.
Work with User ID audiences
If you need User ID audiences, follow these steps:
-
Track the User ID to Google first, using special tracking pixels from the tag manager or your existing tagging setup.
-
Create a new User ID-based audience, or pick an existing one, in the Ad Audiences node.
-
In the Customer matching section, configure which customer ID or attribute gets sent to Google Ads.
Google Ads pixel code
<!-- use this tag to send Bloomreach external ID to Google Ads and then use this User ID in the retargeting scenarios -->
<script>
  gtag('event', 'page_view', {
    'send_to': '[[GoogleAdsConversionID]]', //
    'user_id': '{{ customer_ids.cookie if customer_ids.cookie is string else customer_ids.cookie | last }}'  // Bloomreach cookie, feel free to customize
  });
</script>
ImportantDouble-check your Conversion ID values in the source code of both tags against the conversion tracking code in the Google Ads interface, under Tools & Settings > Conversions > Tag setup.
Understand the upload process
When you upload your audience to Google Ads:
- Google Ads checks your uploaded data format.
- Google Ads matches your data to customers on Google's networks.
- You can add the list to your targeting right away, but matching takes up to 24 hours.
- When matching completes, your ads start showing to your new audience.
Lists need at least 1,000 matched users before Google Ads will serve ads to them.
Manage audience membership
Membership duration
Google Ads integration sends a membership_life_span of 180 days when creating an audience. This only applies to audiences created directly from Bloomreach. Existing audiences—for example, ones created manually in Google and then updated via Bloomreach—might have different durations, set during their original creation.
Remove customers
When customers request data removal, you can choose to add or remove them from Google Ads audiences.

NoteRetargeting nodes track events automatically. This enables simple evaluations of retargeting scenarios that contribute to the single customer view of a customer.
Handle consent policies
Ad Audiences nodes track events automatically. This enables simple evaluation of retargeting scenarios that contribute to a customer's single customer view.
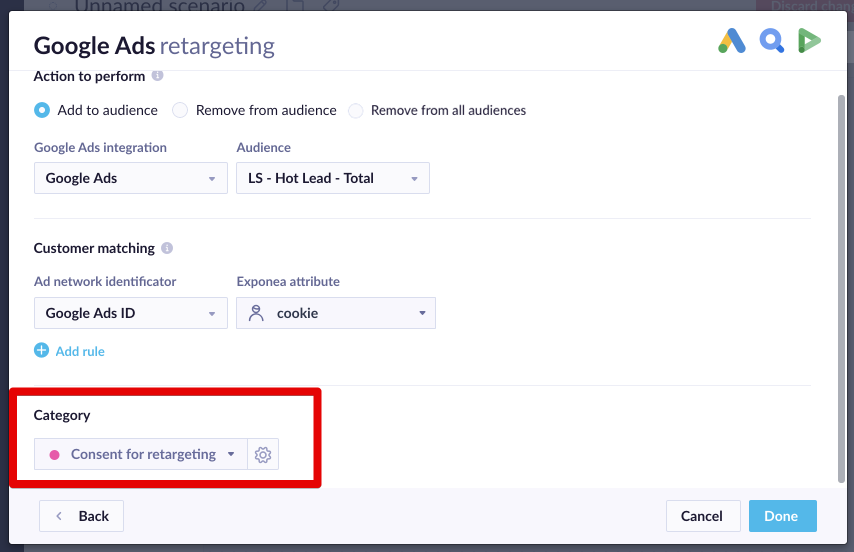
Consent policy settings are part of the Ad Audiences node. This keeps retargeting scenarios easier to design and ensures only customers with proper consent get pushed to Google Ads audiences.
With Bloomreach version 1.254 and above, the Ad Audiences node uses Google Ads API v15. The consent category includes both ad_user_data and ad_personalization consent.
Share with Google Marketing Platform
Google lets you share Google Ads audiences with:
- Display & Video 360 (former DoubleClick Bid Manager)
- Search Ads 360 (former DoubleClick Search)
Related resources
For more detailed information, see:
Updated about 22 hours ago