
How to configure Clarity agents
This guide explains how to build and modify agents in Clarity's back office.
Caching of back office content
If you update Clarity copy in the back office, it can take up to 6 hours for the changes to appear in the actual experience.
Prerequisites
Catalog data
Upload the product catalog into your project using the catalog import process. The Clarity agent references this catalog data to generate relevant responses. Schedule repeated imports to update this data regularly and ensure relevant results.
Clarity agent permissions
Ensure you have the "Clarity User" permission to edit the agents.
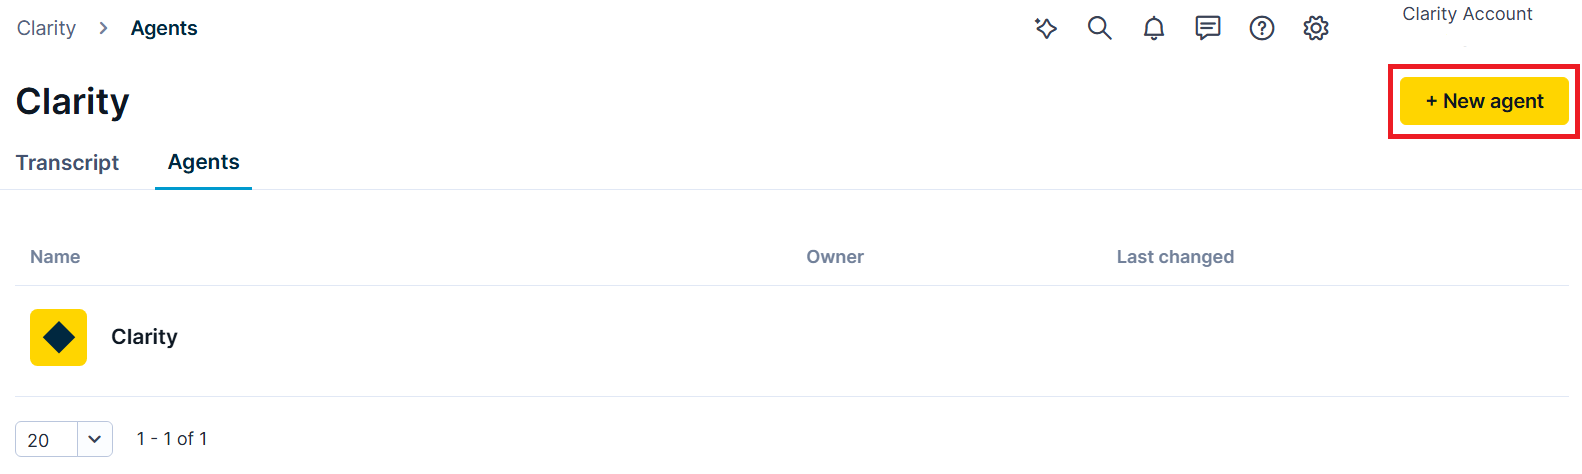
Create an agent
-
Go to the Agents sub-section in the Clarity back office.
-
Click + New agent.
Go to the Agents sub-section to create a new agent.
-
Name the agent and choose the product catalog. Click Create.
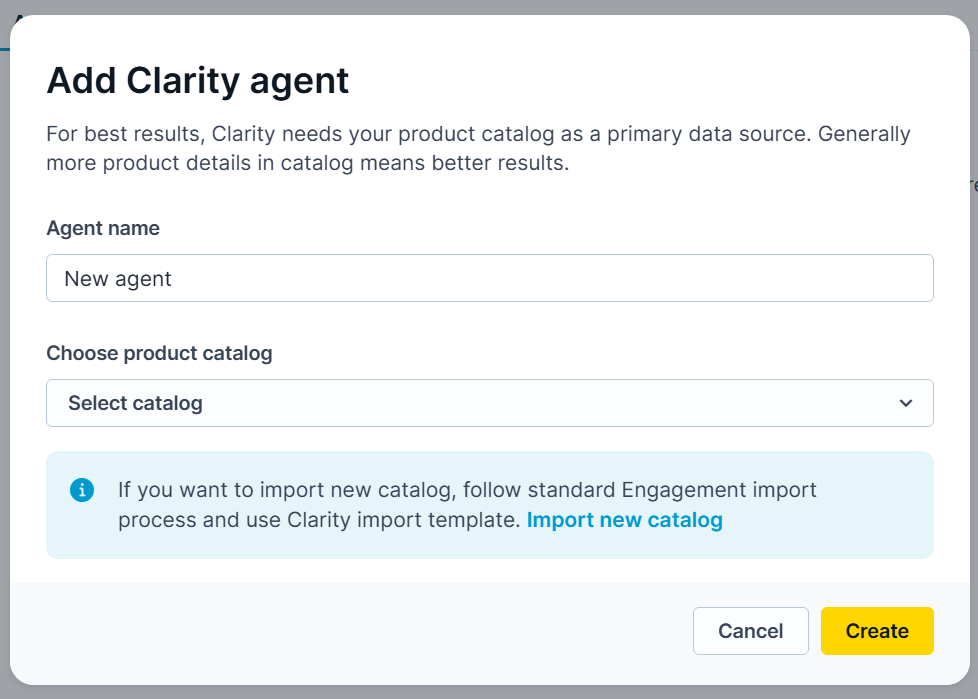
Add a name and catalog for the agent.
-
Two tabs appear: Catalogs and Settings. Set the agent’s appearance, data sources, and tone of voice.
Settings
The Settings sub-section contains the following tabs:
- General: Personalize the Clarity agent.
- Data sources: Add data sources the agent uses to answer questions.
- Tone of voice: Define the Clarity’s tone of voice.
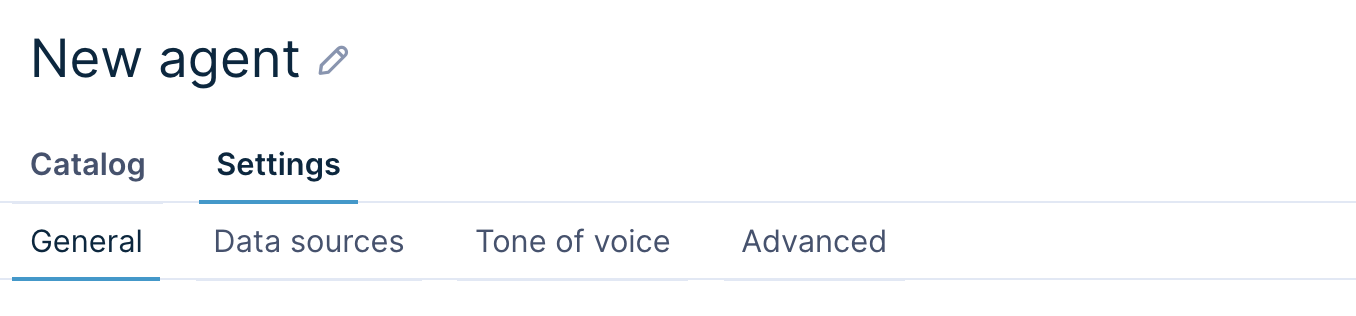
View the agent settings under the tabs.
Warning
The UI displays a non-functional Advanced sub-section. We'll add new settings to this section in a future release.
Catalog
The Catalog sub-section contains the following:
- Configuration: Change catalog data.
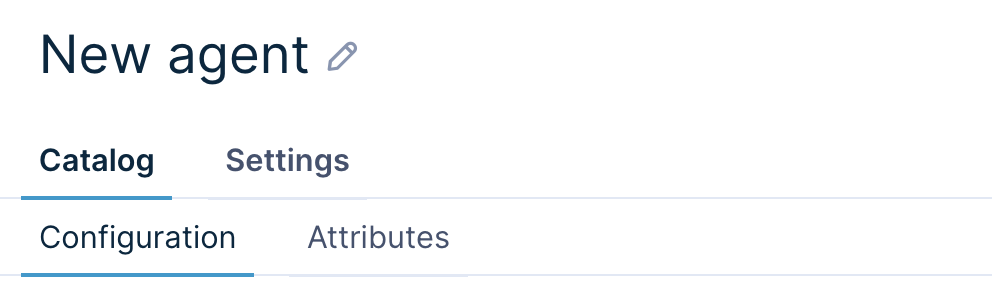
Update the catalog using the Catalog tab.
Warning
The UI displays a non-functional Attributes sub-section. We'll add new settings to this section in a future release.
Updated 4 months ago