

Webhooks integration setup
Learn how to set up and manage webhook integrations to automate processes, trigger external actions, and enhance your marketing campaigns.
What are webhooks?
Webhooks let you trigger external actions automatically when specific events occur. You can set them up using standard scenario flows to communicate with third-party platforms in real time.
Common use cases
- Trigger actions in external platforms.
- Send leads to call centers.
- Retrieve third-party data to enrich customer profiles or campaigns.
- Sync data across systems.
Setup options
You have two ways to set up webhooks:
- Custom webhooks: Build your own integration from scratch.
- Predefined templates: Use ready-made integrations for platforms like Facebook, WhatsApp, Zapier, and Slack.
NoteThis guide covers custom webhook setup.
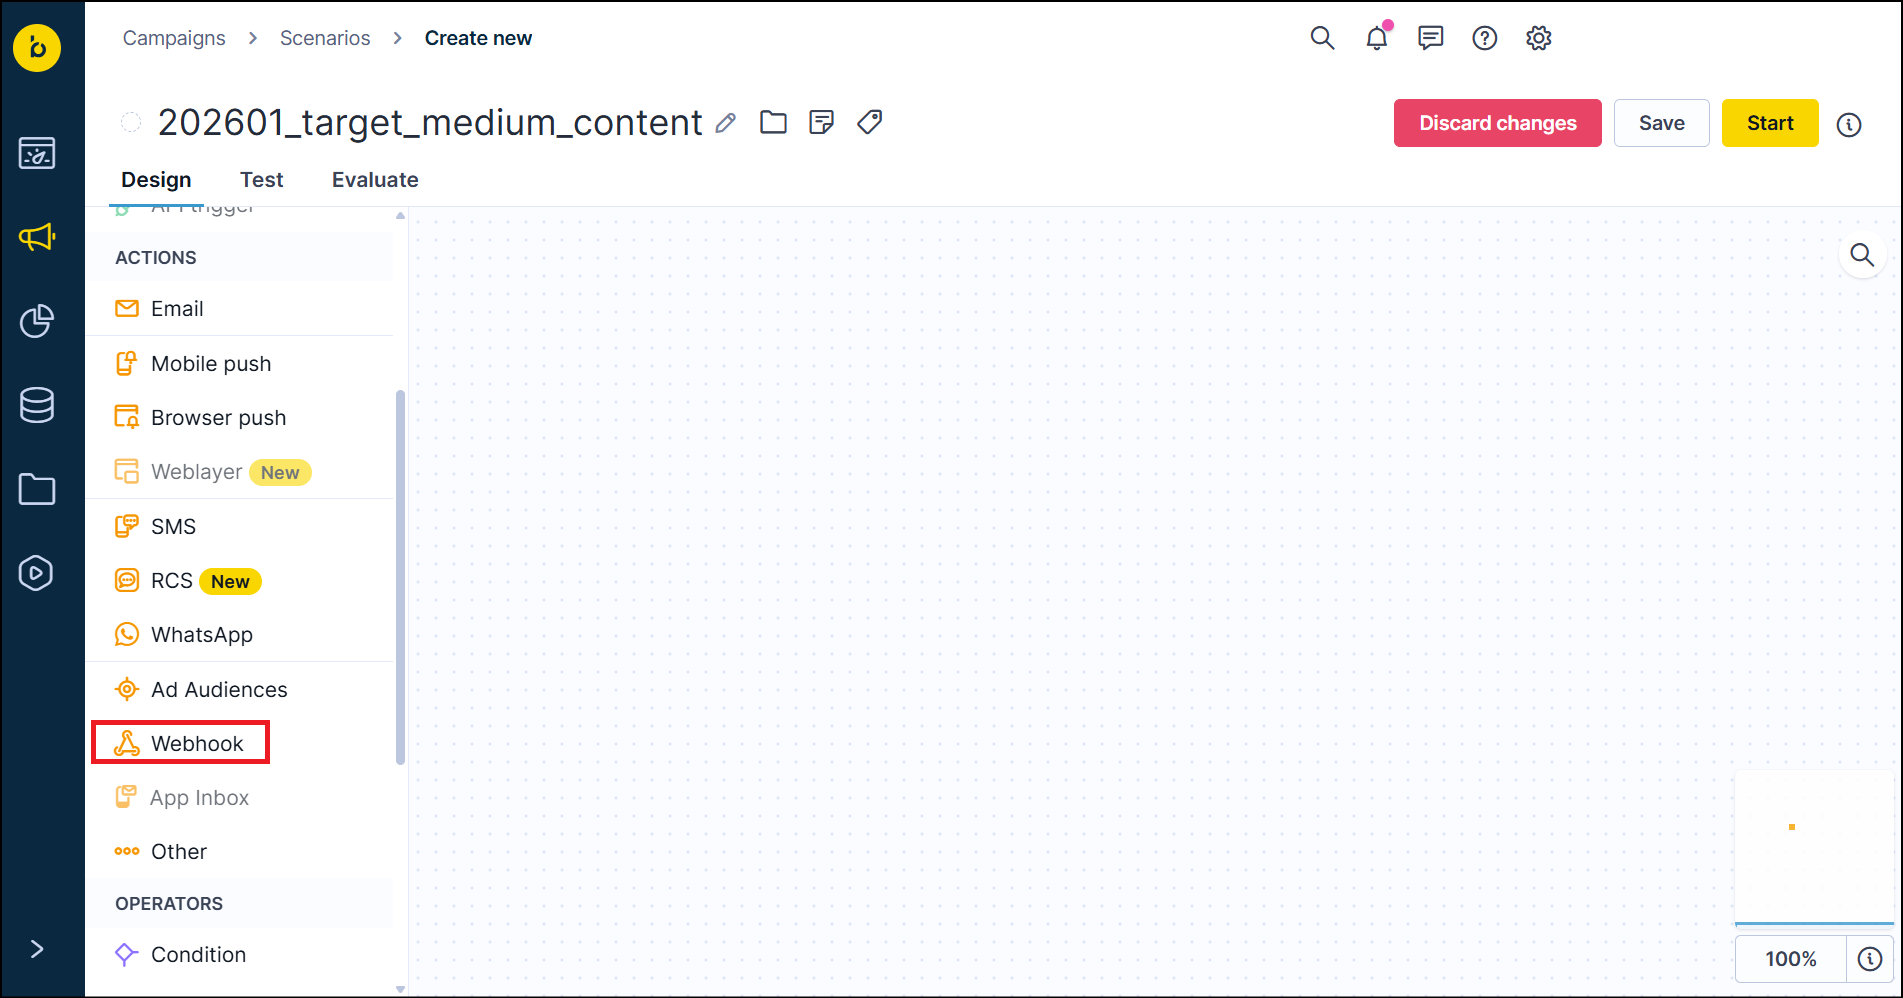
Set up custom webhooks
- Go to Campaigns > Scenario.
- Click + New scenario.
- Click Create new scenario.
- Under Actions, click Webhook.
Configure your webhook
Editor tab
Configure 2 main components:
- Endpoint:
- Select the HTTP method (GET, POST, PUT, PATCH, or DELETE).
- Enter the endpoint URL.
- Payload:
- Use the code editor to define your API payload.
- Select the payload format: JSON, TEXT, or XML.
- Add dynamic content using Jinja templating.
- Create template parameters for editable fields (accessible under the Parameters tab).

Parameters tab
View and manage all bracket parameters defined in your payload.
Test tab
- Test webhook: Preview the request with non-personalized data.
- Done: Send the test request to verify your configuration.
Webhook fail branch
Add a fail branch to handle customers who don't successfully pass through the webhook node. Failures can occur due to:
- Consent and policy restrictions
- Jinja template errors
- Technical connection issues
To set up a fail branch, connect the desired follow-up nodes to the fail branch connector on the webhook node. View failed attempts under the Failed category in the Evaluation tab.
Advanced: Batching on-event campaigns
When multiple events trigger simultaneously, batching optimizes webhook calls by grouping them together.
How it works
- A system scenario receives events and sends batched calls to external systems.
- Other scenarios generate the events that trigger the system scenario.
- The system scenario receives a steady stream of events and batches them automatically.
- Batch sizes vary (typically 170-200 events, with a maximum of 200).
Updated 4 months ago