

Next-day delivery countdown banner


Use case description
This Next-day delivery countdown banner use case drives business growth by incentivizing customers with a next-day delivery option, increasing the urgency of the order and the likelihood of immediate purchase. It also bolsters customer interaction, Product Page Conversion, Average Order Value, and Overall RPV, making it an effective up-selling tool.
Use case items
With this use case, you’ll get an:
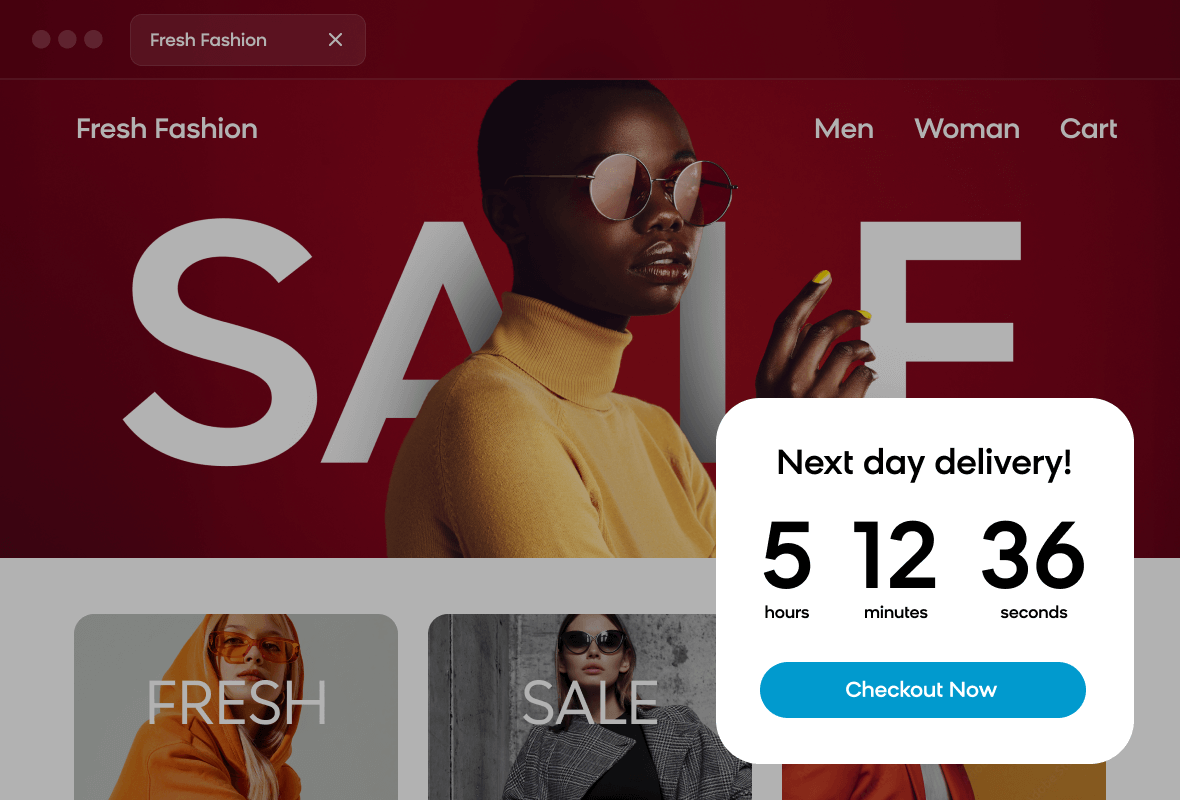
- Next-day delivery countdown banner
- Evaluation dashboard: A comprehensive dashboard provides insights into user behavior, campaign performance, and overall engagement metrics. The dashboard allows you to evaluate the effectiveness of your marketing strategies and make data-driven decisions.
How to deploy the use case
After downloading the use case, follow these steps.
Meet the requirements
Check if the data in your project meets the requirements. The Use Case Center lists requirements for each use case during the deployment process.
Understand the use case logic
The banner hinges on a strategy of urgency. It's triggered when a customer begins their online shopping journey. The Use Case's logic aims to prim customers to make a quick purchase by projecting the urgency of next-day delivery through a top-of-the-page banner.
The use case first detects the 'trigger', usually the customer's visit to the site. From this point, there are no wait nodes or conditions; instead, the countdown banner is instantly displayed, highlighting the urgency of the next-day delivery offer.
In terms of adjustments, several use case items can be tweaked to run this use case more effectively. These include the design and copy of the banner, the countdown time for next-day delivery, and the timing when this web layer is shown.
If you want to change the use case logic completely, you could adjust the trigger event, include wait nodes and conditions, or modify the action from showing a web layer to sending an email. This use case's functionality allows for such customization to maximize the effectiveness of your campaigns.
Adjust the use case
Now that you understand the use case logic, you can set up the use case according to your needs.
Banner settings
Access the banner and go to the Settings tab to adjust the banner settings.
Design and copy
Customize the banner visuals and copy to reflect your company's brand identity.
Open the banner use case and find the panel with adjustable parameters. For guidance, hover over the information icons next to each parameter.
A/B test
A/B test the use case to better understand the banner performance and revenue generated.
This use case's A/B test traffic distribution is set to variant A at 80 % and the control group at 20 %. This means 80% of customers will see the banner (variant A), while 20% (the control group) will not. We recommend keeping this distribution as it brings quick and statistically significant results.
Learn more about the dos and don'ts of modifying A/B test.
Test and run the use case
Test a use case before deploying it. Testing ensures you don't send unfinished or imperfect campaigns to your customer base.
Once the testing is over, run the use case. Open the banner and click Start to launch the campaign.
Evaluate the results
Remember to run the use case for a few days to see the impact.
After this initial period, use the prebuilt evaluation dashboard to measure and analyze relevant data.
- Open the evaluation dashboard
- Enter the banner's name. For example, Next-day delivery countdown banner.
- Set the attribution window for revenue in hours, for example, 24.
- Click Refresh to see the results.
- Check campaign results regularly to optimize performance.
Other resources
Learn how to enhance and optimize the banner performance with different tips and tricks from Bloomreach experts.
experts.
Updated 4 months ago