About Use Case Center
Use Case Center offers ready-to-launch use cases created by Bloomreach experts. These use cases follow industry best practices to enhance your business metrics. They come with integrated analytics for quick value and can be customized to suit your needs.
Benefits of use cases
- Proven success: Developed by Bloomreach experts working with top global brands.
- Faster implementation: Launch campaigns in just a few clicks by adjusting ready-made templates.
- Quick time to value: Predefined campaigns and evaluation dashboards show results as they happen.
- Less heavy lifting: Launch campaigns and automation faster with minimal internal resources.
How to navigate in Use Case Center
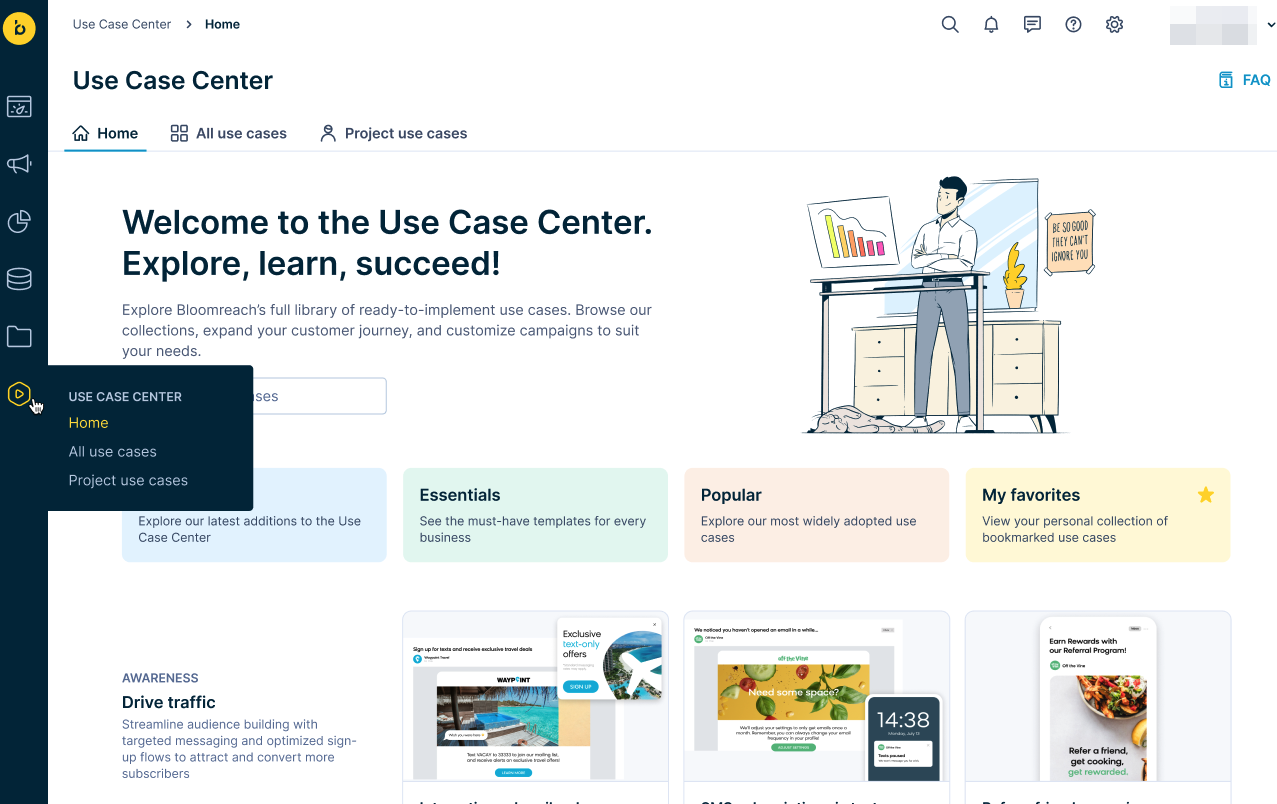
To access the Use Case Center, click the icon at the bottom of the left-side menu in Bloomreach Engagement. Then, select from three available tabs: Home, All use cases, and Project use cases.

Home
Find your use case based on the goal you want to achieve. Use the search bar, or explore use cases divided into categories:
- New: The latest additions to the Use Case Center.
- Essentials: The must-have templates for every business.
- Popular: Most widely adopted use cases.
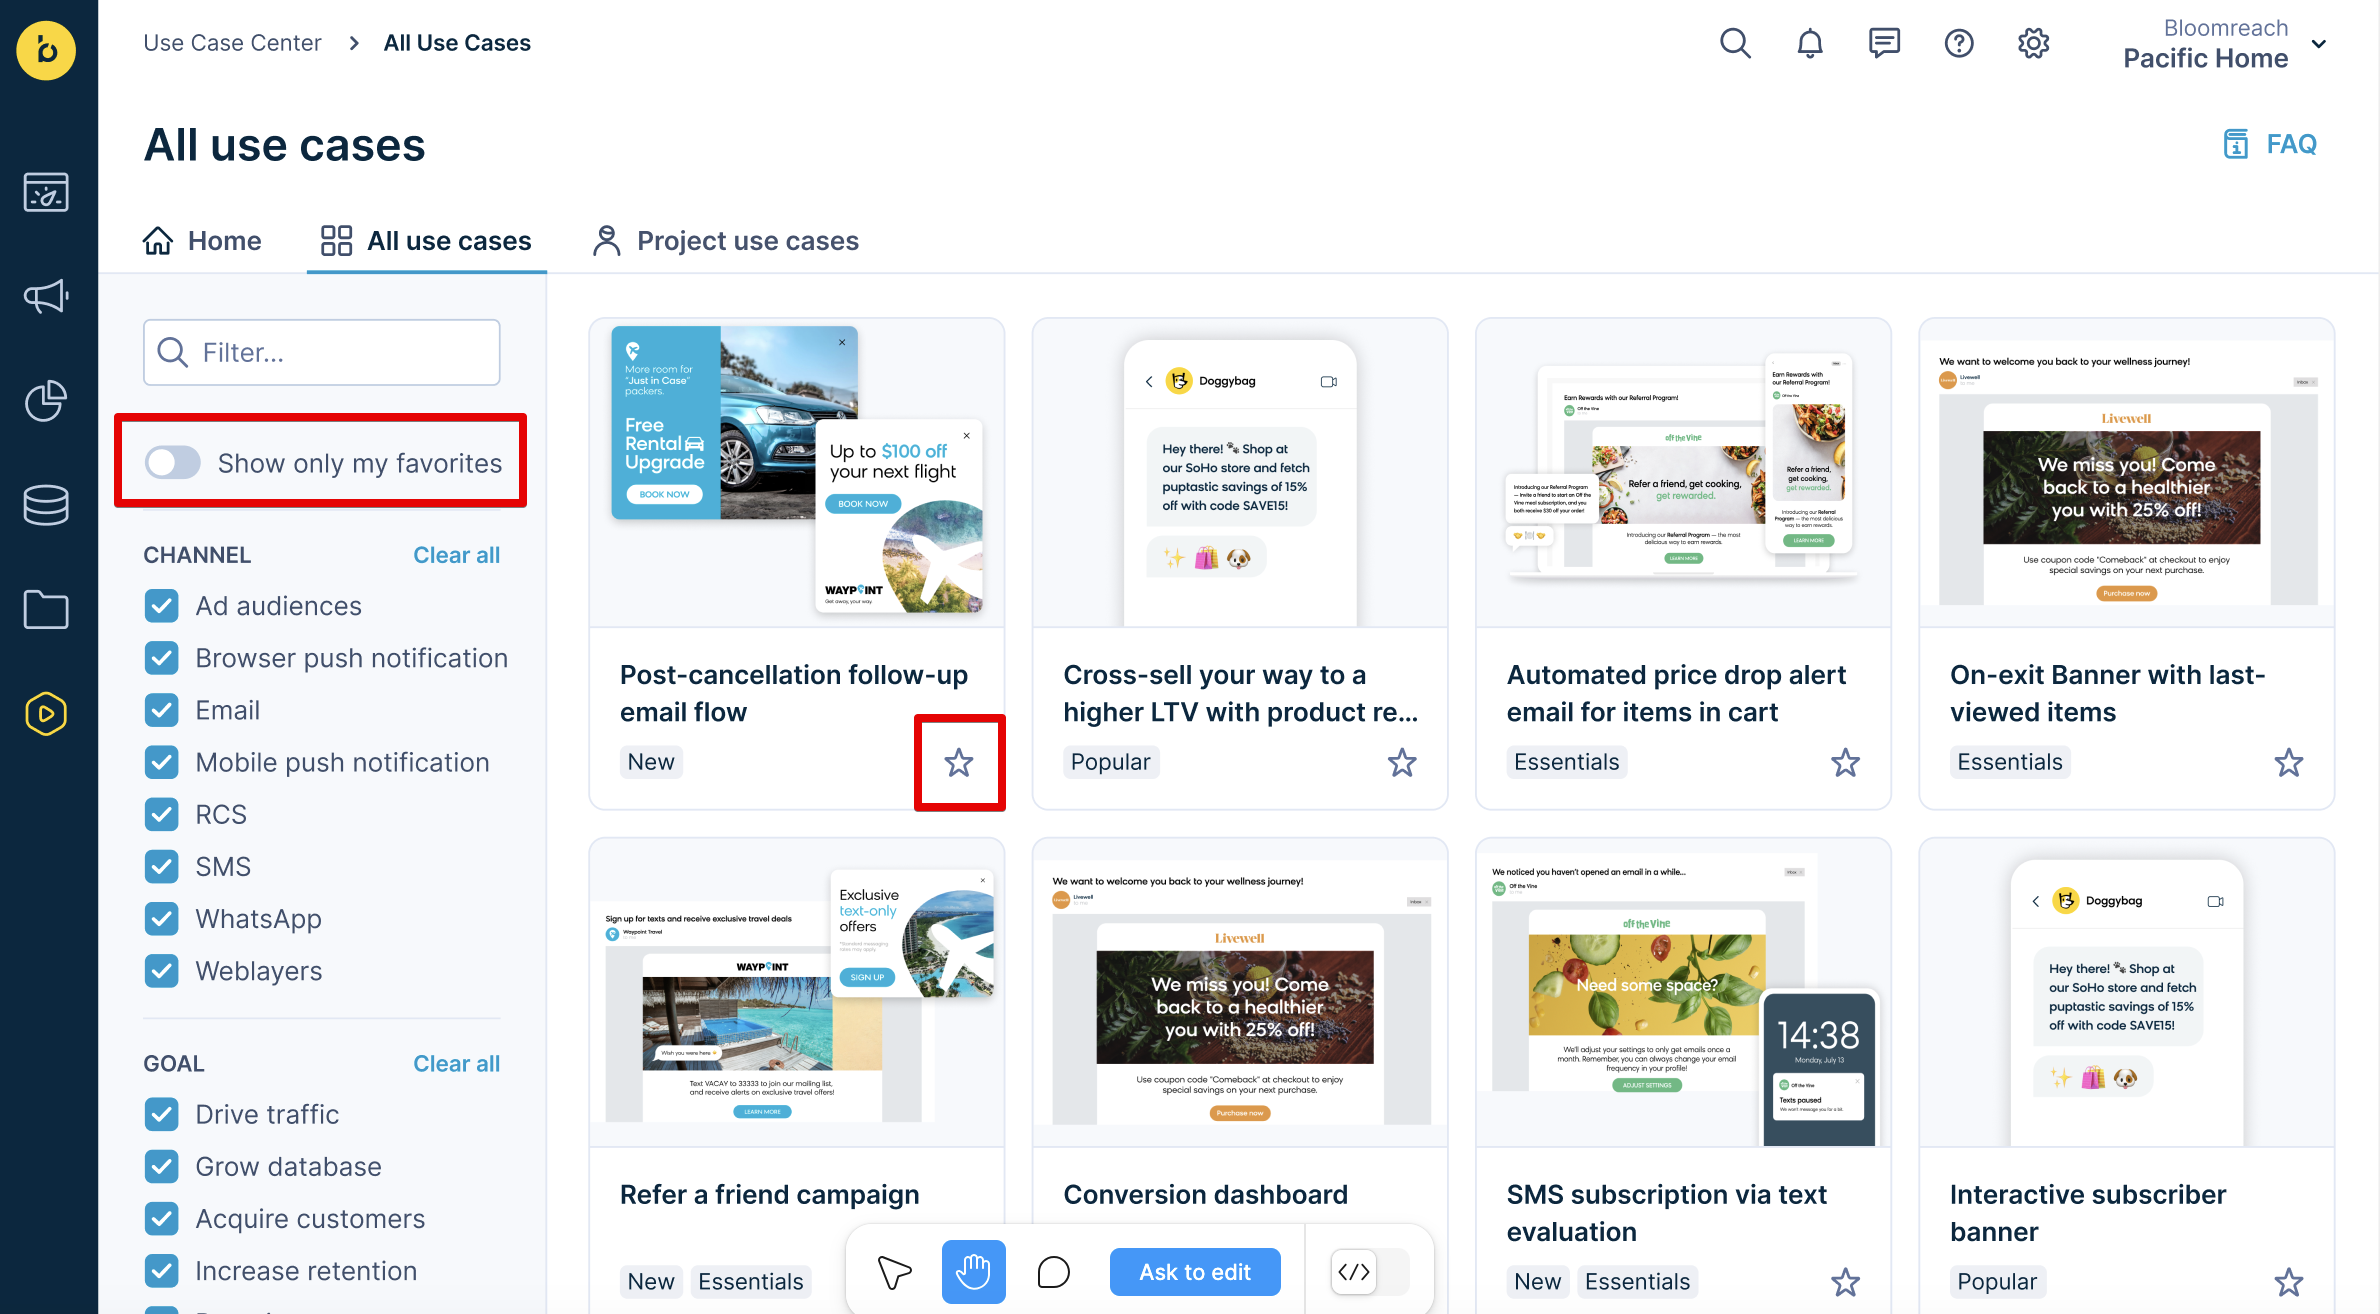
- My favorite: Your personal collection of bookmarked use cases. Click the asterisk on a selected use case tile to add it to your favorites. This category displays a list of use cases you bookmarked rather than those saved by the entire project.
All use cases
This section provides you with the full library of use cases. Here, you have advanced options for filtering according to your needs based on the following:
- Channel
- Goal
- Tag
- KPI
- Industry
On every use case tile, you can see which category a use case belongs to (for example, "essentials" or "popular").
You can view only your bookmarked use cases by enabling the toggle in the left corner.

Project use cases
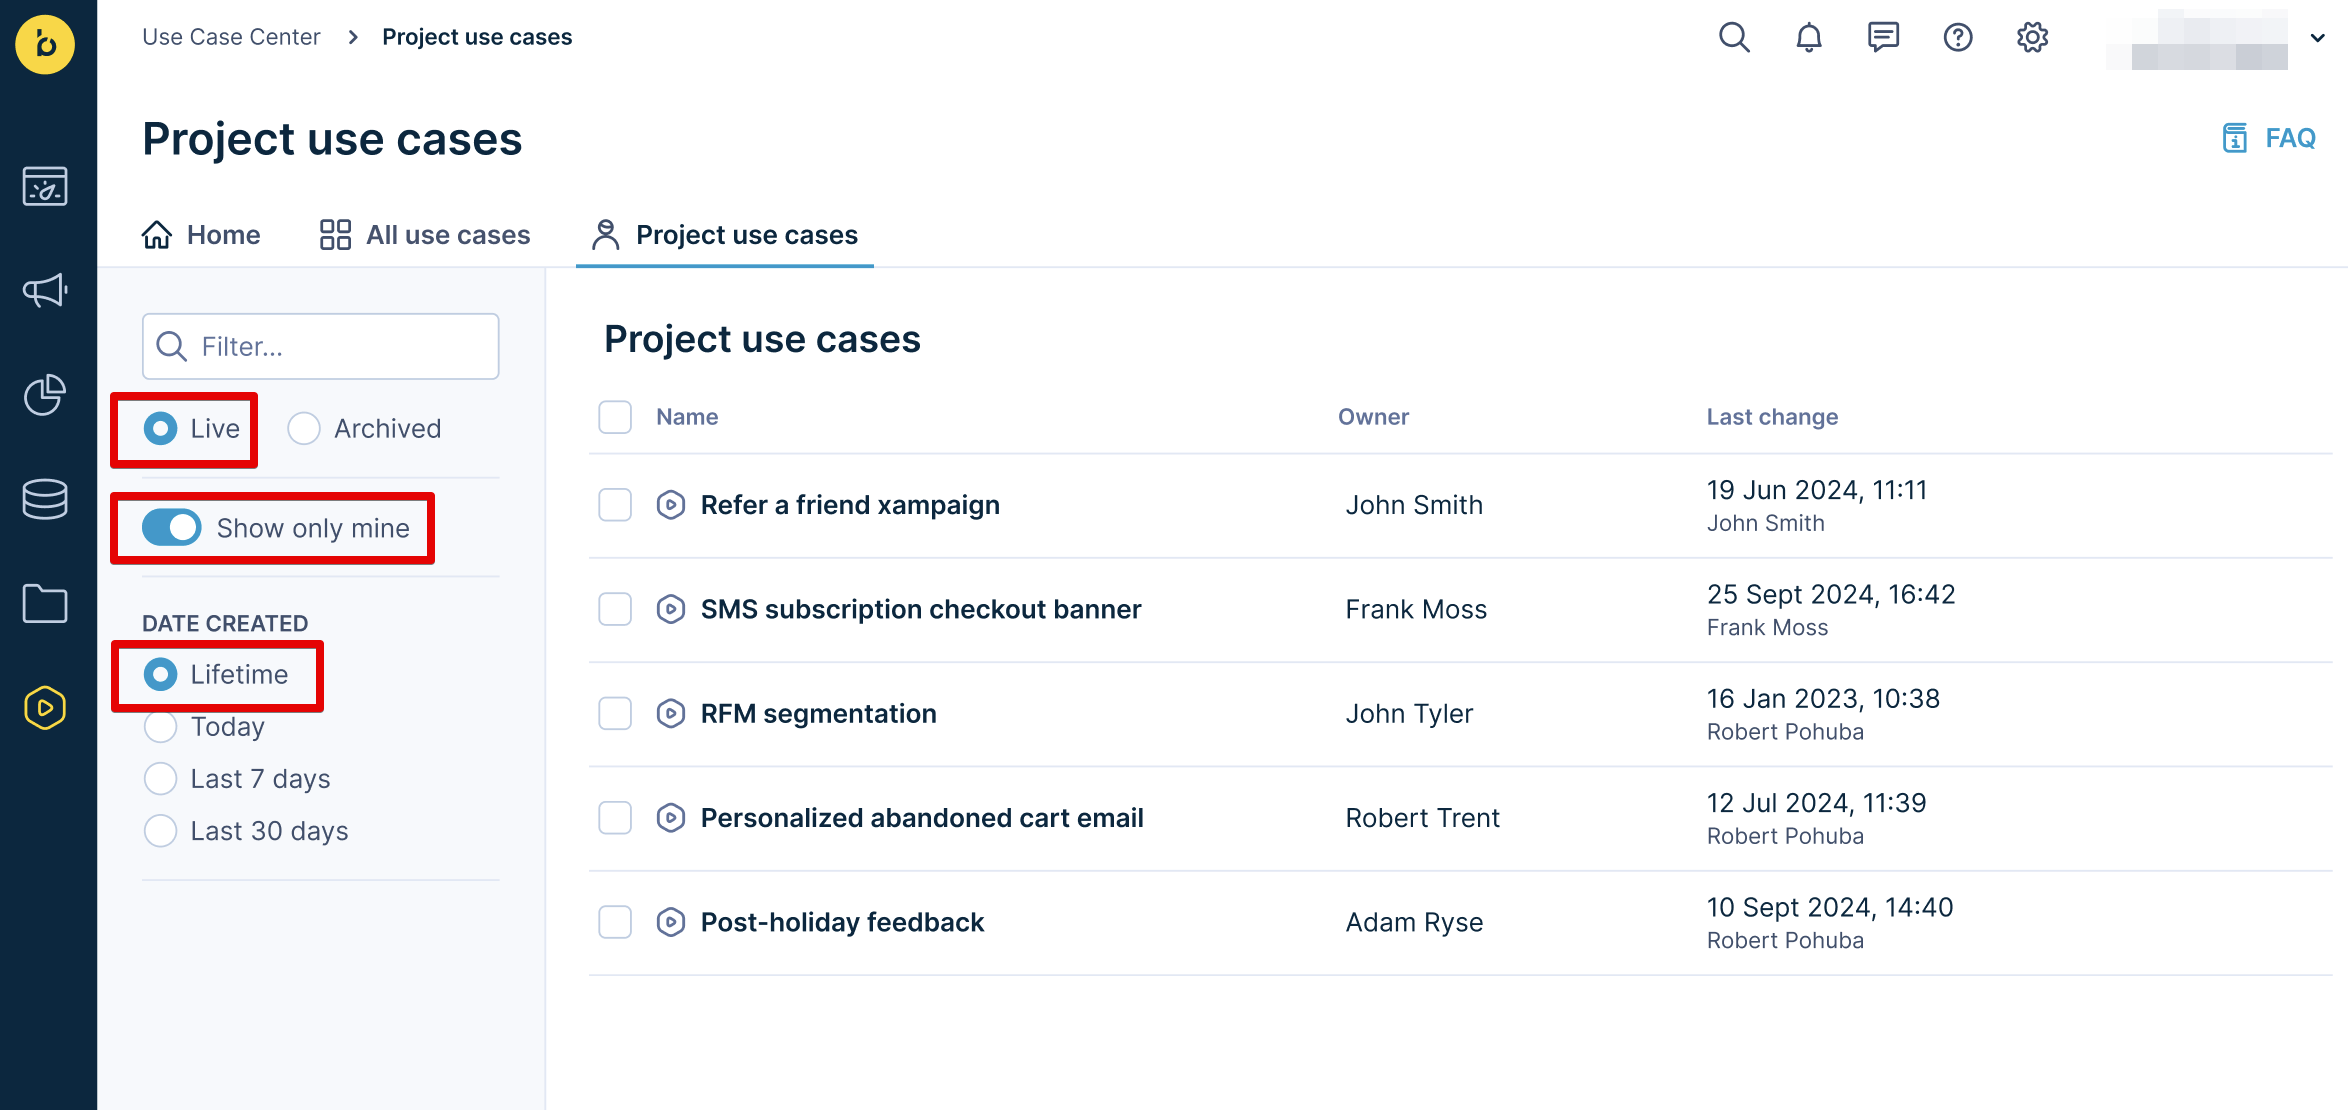
In this tab, explore all the downloaded use cases within your project. Filtering options on the left will help you to narrow down the results.
For example, the image below shows how to use filters to see all live and active use cases you have ever downloaded in your project.

How to run a use case
To implement a use case, follow these steps:
- Open the Use Case Center and select the desired use case.
- Hover over the use case tile. If your project meets all the requirements, you will see a "Ready to use" green tag.
If a required module is set up for that specific use case and your project doesn’t have it enabled, you won’t be able to click on the use case tile to open the detail. - Open the use case detail and click the Download use case button.
- Make sure your project meets the requirements.
- Click Continue to trigger the cloning of the use case to your project.
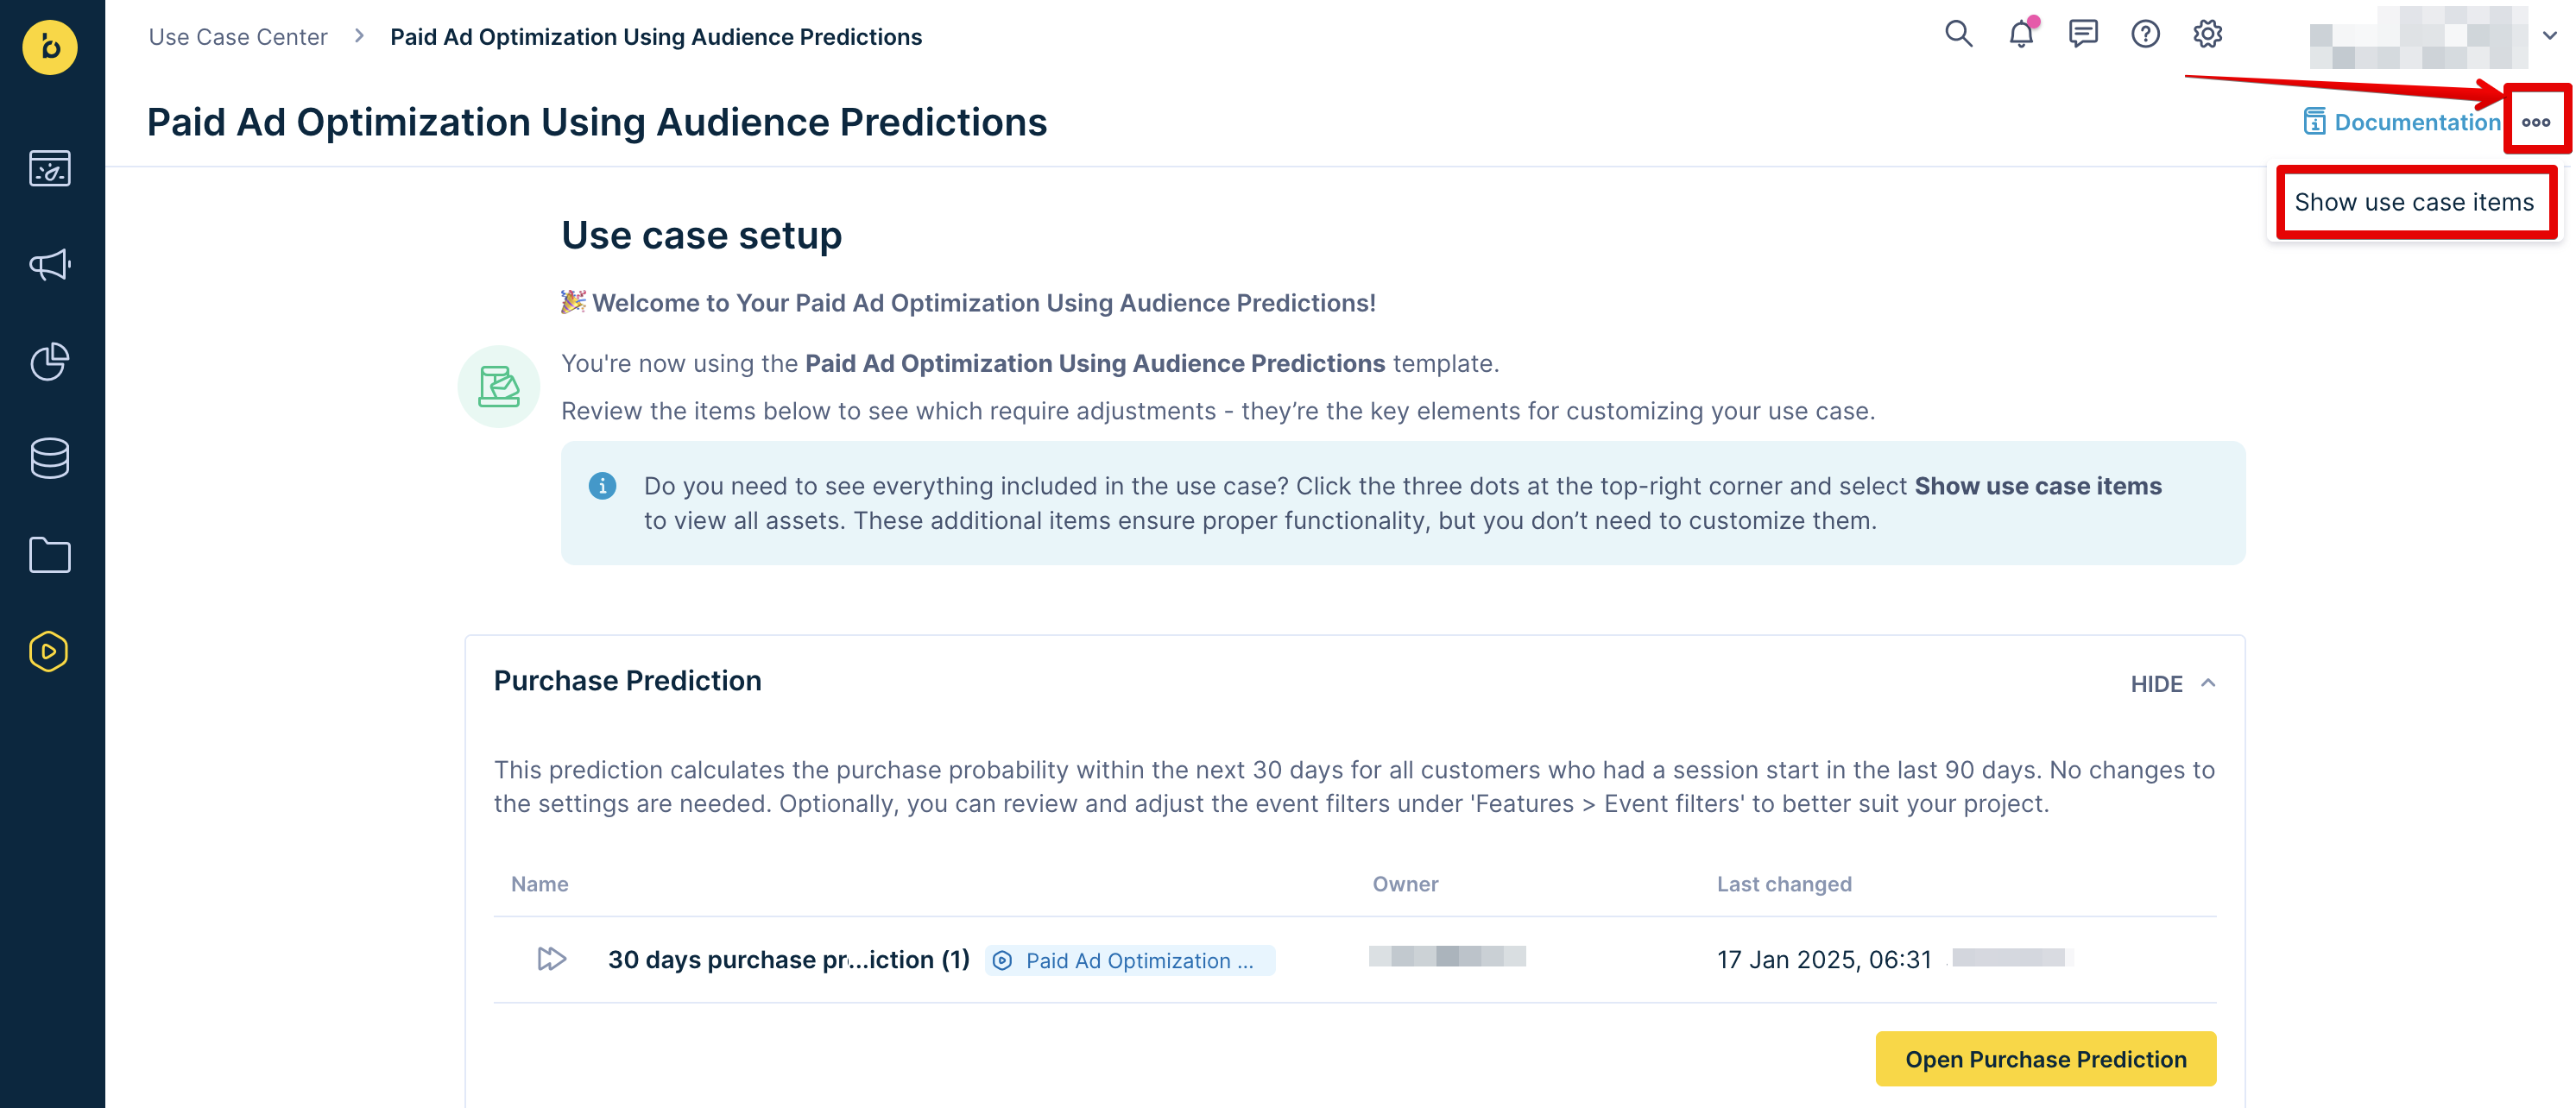
- Review the items listed in the Use case setup section to identify which ones need adjustments; these are the key elements for customizing your use case.
Refer to our documentation to learn how to:
If you want to see all the items included in the use case, click the three dots in the top-right corner and select Show Use Case Items. These additional items are important for ensuring proper functionality, but you do not need to customize them.

- Click Download use case. To manage downloaded use cases, go to the Project use cases section. Here, you can rename, archive, or delete a use case by clicking the arrow next to the Open button and selecting the desired option.

Frequently asked questions (FAQ)
The FAQ section of the Use Case Center answers the common questions about deploying and managing use cases. It helps you navigate the platform, troubleshoot issues, and optimize your use case implementations.
Note
Explore our Plug & Play Use Cases page to access all available use cases in one place. Use the matrix to discover the ideal use case for your needs.
If you do not find a necessary use case, send feedback using the Missing a use case form at the bottom of the Use Case Center.
Updated about 1 year ago
