

Scenario best practices
These best practices are based on real-world experience with building and managing scenarios. Follow them to improve performance, maintain accuracy, and keep your workspace organized.
Scenario setup
Include only relevant customers
Use non-personalized condition nodes to filter out irrelevant customers as early as possible in the scenario flow. This improves performance and ensures your scenario targets the right audience.
For example, if you're sending an email campaign, check that email = has value, and email consent = true at the start of your scenario.
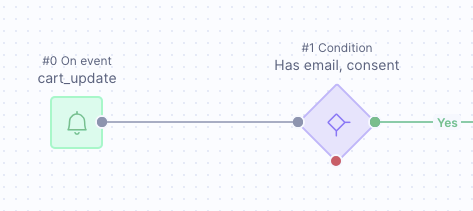
Example condition node filtering customers by email attribute and consent status.
Add a condition node after a trigger
Always add at least 1 non-personalized condition node directly after the trigger node. This practice ensures only relevant customers enter the flow.
A condition node placed immediately after the trigger node.
Consolidate scenarios
Combine scenario flows that start around the same time. This reduces how often the database needs to be accessed, which improves performance for both the database and scenario navigation.
Where possible, use a single trigger with condition nodes to separate customers by country or other factors, rather than creating multiple separate scenarios.
Name scenarios and nodes consistently
Name your scenarios (tracked as campaign_name) and action nodes (tracked as action_name) using a consistent naming convention. This makes it easier to filter and segment your campaigns and campaign actions over time.
Name condition nodes as closed questions
Name your condition nodes as closed questions that can be answered with "Yes" or "No." This approach ensures clarity and consistency in your scenarios.
Build your flow
Add wait nodes strategically
Place wait nodes near the end of the scenario flow, close to the node with the fewest customer entries. Don't place them directly after the trigger node. For larger customer bases, a wait node placed too early can result in a very large number of customers being held at a single point, which strains performance.
Limit wait nodes
Use wait nodes only when necessary. Avoid placing more than one wait node in a series. Use a single node set to the exact time required instead.
Repeat conditions after a wait node
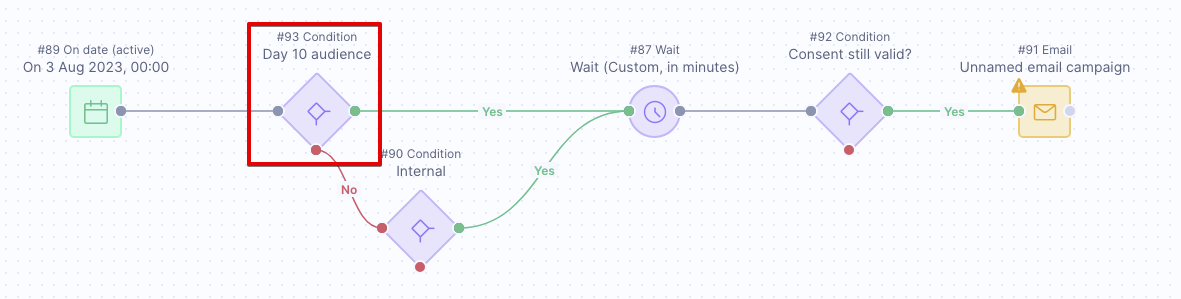
Repeat all essential conditions after any wait node. Customers' data can change while they wait, so rechecking conditions ensures your scenario stays accurate.
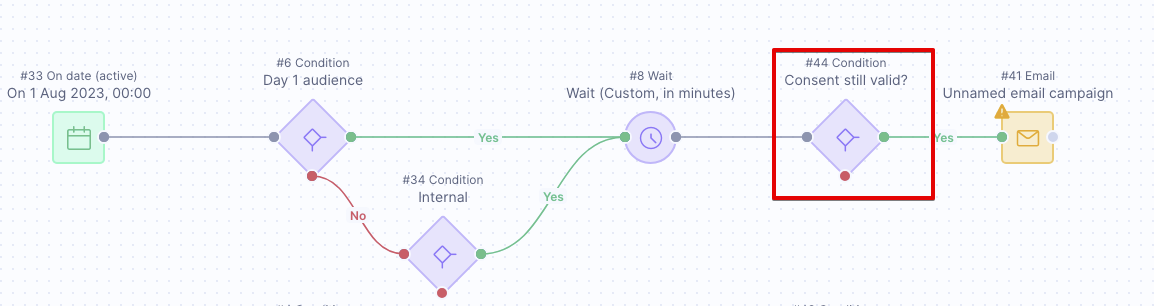
Essential conditions repeated after a wait node to account for data changes.
Configure consent settings
When sending a marketing campaign, always configure the consent setting in the action node. For example, in the email or SMS/MMS node. Also, add a condition node to filter out customers who haven't given appropriate consent. This improves scenario security, reduces unnecessary suppressions, and prevents result distortion in A/B testing.
Consent setting configured in the action node, with a condition node filtering out customers without consent.
Set frequency policies
Always set a Frequency policy on action nodes, especially for campaigns sent to real customers. Don't use the Unlimited frequency policy for real customers. Even for strictly transactional communication, set a limit. For example, a maximum of 1 communication per minute. Frequency policies prevent the same message from being sent to the same customer multiple times in a short period.
Position A/B split nodes correctly
Place A/B split nodes as close to the action nodes as possible. Don't add further filtering after A/B split nodes — doing so can skew your A/B test results.

An A/B split node placed close to the action nodes.
Track scenario leavers
To identify where customers drop off your scenario, connect an Add event node to the relevant points in the flow. Track a custom event for those customers to pinpoint where they leave and take action if needed.
Test and launch
Check your scenario before starting
Review all nodes, filters, and settings thoroughly before starting a scenario. Go through the scenario multiple times, and if possible, have someone else review it too.
Test your scenario thoroughly
Test your scenario before running it for real. Use the Test tab to preview how customers flow through the nodes based on your conditions. For complex scenarios, consider using "as live" email testing to verify accuracy.
Monitor closely after launch
Thorough checking and testing don't always catch every issue. After starting a scenario, monitor it closely and run essential reports to confirm everything is working as expected.
Ongoing maintenance
Save your work frequently
Save your scenario regularly while building or editing it. This prevents data loss and ensures your changes are preserved.
To save, open your scenario and click Save in the top-right corner of the screen.
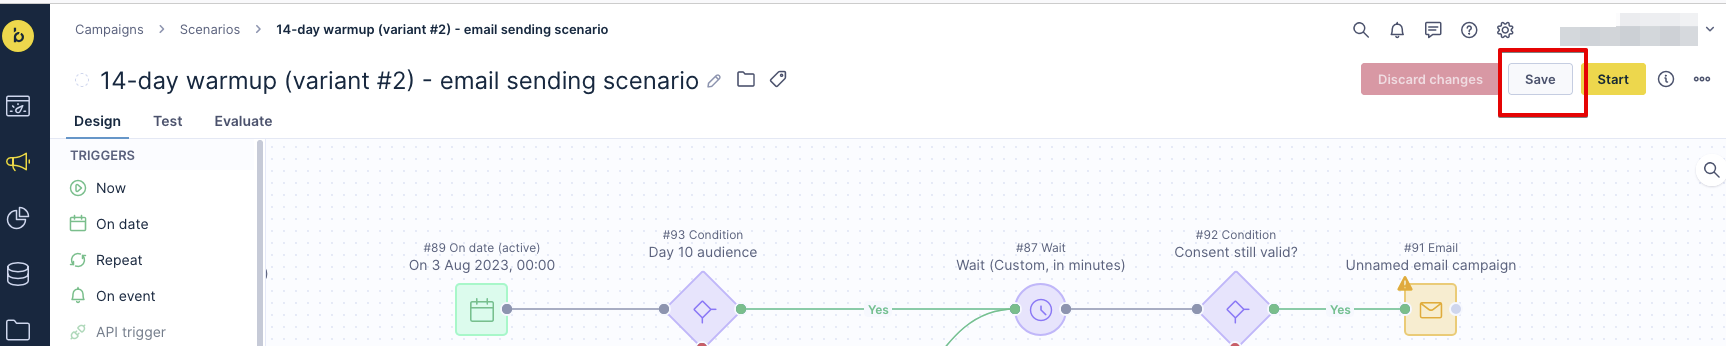
The Save button in the scenario editor.
Check active scenarios regularly
Review your active scenarios regularly to confirm they're running as expected. If you notice issues, stop or adjust the scenario as needed.
Archive old scenarios
Archive scenarios you no longer use to reduce clutter and keep your workspace organized.
To archive a scenario, go to Campaigns > Scenarios. Click the arrow to the right of the scenario you want to archive and select Archive.
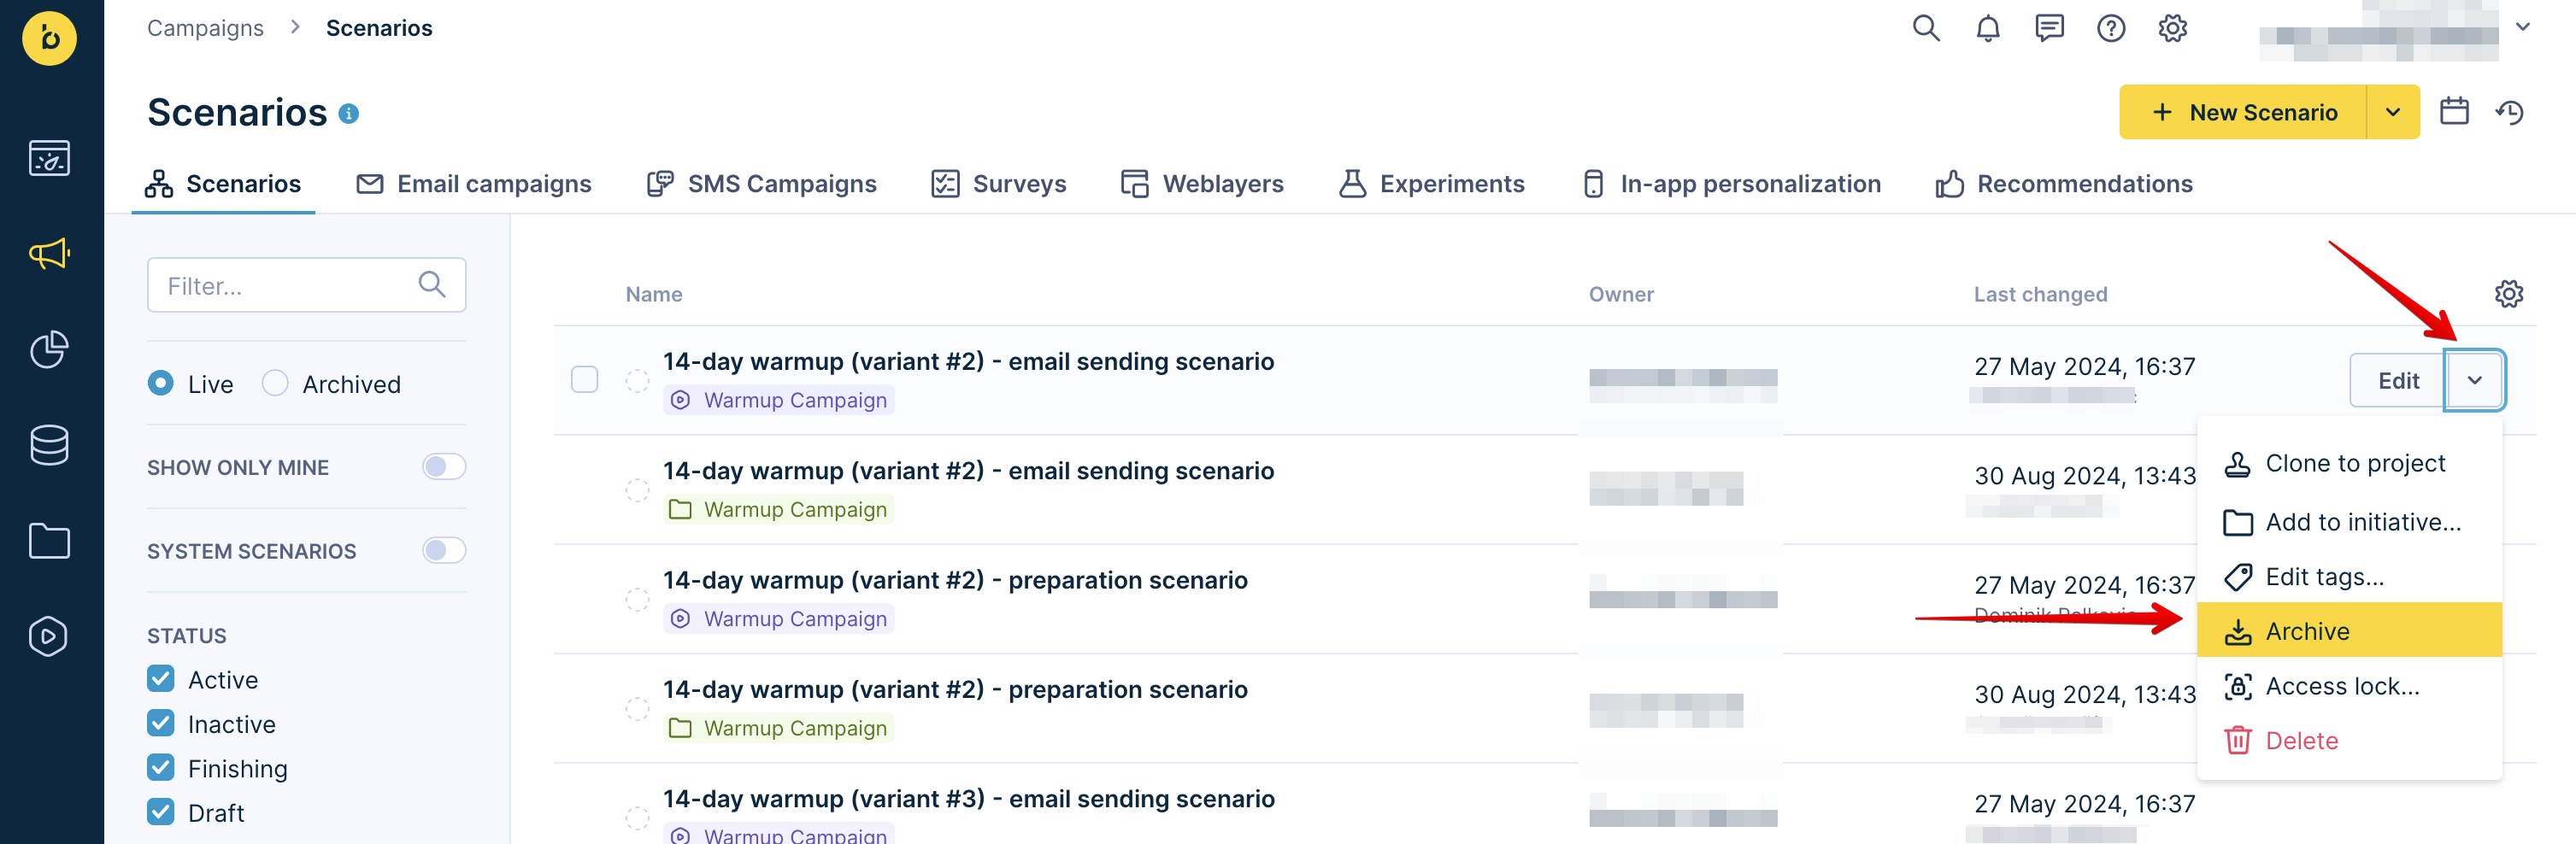
Archiving a scenario from the Campaigns > Scenarios screen.
Add frequency limits
For almost every communication channel, add frequency limits to your scenario flow. These limits ensure customers receive a specific communication at most a set number of times within a defined period.
Apply frequency limits to control groups
When running A/B tests, also exclude customers who previously fell into the control group based on your frequency limits. Ensure customers reach the same A/B split node at most a set number of times within a defined period.
Troubleshoot scenarios
If something isn't working as expected, see Troubleshoot scenarios for solutions to the most common configuration and performance issues.
Updated 4 months ago