

Email editors
Build email body content using the visual builder or the HTML builder. The visual builder offers a drag-and-drop workflow for creating templates without writing code. The HTML builder gives you full control over the HTML and CSS output.
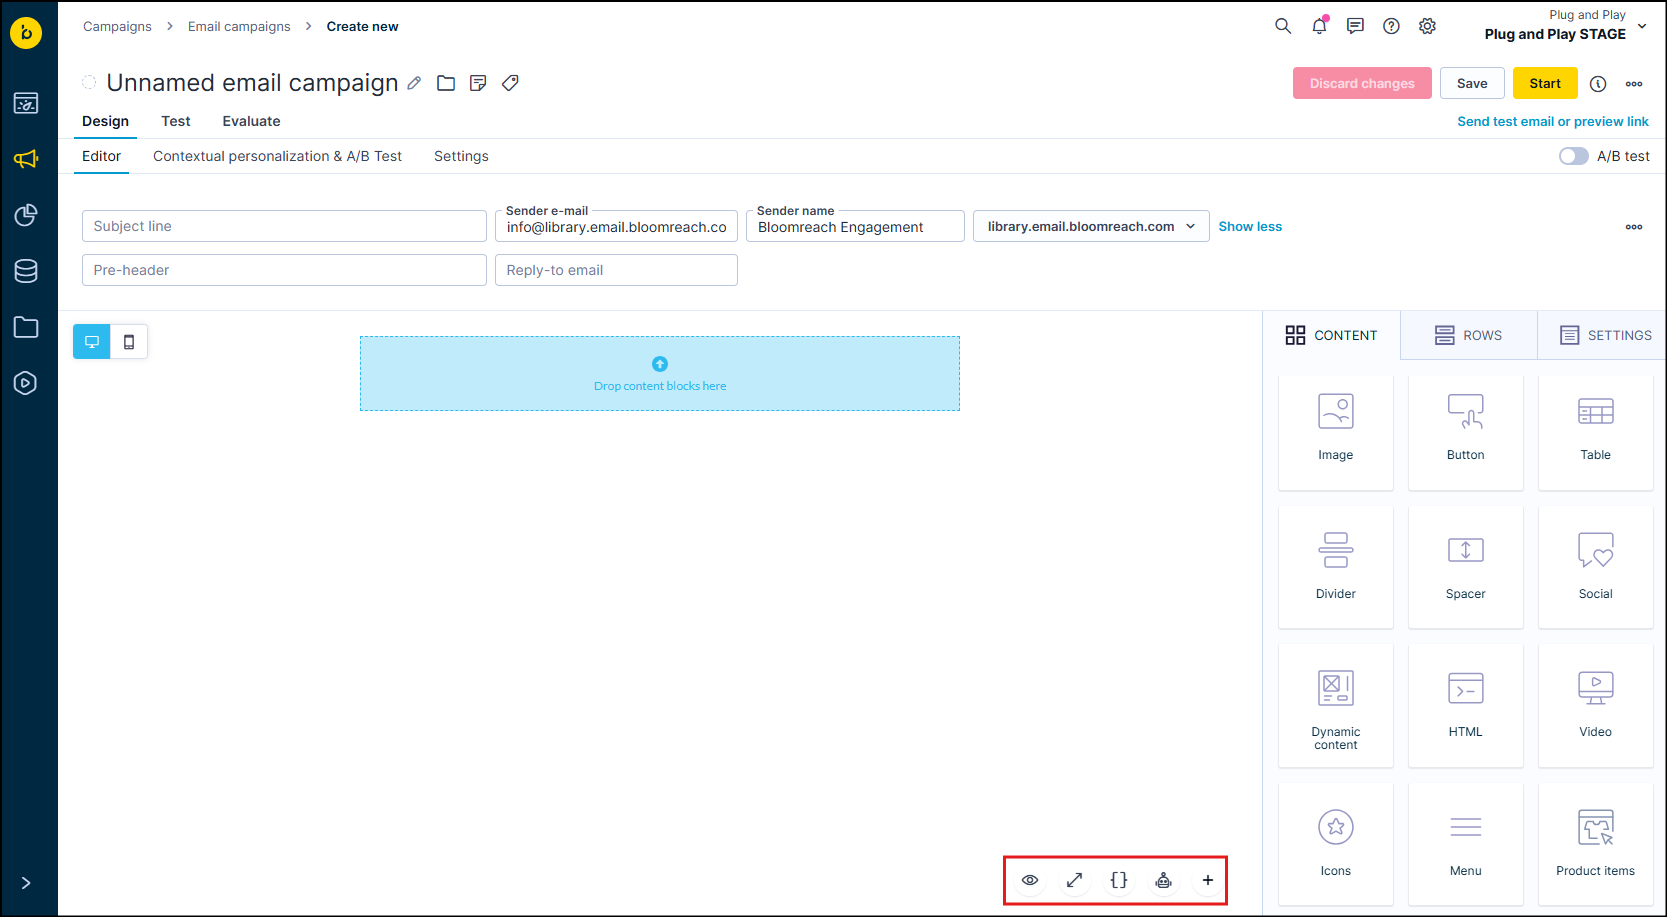
Visual builder
The visual builder uses a drag-and-drop workflow to build email templates without advanced coding. It has 2 main parts:
- An editing region where you design your template.
- A tabbed pane with three tabs—Settings, Rows, and Content—for elements and configuration.
Access Jinja personalization in a similar workflow style. Go full screen and click the button at the bottom right of the editing region to show or hide the template structure.
Settings tab
The Settings tab configures the global parameters of your email template:
- Content area width and alignment
- Background color and content area background color
- Background image
- Default font and link color
- Title meta tag and language attribute
- Custom Head HTML
Adjust sliders or input fields to configure these settings.
Rows tab
The elements in the Rows tab contains row elements that define your email template structure. Rows act as frames for the content you add later.
Click a row already placed in the editing region to open the Row properties pane. Configure individual row settings including background color, borders, layout, dynamic content, card style, column structure, and padding.
Row display condition
- Click the relevant row.
- Under Row properties, click Set segments.
- Select the customer segment that should see the row.
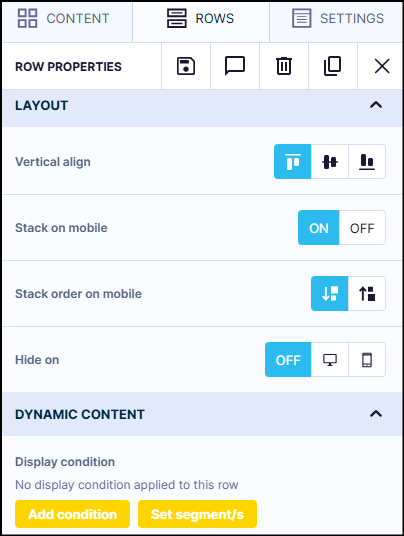
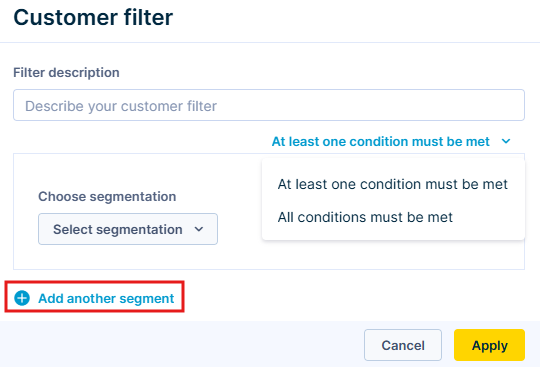
Add multiple segments and choose how conditions combine:
- At least one condition must be met (OR logic)
- All conditions must be met (AND logic)
Applying a condition generates a Jinja condition rendered in HTML. To check or edit the condition in Jinja, click Edit display condition under Display condition in Row properties.
A condition restricting a row to male customers looks like this:
- Before:
{% if customer.gender == 'male' %} - After:
{%endif%}
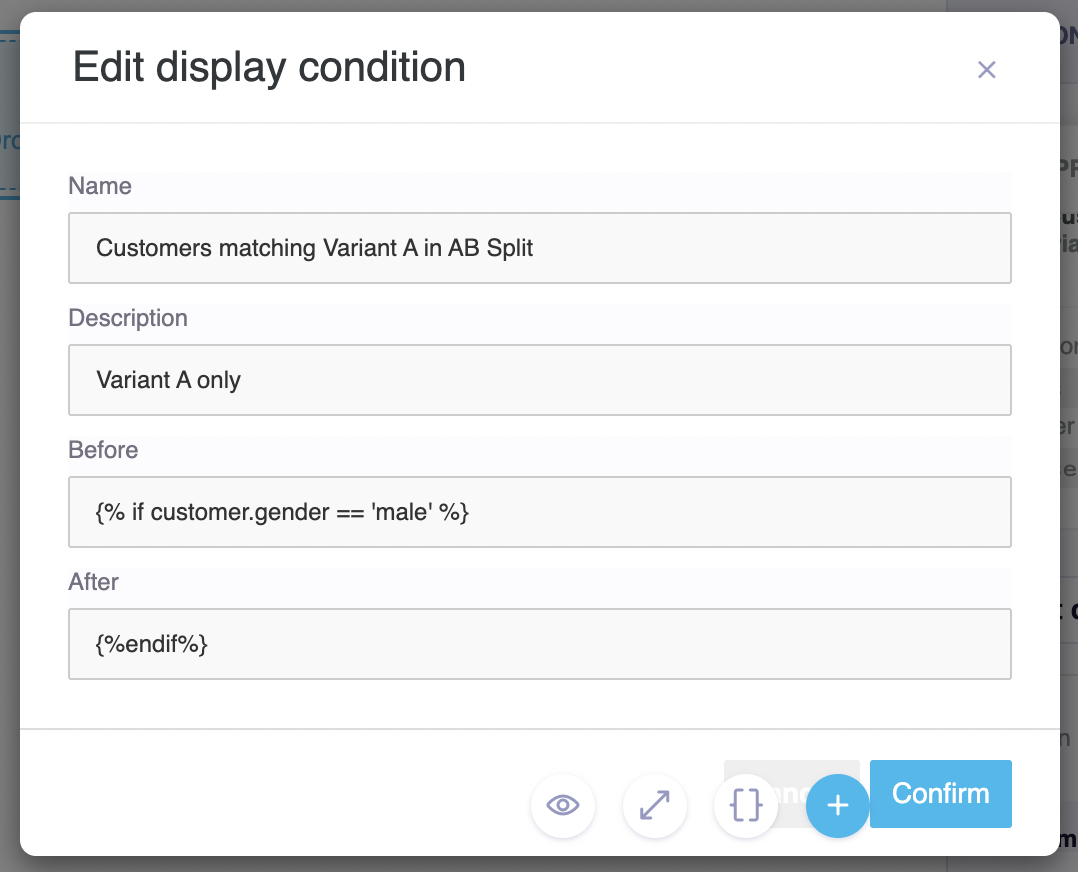
NoteIf you know Jinja, write conditions directly by choosing Add condition instead of using the segment selector.
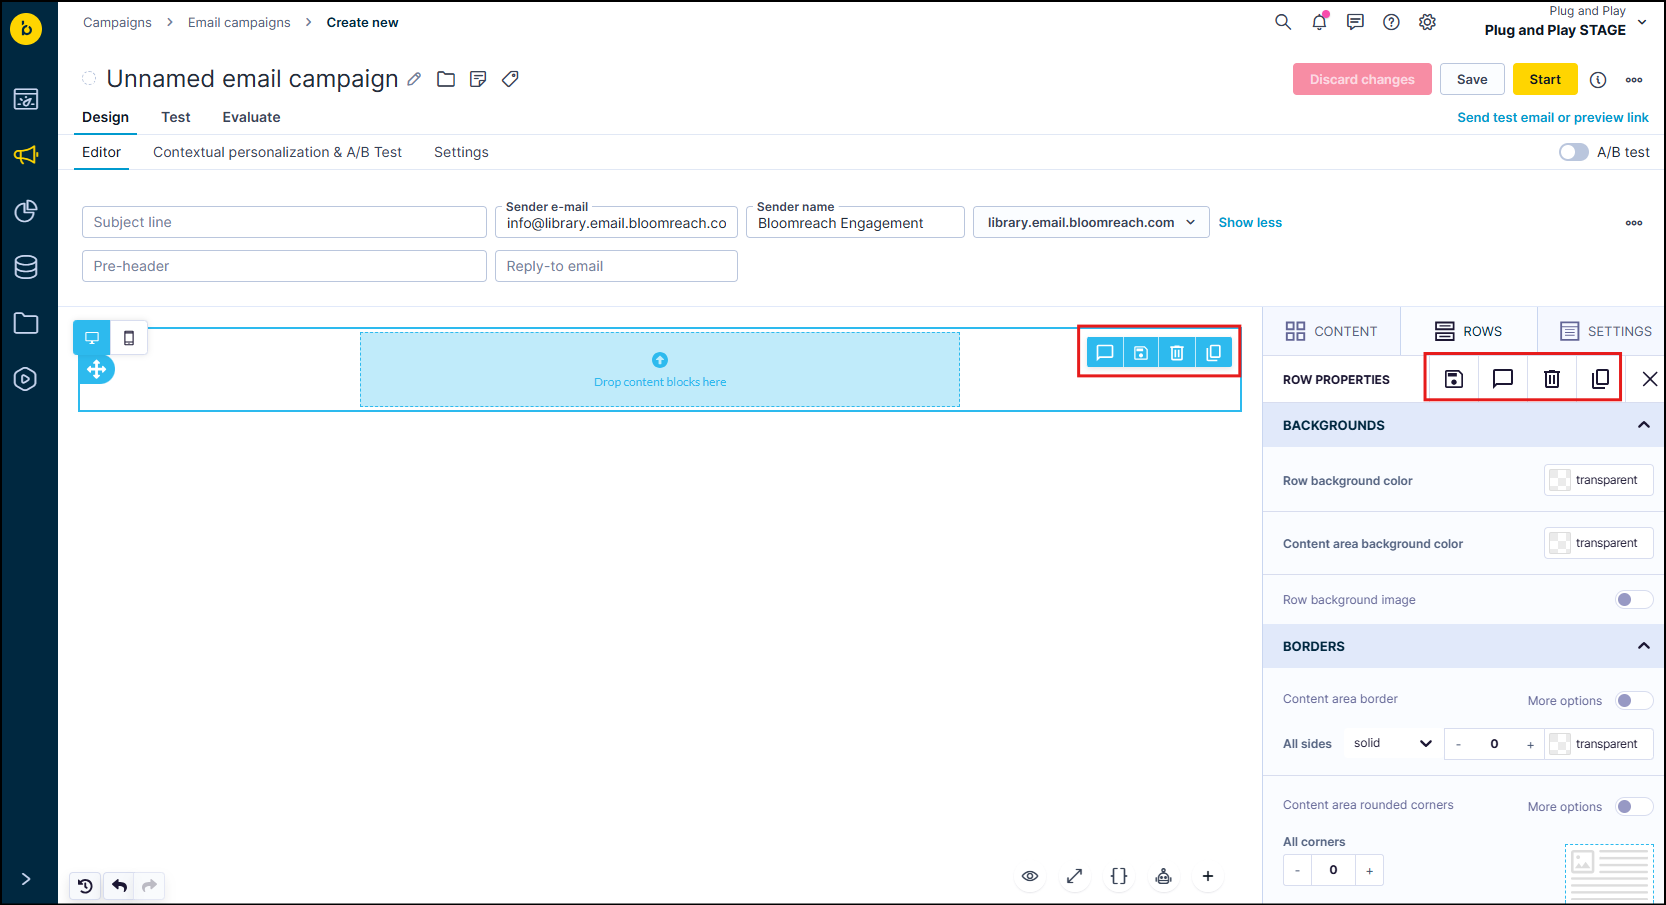
Save custom rows
Hover over a row in the editor to reveal four icons at the top right—comment, save, delete, and copy. The same buttons appear at the top right of the Row properties panel.
Saving a row stores it in the Asset Manager for reuse across campaigns.
Custom rows can't be clonedTo create a modified version of an existing custom row, open it in the editor, make your changes, and save it as a new custom row with a different name.
Click Save to name the row and optionally add tags or assign it to an initiative.
Edit a saved custom row
When editing an existing custom row in the email editor, the save prompt lets you either update the existing row or save it as a new copy.
Updates to saved custom rows don't apply retroactivelyChanges made to a custom row—whether in the email editor or Asset Manager—won't reflect in campaigns that previously used that row. Update existing templates and campaigns individually by replacing the row manually.
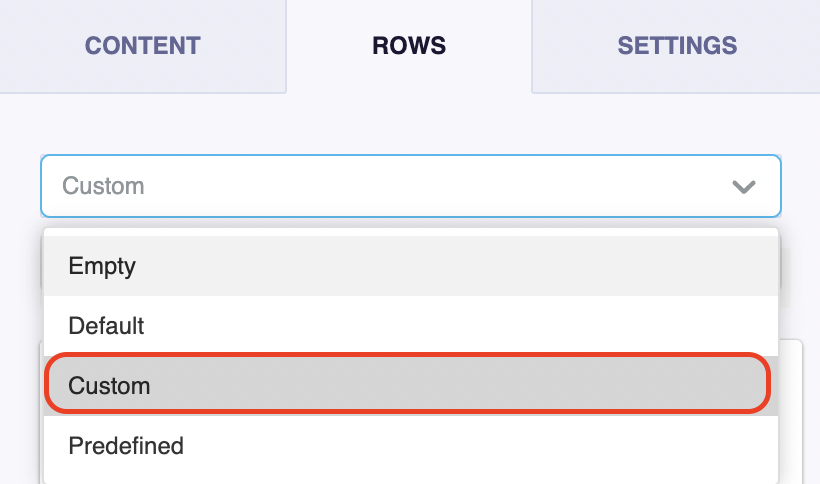
Manage, edit, and view saved custom rows in the Asset Manager. To access them from the email editor, select Custom from the dropdown in the Rows tab. To use a predefined template as a starting point, see Predefined templates.
Content tab
The Content tab contains elements you can drag into your row frames to build out the email body.
The following content elements are available:
| Element | Description |
|---|---|
| Title | Add a title using H1, H2, or H3 style tags. |
| Paragraph | Write paragraphs with rich text formatting options accessible via the Content Properties sidebar. Paragraph blocks replaced the legacy Text block in 2022. If you're working with older templates, you can still see the Text block with toolbar-based formatting—this is expected and fully supported. |
| List | Create numbered or bulleted lists with formatting options in the Content Properties sidebar. Introduced in 2022 alongside Paragraph blocks. |
| Image | Upload and place an image. Define title attributes for accessibility. |
| Button | Add a button with an assigned action—open a web page, send an email, make a call, or send an SMS. Hover states are supported. |
| Table | Add tables to your email. |
| Divider | Place a horizontal line or invisible divider between content components. |
| Spacer | Add space between elements. |
| Social | Add buttons for social media actions such as sharing a page or liking a product. |
| Dynamic content | Insert an HTML block from the Asset Manager—for example, a predefined header or footer. Click Configure block to select an existing HTML block or add one by reference. |
| HTML | Add custom HTML code. |
| Video | Add a YouTube or Vimeo link. Generates a clickable image preview. |
| Icons | Add icons or small images. Click Add new icon to customize in the editor or upload a ready-made icon. See BEE editor documentation. |
| Menu | Create a navigation menu with titles and URLs. See BEE editor documentation. |
| Product items | Add product recommendations. |
| Loomi AI | Generate and edit email content using AI — titles, paragraphs, buttons, and lists. See Loomi content: Email copy. |
Text block vs. paragraph and list blocksIn March 2022, the original Text block was replaced with the Paragraph and List blocks. The key difference: the Text block shows formatting options in the toolbar, while Paragraph and List blocks show formatting in the Content Properties sidebar. Existing Text blocks continue to work. For new content, use Paragraph and List blocks.
Product items
The Product items block lets you include product recommendations in emails directly from the visual editor.
To add product recommendations:
- In the Content tab, drag the Product items block into the editor.
- Position it where you want it in the email.
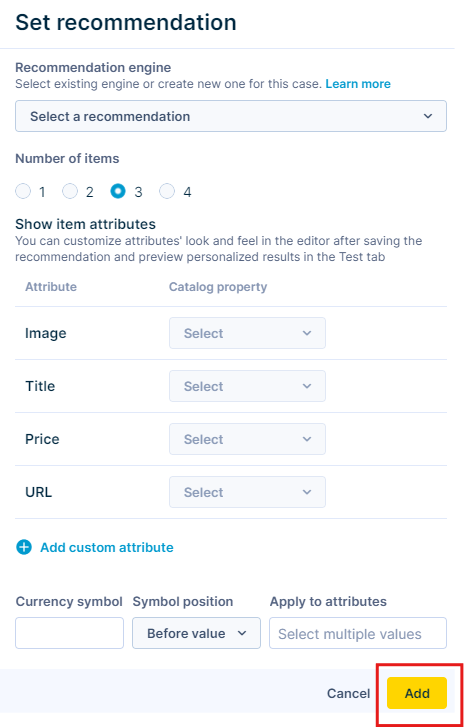
- Click Set recommendation.
- Configure the following:
- Recommendation engine: Select an existing engine or create a new one. Create the engine before setting up this block.
- Number of items: Specify how many products to recommend.
- Attribute for image, title, price, and URL: Map catalog attributes to each element.
- Currency symbol and its position: Specify the symbol and its position. Add a space next to the symbol if you want a gap between the currency and value:
USDorUSD. - Reference item: Set the reference item for the recommendation. Required only for relevant recommendation templates.
- Click Add.
Edit product recommendations like any other element using the visual editor.
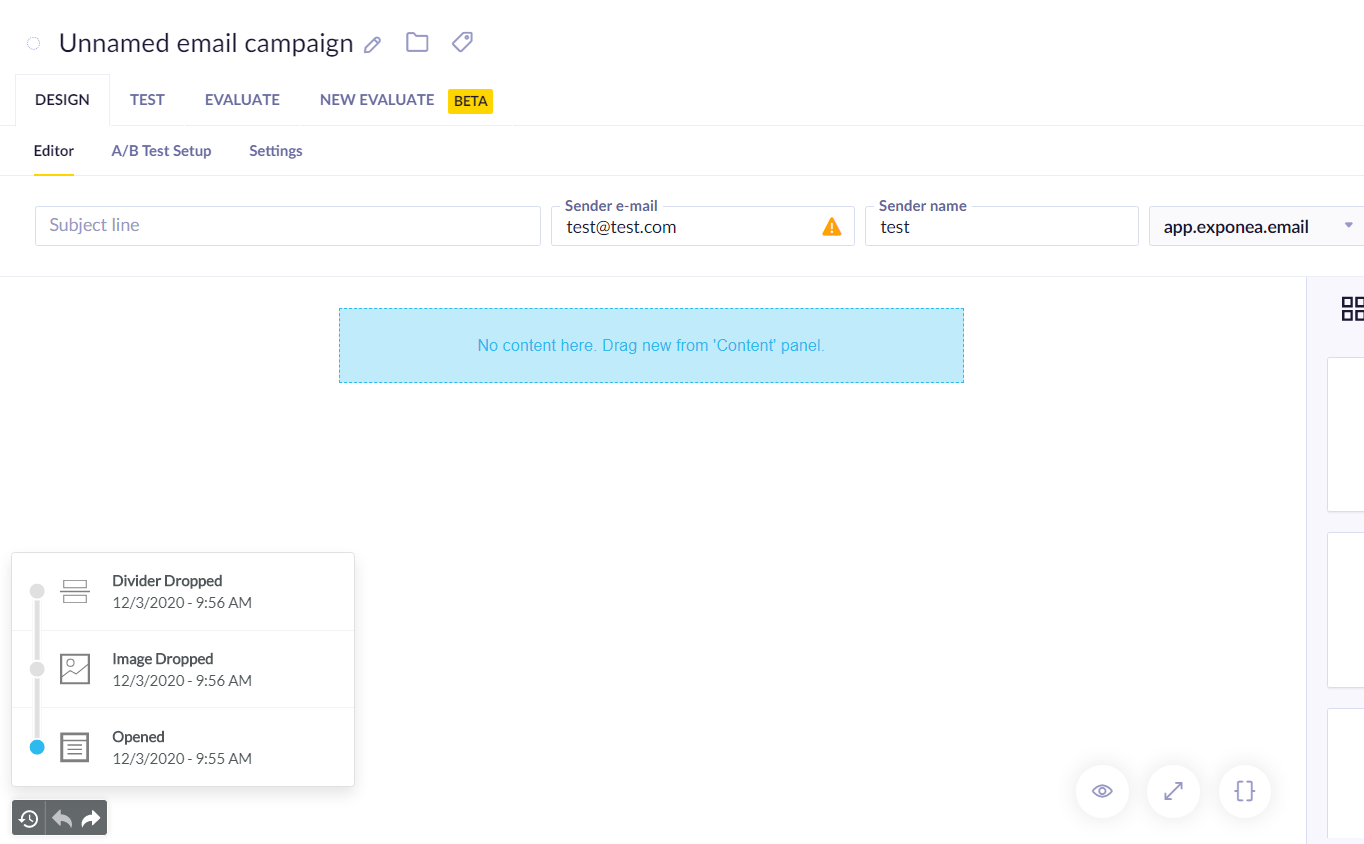
History of changes
After editing an email template, view the change history to see the time and nature of each edit. Undo or redo changes from the same view.
BEE editor HTML 3.0
Our visual email editor (BEE) optimized the way the output HTML generates. The resulting HTML is now much simpler and smaller in size by 50% on average.
The changes include:
- Simpler, cleaner HTML output.
- Reduced output file size by using HTML file compression.
- Wider email client compatibility, including reduced Gmail clipping.
- Faster design rendering.
The changes won't influence your already saved and running templates or campaigns. New compact HTML 3.0 applies only to newly opened and saved or newly created email templates.
You shouldn't need to take any action. However, be aware that the HTML structure changes. Make sure your email templates render correctly before saving.
HTML output
In version 3.0, the editor moved from a
Key changes:
- Migration from
<div>to<table>layout. - Most content blocks re-coded for conciseness.
- Final HTML compressed to remove whitespace between tags.
- Transparent dividers automatically converted to padding.
See the official BEE documentation for full details.
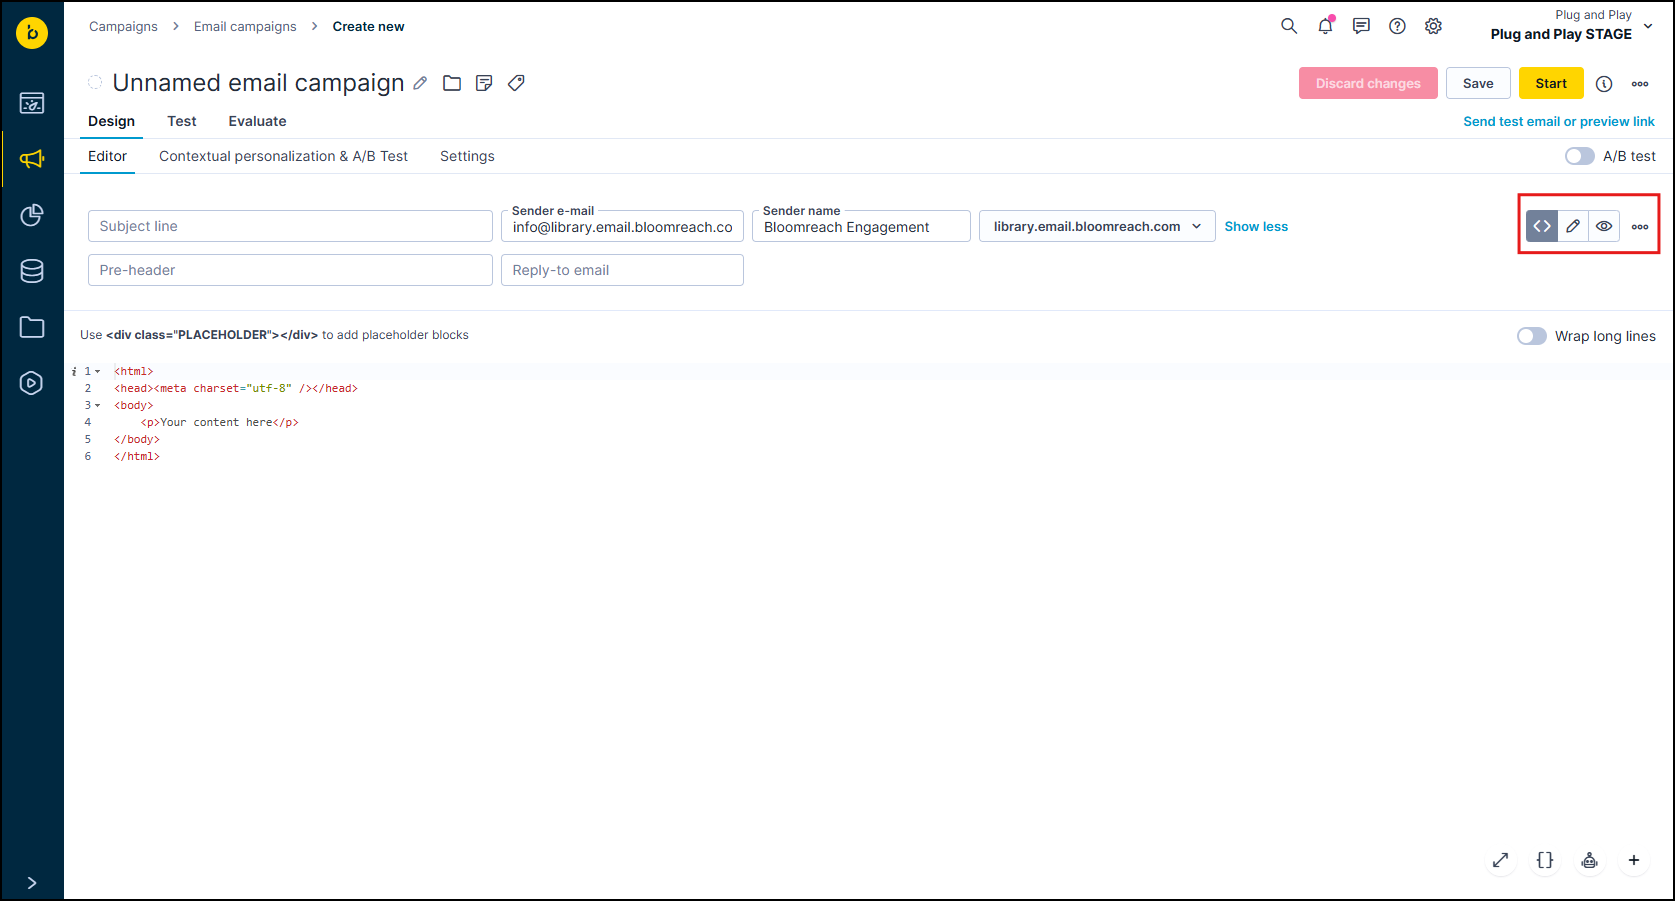
HTML builder
The HTML builder lets you create email templates by writing HTML and CSS directly. Three editing modes are available:
- Code: Write HTML and CSS code.
- Edit: Edit an interactive version of the rendered email. Supports paragraph editing, image uploads, and personalization.
- View: Preview the rendered email.
Switch between modes using the buttons at the top right of the template editor.
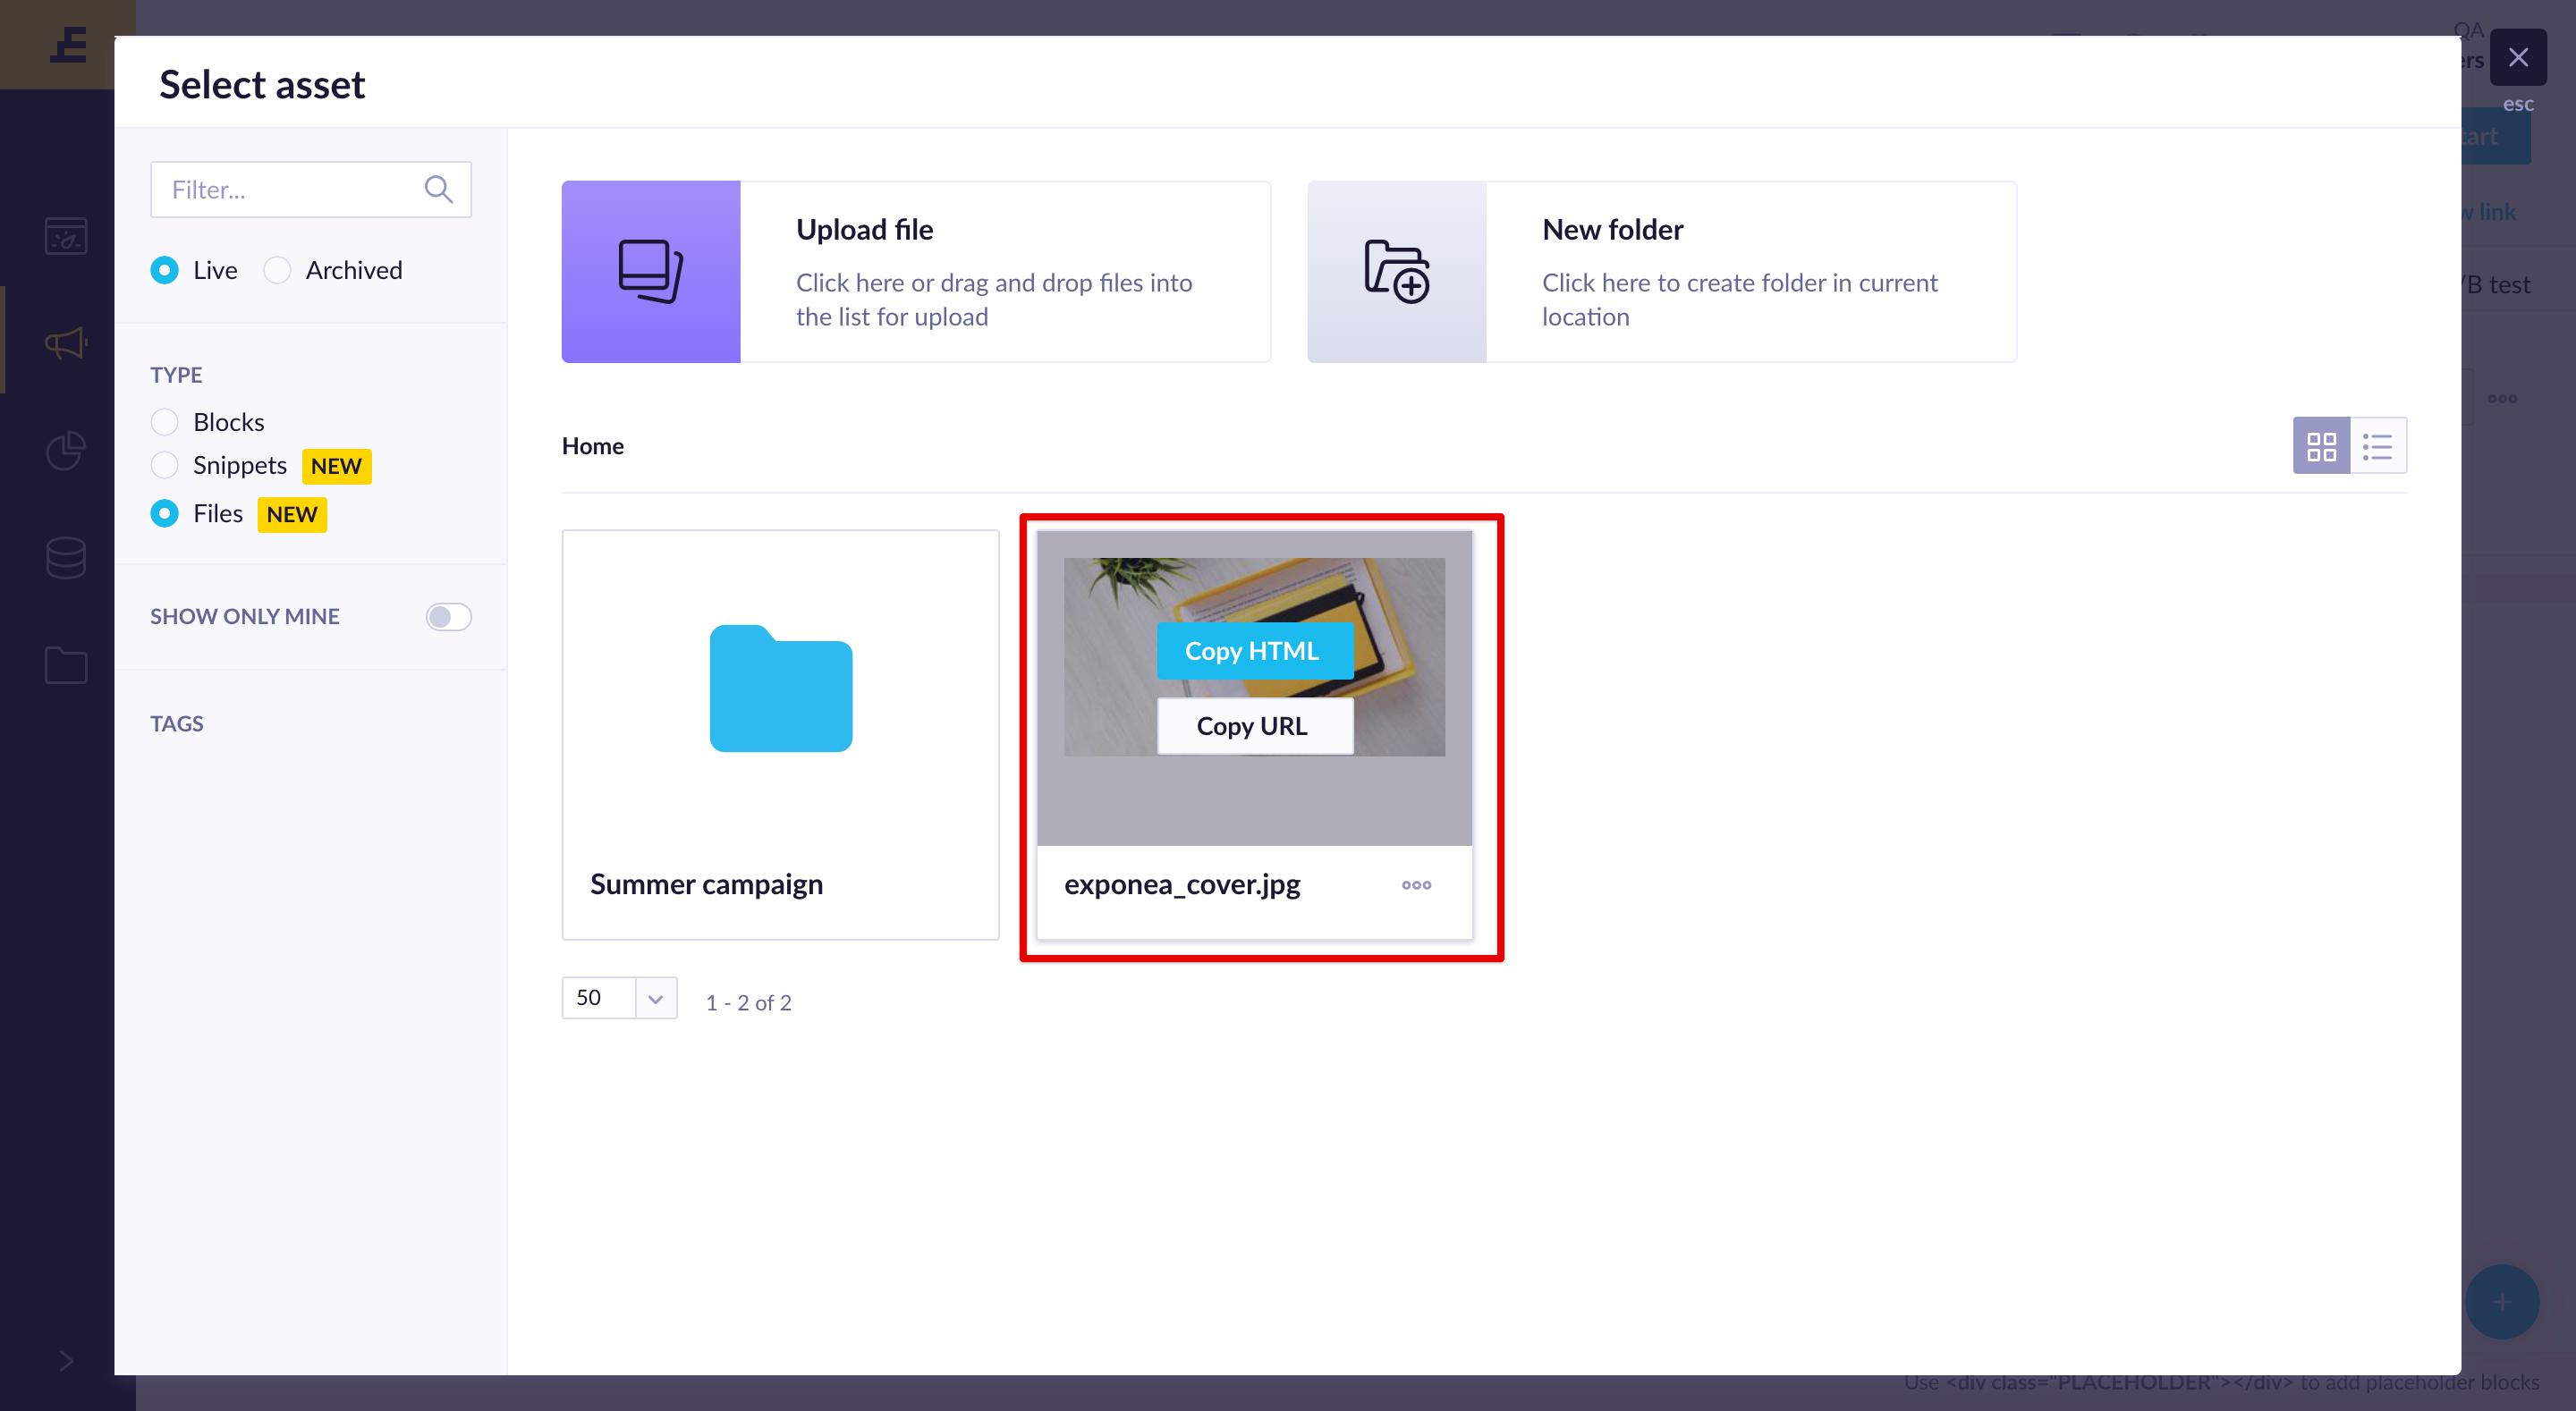
Upload images and files
Manage images and files through File management in the Asset Manager. Access stored files using the (+) asset picker at the bottom of the campaign editor or action node modal. Insert files using Copy HTML or Copy URL.
Read more about inserting files into your email campaign.
For HTML templates created outside Bloomreach that contain relative file paths, use Replace relative paths to automatically replace them with public URLs. See Replacing image relative paths for details.
Text font
Use widely supported fonts like Arial, Tahoma, and Verdana. Email clients such as Outlook may not render custom fonts correctly.
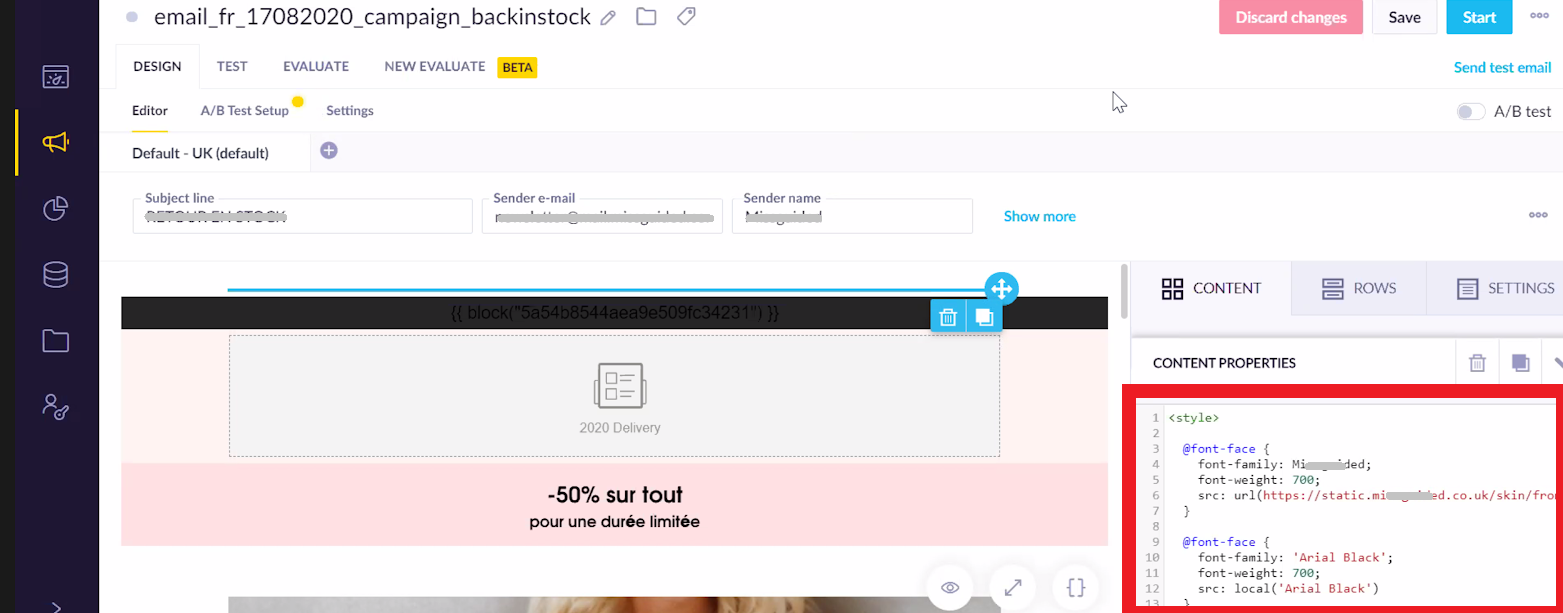
Copy the code and insert it into your HTML email builder.
To import fonts in the HTML builder, add your style code directly. You can also import from the Google Fonts API:
HTML Builder >> import from Google API
<html>
<head>
<meta charset="utf-8" />
<style>@import url('https://fonts.googleapis.com/css?family=Roboto');</style>
</head>
<body>
<p style="@import url('https://fonts.googleapis.com/css?family=Roboto'); font-size:36px; font-family: 'Roboto', sans-serif;">Hi hi hi.</p>
</body>
</html>
Subject line formattingBold, italics, special formatting, and HTML/CSS aren't supported in the subject line in the visual builder.
Personalization
Both the visual builder and HTML builder support personalized customer or event attributes — such as name — and vouchers, inserted using Jinja code. Generate Jinja snippets from the Personalization pane.
Personalization tags
Personalization tags are visual placeholders for dynamic content. Find them in the visual editor by clicking a text element to open the contextual menu. Tags include customer attributes, event properties, metrics, and other blocks or snippets.
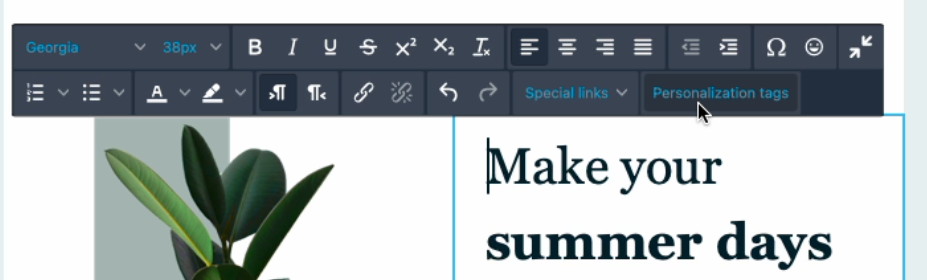
Rename tags to reflect their content clearly—this makes templates easier to manage. To update a tag, remove the old one and select a new one.

Templates and reuse
Multilingual versions
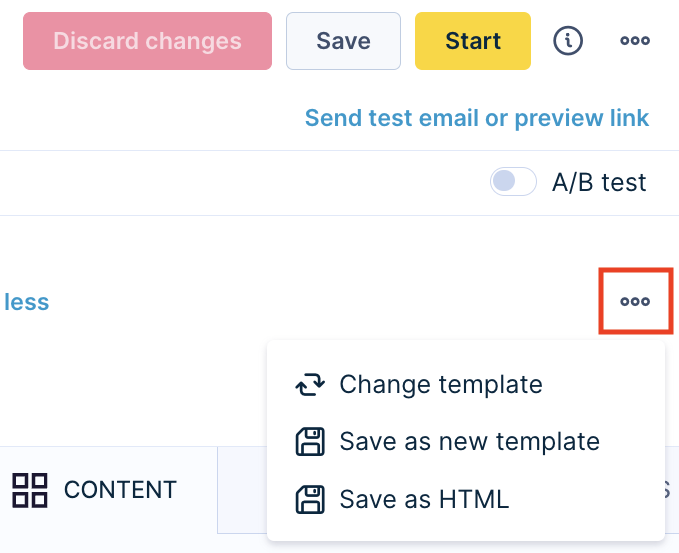
Both builders support multiple language versions of an email template—one per language configured in your project. Access this by clicking the three dots at the top right of the template builder, then Add language version.
When a customer has no language set, the system uses the default template. Creating a new language version copies the default template at that point in time—copies don't update automatically if the default template changes later. See multiple languages for details.

Save as new
Save as new saves your changes as a new email rather than overwriting the original. The system creates a new campaign ID and moves you to the new version automatically. Existing dependencies reference the new email.
Use this when creating multiple emails with small copy or design variations.
HTML blocks
HTML blocks let you create standardized components — headers, footers, call-to-action buttons — and reuse them across email templates. See HTML blocks for details.
Custom Head HTML
Add custom HTML to the <head> section of your email directly from the Settings tab. Use this to inject CSS, metadata, a favicon, or a stylesheet.
The following tags are supported when the sanitizer is on:
| Tag name | Description | HTML example |
|---|---|---|
| base | Sets the base URL for all relative URLs | <base href="https://example.com" target="_blank"> |
| link | Links to external resources | <link href="styles.css" rel="stylesheet" type="text/css"> |
| meta | Adds metadata such as description or keywords | <meta name="description" content="Free Web tutorials"> |
| style | Embeds internal CSS | <style type="text/css" media="screen">body { font-size: 16px; }</style> |
| title | Sets the document title shown in browser tabs | <title>My Website</title> |
Product carousel
To add a product carousel to your email:
- Prepare a template in the visual editor.
- Export it as HTML.
- Paste the exported HTML into the HTML editor.
- Add the annotations code.
For testing guidance, see the Google email promotions troubleshooting guide.
NoteAdding JSON code within the campaign builder requires converting to HTML first. For security reasons, JSON code is removed automatically when you save the campaign.
Updated about 1 month ago