

Web Recommendations Block
Setting up product suggestions on your site might seem tough and you might think you need an IT expert. But, with the provided 'Product Recommendations [web]' block in the Web Recommendations Block, it's super easy to display customized suggestions without any coding. You can use it in experiments, which makes it speedy to add value to your business.
Create web recommendations block
- Go to Campaigns > Experiments > + Create new and insert your target website.

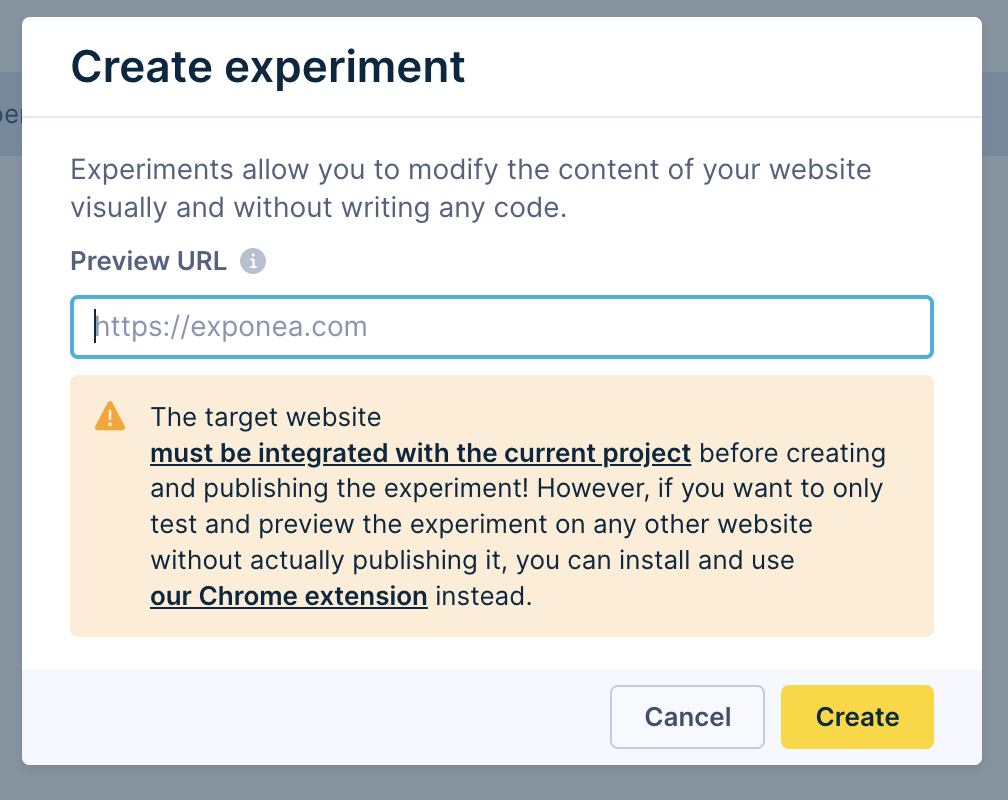
ImportantRemember that the target website must be integrated with the current project before the experiment is created and published.
- In the Design tab, click Edit. This opens your target website.

- Click on the screen where you want the product recommendations to appear and then click Insert > Block.

- Scroll down to the Predefined templates and click on the ready-to-use predefined block ‘Product Recommendations [web]’ available for every project.

- A panel will be displayed where you can modify and personalize the block with product recommendations.
- Select a recommendation engine available for the project under Recommendation ID.
- Specify the currency, such as EUR.
ImportantThe block only works with recommendation engines that do not initially need
item_id. However, if you need to use this engine withitem_id, it can be added to the Product Recommendations block in the Asset manager.

Edit web recommendations block
You can adjust various parameters, such as fonts, colors, layouts for mobile devices and desktops, and more, to achieve the perfect personalization. For example, a block adjusted to showcase 4 items with a red background would look like this.

If you are satisfied with the block, click Confirm in the bottom right corner and save your changes.
Although this block should work for a vast majority of websites, each one is different. Test the block before you deploy it to your audience.
Test web recommendations block
You can test the blocks on yourself in the Settings tab. For example, if you specify your URL. You can also perform various modifications to accommodate your preferences. Next, click Start, and the website will contain the product recommendations!

A/B test
In the Design tab, you can create multiple variants of the Experiment and set up the AB Test. You can also change the preview page URL, change the variant names, and even duplicate them.
In the center-right of the page, you can choose the traffic distribution. If you pick Automatic traffic distribution (default), Engagement will automatically lean towards the Experiment variants that do the best.
If you choose Custom traffic distribution, you get to decide the customer percentage that will see each Experiment variants.
Both options let you make a control group. This is a group of users who will keep seeing your original page, helping you evaluate better.
You can also choose to duplicate your variant.
