

Weblayers
Short for Web overlays, sometimes called banners or pop-up.
Weblayers are overlays that appear on specific pages of your website to engage visitors based on triggers like scroll depth, time on page, or customer segment. Unlike pop-ups, weblayers use HTML, CSS, and JavaScript, so they aren't blocked by standard pop-up blockers.
ImportantWeblayers can override customer consent preferences. To ensure weblayers only display to customers who have given consent, configure your consent group settings in Weblayer settings.
Think of weblayers as smart signs for your website. They know when and where to appear based on what customers do and prefer.
Weblayer benefits
Weblayers support a range of customer engagement goals across the purchase journey. Use weblayers to:
- Boost sales by showing timely deals, such as free shipping offers.
- Build email lists by incentivizing sign-ups with compelling rewards.
- Learn about customers by running quick surveys and preference forms.
- Create urgency by displaying live purchase activity from other shoppers.
Create a weblayer
Create a weblayer as part of a campaign.
- Go to Campaigns > Weblayers > + Create new.
- Choose Blank template to start from scratch, or select an available template — either your custom templates or predefined ones.
- Customize your weblayer using the visual and HTML editors.
Setting up a weblayer consists of 4 main steps:
- Design
- A/B test setup
- Settings
- Test and evaluation
The tabs for each step are available in the top-left corner of the editor.
NoteYou can also create a reusable weblayer template from the Asset manager and use it in a campaign later.
Weblayer design
Design your weblayer using the visual editor, the code editor, or a combination of both. The visual editor lets you modify parameters through text inputs and color pickers. The code editor supports direct HTML, CSS, and JavaScript editing and lets you define custom template parameters. You can also start from a predefined template to speed up the process.
For full details on the editor interface, defining parameters, custom images, and predefined templates, see Weblayer design.
A/B test setup
Turn on the A/B test toggle in the top-right of the editor to enable A/B testing. A new row of tabs appears above the editor.
By default, Bloomreach creates a Control group and Variant A based on your current weblayer design.
To add more variants:
- Click + next to the tabs and select New variant. The first click duplicates Variant A; subsequent clicks duplicate the last created variant.
- Click + next to the tabs and select Generate variants with Loomi to create multiple variants automatically using AI.
- Click the duplicate button on a specific variant tab to copy that variant.
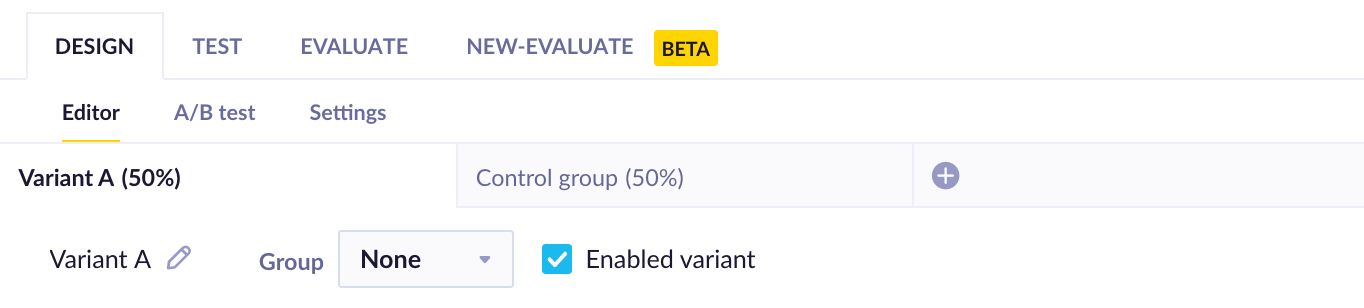
All A/B test settings are available under the A/B test tab in the top-left corner. Configure options such as distribution type there. For more information, see the A/B testing guide.
Settings
The Settings tab controls how and when your weblayer appears. Configure the conversion goal, schedule, display frequency, target devices, consent category, and audience.
For full details on all settings, display options, and page-level display conditions, see Weblayer settings.
Test and evaluate
Use the Test tab to preview the weblayer before launching. Select a specific device, website section, and customer to simulate the display conditions accurately.
Once the campaign is running, open the Evaluate tab to view the predefined evaluation dashboard and analyze performance in real time.
Limits
To ensure a consistent and expected level of service, weblayers are subject to a yearly serving limit. This limit is based on your contracted billable profiles and is designed to cover the vast majority of use cases.
If you use product recommendations in weblayers, those recommendation serves also count toward your yearly recommendation limit.
Check your current usage in the usage dashboard. If you think you may be approaching this limit, contact your Account Manager to review your options.
Related articles
- Weblayer reference: Manual SDK triggering, generated events, lag handling, and troubleshooting.
- Weblayer use cases: Practical examples, including last visited product and day-specific display.
Updated 1 day ago
What´s next?
Learn how to clone your WebLayers into another project that you have access to in our Cloning article!