

Asset Manager
The Asset manager stores all your saved templates. It is a centralized repository for:
- Templates (for example: email, SMS, weblayers)
- HTML blocks
- Custom rows
You can also view and browse all your Project and Predefined templates.
Use the templates to build a wide range of marketing automation use cases:
- Weblayer templates are the basis for subscription opt-in experiences, promotional banners, and other notifications.
- Email templates find their use in Email campaigns, such as personalized newsletters and abandoned cart scenarios.
- HTML blocks allow you to create standardized email template components such as headers, footers, or call-to-action buttons.
- Custom rows serve as customizable frames for your email template content. These components serve the uniformity of your brand and identity throughout your email communications.
- In-app personalization templates are the basis for banner campaigns targeting mobile app users.
Asset Manager navigation
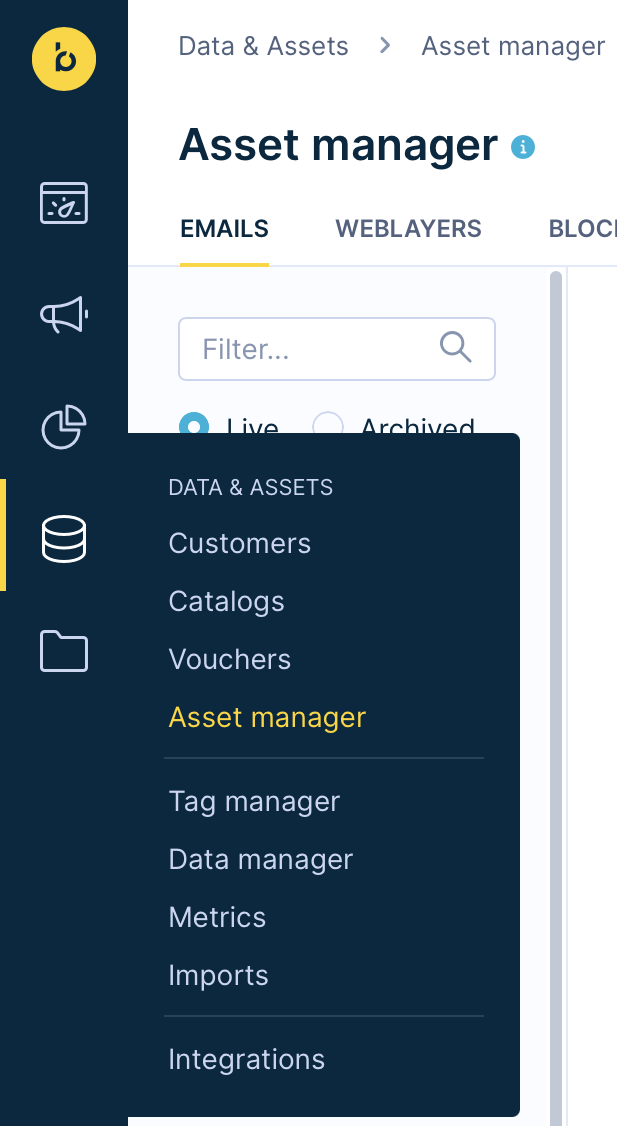
a. Navigate to Campaigns -> Asset Manager
b. Click on the Asset Manager item in the drop-down menu.
c. You will now see the Template browser.
In the Asset manager, you can create, edit, and search for email and weblayer templates, HTML blocks, and custom rows. The Template browser consists of a menu/filter pane and the browser itself. The menu allows you to select the template category you want to browse, and then filter the results down by type or tags
The browser allows you to browse through your templates. Toggle between Grid view and a more detailed List view in the right corner. You can only open items in a new tab using the List View as Grid View doesn't support that.
Create a new template by clicking on the button or one of the available buttons on the top side of the browser. This takes you to the respective editor. The created template will then be saved in the Asset Manager. Note that the same applies for templates created and then saved through a Campaign or a Scenario directly.
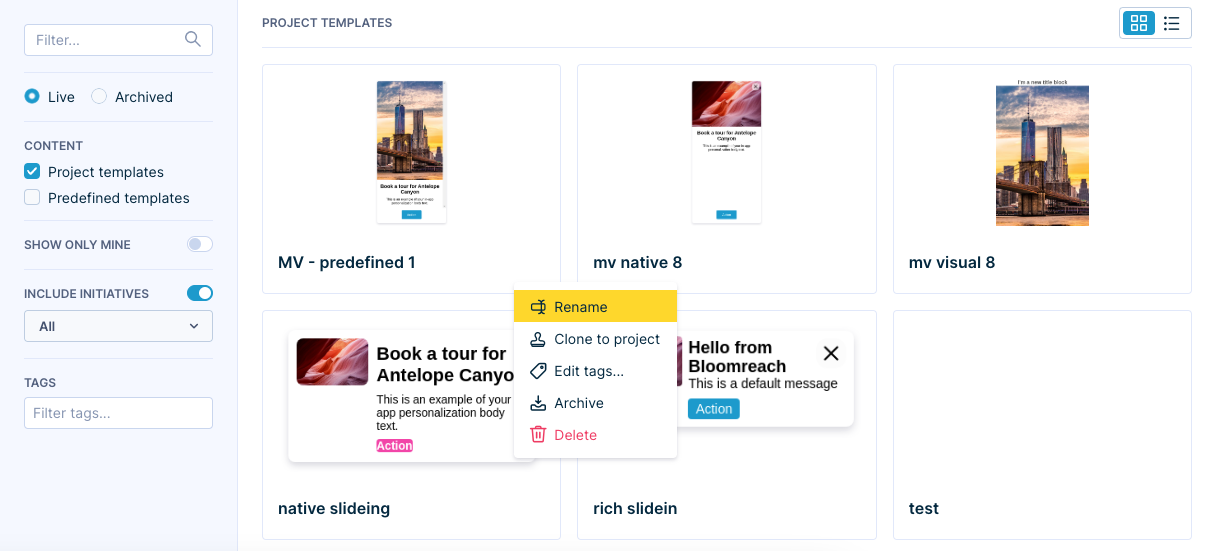
Project and predefined templates
Saved templates are divided into Project templates and Predefined templates.
Project templates
Project Templates are custom templates you created and saved yourself. Project templates can be:
- Edited: Click the template to open it for editing.
- Renamed, archived, or deleted: Hover over the template and click the 3 dots in the bottom-right corner to access these options.
This functionality applies to all asset types available in Asset manager. You can also save changes to a template by using it in a campaign or a scenario, then editing and saving it from there.
To learn more about each asset type, see the Asset types section.

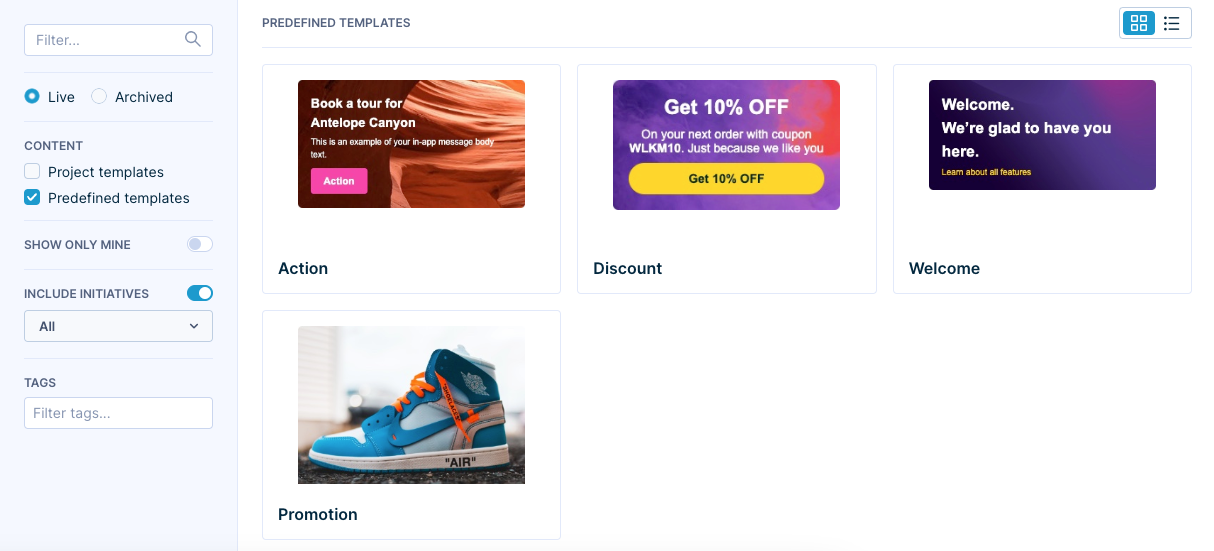
Predefined templates
Bloomreach creates and manages Predefined Templates to provide you with a variety of starting points for your campaigns or special seasonal events like Black Friday. These templates are the same for all users and are updated in real-time from a central repository, ensuring that every project has access to the most up-to-date versions.
While you can't edit or delete these Predefined templates directly, you can open them, make changes, and save them as a copy into your Project templates. You can also select them in your campaign.

Predefined template parameters
Predefined templates have parameters divided into specific categories depending on the template. Parameters are ordered within each category based on their relevance to each other. When working with a copy of a Predefined template in the code editor, you can configure these categories as needed. If you are creating a new custom Weblayer from scratch, you can use a similar structure.
Blank templates include the following default parameter categories:
- Background
- Copywriting
- Layout
- Triggering
- Typography
| Category | Description |
|---|---|
| Background | Set the background color or image |
| Copywriting | Configure various text fields and links |
| CTA | Configure various button options |
| Form | Configure fonts or colors of input fields text |
| Image | Set the image source and alt text |
| Layout | Set the layout dimensions of the Weblayer |
| Position | Set banner edge offset, enter animation, or page alignment. The last one also determines the direction of the slide animation in the following ways: horizontal=left - slide from left |
| Triggering | In this category, you can configure the Weblayer's "show triggers" used and set times delays in show/hide. On entry - display upon opening the webpage |
| Typography | Centralized text formatting |
| Visuals | Other visual properties |
In addition to these standard parameters, there may be other parameters specific to the individual Weblayer type, such as setting the date and time for a countdown banner.
Asset types
Here you will find the description of each of the asset (that is, "template") types found in the Asset manager, how to edit them, or how to create new templates yourself.
SMS templates
To comply with US wireless carrier policies, your logo must be shown in all SMS opt-in weblayer templates. Update your SMS templates to meet compliance standards for US short codes.
Create a custom SMS template library with our SMS templates. All templates from this library are available during the campaign creation process and can be reused.
You have 2 options to create a new SMS template:
- Create your own template
- Use Predefined templates
To create your own template:
- Go to Data & Assets > Asset Manager > SMS > Blank SMS.
- Customize the template.
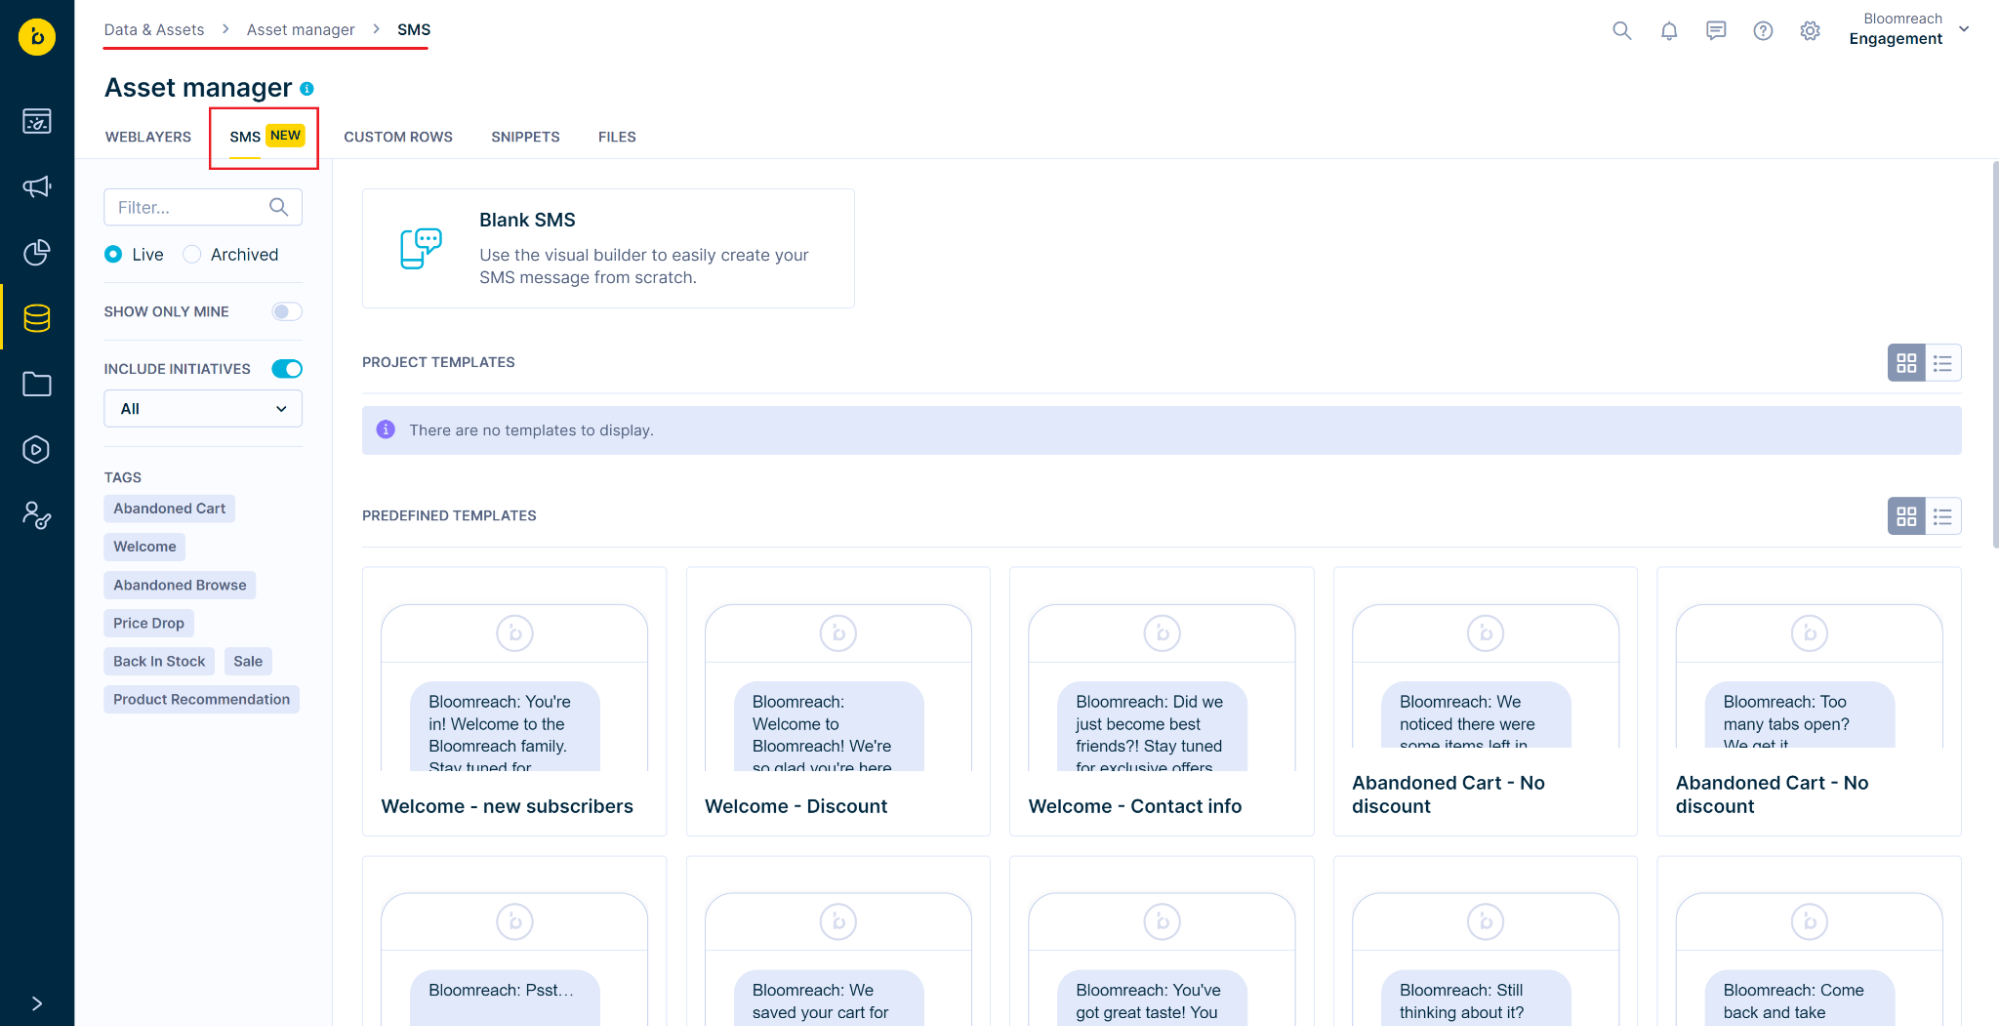
To use Predefined templates:
- Dive into our up-to-date curated SMS Predefined templates library in the Asset Manager.
- Select a template that aligns with your goals.
- Edit the template.
- Save it as a copy into your Project templates or choose the template directly in your campaign.
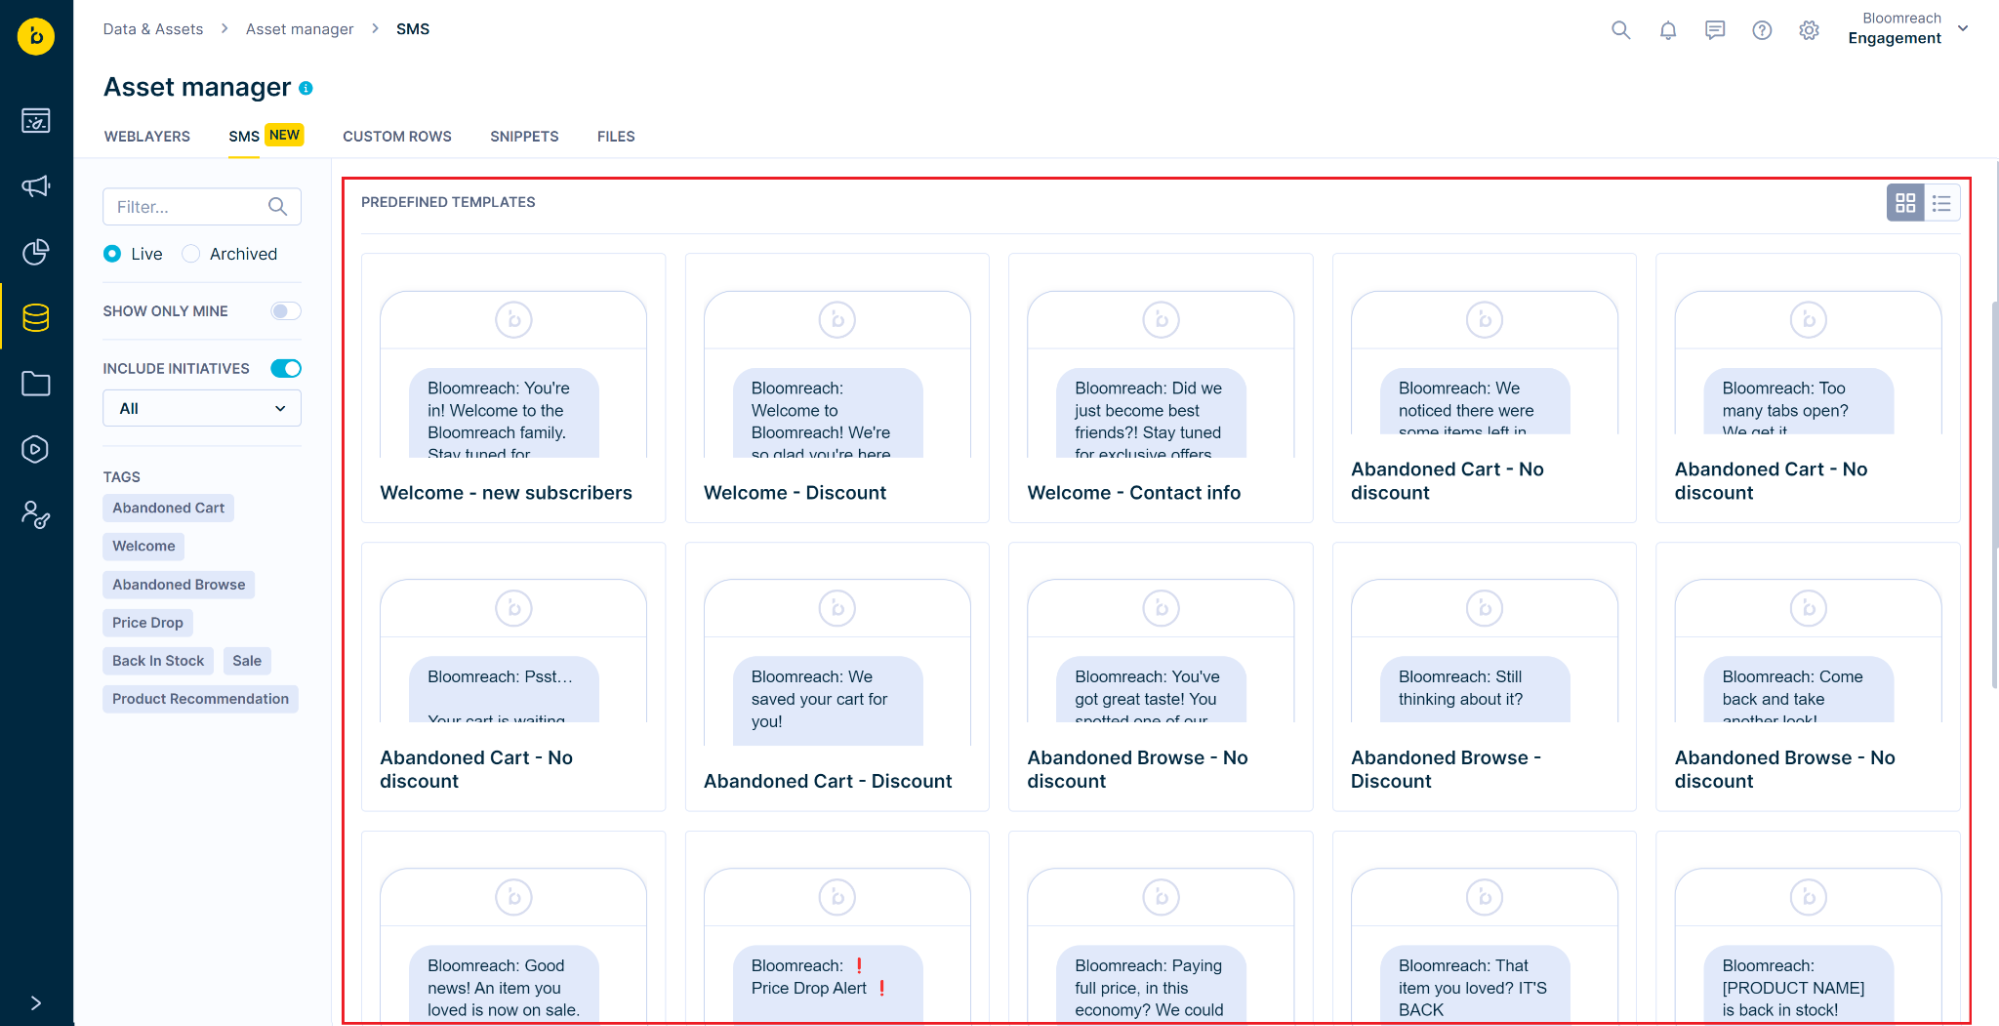
In the SMS template's Settings tab, you have the flexibility to define certain SMS settings that will be automatically filled in when the template is utilized in an SMS campaign. These optional settings include:
- Link Shortener: Streamline lengthy links with our Link Shortener feature (if enabled).
- Transfer Identity to URL Links: Seamlessly carry over identity to URL links (if Link Shortener feature is enabled).
- Link Transformation: Customize link appearance and behavior.
- Custom Campaign Tracking: Tailor tracking to suit your campaign's needs.
By default SMS template settings are disabled.
When you create a new SMS campaign using a template with enabled settings, these settings will prepopulate the campaign settings. This eliminates the need to configure settings repeatedly for the same template, ensuring consistency and saving you time.
If you decide to switch the template within an existing campaign, you're presented with the choice to apply the new template's settings or maintain the existing campaign settings.
Email templates
An email template is essentially the body of your email that you can use in your campaigns. It consists of rows that serve as frames for the structure of the email, and then the content itself within those "frames".
3 ways to create a new email template:
- Create a template from scratch: You can create a new template by clicking on either the "Visual Builder" or "HTML Builder" button on the top of the screen when using the Asset Manager. The visual builder is a user-friendly email editor that utilizes a drag-and-drop workflow, so it does not require any prior coding know-how. The HTML builder provides you with a clean HTML editing environment where you can use HTML and CSS code to build the email template.
- Start off with a Predefined template: Select one of our Predefined Templates from an up-to-date curated library in the Asset Manager. You can open them, make changes, and save them as a copy into your Project Templates or choose them directly in your campaign.
- Turn already created emails into new templates: Save your emails created through Email Campaigns or a Scenario as new templates. Upon saving, the template will be stored in the Asset Manager.

In the Settings tab of email templates, you can optionally define some of the email settings that will be used in 2 ways:
- To pre-populate campaign settings once the template is used in an email campaign
- For transactional emails using the template
Settings in the email template, if enabled, include:
- Link transformation
- Transfer identity to URL links
- Custom headers
- Custom campaign tracking
By default Email template settings are disabled.

After creating a new email campaign using a template with Settings enabled, the settings from the template will prefill the campaign settings. This means you don't have to configure the campaign settings every time for the same template.
Upon changing a template used in an existing campaign, you will have the option to apply the settings from the template or not apply them and keep the existing campaign settings unchanged.
To learn more about the two editors, read our detailed Email editors guide.
To learn more about Email Campaigns and how they work, follow this article.
Weblayers
Weblayers are banners that are shown on specified pages of your website to a specified audience. They are executed using HTML, CSS, and JavaScript.
To create a new weblayer, in the Asset Manager, click on the "Blank Template" button to start from scratch, or select one of our Predefined templates and start your editing from there. The Weblayer editor lets you switch between the HTML, CSS, and JavaScript editor and a Visual "parameters" editor. The latter allows you edit the behavior or visuals of the weblayer using input fields, sliders, or a color pickers.
Other than creating templates from the Asset Manager you can also create new templates directly from your Weblayer campaigns. Upon saving, the weblayer will be stored as a template in the Asset Manager.

To learn more about weblayers, their functionality, and the editor, read our detailed Weblayers guide.
HTML blocks
HTML Blocks (also called "dynamic blocks") are custom snippets of HTML code that you can save and reuse. These blocks can be inserted into an email template through both the Visual or HTML editor. Other than emails, HTML blocks can also be used in Experiments.
To create an HTML block, in the Asset Manager, click on the "New block" button at the top of the screen. This will open up the HTML editor. You can also create a new HTML block from the email campaign's HTML editor by clicking the + button at the bottom right of the screen and choose the "New block" option. Upon saving, this block will be stored in the Asset Manager.
To learn more about HTML blocks, their functionality, inserting Jinja, and the HTML editor, read our detailed HTML blocks article.
'Product Recommendations [web]' blockWe would like to highlight the very handy predefined and ready-to-use 'Product Recommendations [web]' block which will enable you to deploy product recommendations without any coding.
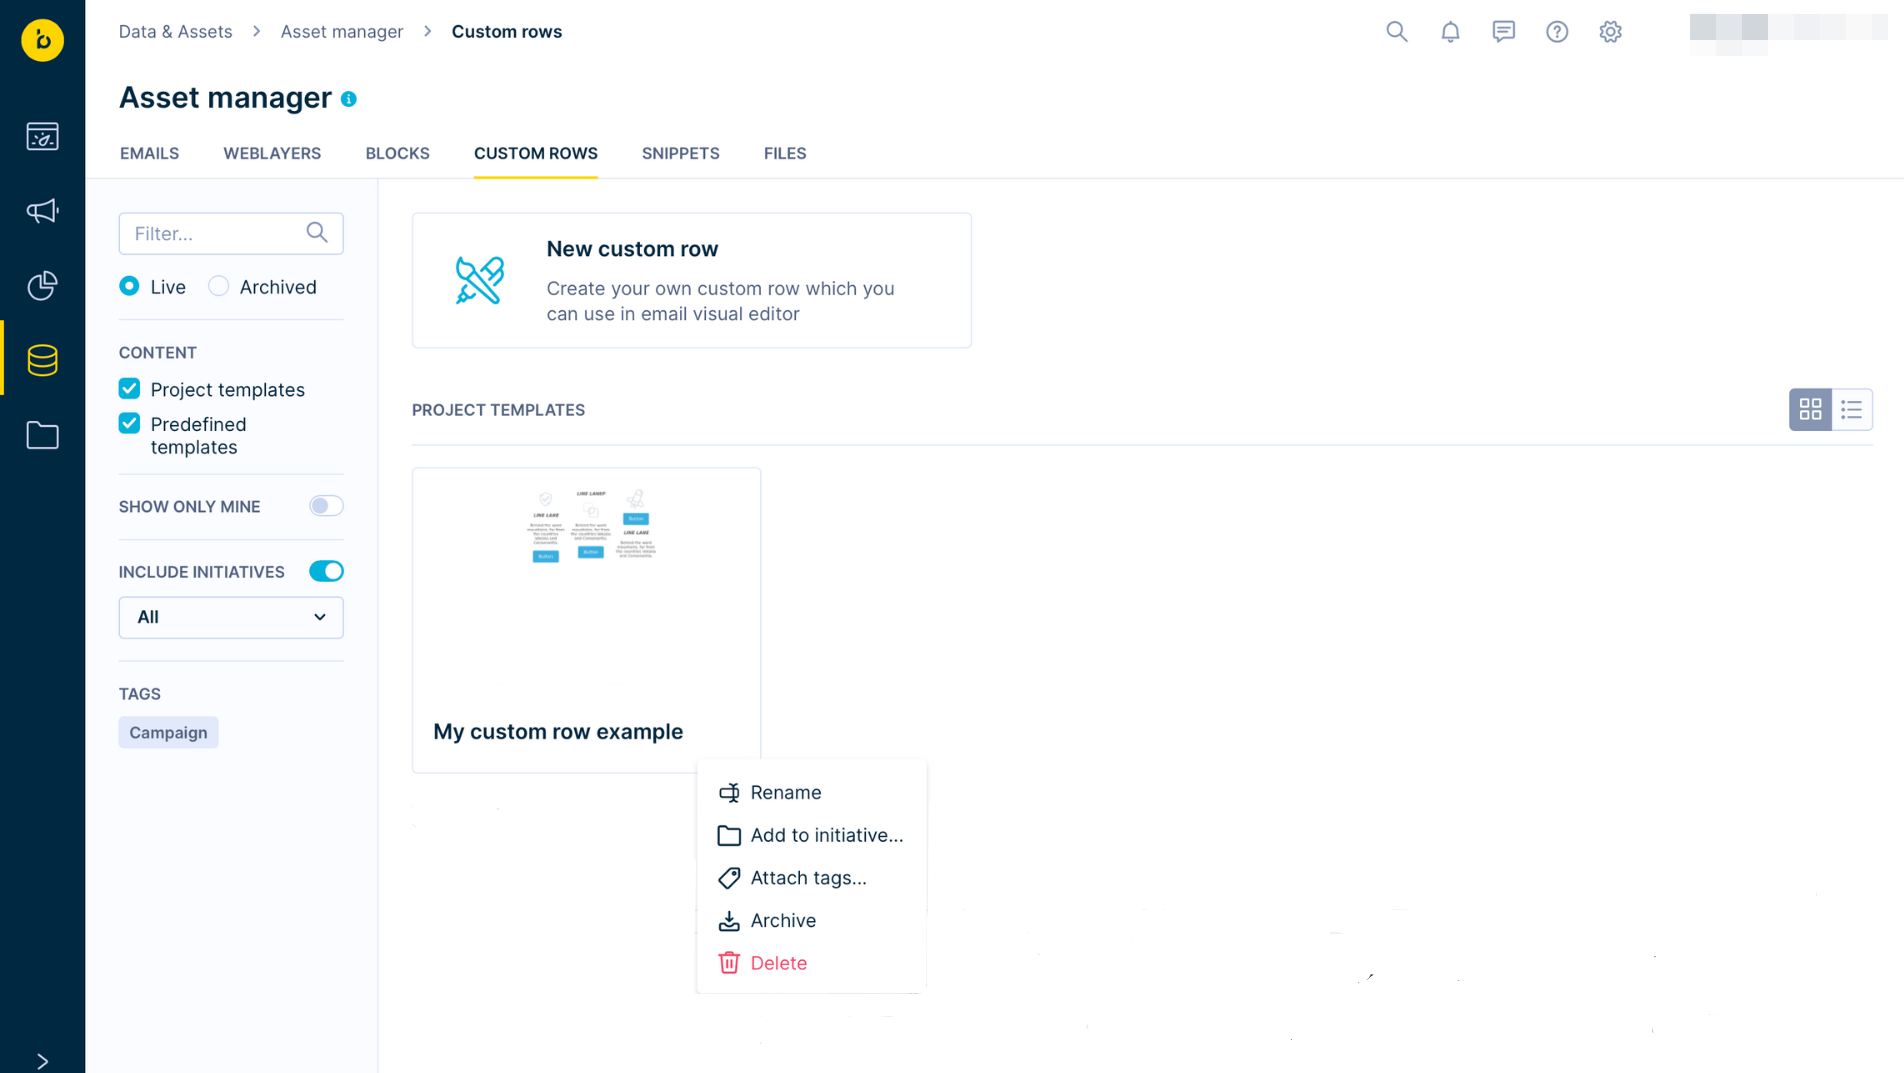
Custom rows
Rows are the frames that make up the structure of your email template content. They can be filled with any type of content available in the visual email editor. Bloomreach allows you to save these so that you can reuse parts of your email templates and thus significantly speed up your workflow.
To create a new custom row, you can do so from the Asset Manager by clicking on the "New custom row" button at the top of the screen. This will open up the email visual builder in its full functionality. That means you will be able to add more rows on the screen and edit them at the same time, but you will only be able to save them each separately. Read more about how to save custom rows. Similarly, you can use Predefined Templates as a starting point.
You can also save a custom row at any point when creating an email in the visual editor via Email Campaigns or Scenarios.
In addition to editing, renaming, archiving, and deleting the saved custom rows within the Asset Manager, the 3 dots menu in the bottom right corner will also give you the option to add the row to an initiative or attach tags to it for easier and more clear management.
Custom row updates
Updates made to existing custom rows will not be reflected in existing campaigns that used the row previously. You have to update existing templates and campaigns individually by manually replacing the row with the updated version.
Snippets
Snippets are smaller custom pieces of Jinja, code, text, or HTML that can be saved and reused across campaigns. Their use can range from saving frequently used Jinja macros, to saving snippets of text, such as the unsubscription sentence that you use in all your SMS campaigns.

3 ways to create a new snippet
- Create a new snippet in the code editor: To create a new snippet, click on the New Snippet button at the top of the screen. This will open up the code editor. You can write the content of the snippet into the editor and use the Parameters tab to add new parameters (that is, variable values that you can specify in each individual campaign).
- Use campaign or email nodes: Create snippets within a campaign or email node by clicking the (+) button on the bottom of the editor or node modal, selecting Snippet in the asset selector, and choosing the “New snippet” option. All snippets are saved within the Asset Manager.
- Start off with Predefined templates: You can select one of our Predefined templates from an up-to-date curated library in the Asset Manager. You can open them, make changes, and save them as a copy into your Project templates or choose them directly in your campaign.
A snippet can be inserted into a campaign by clicking the plus (+) button on the bottom of the editor or action node modal and selecting a snippet in the asset selector. Chosen snippets will be displayed in preview with the option to specify the parameters.
Snippets are supported within:
- Email campaigns
- Scenarios (SMS content, webhooks, browser and mobile push content, wait node)
- Blocks
- Custom rows
Read more about Snippets.
Files
“Files” are uniting all uploaded files, including images, videos, or documents, into one central and shared access point within the Asset Manager. You are able to upload, find, and reuse an image, a video, or other files in every place where such files can be used, including emails, weblayers, or push notifications. Supported file types include images, videos, or other types, such as documents or CSV files.

Files can be uploaded and managed within Asset Manager > Files. Upload files by clicking on the "Upload file" button at the top of the screen or drag and drop the files into the list.
File manager is accessible from all campaigns and places where you work with images (except Experiments and Visual email builder, which will be added later). Upon opening the asset picker modal, you can insert the file via copying its URL, copying it as HTML, or directly inserting an image into the image input.
You can create folder structures to keep your files organized. To create a folder, click on the New folder button. The new folder will be created within the current location.
Read more about File management.
In-app personalization
In-app personalizations are banners that are shown in your mobile applications to a targeted audience.
To create a new in-app personalization template, select the In-app personalization tab in the Asset manager.
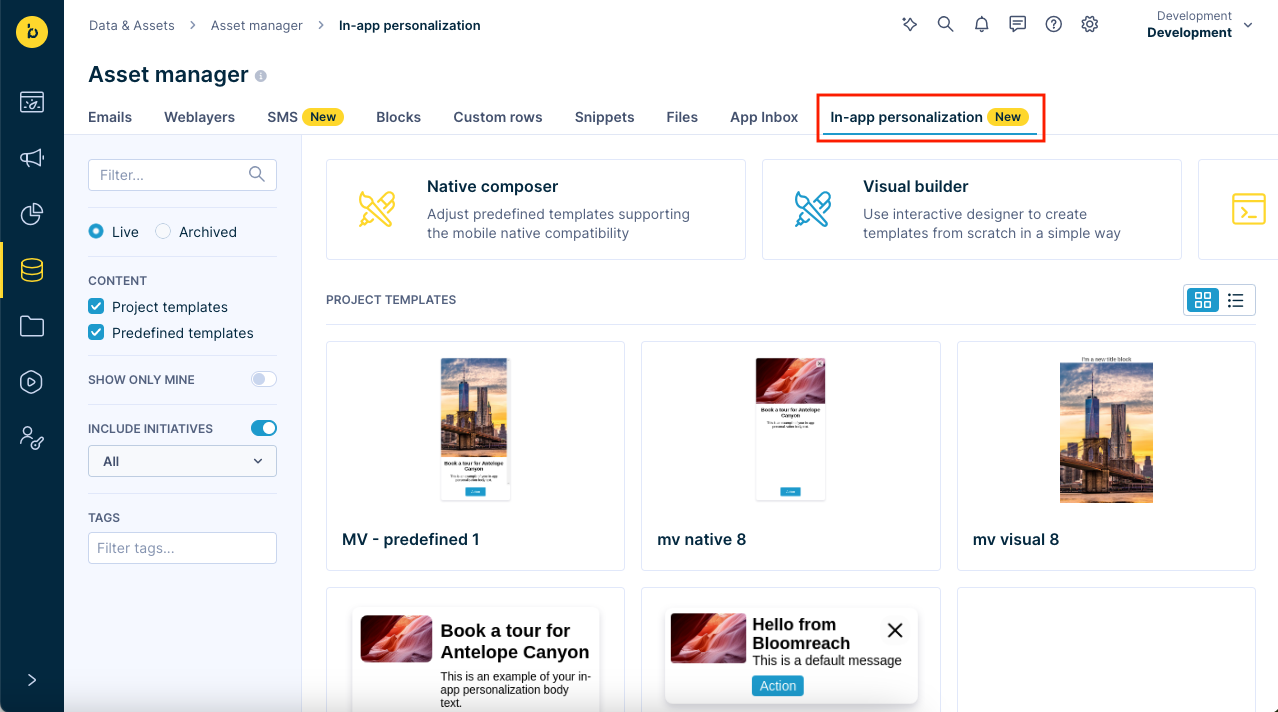
From here, you have a number of different options to create or edit a template:
-
Native composer button (recommended option):

- Create a new template based on a predefined template that uses the native capabilities of the mobile platforms.
- Click on the button and select one of the available templates.
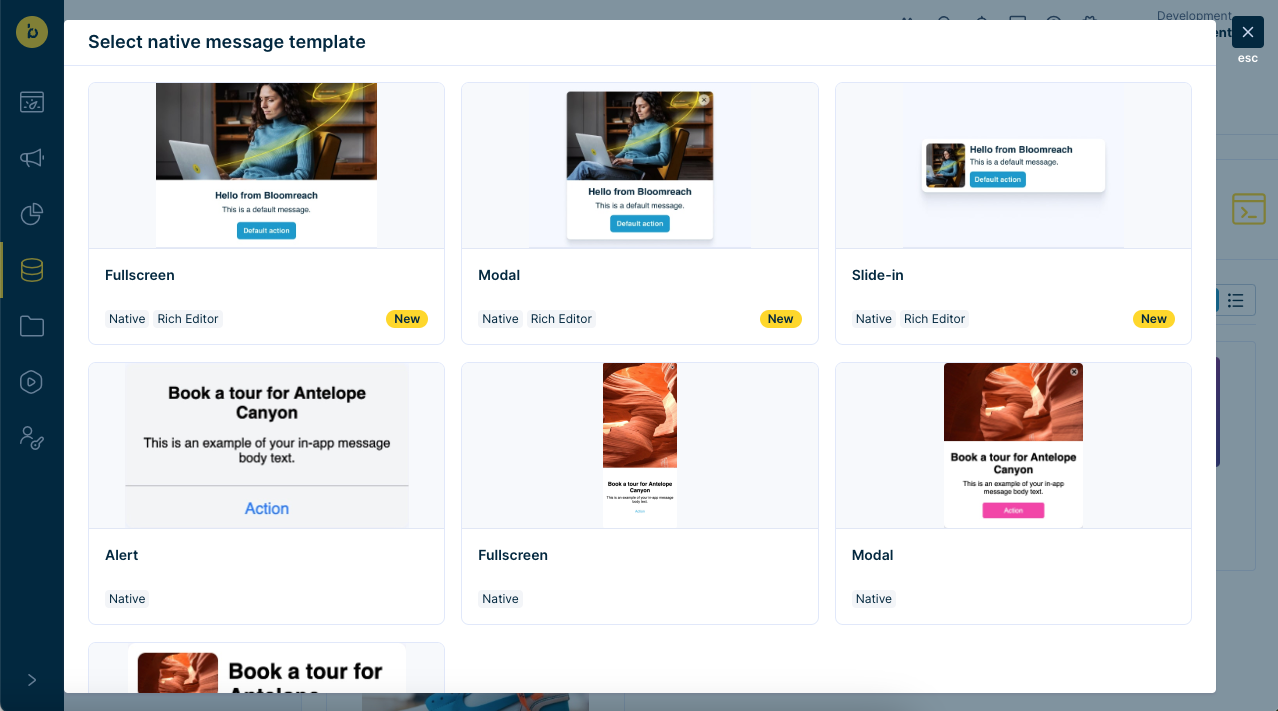
- Templates labeled Native and Rich editor have rich formatting and styling options.
- Recommended: Native rich editor. It offers the best balance between formatting/styling options and device compatibility.
- Templates just labeled Native are restricted to the system styling of the mobile platforms.
- Not recommended: Native legacy messages will eventually be deprecated and phased out. Don't create new native legacy templates.
- For details on how to use the editors, refer to the Native rich editor and Native legacy editor documentation.
-
Visual builder button:
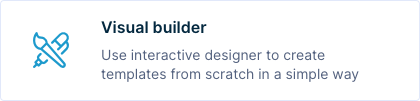
- Create an HTML-based template from scratch without any advanced coding know-how using a drag-and-drop workflow.
- Although the Visual builder provides a lot of freedom to format and style your messages, it may result in inconsistent rendering on different devices.
- For details on how to use the editor, refer to the Visual builder documentation.
-
HTML builder button:
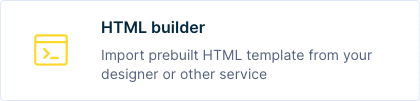
- Create an HTML-based template from scratch by writing HTML and CSS code.
- Although the HTML builder provides a lot of freedom to format and style your messages, it requires HTML and CSS coding skills and may result in inconsistent rendering on different devices.
- For details on how to use the editor, refer to the HTML builder documentation.
-
Project templates overview:
- Select a previously saved template to edit.
- You can also rename, clone, archive, or delete a project template or edit its tags.
-
Predefined templates overview:
- Select an out-of-the-box predefined template to use as the starting point for a new HTML-based template in the Visual builder.
Updated 2 days ago