

Single sign-on and authorization
We've enhanced our existing Single Sign-On (SSO) feature, originally focused on authentication alone, by introducing the capability to manage authorization as well. You control user roles through identity providers like Azure Active Directory and Okta. The process of automatically creating users has been streamlined, eliminating the need for invitation emails.
This update simplifies user setup, enhances access management, and strengthens account security.
For this feature, you need to have SSO authentication configured. For details, read the SSO article.
How it works
Upon SSO login to the Engagement app, the user is granted roles based on the mapping role. This mapping role corresponds to the role_mapping field provided by the identity provider.
If a user is not already present in the Engagement application, they are automatically generated as a new user.
When Single Sign-On Authorization is deactivated (as per the default setting), new users must be manually invited to the project, with roles assigned manually. Those already created through SSO will still exist and will possess the same roles assigned to them via SSO.
Configure SSO Authorization in Azure Active Directory
- In your Azure Active Directory dashboard, navigate to Enterprise Applications located in the left section of the Manage menu.
- Choose the SSO application you've set up under the Setting up Azure Active Directory chapter.
- Within the Manage menu on the left, select Single Sign-On.
- Click on the Edit link within the Attributes & Claims section.
- Click the upper left button, followed by Add new claim.
- Under Additional claims, create a claim named role_mapping, and assign a value of your preference (for example, user.department).
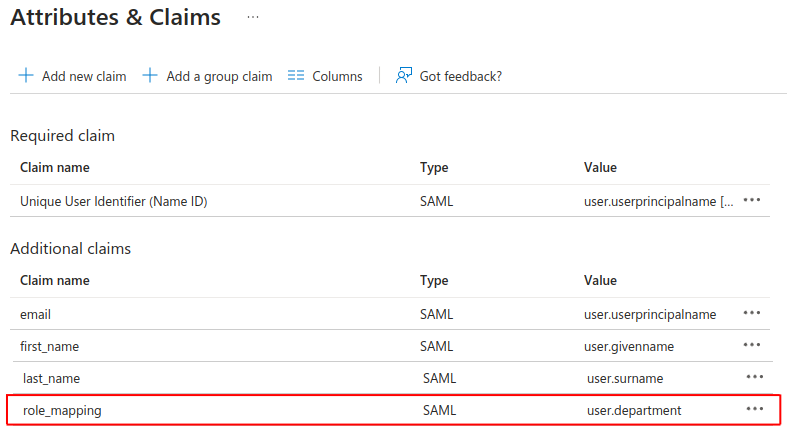
The value within the SAML claim will be sent as an attribute of the role_mapping, which can be a field from the user's profile, a user group, or even a fixed string.
This designated value will later be compared against the names of mapping roles within the Engagement application.
Configure SSO Authorization in Okta
- Within your Okta administration dashboard, navigate to the left-side menu and locate Applications.
- Choose the SSO application that you previously configured using the instructions in the chapter Setting up Okta SSO.
- In the General tab, find the SAML Settings section and click the Edit link.
- Click Next, and in the Configure SAML section, scroll down to find the Attribute Statements section.
- Add an attribute with the exact name role_mapping, and specify a value of your preference (as shown in the example, using user.division).
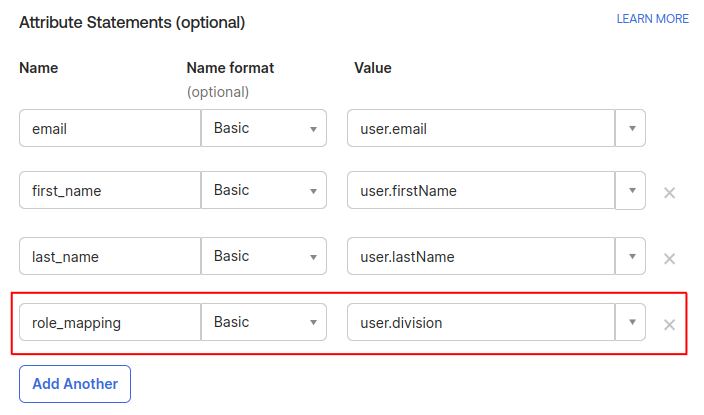
The chosen value within the SAML claim will be included as part of the role_mapping attribute. This value can be sourced from a user profile field, a user group, or even set as a fixed string value.
Subsequently, this value will be compared against the names of mapping roles within the Engagement application for role assignment.
Set up SSO authorization in the Engagement application
To establish SSO authorization for the Engagement application, you'll need the authority of an SSO Account Admin role.
Users with this role can also request a unique link that will be sent to their email address and can be used to log in in case of a problem with SSO. The link can be requested on the instance where the account is and has the following format: instanceapp_domain/recovery-access_ (for example, https://app.exponea.com/recovery-access).
Here's the step-by-step process:
- Start by configuring the mapping roles.
- Navigate to Settings> Project settings > Single Sign-On > Mapping roles and click on the Add mapping role button.
- Enter your desired mapping role name. Ensure that the name of this mapping role matches the value of the role_mapping field sent by the identity provider.
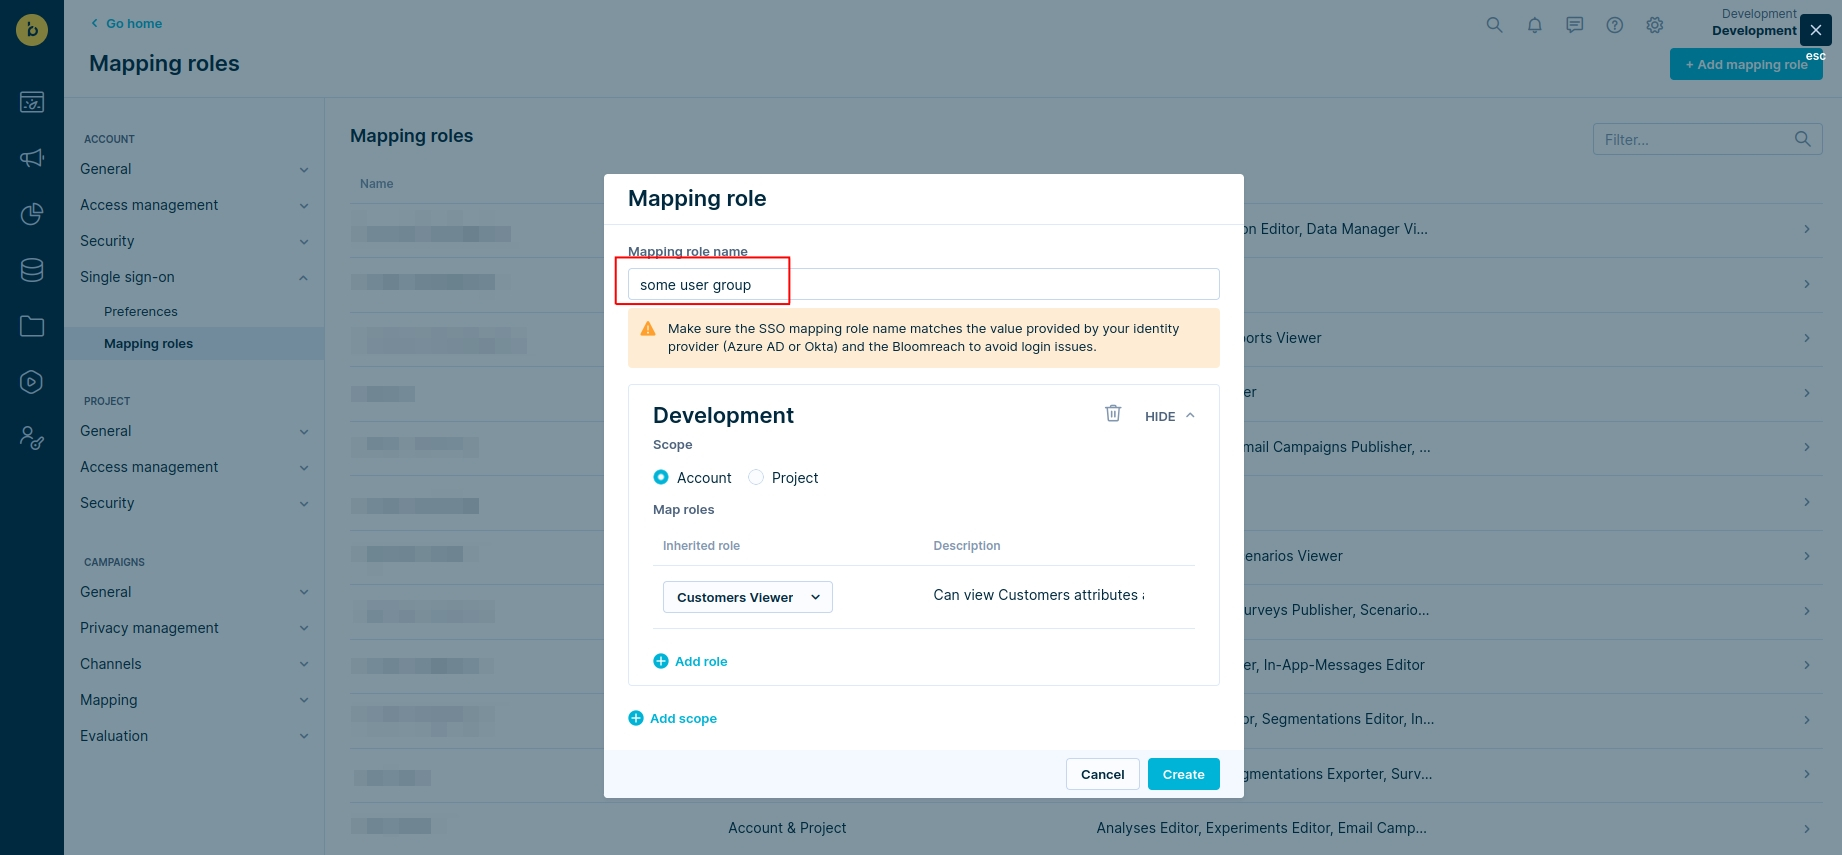
- Choose at least one scope (Account or Project) and allocate one or more roles for this specific scope. Remember that each scope can only be used once per mapping role. You can always modify the roles you've assigned later.
RequirementBefore activating the SSO authorization, ensure that your active user has properly configured a SAML claim named role_mapping within your identity provider. Check that roles are accurately configured within your mapping role. Failing to do so, you risk not being able to login into an Engagement application (troubleshooting) or your users might receive incorrect roles.
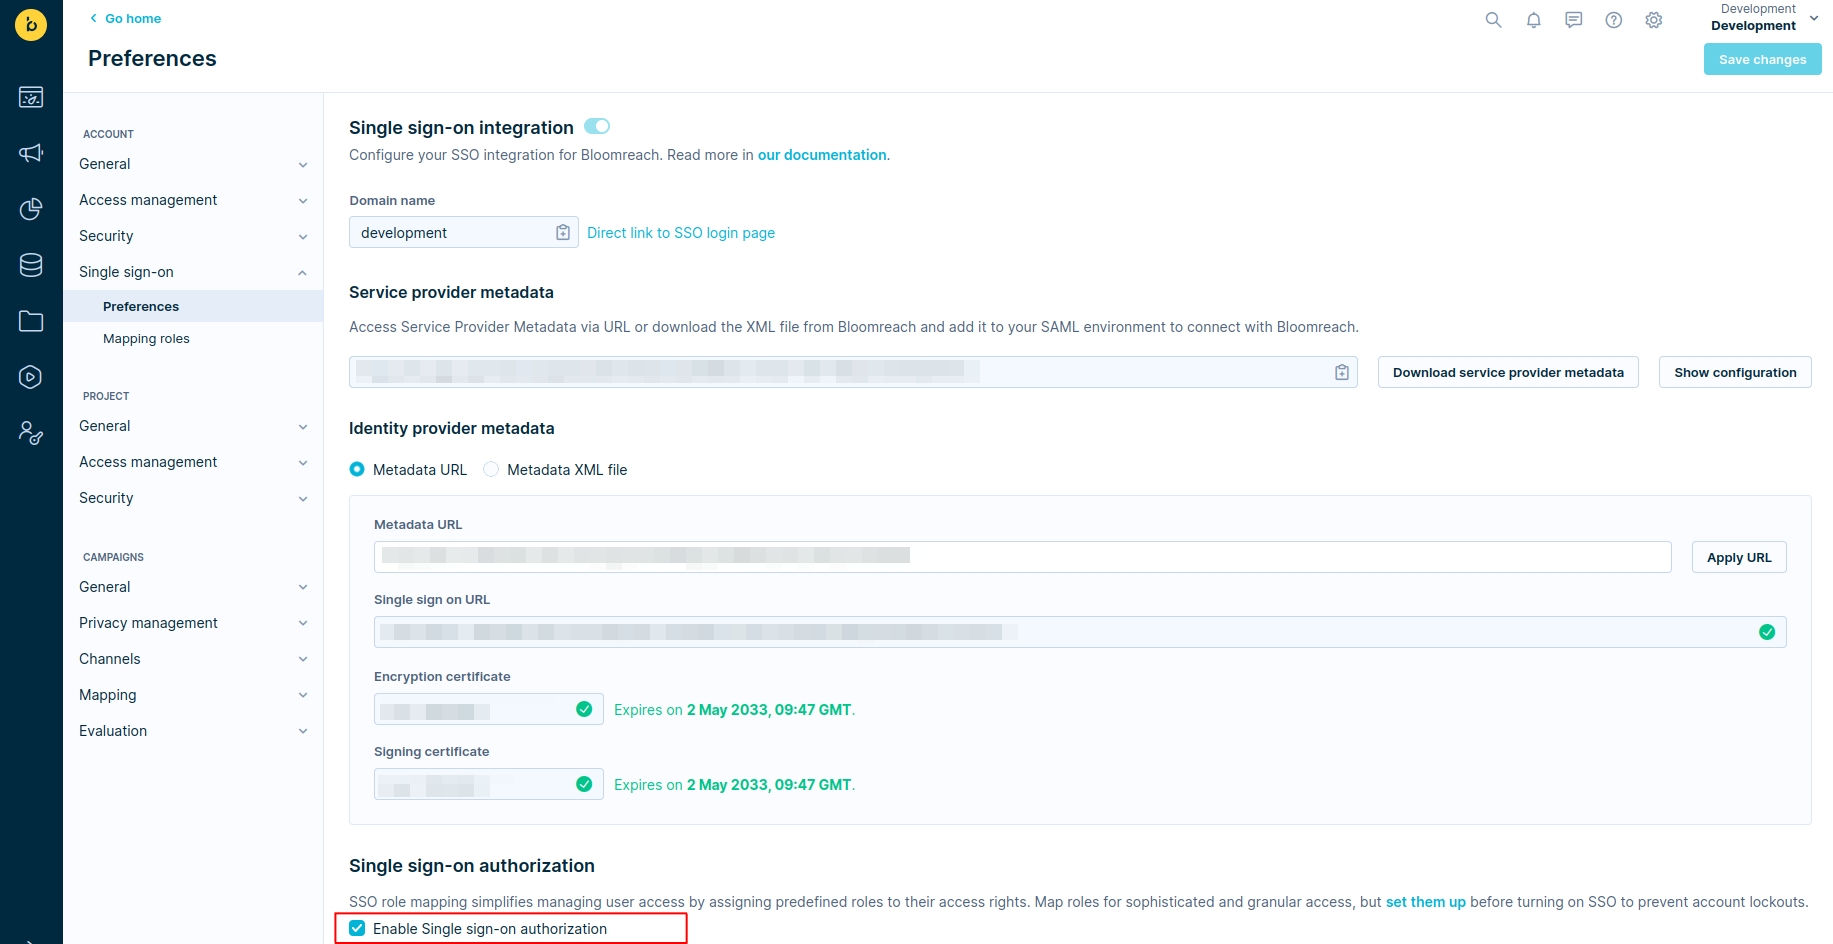
- Once you've successfully set up your mapping roles, you're ready to proceed to Settings > Project Settings > Single Sign-On > Preferences.
- At the bottom of the page, check the Enable Single Sign-On Authorization field. Remember, this option can be disabled later by the SSO Account Admin role.
Disabled access management
If a user's role is managed by SSO Authorization, direct alterations to the role within the Engagement application's Access Management settings are not possible.

However, roles can be changed through:
- The Single sign-on settings for Mapping roles within the Engagement application. Changing roles tied to the mapping will impact all users under that mapping.
- Modifying the value of the role_mapping field sent by the identity provider for a specific user. These changes will affect a particular identity provider user.
User Login with SSO authorization
Once the mapping role is configured, logging into the application is restricted to users with the appropriate role_mapping field from the identity provider.
These users can access the Engagement application solely via SSO, either from the identity provider dashboard or by clicking the Continue with SAML SSO button.
Role assignment occurs during the login process, and users will encounter a login announcement.
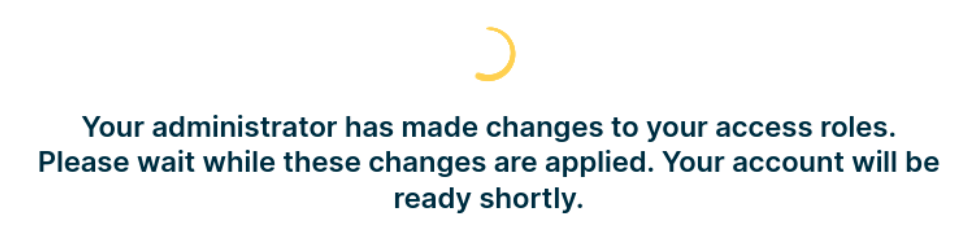
Following successful application login, users will possess roles assigned in line with the matched mapping role.
Troubleshooting SSO authorization
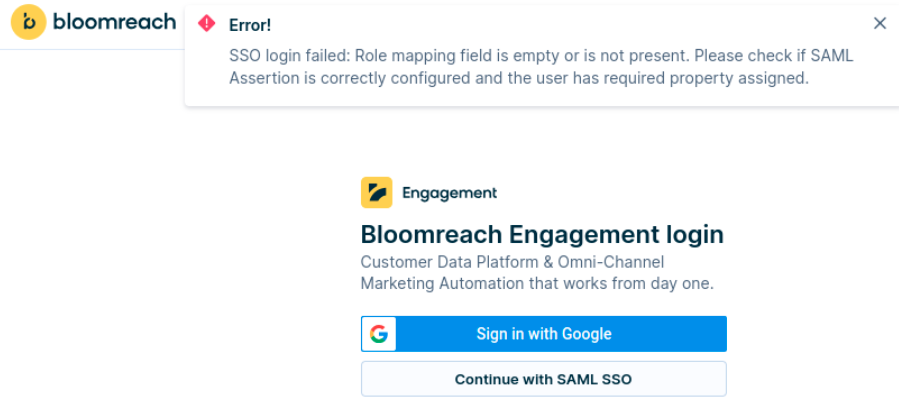
In case the role_mapping field sent by the identity provider is not defined, the user will encounter a login error.
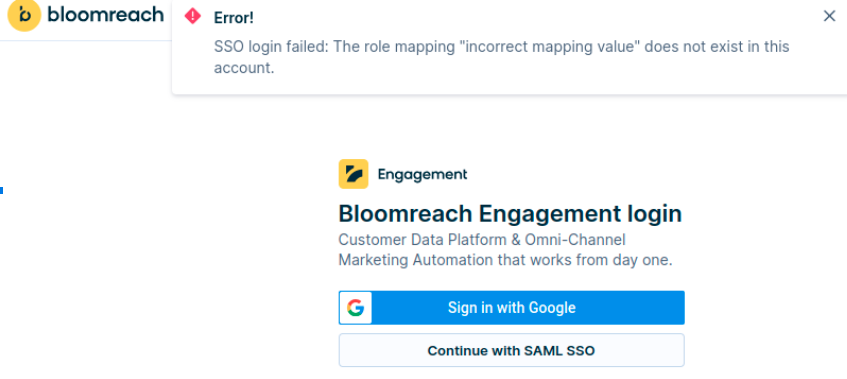
Similarly, if the role_mapping field provided by the identity provider doesn't align with any mapping role name within the user's account, a login error will be displayed.
Use case examples
- Direct management of user roles from the identity provider.
- User creation without the necessity for sending invitations.
Limitations
- Available only for accounts with the SSO module enabled.
- Roles can be managed only for the native account.
- Accesses to other than native accounts are managed from the app.
- G-Suite always manages BR users (can be managed by customers SSO and need to be invited).
- Propagation of roles takes approximately 60 seconds.
- Changes are applied only during login.
- It is impossible to manage user roles from the App if the user logs over to SSO with authorization enabled.
- Only the SSO account admin can disable SSO authorization and manage mapping groups.
Updated 4 months ago