

IP allow and block list
IP allow listing or block listing option helps you better control from where your users access projects. This feature lets you set exact IP ranges from which users can connect to the application and block specific IP addresses if needed.
NoteThe IP allow and block list module is an additional-cost feature. To enable it, contact your Customer Success Manager (CSM).
Benefits of IP allow and block lists
- Enhance security by restricting access to known IP addresses.
- Prevent unauthorized access from unknown IP addresses.
- Protect against incidents involving stolen credentials.
Set up IP allow and block lists
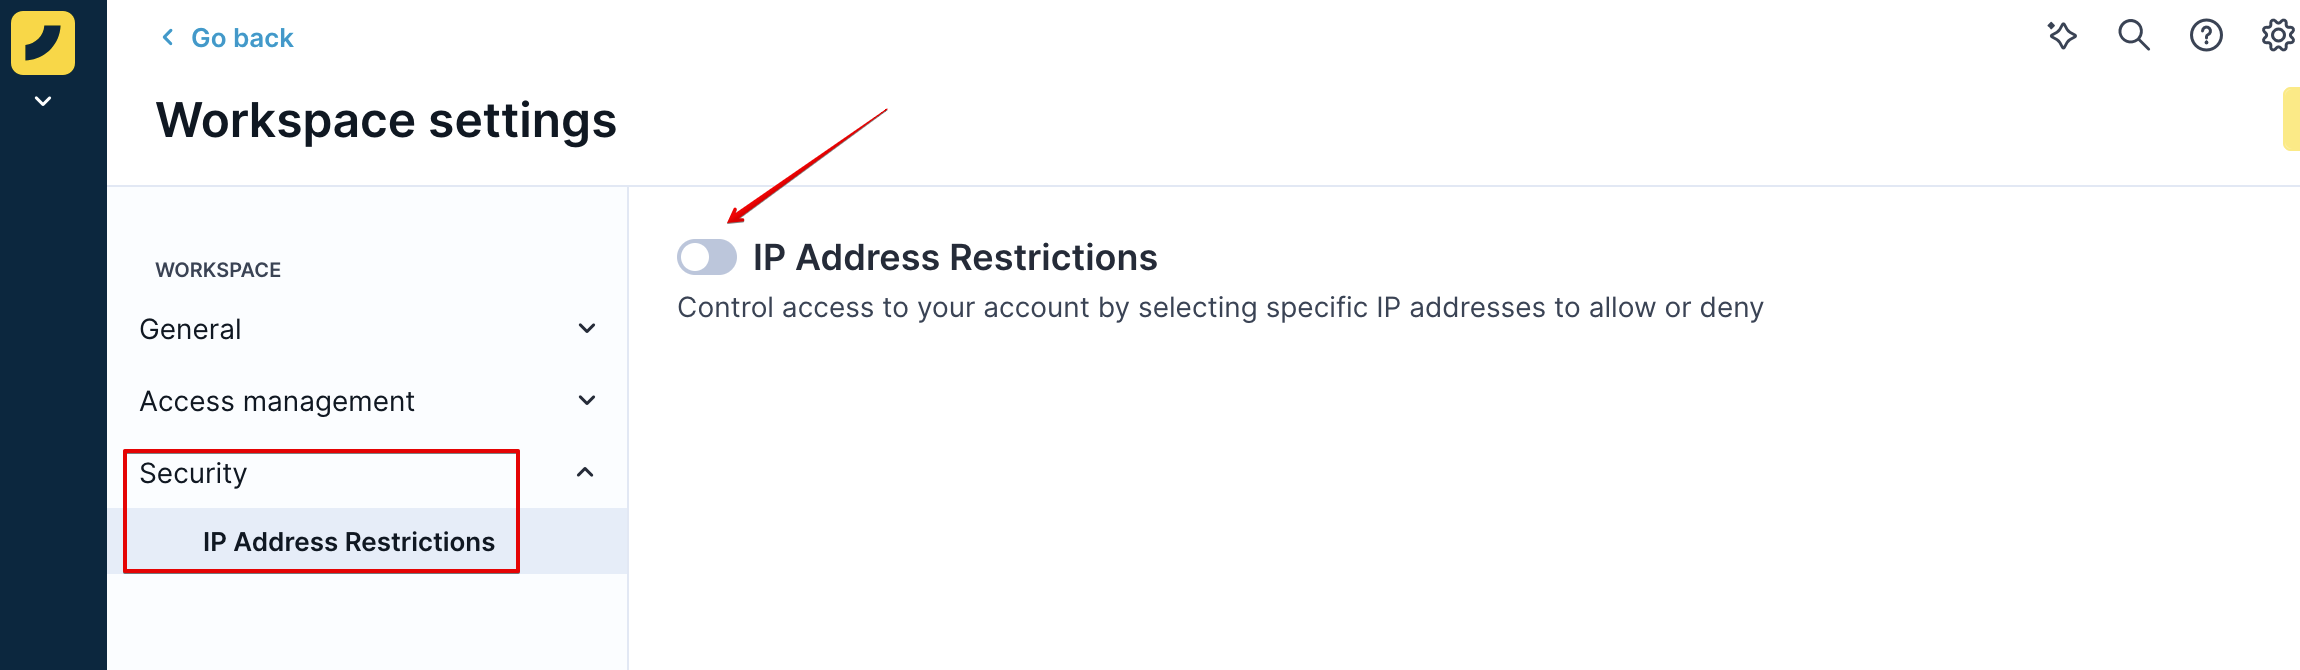
Go to Workspace settings > Security > IP address restriction. Switch the toggle to enable the feature.
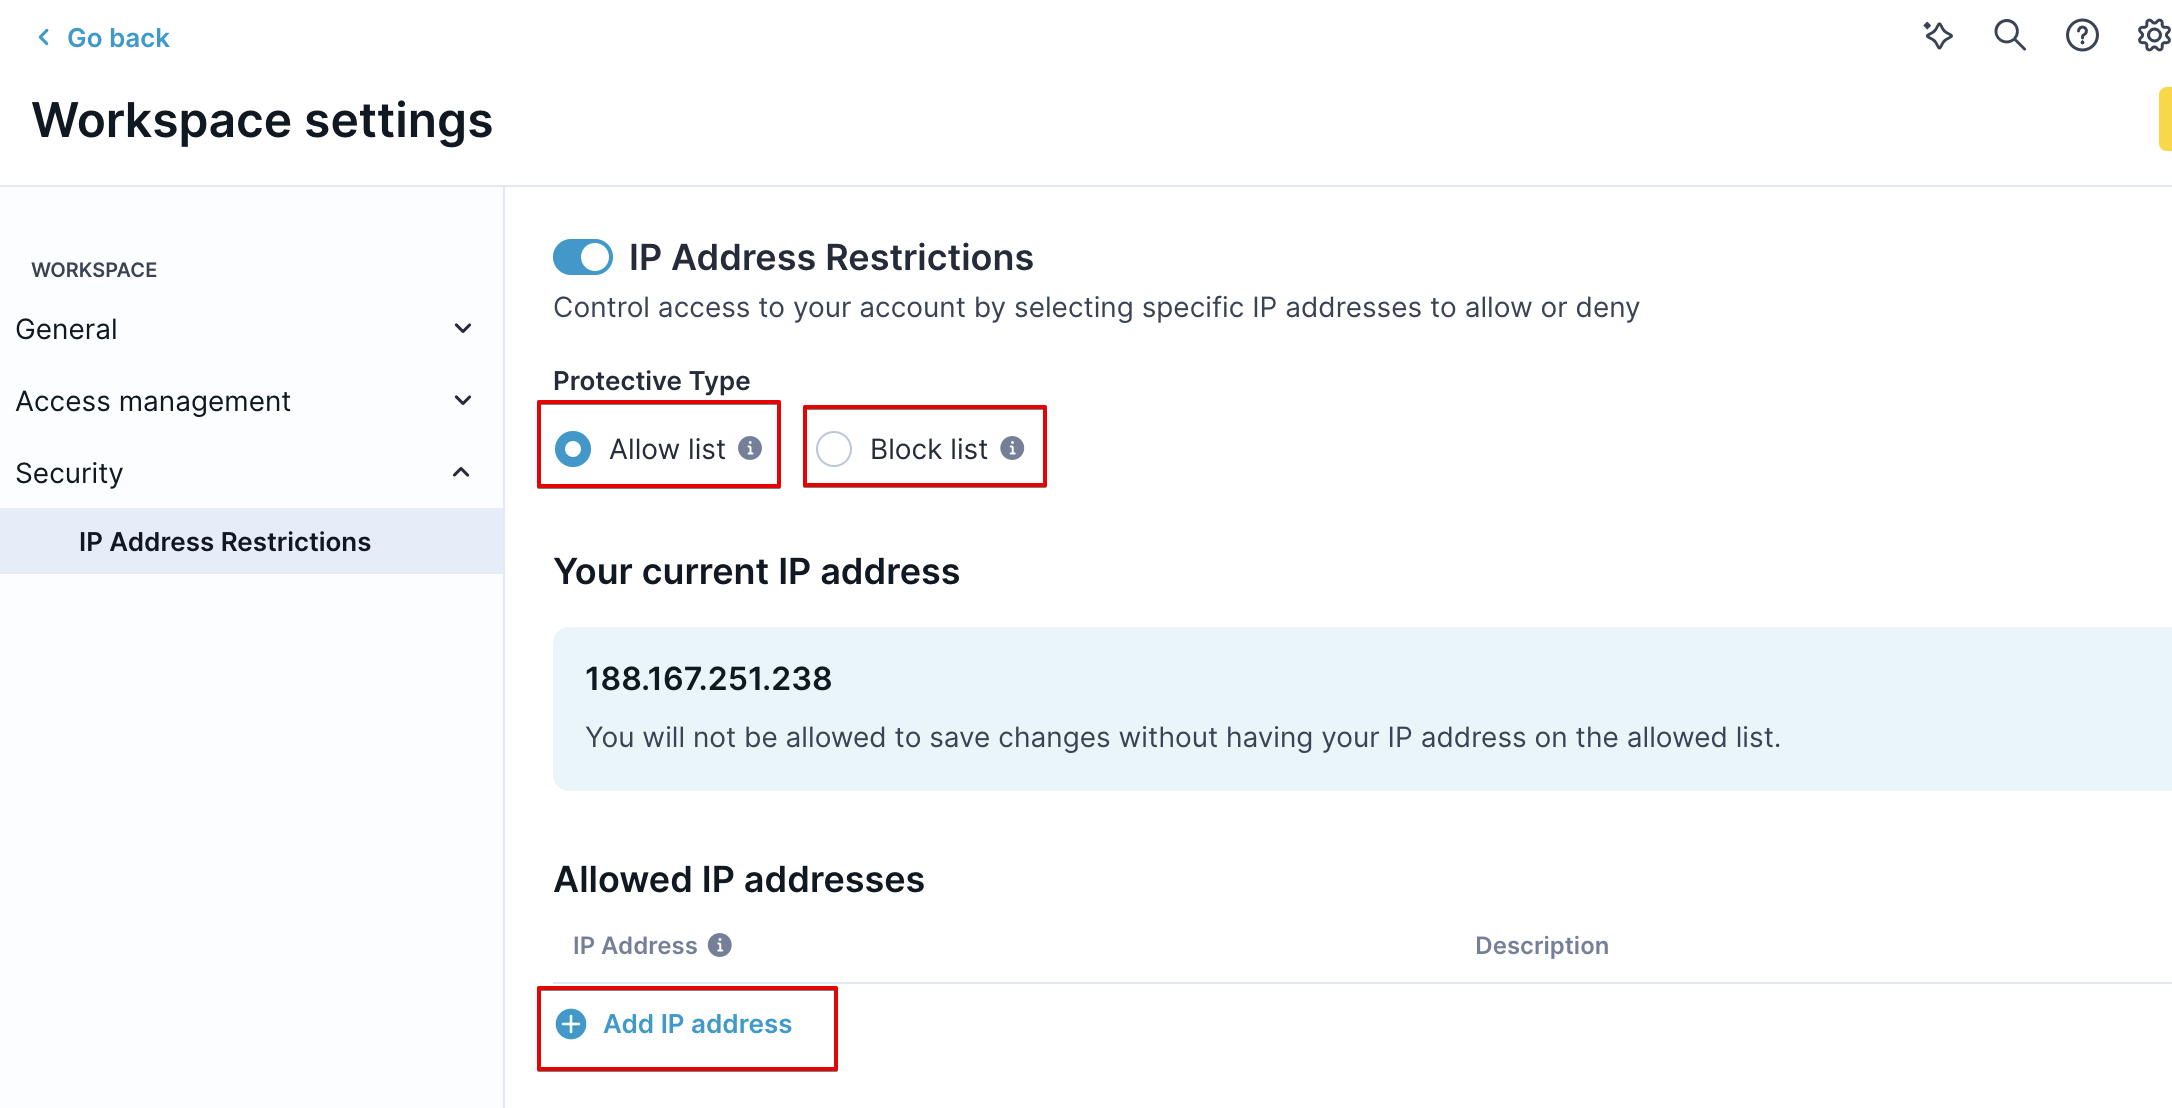
When enabled, choose the mode:
- Allow list: Only the IP addresses listed can access your account and its projects.
- Block list: Locked IP addresses can't access your account or its projects.
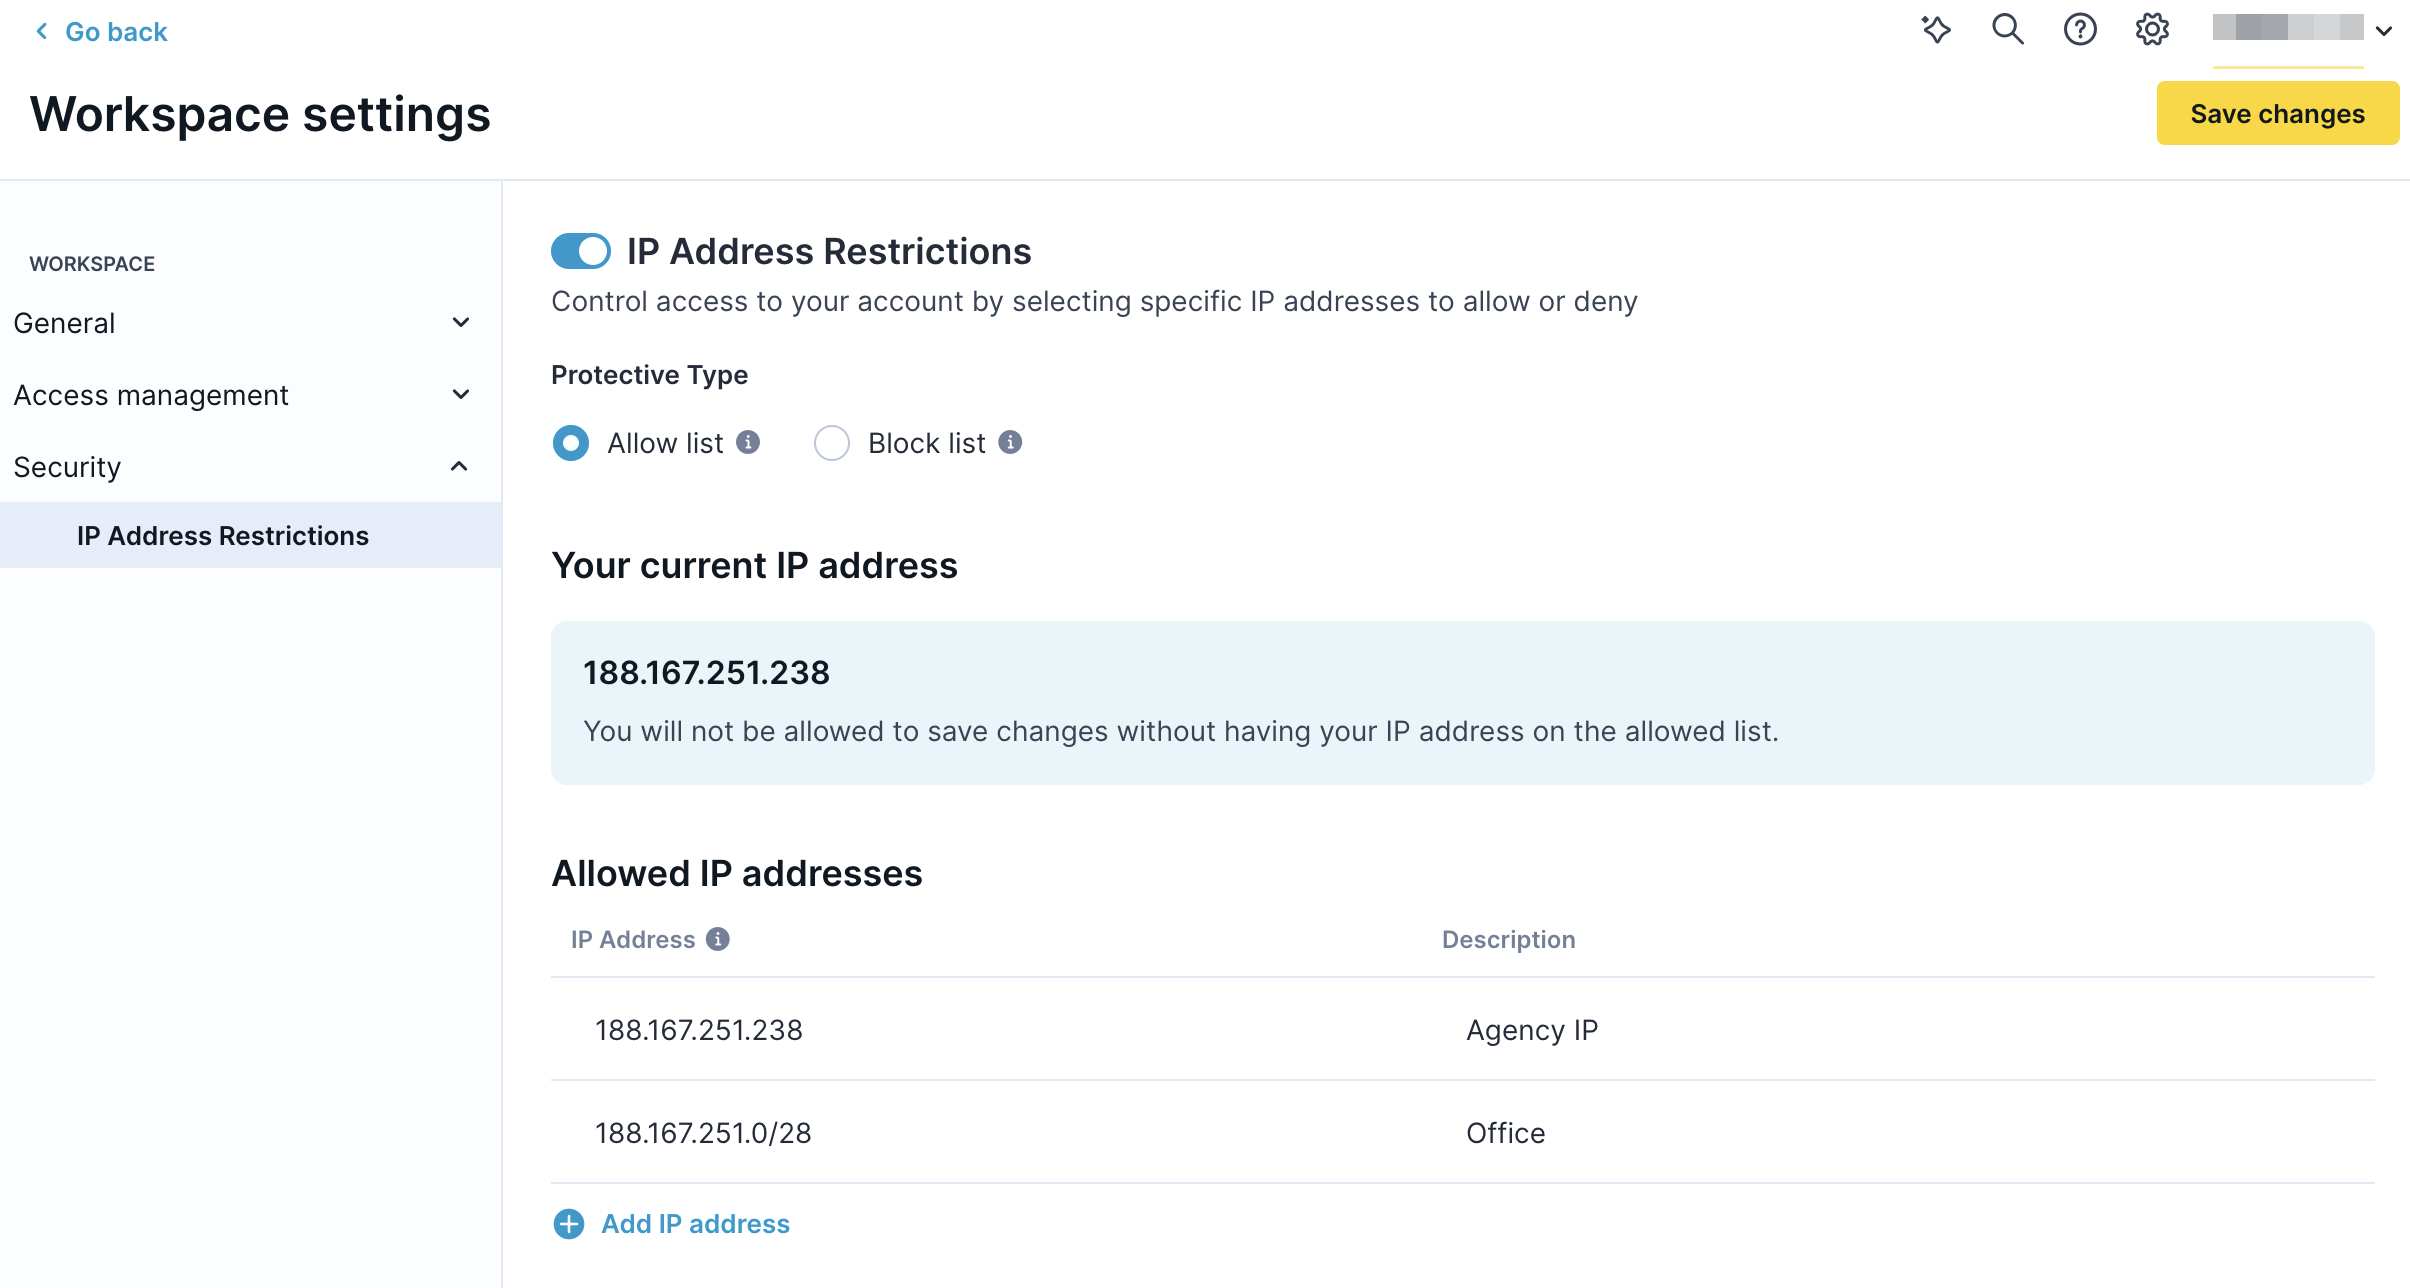
When adding the IP address, use the specific address or define the IP range in the notation 'X.X.X.X/Y'. For example, 192.168.12.0/24. You can set a description for each IP address or IP address range to improve navigation.
Your IP addressEnsure your IP address is on the allowed list in Allow list mode and not on the blocked list in Block list mode.
Limitations
You can add up to 100 entries per account. Each entry can be an address or a range.
Updated 4 days ago