Scenario best practices
This section summarizes experience-driven best practices that should help you get the most out of Bloomreach Engagement's scenarios.
Best Practices
1. Include only relevant customers
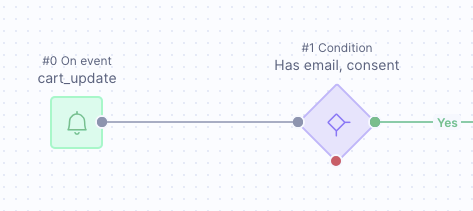
When building the scenario flow, use non-personalized condition nodes to filter out irrelevant customers as soon as possible after the scenario trigger. Only relevant customers should flow through your scenarios. This practice helps improve performance and ensures your scenario targets the right audience.
For example, if you are going to send an email campaign, ensure to check the attribute email = has value, and email consent = true right at the beginning of your scenario.

2. Always add a non-personalized condition after a trigger
Ensure at least one non-personalized condition node follows directly the scenario's trigger node. This best practice aligns with point number 1. – Include only relevant customers.

3. Save progress frequently
When building or editing scenarios, save your work frequently. This prevents data loss and ensures your changes are preserved.
To save your scenario, navigate to the right top of your open-scenario screen and click Save.

4. Consolidating scenarios
We advise combining scenario flows that start around the same time. This practice reduces how often the database needs to be accessed, which improves performance for both the database and the scenario navigation.
If a flow can have one trigger with conditions to separate by country or other factors, it should be set up that way.
5. Checking active scenarios
Check your active scenarios regularly to ensure they are functioning as expected. If you notice any issues, you might need to stop or adjust them.
For more details on managing scenarios, visit the Scenarios overview screen article.
6. Archive old scenarios
Archive old scenarios to reduce clutter and keep your workspace organized. Regularly archiving scenarios you no longer use helps maintain a clean and efficient environment.
To archive acenario, go to Campaigns > Scenarios in Bloomreach Engagement. Click the arrow on the right of the selected scenario, and select Archive.

7. Wait nodes best practices
Wait node position
To improve performance, wait nodes should be placed near the last node with the fewest customer entries, rather than directly after trigger.
Optimizing node placement is crucial for efficient database management.
Limit wait nodes
Limit wait nodes to when necessary. Avoid placing more than one wait node in a series. Instead, use a single node that indicates the exact time required.
Waiting in wait nodes
Repeat all essential conditions of your scenario after any wait node. Customers' conditions might change while they are in the wait node. This ensures your scenario remains accurate and effective.

Static wait time
Do not use wait times longer than 7 days. Instead, use a Repeat trigger and a condition to check for events from 7 (or more) days ago. If you need to stop a scenario or if technical errors occur, customers waiting in the wait node will be removed from the scenario.
Maximizing dynamic wait node use
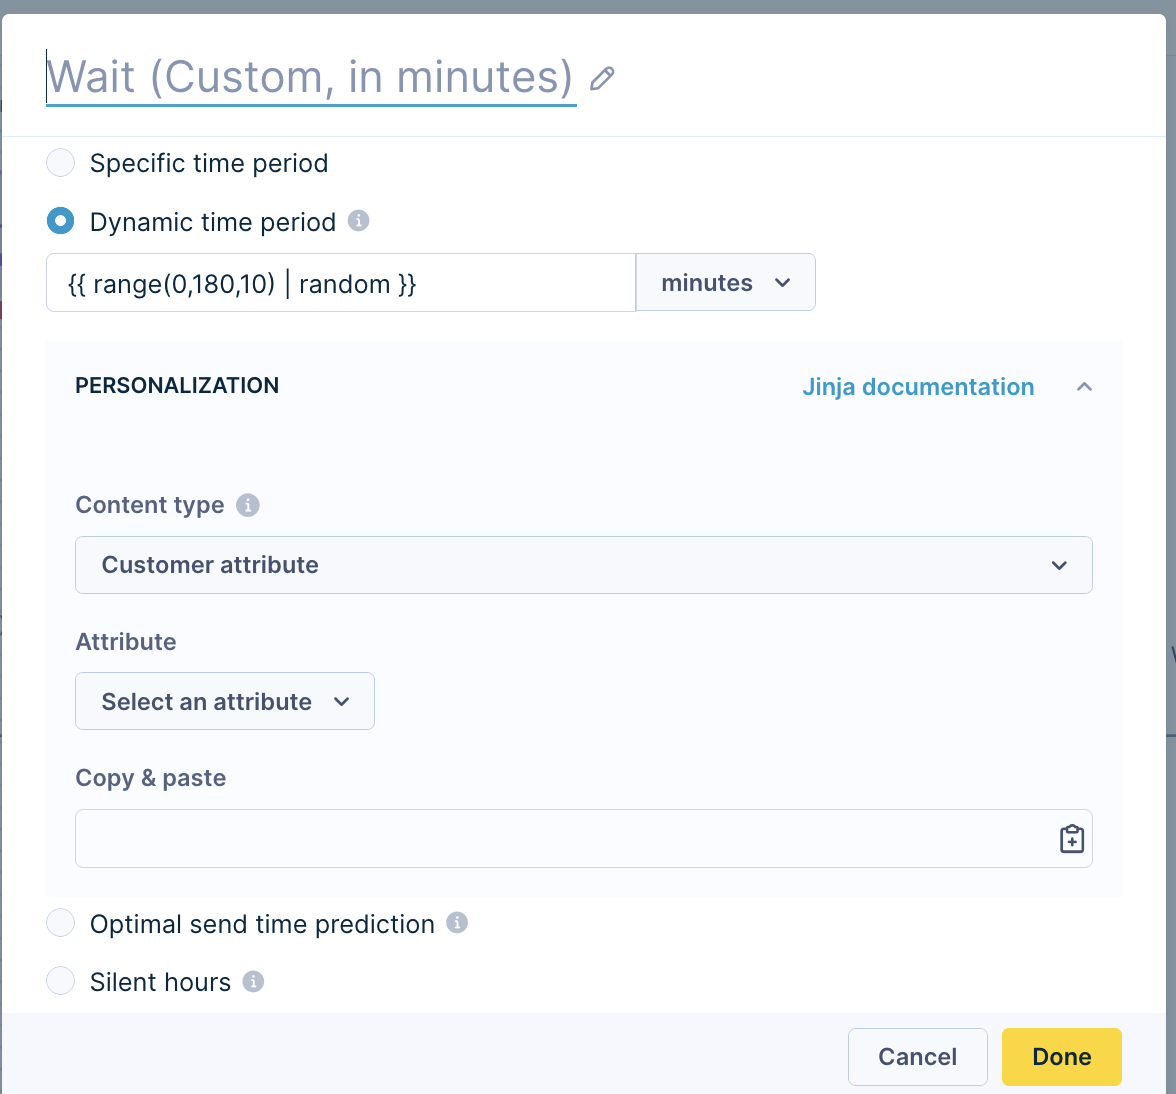
Using standard Jinja for custom wait nodes can lead to inefficient resource use by creating multiple streams from a single one.
Here are some key points for using dynamic wait time:
- Use them only for cases like deliverability or website throttling.
- Avoid them for small audiences (under 50,000).
To reduce streams, batch dynamic wait nodes into time intervals, such as:
{{ range(0,180,10) | random }}for 10-minute intervals.{{ range(0,180,30) | random }}for 30-minute intervals.

This approach is much more efficient. Ten-minute intervals offer 10 times the efficiency, while 30-minute intervals provide 30 times the efficiency.
8. Consent setting and condition
When sending a marketing campaign, always use the proper consent setting in the action node (for example, email, or SMS/MMS node). Remember to also filter out customers without appropriate consent through a condition node. This enhances the security of your scenario, reduces unnecessary suppressions, and prevents result distortion in A/B testing.

9. Frequency policy and condition
For action nodes, especially for campaigns sent to real customers, always use a frequency policy setting. Never use the "Unlimited" frequency policy for real customers. The only exception is strictly transactional communication, but even then, set a policy, like a maximum of 1 communication per minute. The frequency policy prevents multiple sendings of the same communication to the same customer in a short time.
For more details, visit the Frequency Policy page.
10. A/B split nodes position
When conducting A/B testing, place A/B split nodes close to the action nodes. Avoid further filtering out customers after A/B split nodes, as this can skew your A/B test results.

For more details, visit the How to A/B test page.
11. Naming scenarios and action nodes
Name your scenarios (tracked as campaign_name) and action nodes (tracked as action_name) consistently, and use a set naming convention. This will help you filter and segment your campaigns and campaign actions easily and sustainably.
For more details, visit the Scenarios page.
12. Naming condition nodes
Name your condition nodes as closed questions that can be answered with "Yes" or "No." This approach ensures clarity and consistency in your scenarios.
13. Thorough checking
Always check your scenario thoroughly before starting it. Review all nodes, filters, and settings multiple times. If possible, have someone else check the scenario after you.
14. Thorough testing
Always test your scenario as thoroughly as possible before starting it for real. Use the Test tab to preview how customers will flow through the nodes based on your conditions. This dry-run helps identify potential issues. For more complex scenarios, consider using "as live" email testing to ensure accuracy.
For more details, visit the Testing Scenarios article.
15. Close monitoring after start
Even thorough checking and testing might not uncover all mistakes, gaps, or bottlenecks in your scenario. That's why it's important to observe the scenario closely after it starts. Run essential reports to verify everything is okay.
16. Tracking scenario leavers
To find out which customers drop off your scenario at specific nodes, connect an "Add event" node to your flow at those nodes. Track a custom event for these customers. This will help you identify where customers leave the scenario and take necessary actions.
17. Frequency limits
For almost every kind of communication, regardless of the channel, include frequency limits in your scenario flow. This ensures your customers receive communication "A" at most "X" times within "T" days, weeks, or months.
Learn more about the frequency setting options in Frequency policy article.
18. Frequency limits of the control group
When conducting A/B testing, exclude customers who previously fell into the control group according to the frequency limits of the campaign variants. Ensure your customers go to the same A/B split node "A" at most "X" times within "T" days, weeks, or months.
Scenario Troubleshooting
1. Too many "On event" triggers
Importing a large number of events at once and allowing them to trigger "On event" scenarios can overwhelm your system. This can lead to performance issues and delays in processing. To manage this, consider the following best practices:
Filter events
Use condition nodes to filter out irrelevant events as soon as possible after the trigger.
Batch processing
Instead of importing all events at once, split them into smaller batches and schedule imports during off-peak hours.
Scenario design
Avoid using multiple "On event" triggers in a single scenario. If necessary, distribute them across multiple scenarios.
2. Trigger and action without condition
For your scenario, using a "Now," "Repeat," or "On date" trigger with action nodes without any condition nodes can lead to including irrelevant customers and generating an extreme number of unnecessary events.
It's best practice to always include condition nodes after a trigger to filter out irrelevant customers. This ensures only the relevant customers flow through your scenarios.
4. Too many or too frequent set attribute
Setting attribute values for too many customers at once or too frequently can cause performance issues. To avoid this, follow these best practices:
Limit the number of customers
Apply attribute changes to smaller, more targeted customer segments, or use "Customer limit" node.
Reduce frequency
Space out attribute updates to prevent system overload.
You can achieve this by scheduling updates at different times or intervals, ensuring the system processes them gradually rather than all at once.
For more detailed information, visit the Efficient Engagement usage page.
5. Too many wait nodes in the series
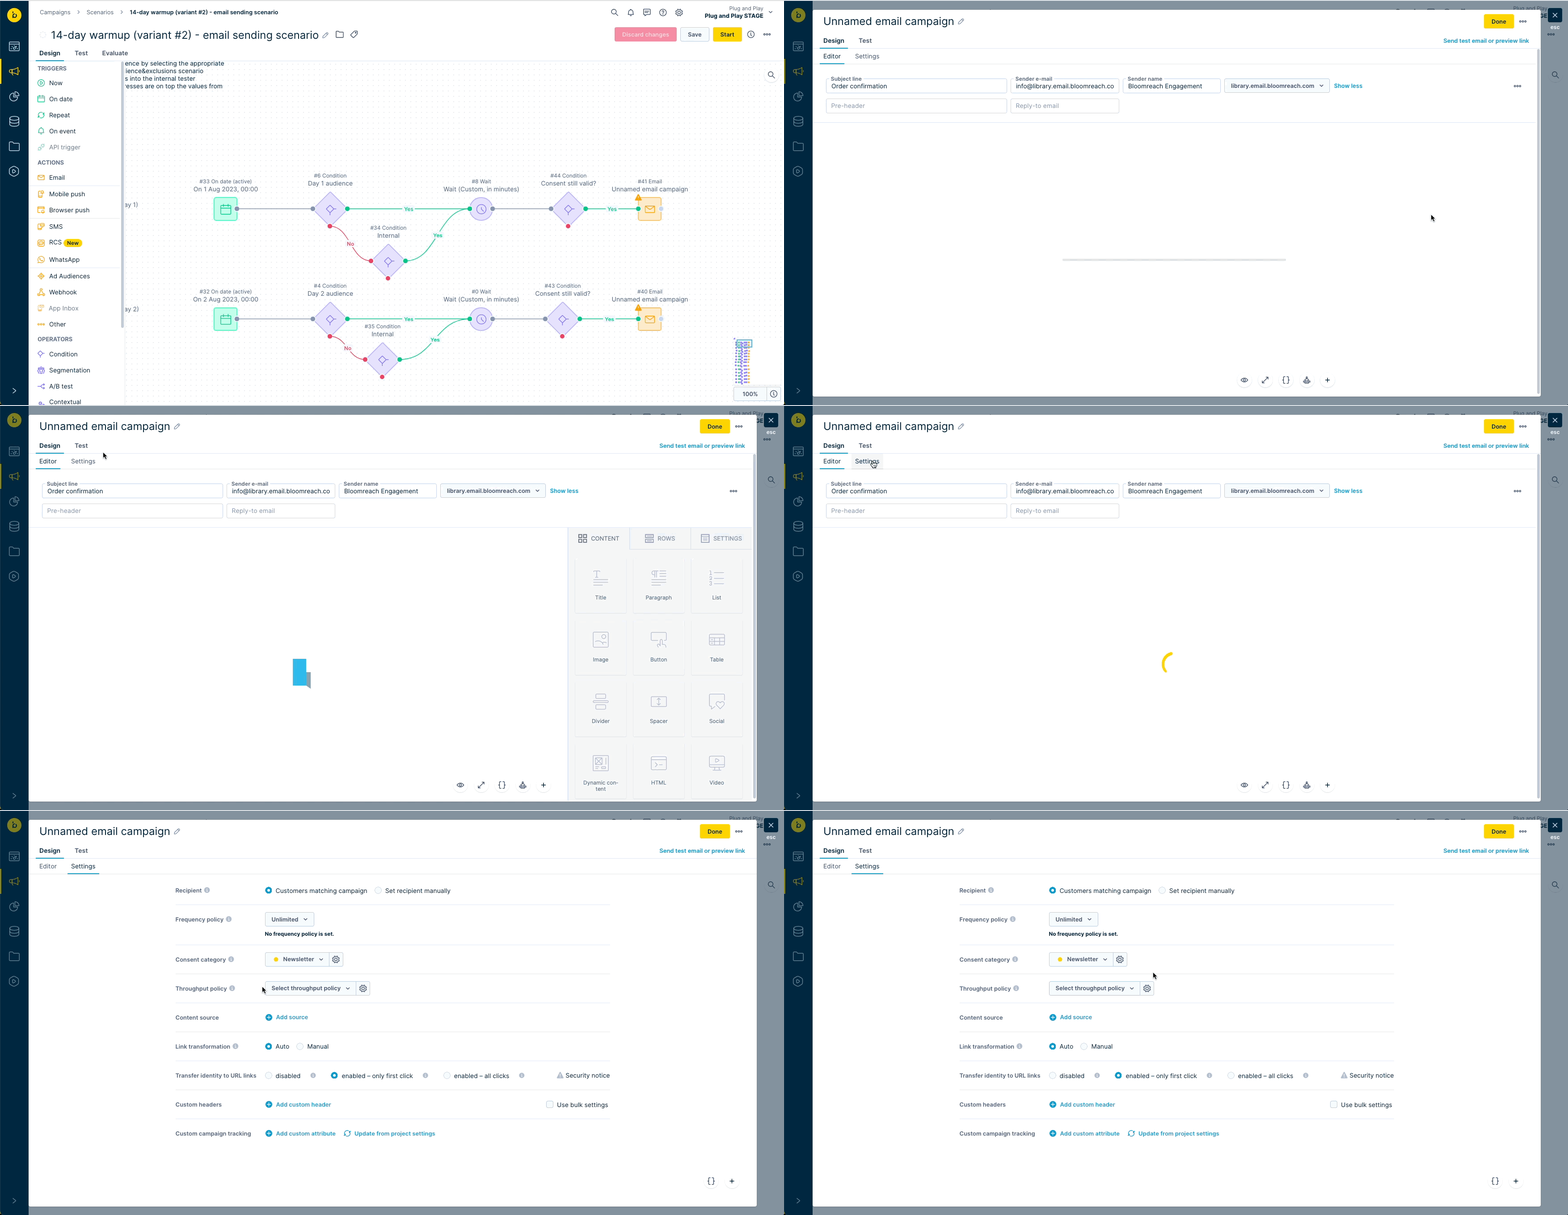
Using more than one dynamic wait time node in a series can lead to performance issues.
Do NOT duplicate wait nodes in a row as pictured below:

Instead, follow these best practices:
- Limit wait nodes: Use only one dynamic wait node in a series to prevent processing delays.
- Optimize wait times: Ensure the wait times are necessary and beneficial for your scenario. Set On date trigger for desired time rather than including unnecessary wait node.
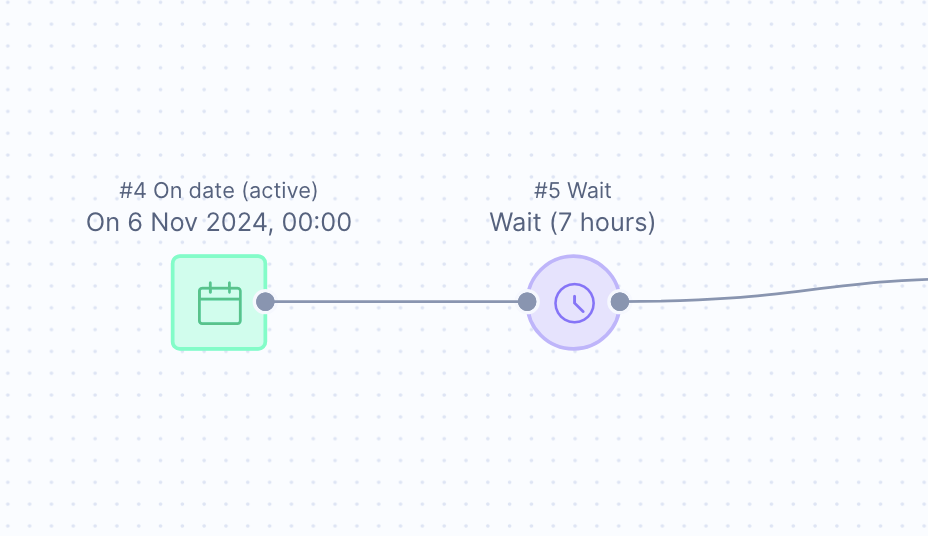
6. Wait nodes directly following trigger node
Position the wait node near the end of a scenario.
Do NOT place wait node directly after trigger as shown in the picture:

For larger brands, this can lead to around 400 million customers being stored in a single wait node, causing unnecessary strain on performance.
7. Inefficient custom wait nodes
Using the Jinja command {{ range(0,180) | random }} creates 180 separate streams from one, which increases processing demand significantly. Each stream requires its own "worker," leading to 180 times the performance need.
Follow the dynamic wait node best practice for streamlining custom waits.
Updated 12 months ago
