

Import customers
Customer imports let you import existing customer data from external sources into the platform.
This guide walks you through each step of the customer import process, from choosing a data source to mapping your columns and running the import.
Prerequisites
-
Read the Imports article to understand how imports work, what sources are available, and how to monitor import progress.
-
If you want to send emails through the platform, customers must have an attribute called
emailpopulated with their email addresses. -
If you want to send text messages, the attribute must be called
phone. -
Review size limitations in Data manager before running large imports.
Choose data source
-
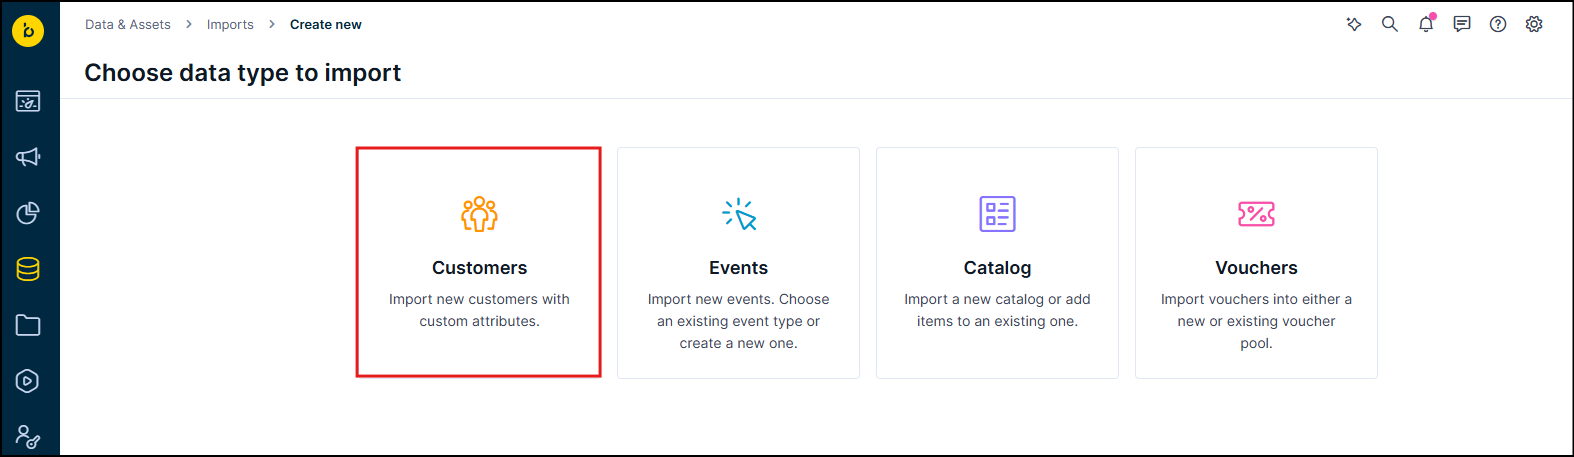
To start a customer import, go to Data & Assets > Imports > + New import > Customers.
-
Name the import.
-
Select the source of your customer data. All standard—for details on each, see Data sources. Each column in your import file represents a customer attribute, and each row represents a single customer. The first row identifies the attribute names. You can remap, discard, or supplement these in the data mapping step.
-
After selecting your source, click Preview data to confirm the format looks correct. If the preview looks off, check that the right delimiter and encoding are selected.
Select your data source and preview it before proceeding to the mapping step.
Map data
Data mapping tells the platform how to interpret each column in your file and which customer profile to update.
Map columns to attributes
In the dropdown menu for each column, map it to an existing attribute or create a new one by typing a name and clicking +. When a column is mapped to an existing attribute, its name changes to blue font.
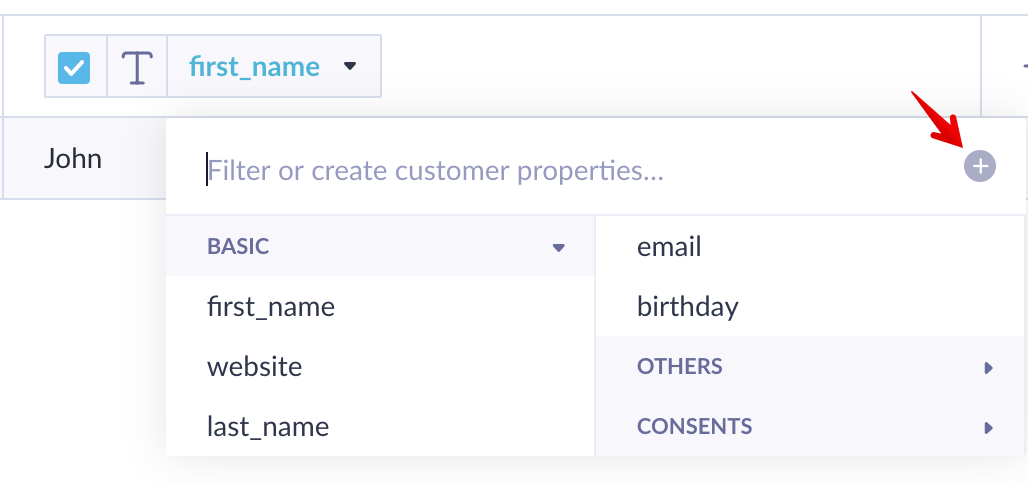
Map each column to an existing attribute or create a new one by typing a name and clicking +.
Set the correct data type for each column—text, number, date, and more. Data types affect how the platform filters and displays values. Each data type is explained in the Data Manager article.
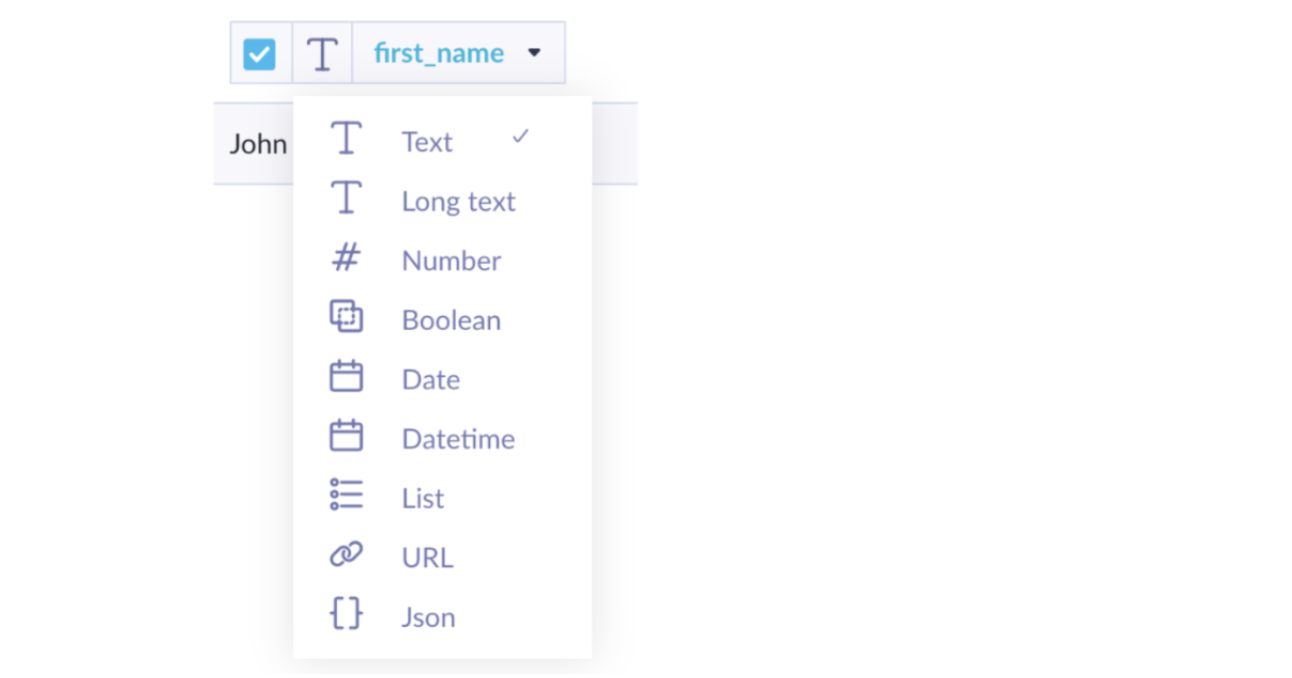
Set the correct data type for each column to control how values are filtered and displayed.
Timestamps
You can optionally map a column to update_timestamp to enable customer properties synchronization, also known as last-write-wins.
When you include this field, the platform compares the incoming timestamp to the existing property value and overwrites it only if the incoming timestamp is newer. This prevents stale data from overwriting fresher values tracked between import runs.
If you don't include a timestamp column, the platform uses the current time at the start of import. Future timestamps are capped to the current time in batch CSV imports and the Tracking API.
Pair at least one customer ID
During every import, pair at least 1 column with a customer identifier in the yellow boxes in the customer IDs section. This tells the platform which customer profile to update with the imported values.
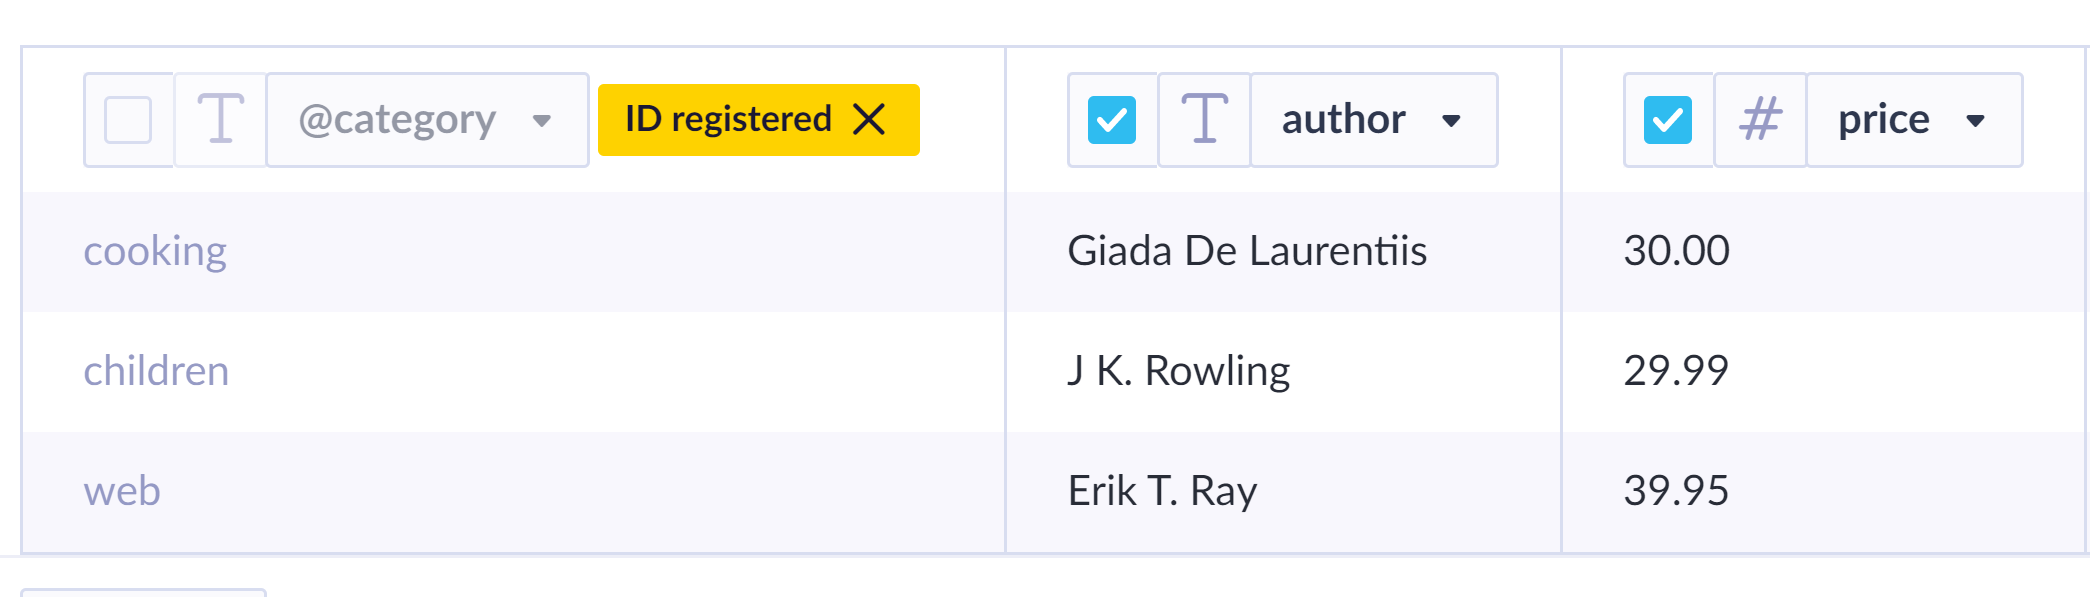
Pair at least one column with a customer identifier—and leave the checkbox unchecked to avoid importing the ID as an attribute.
Don't check the checkbox for the customer ID column. Selecting it imports the ID as an attribute, which causes data duplication and can create volume issues in your project.
You can map multiple ID columns. For example, registered and cookie. The platform uses whichever ID is available for a given customer. The registered hard ID always takes priority.
Add a static value column
Add a column with a static value by clicking + on the far right of the preview table. Adding a source column—for example, with the value Import_11 June 2019—helps with troubleshooting and data organization later.

Add a static source column to make it easier to track and troubleshoot imports later.
Schedule repeated import (optional)
If you're importing from a dynamic source—File storage, Database, URL, or Bloomreach—you can schedule repeated imports. For details, see Schedule a repeated import.
Run the import
Complete the wizard steps to start the import. Check the status in the import list by clicking Refresh. Large files take more time to process.
You can monitor progress using the two-stage progress bar. Data is available only after both the import and processing stages complete. For details, see Track import progress.
You can use this example CSV to test a small import before running a large one.
registered;first_name;last_name;email;birthday
[email protected];John;Smith;[email protected];28.9.1996
A few things to note in this example:
registeredhas no blue color and its checkbox is unchecked. It's used only to match the row to the correct customer profile, not imported as an attribute.birthdayhas no blue color either. This means the attribute doesn't exist yet and will be created during import. Make sure to set its data type to date.

Example of a correctly mapped customer import using the sample CSV.
Import lists
To import multiple values for a single attribute, use the following format: ["value1", "value2"]. Use square brackets with each value in double quotes, separated by commas.
Reimport customers
When reimporting customer data, you can control how existing values are handled:
-
Overwrite with new data: Include the attribute in your import with the new value.
-
Overwrite with a blank value: Include the attribute in your import with a blank value.
-
Leave existing value unchanged: Exclude the attribute from your import entirely.
Limitations
-
Customer IDs can't exceed 256 bytes. The "No valid customer ID" error occurs when an ID is missing or exceeds this limit. Check customer IDs in each row of your source file. See the Imports FAQ for common issues.
-
Each cell can only contain a single value. To import multiple cookies for one customer, use a separate identifier, such as
registeredto pair the additional rows.
Updated 4 months ago