

Compound value: Online-offline customer journeys


Use case description
This compound value use case connects your online and offline customer data to deliver personalized, location-aware campaigns. It calculates each customer's nearest store, routes them to a tailored in-store or online offer based on proximity, and tracks in-store redemptions back to the customer profile — increasing customer lifetime value by 3–5 times.
Key features
- Nearest store calculation: Uses the Google Maps Routes Matrix API to find and save the closest store for each customer automatically.
- Favorite store self-selection: A weblayer lets customers pick their preferred store directly — no address data or API costs needed.
- Distance-based email routing: Sends customers within 25 miles (configurable) an in-store offer with a barcode or QR code. Customers further away get an online coupon instead.
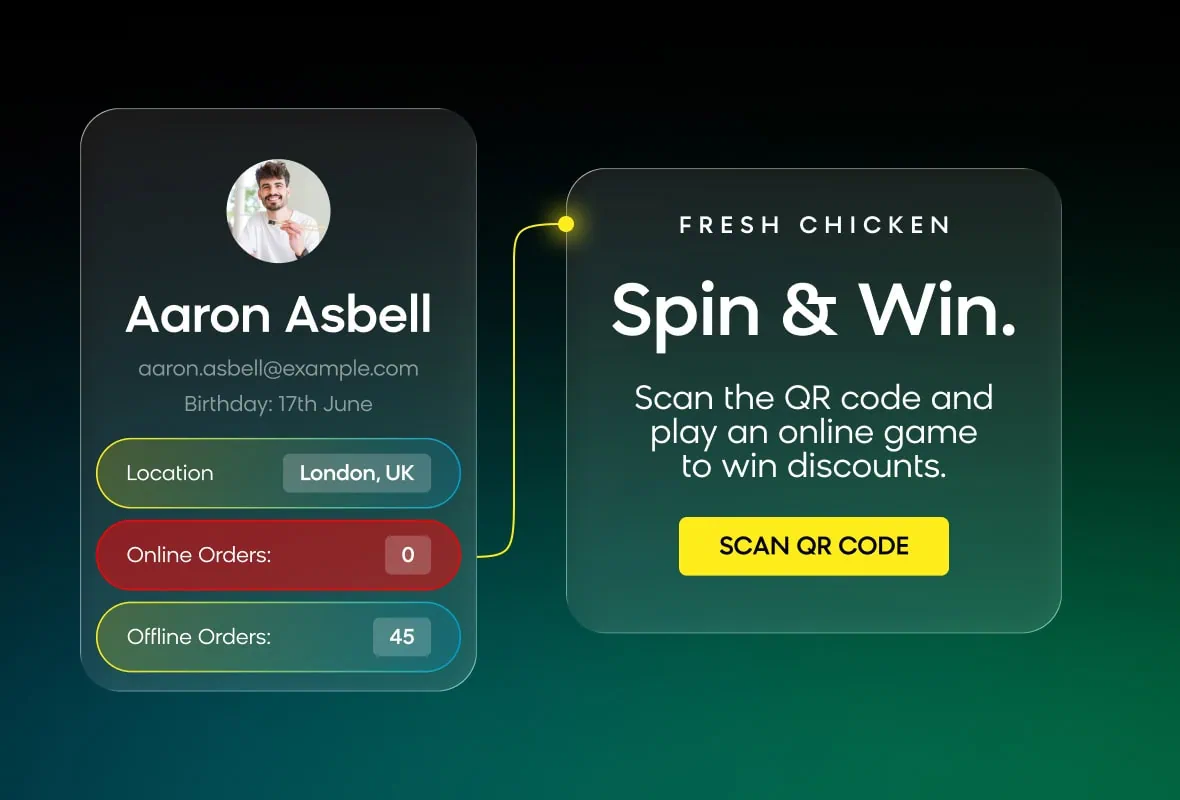
- Dual code generation: Two ready-made email variants — a Code 128B barcode built in Jinja and a QR code via api.qrserver.com. Pick the one that matches your POS setup.
- Discount sensitivity segmentation: Splits customers into High, Mid, and Low sensitivity groups so each segment gets an offer that fits their buying behavior.
- Dynamic store personalization: Each email automatically fills in the customer's nearest store details — name, address, distance, drive time, phone, and hours.
Use case items
With this compound value use case, you'll get a:
- Store distance calculation scenario (Flow 1): Calculates the nearest store per customer using the Google Maps Routes Matrix API and saves the results to customer attributes.
- Store selector weblayer (Flow 2): Lets customers self-select their favorite store, saving the result to
favorite_store_idvia the JS SDK. - Personalized email campaign scenario (Flow 3): The main campaign scenario with discount sensitivity segmentation and distance-based email routing.
- Barcode email template: Generates Code 128B barcodes directly in the HTML using a Jinja macro — no external API needed.
- QR code email template: Generates scannable QR codes via api.qrserver.com with configurable size, error correction, and colors.
- Evaluation dashboard: Tracks cross-channel conversion rate, store visit rate, offer redemption rate, and email engagement metrics.
How to deploy the use case
Meet the requirements
Check if the data in your project meets the requirements. The Use Case Center lists requirements for each use case during the deployment process.
This compound value use case requires the following customer properties. Flow 1 and Flow 2 populate most of them automatically—you don't need to create them before running the use case.
| Property | Type | Description | Populated by |
|---|---|---|---|
address | String | Customer's full address, used as the API origin | Existing data |
favorite_store_id | String | Customer-selected preferred store | Flow 2 |
nearest_store_id | String | Calculated closest store | Flow 1 |
nearest_store_distance_meters | Number | Raw distance from the API response | Flow 1 |
nearest_store_distance_miles | Number | Distance in miles | Flow 1 |
nearest_store_distance_km | Number | Distance in kilometers | Flow 1 |
nearest_store_duration_minutes | Number | Drive time in minutes | Flow 1 |
nearest_store_last_updated | Timestamp | When the calculation last ran | Flow 1 |
External requirements:
- A Google Cloud Console account with billing enabled and the Routes API (Distance Matrix) activated. You'll need an API key.
- QR code or barcode scanning capability in-store (iPad, POS scanner, or mobile device).
Required Bloomreach packages: Email Marketing, Web Personalization (Weblayers), Loomi Platform (Data Engine).
Optional packages: Mobile Messaging (SMS), Loomi Audience Optimization (Predictions).
Understand the use case logic
The use case runs across three flows, each with its own planned trigger. Run Flow 1 and Flow 2 first to populate store data, then run Flow 3 to send the campaign.
Flow 1: Nearest store calculation
Flow 1 calculates the nearest store for customers who don't have one yet.
- Entry condition: Only customers without an assigned store enter the flow. Customers with existing store data are skipped.
- Google Maps webhook: Sends each customer's address to the Google Maps API along with your store addresses. The API returns the distance and drive time for each store.
- Set property node: Jinja finds the closest store from the API response and saves the result to the customer profile.
Flow 2: Favorite store self-selection
Flow 2 shows a weblayer where customers pick their preferred store. The selection saves to favorite_store_id.
This is a good alternative for customers without address data — no API calls, no extra cost.
Flow 3: Personalized email campaign
Flow 3 runs after Flow 1 and/or Flow 2 have assigned a store to the customer.
- Entry condition: The customer has a value in
nearest_store_idorfavorite_store_id. - Segmentation fork: Customers split by discount sensitivity — High gets larger discounts, Mid gets standard offers, Low gets minimal discounts or a premium experience.
- Email: Based on the customer's distance from their nearest store (default threshold: 25 miles):
- Within threshold: Shows store details with a barcode or QR code, a Get Directions button, a Call Store button, and a Schedule Your Visit button if a Calendly URL exists.
- Beyond threshold: Sends an online-only offer with coupon code
BFCM20, free shipping messaging, and a Shop Now CTA.
Adjust the use case
Now that you understand the use case logic, you can set it to use to your needs.
Set up the Google Maps API
- Go to Google Cloud Console.
- Enable the Routes API (Distance Matrix).
- Create an API key.
- In the webhook node, replace
YOUR_GOOGLE_API_KEYin theX-Goog-Api-Keyheader with your key.
WarningThe Google Maps API call sends customer addresses to a third party. This may conflict with your data protection obligations. To reduce risk, use ZIP codes instead of full addresses.
Add your store locations
In the webhook node, replace the demo store addresses in the destinations array with your actual store addresses:
{
  "origins": [
    { "waypoint": { "address": "{{ customer.address }}" } }
  ],
  "destinations": [
    { "waypoint": { "address": "123 Oxford Street, London W1D 2HG, UK" } },
    { "waypoint": { "address": "456 Market Street, Manchester M1 1PW, UK" } }
  ],
  "travelMode": "DRIVE",
  "routingPreference": "TRAFFIC_AWARE"
}
Then update the store_ids array in the Set property node:
{%- set store_ids = ["store_london_01", "store_manchester_01"] -%}
WarningThe
store_idsarray and the webhook destinations must be in the same order. If you add or remove a store, update both.
TipGoogle offers a free tier of 10,000 API requests per month. To stay within it, add a Limit node to Flow 1 to process a maximum of 10,000 customers per run — for example, by prioritizing new customers without store data.
Set up the store catalog
Create a catalog named store_locations to let emails pull store details dynamically. Add the following fields:
| Field | Required | Example |
|---|---|---|
store_id | Yes | store_london_01 |
store_name | Yes | London Oxford Street |
full_address | Yes | 123 Oxford Street, London W1D 2HG |
latitude | Yes | 51.5155 |
longitude | Yes | -0.1415 |
phone | Yes | +44 20 1234 5678 |
hours | Yes | Mon–Sat 9am–8pm, Sun 11am–5pm |
calendly_url | No | https://calendly.com/store-london |
Once the catalog is ready, follow the instructions in the email template comments to switch from the demo data to your catalog.
{#- Uncomment this for production: -#}
{%- set store = catalogs['store_locations'].item_by_id(store_id) if store_id else none -%}

{#- Remove this demo line: -#}
{#- set store = "pa_bratislava" -#}
Configure discount sensitivity segmentation
Create a segmentation with three segments: High sensitivity, Mid sensitivity, and Low sensitivity. You can build this using:
- Manual rules based on coupon usage rate or average order value
- AutoSegments to let Loomi discover clusters automatically
Once created, update the segmentation_id in the Segmentation Fork node.
Set the distance threshold
In both email templates, adjust the distance_threshold value to match your store network:
{%- set distance_threshold = 25 -%}| Store network | Recommended threshold |
|---|---|
| Dense urban | 10–15 miles |
| Standard retail | 25 miles (default) |
| Destination (furniture, auto) | 50 miles |
Choose barcode or QR code
Connect either the Barcode HTML Version or the QR Code HTML Version to the segmentation fork. Both variants can also be inserted as standalone blocks into existing Visual Builder email templates.
Barcode variant: Code 128B generated in Jinja — no external API needed. Adjust the following parameters in the email template:
{%- set barcode_text = "123123123" -%}        {# Code to encode #}
{%- set barcode_algorithm = "Code 128B" -%}   {# or "Code 128A" #}
{%- set barcode_width = 192 -%}
{%- set barcode_height = 178 -%}
{%- set barcode_area_width = 2 -%}
QR code variant: Generated via api.qrserver.com — supports URLs with tracking parameters. Adjust the following parameters in the email template:
{%- set qr_code_data = customer.registered | default("CUSTOMER123456") -%}
{%- set qr_code_size = "250x250" -%}
{%- set qr_code_ecc = "M" -%}        {# Error correction: L, M, Q, H #}
{%- set qr_code_color = "000000" -%}  {# Hex color, no # #}
{%- set qr_code_bgcolor = "ffffff" -%}
{%- set qr_code_margin = 2 -%}
Customize email design and copy
Update the following blocks to match your campaign:
- Header: Campaign title (default: "Black Friday Sale — 20% Off Everything!")
- Code block: Barcode or QR code with surrounding copy.
- Online-only offer: Coupon code
BFCM20— replace with your code.
The following content blocks populate automatically from the store_locations catalog:
- Store info block: Store name, address, distance, and drive time.
- Directions CTA: Uses
store.latitudeandstore.longitudefor Google Maps; switches tostore.full_addressif coordinates are unavailable. - Call Store CTA: Uses
store.phone. - Appointment CTA: Only shown if
store.calendly_urlexists.
Set up the store selector weblayer
Add the weblayer to Flow 2 and customize the store options to match your catalog.
exponea.update({ favorite_store_id: "selected_store_id" });Test and run the use case
Test a use case before deploying it. Testing ensures you don't send unfinished or imperfect campaigns to your customer base.
Test Flow 1: Nearest store calculation
- Create 3–5 test customers with a known
addressvalue and nonearest_store_id. - Start the Flow 1 planned trigger.
- Check that the following properties are populated on each customer profile:
nearest_store_id,nearest_store_distance_miles,nearest_store_duration_minutes, andnearest_store_last_updated. - Check the webhook logs for errors. A 403 error means the API key is invalid.
Test Flow 2: Store selector weblayer
- Visit the site as a test customer without address data.
- Confirm the weblayer displays store options.
- Select a store and verify that
favorite_store_idis saved to the customer profile.
Test Flow 3: Personalized email campaign
- Create two test customers — one with
nearest_store_distance_miles = 10and one withnearest_store_distance_miles = 50. - Confirm both have
nearest_store_idorfavorite_store_id. - Start the Flow 3 planned trigger.
- Verify the first customer receives store details with a barcode or QR code.
- Verify the second customer receives the online coupon
BFCM20. - Test barcode rendering in Gmail, Outlook, and Apple Mail.
- Scan the QR code to verify it resolves to the correct URL.
Run the use case
Once testing is complete, launch the flows in order:
- Start Flow 1 for your target audience and wait for it to complete.
- Start Flow 2 to capture customers without address data.
- Start Flow 3 after store data is populated.
Advanced setup
Multi-touch follow-up sequence
Extend Flow 3 with Wait nodes and additional channel nodes:
- Day 3: SMS reminder
- Day 7: Weblayer on next site visit
- Day 10: Urgency SMS
Add an offer_redeemed event exit condition after each Wait node to stop the sequence as soon as a customer redeems in-store.
Reverse flow: offline to online
Trigger on offline purchase events and send reorder incentives via email or SMS. Include product recommendations based on in-store purchase history.
Appointment-based variant
For furniture or automotive retailers, replace the barcode or QR code CTA with a Calendly booking link as the primary call to action. Track appointment_booked events alongside redemptions.
AI-powered discount routing
Route High sensitivity customers to bigger offers and Low sensitivity customers to a premium VIP experience with no discount, protecting margin.
Multi-store customers
Use favorite_store_id instead of nearest_store_id for customers who visit multiple stores — so the offer always references their preferred store, not just the closest one.
Updated 3 days ago