

Configure mobile push notifications
This guide walks you through creating and configuring mobile push notifications in Bloomreach. Learn how to use the notification editor, configure settings, send test notifications, and build advanced notifications using the code builder.
Before you start, ensure you complete the setup steps in Mobile push notifications.
Use notification editor
Create mobile push notifications in scenarios.
- Go to Campaigns > Scenarios and select Mobile Push Notification under Actions on the left side.
- Double-click the action node to open the notification builder.
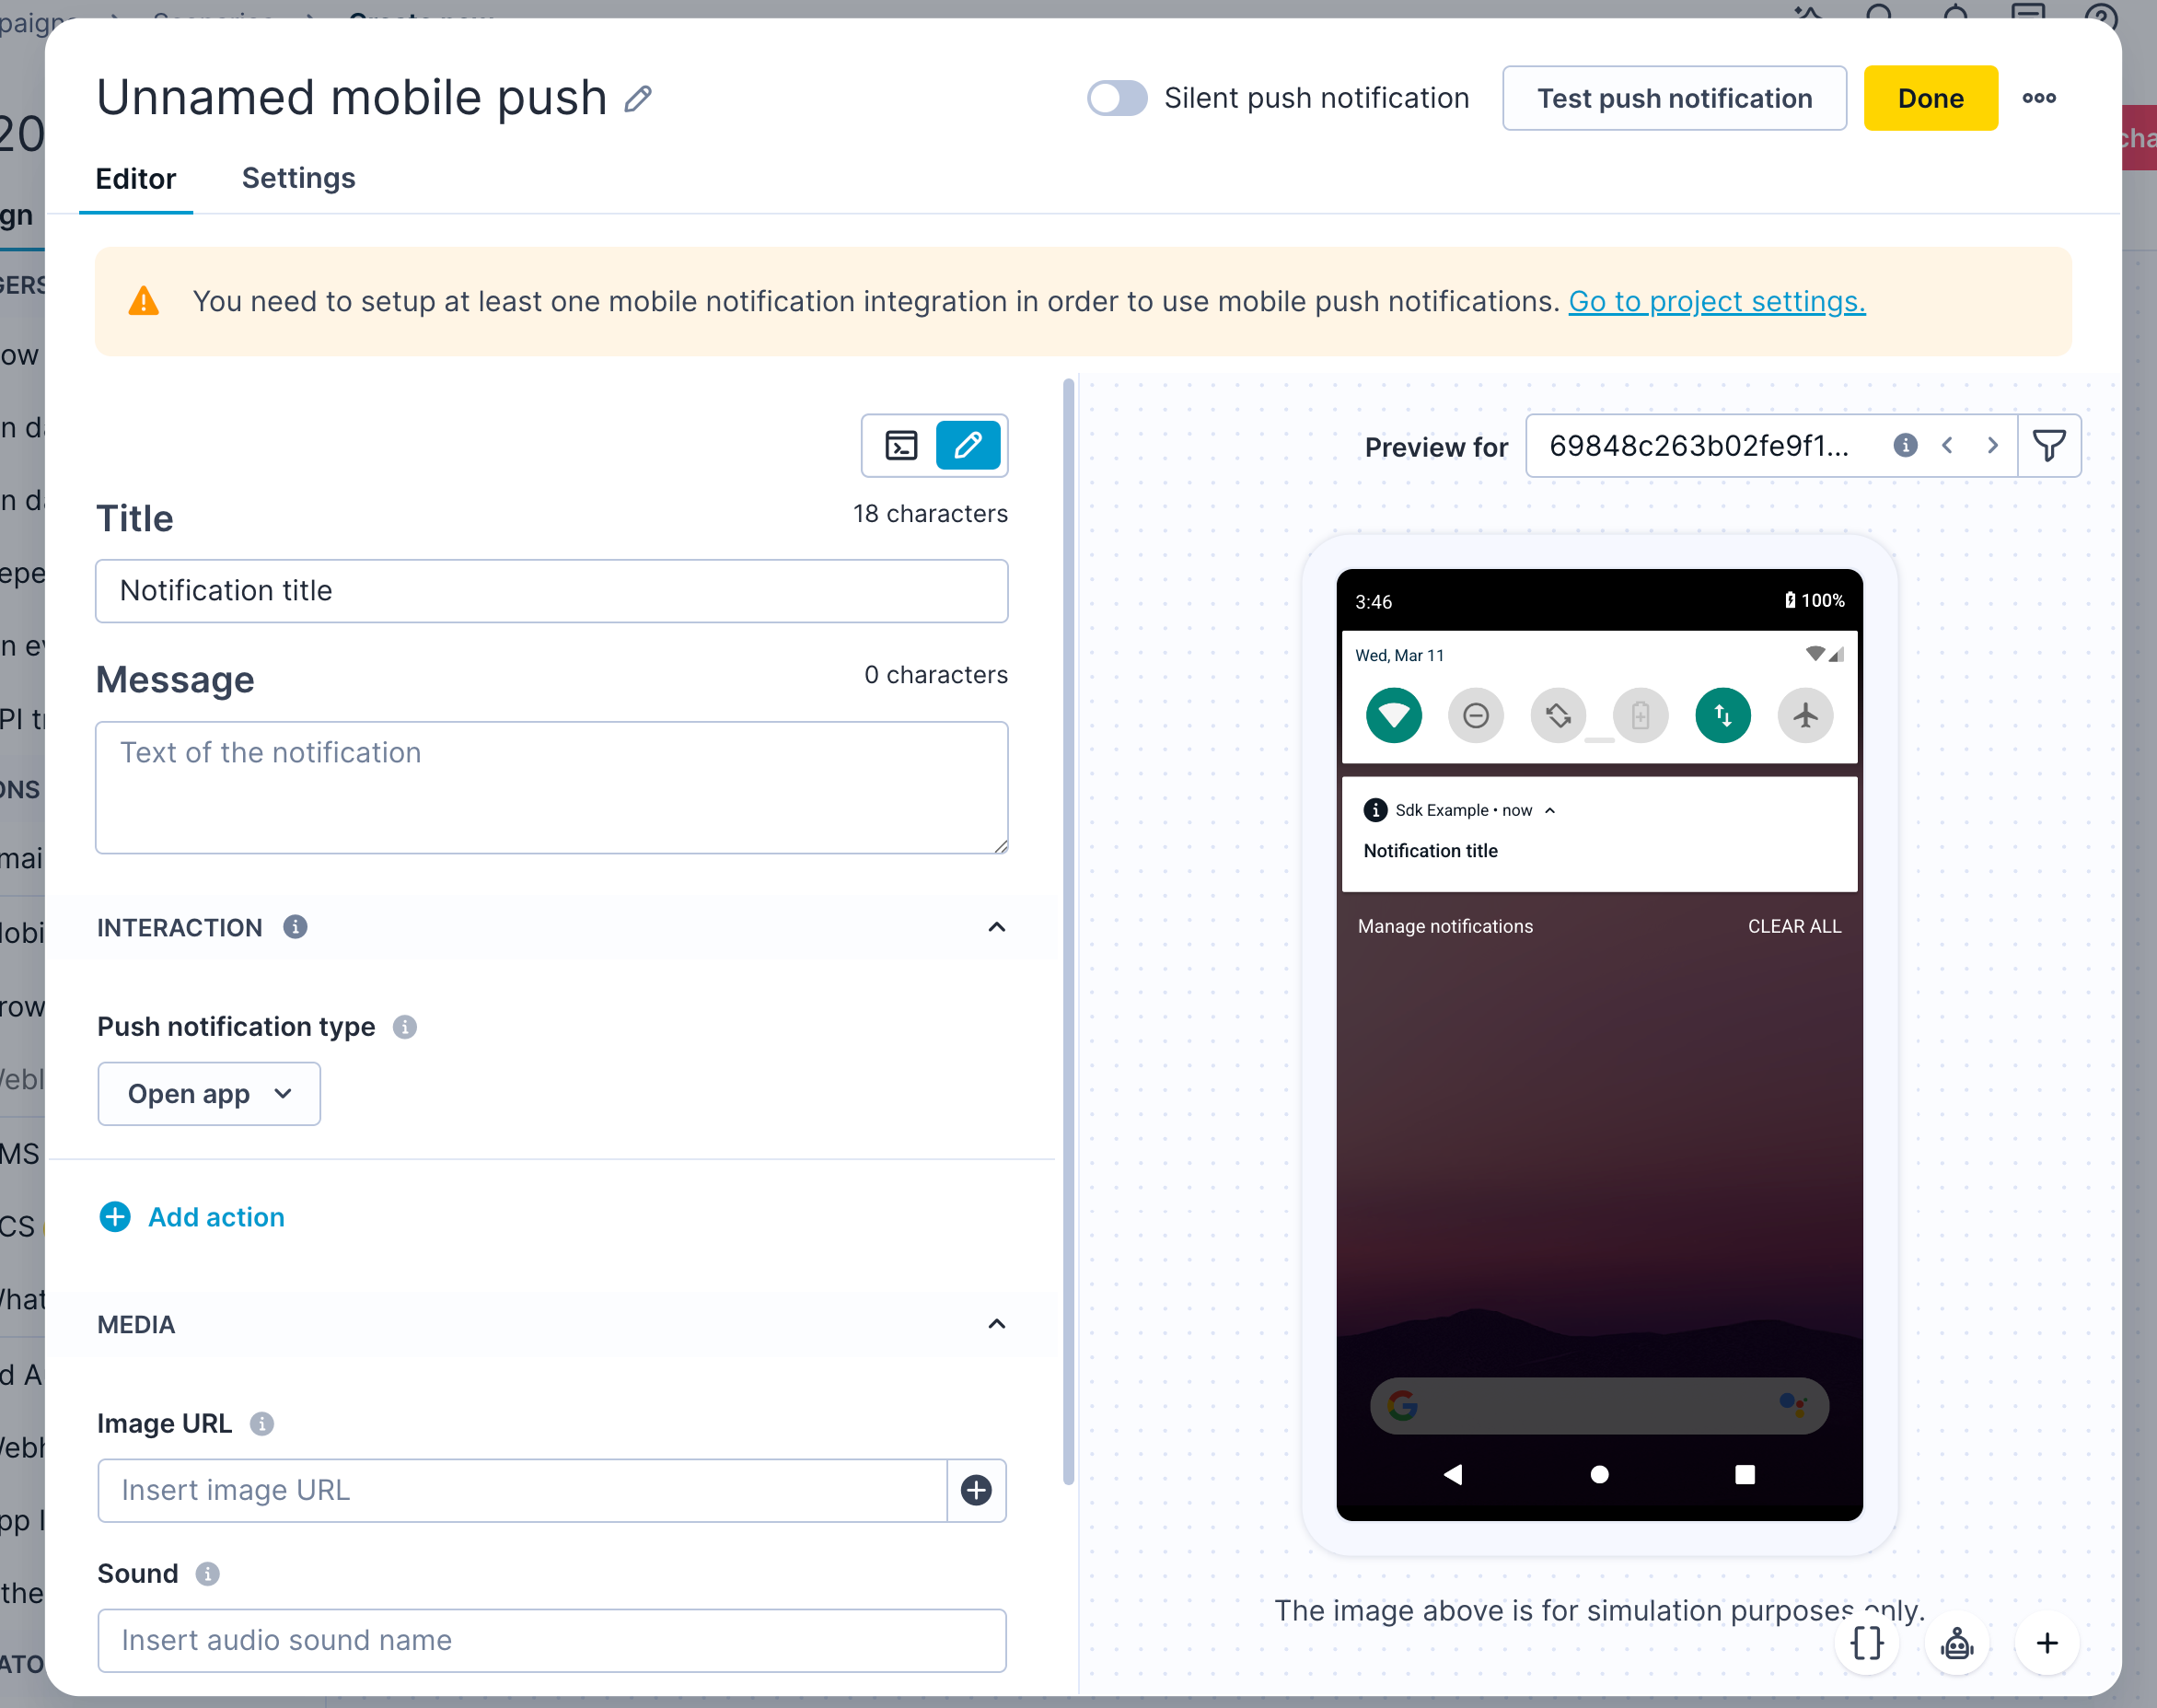
Mobile push notification visual editor
- Work in the default visual editor or switch to the code builder for advanced configurations.
In the notification editor, select which app the notification targets. The platform integrations associated with that app are used when sending the notification.
Set interaction behavior
In the Interaction section, choose what happens when a user taps the notification. There are three action types:
- Open application: Opens your mobile app.
- Open browser: Opens a URL in the device's web browser. You must define the target URL.
- Open deeplink: Opens a specific screen in your app. You must define the deeplink URL. Learn more about handling deeplinks.
Add media
In the Media section, you can attach an image to display in the notification or set a sound to play when it arrives.
Preview notifications
On the right side of the editor, preview how your notification looks on Android and iOS — for individual customers or filtered segments. Enter a customer's email address in the preview field, or use the filter icon to select a segment. This is useful when you use personalization, as it lets you verify that different customers see different content as intended.
Set character limits
Bloomreach doesn't enforce a character limit, but follow these recommendations for the best user experience:
- iOS: No more than 230 characters.
- Android: No more than 500 characters.
- Both platforms: Keep notification text under 50 characters for optimal readability.
Set image sizes
Follow these image guidelines per platform.
iOS
- Maximum dimensions: 1,038 x 1,038 pixels.
- Images taller than 1,038 pixels are downscaled with padding to appear square.
- Use landscape orientation. Portrait images are often resized or cropped.
Android
- Maximum dimensions: 800 x 1,038 pixels.
- Use landscape orientation. Rich push notifications on Android are cropped to approximately 16:9, though the exact ratio varies by device.
- GIF images are not supported.
iOS and Android
Images can be cropped across both platforms. Avoid placing important content at the edges of the image or using edge-to-edge text.
NoteThe Bloomreach editor displays fonts in left-to-right formatting. The actual notification follows the user's device language settings. For example, a notification sent to a user with a right-to-left language setting displays in right-to-left formatting, regardless of how it appears in the editor.
Add emojis
On Windows, add emojis to your push notification by right-clicking in the text field or pressing Win + . (Windows key and full stop).
Configure notification settings
The Settings tab contains standard campaign settings covered in the email campaigns article, plus four settings specific to mobile push notifications.
| Setting | Description |
|---|---|
| Target device | Choose how to target devices: Only the most recently used sends to the user's most recent device where push notifications are enabled and the push token is still valid (default). All sends to all active devices within the validity window (up to 3 per platform). For token resolution behavior, see Token states and push eligibility. |
| Time to live (seconds) | The number of seconds the system keeps trying to deliver the notification if the device is unavailable. If left empty, this value isn't included in the request. |
| Priority | Controls delivery priority for Android devices. Android doesn't deliver notifications with normal priority when a device is in low-power mode. High priority is selected by default to ensure delivery in all cases. |
| Link transformation | Controls how UTM parameters are applied to deep links. Auto adds UTM parameters to deep links automatically (default). Manual sends the deep link without automatic UTM addition. Use Manual if automatic UTM addition interferes with your existing deep link setup. If you switch from Auto to Manual, clear all UTM input fields to ensure clean deep link delivery. |
| App Inbox | Stores push notifications in the App Inbox inside your mobile app, so customers can access them even after interacting with the notification. See persistent storage for mobile push notifications. |
Set notification priority
Android devices in low-power mode block the delivery of notifications with normal priority. High priority is selected by default for all push notifications to ensure immediate delivery, even to devices in low-power mode.
Fix UTM parameters and deep links
From version 1.288, Bloomreach automatically adds UTM parameters to deep links when Auto link transformation is selected.
If your deep links stop working after this update:
- Open the push notification settings.
- Change Link transformation from Auto to Manual.
- Clear all values from the UTM input fields.
This ensures your deep links work without automatic UTM parameter addition.
Send test push notifications
Test how your notification looks on a real device before sending it to customers. Click Test push notification in the editor to send the notification to the customer selected in the preview field. Select the target integration: iOS, Android (Firebase), or Android (Huawei).
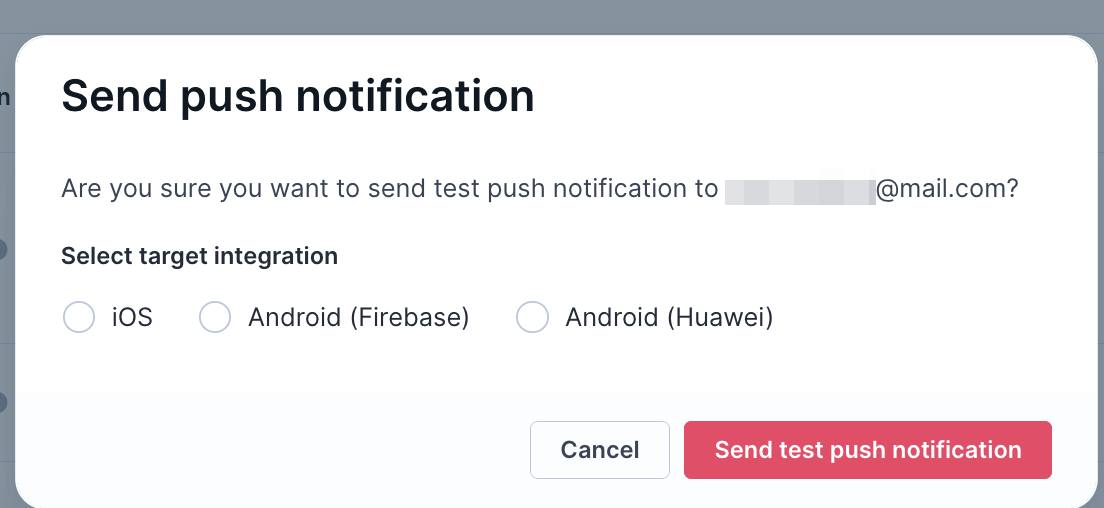
Test push notification option
Push tokens
To receive a test push notification, the target customer must have a push token associated with their profile.
For SDK versions from September 26, 2025 and later, tokens are resolved from notification_state events. If you're upgrading from an earlier SDK version, see Migrate to event-based push notification tokens for step-by-step migration guidance.
For earlier SDK versions, the token must be stored in the customer profile attributes:
- iOS:
apple_push_notification_id - Android — Firebase Cloud Messaging:
google_push_notification_id - Android — Huawei Push Service:
huawei_push_notification_id
WarningFor SDK versions prior to September 26, 2025, the error
Customer property "google_push_notification_id" is missingmeans the push token isn't stored in the customer's profile attributes.
To learn how to track push tokens from your SDK, see the push notifications configuration guide for your platform in SDK installation guides.
Integration testing helper
Bloomreach provides a dedicated route for developers to verify that push notification implementation is working correctly. When called, this route triggers a test push notification, letting you confirm that all parts of the push notification flow — from Bloomreach to the device — are functioning as expected.
Send a silent push notification
A silent push notification delivers a payload to a user's device without displaying a visible notification. This is useful for checking whether a customer still has your app installed. If a silent notification fails to deliver multiple times, the customer has likely uninstalled the app.
NoteSilent push notifications require SDK version 2.8.0 or higher for Android and 2.7.0 or higher for iOS.
Token states and push eligibility
The push notification node uses notification_state events to determine which customers and devices are eligible to receive a notification. Each event contains a valid property and a description property that together define the token's current state.
valid | description | Meaning | Created by |
|---|---|---|---|
true | Permission granted | Token is active and the user has granted notification permission. | SDK |
false | Permission denied | Token is active but the user has denied notification permission. | SDK |
false | Invalidated | Token was replaced by a new token or the customer was anonymized. | SDK |
false | device token is no longer valid | The push provider permanently rejected the token (HTTP 410 or 404). | Bloomreach |
The fourth state isn't created by the SDK — it's written by Bloomreach after a push delivery attempt fails permanently. You'll only see this state after the system has tried to send a push notification and the provider confirmed the token is no longer valid.
How the push node resolves tokens
The push notification node automatically filters tokens based on their state. You don't need to add condition nodes before the push node to exclude customers without valid tokens — the node handles this automatically.
Regular push notifications are delivered only to customers with at least one valid=true token within the configured validity period (default: 90 days).
The validity window depends on your tokenTrackFrequency setting. ON_TOKEN_CHANGE is the recommended setting — the SDK tracks a new notification_state event when the token changes, and also automatically every 30 days, to keep customers within the validity window. For details, see Configuration for Android SDK and Configuration for iOS SDK.
Silent push notifications use different eligibility logic. The node checks the description field rather than the valid field:
valid | description | Regular push | Silent push |
|---|---|---|---|
true | Permission granted | Eligible | Eligible |
false | Permission denied | Not eligible | Eligible |
false | Invalidated | Not eligible | Not eligible |
false | device token is no longer valid | Not eligible | Not eligible |
Tokens with description=Permission denied represent devices where the app is installed and the token is functional, but the user hasn't granted visible notification permission. These devices can still receive silent push notifications.
For technical details on how notification_state events are tracked by the SDK, see the push notifications guide for your platform in SDK installation guides.
Build a notification with the code builder
For advanced use cases, switch to the code builder to build push notifications using JSON. The code builder gives you full control over notification structure and behavior.
You can define three action types:
app— Opens the application.browser— Opens a URL in the device's web browser. Define the target URL in theurlfield.deeplink— Opens a specific screen in your app. Define the deeplink URL in theurlfield.
Open browser example
{
    "title": "Notification title",
    "message": "Notification text",
    "action": "browser",
    "url": "http://exponea.com",
    "actions": [
        {
            "title": "Open",
            "action": "app"
        },
        {
            "title": "Go to website",
            "action": "browser",
            "url": "https://exponea.com"
        },
        {
            "title": "Cancel",
            "action": "deeplink",
            "url": "exponea://notifications.actions.cancel/fe80c8b8c5fffe62aa10"
        }
    ],
    "image": "https://exponea.com/icon.png",
    "sound": "beep.wav",
    "attributes": {
        "age": 24,
        "gender": "male"
    }
}
Open app example
{
    "title": "Notification title",
    "message": "Notification text",
    "action": "app",
    "actions": [
        {
            "title": "Open",
            "action": "app"
        },
        {
            "title": "Go to website",
            "action": "browser",
            "url": "https://exponea.com"
        },
        {
            "title": "Cancel",
            "action": "deeplink",
            "url": "exponea://notifications.actions.cancel/fe80c8b8c5fffe62aa10"
        }
    ],
    "image": "http://exponea.com/icon.png",
    "sound": "beep.wav",
    "attributes": {
        "age": 24,
        "gender": "male"
    }
}
iOS custom payload
Limitations for iOS 11 and lower
iOS versions lower than 12 don't support rendering push notification actions directly from the received payload. To support actions on these versions, enable legacy iOS actions and add the legacy_ios_category attribute to the push notification payload. Your development team should follow the iOS custom notification actions guide.
{
    "legacy_ios_category": "category_id",
    "title": "Notification title",
    "message": "Notification text",
    "action": "app",
    "actions": [
        {
            "title": "Open",
            "action": "app"
        }
    ]
}
Track campaign events
Mobile push campaigns generate campaign events with action_type = mobile notification for all customers in the campaign audience. These events cover the full delivery lifecycle — from Bloomreach sending the push to the customer's device receiving or clicking it.
The delivered status attribute in the campaign event is tracked immediately after the push notification is delivered to the device. For the full structure of campaign events, see System events.
You can map campaign events to a different event name under Project settings > Campaigns > Mapping > Campaign events.
Sentandfailedstatuses are tracked server-side.Deliveredandclickedstatuses are tracked from the app via the SDK. Rich push notifications are required fordeliveredevent tracking on iOS. Due to iOS technical constraints — 12–15MB of RAM and 30 seconds of processing time — delivery tracking may not be 100% reliable.- Each
campaignevent includes astateproperty that indicates whether the notification was visible to the user:shownornot_shown. Both Android and iOS report this property consistently. On Android, thestatevalue is determined by whether the notification was actually displayed on the device. The event also includes anotification_importanceproperty that maps to the Android notification channel importance level — this property is Android-only and has no iOS equivalent. - Each UTM parameter is tracked as a separate attribute of the
session_startevent — for example,utm_source,utm_medium, andutm_campaign. This is consistent with JavaScript SDK tracking and aligned with UTM tracking across all SDKs.