

Replenit
Integration
Replenit is a replenishment analytics platform that uses purchase data to predict when customers are likely to reorder a product. This guide explains how to configure Bloomreach to export historical and daily purchase data to Replenit's Google Cloud Storage (GCS) bucket.
You'll complete three main steps:
- Add Bloomreach as a data source in Replenit.
- Add Replenit Google Storage to Bloomreach.
- Create historical and recurring daily data exports in Bloomreach.
Prerequisites
- Access to the Replenit platform.
- Access to Data & Assets > Integrations and Data & Assets > Exports in Bloomreach. If you don't see the Exports section, contact your Customer Success Manager to request activation.
Add Bloomreach as a data source in Replenit
- In Replenit, go to Data & Health and select Bring Your Data In.
- Choose Bloomreach.
- Replenit generates the following values. Save them — you'll need them when configuring
Bloomreach:- Google Cloud Storage Bucket Name
- Directory Path
- Order events file name
- Order Line Item events file name
- Service Account Key (JSON credentials for GCS access)
Add Replenit Google Storage to Bloomreach
-
In Bloomreach, go to Data & Assets > Integrations and select Add New Integration.
-
Choose Google Cloud Storage for Imports and Exports. For details on this integration, see Google Cloud Storage for Imports and Exports.
-
Name the integration Replenit GCS Storage.
-
Enter the Google Cloud Storage Bucket Name from Replenit as the bucket name.
-
Upload the JSON credentials downloaded from Replenit.
-
Select Test integration, then Save integration.
Create historical data exports
Create two one-time exports — one for purchase events and one for purchase_item
events — to send Replenit your full historical order data.
Export purchase events
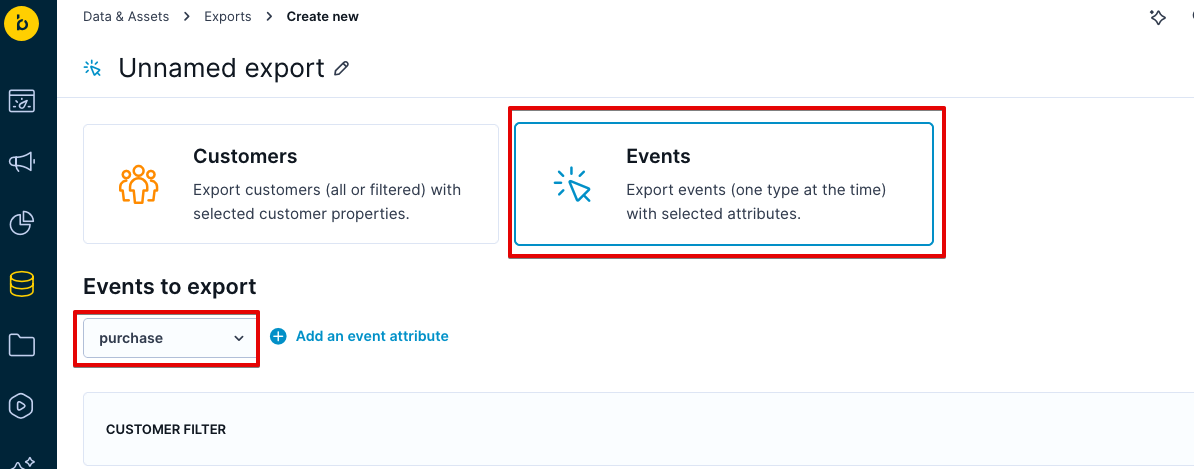
- Go to Data & Assets > Exports and click + New export.
- Choose Events and select the purchase event.
- Proceed through the steps until you reach Format & Target, then configure as follows:
- Format: CSV
- Delimiter: Comma
- Encoding: UTF-8
- File storage: Replenit GCS Storage
- Path to parent directory: use the Directory Path value from Replenit
- File name: use the Order events file name value from Replenit
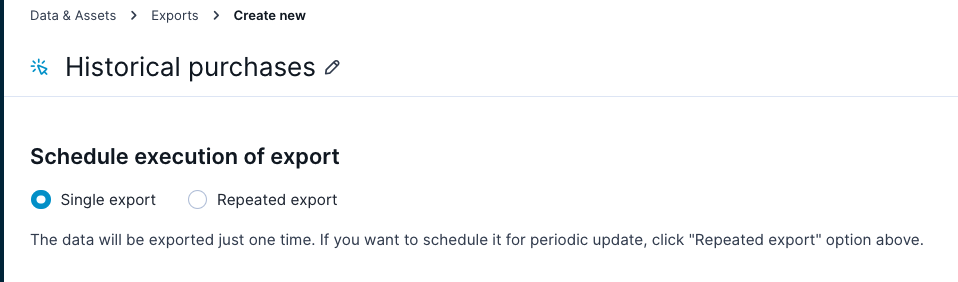
- Name the export Historical purchases.
- In the scheduling step, select Single export, then run the export.
Export purchase item events
Repeat the steps above with these differences:
- Select the purchase_item event.
- Use the Order Line Item events file name value from Replenit as the file name.
- Name the export Historical purchase items.
Create recurring daily exports
You'll create two recurring exports — again for purchase and purchase_item events — to keep Replenit updated with daily order data.
Set up the daily purchase export
-
Go to Data & Assets > Exports and click + New export.
-
Choose Events, select the purchase event, and apply a Last 24 Hours time filter.
-
Proceed to Format & Target and use the same configuration as the historical export:
- Format: CSV, Comma delimiter, UTF-8
- File storage: Replenit GCS Storage
- Path to parent directory and File name from Replenit
-
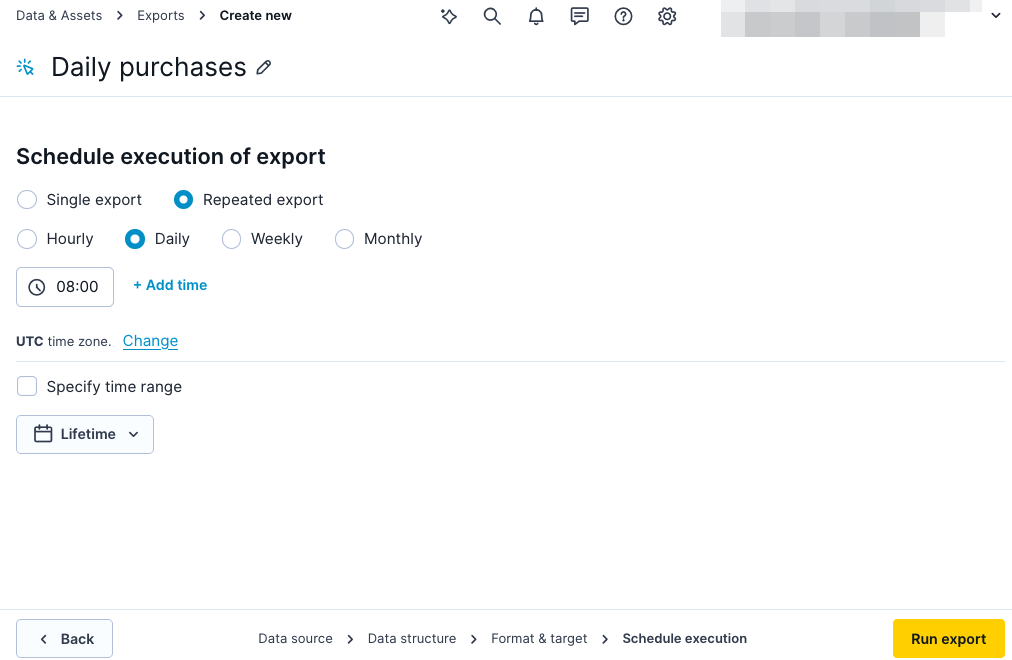
Name the export Daily purchases.
-
In the scheduling step, select Repeated export and configure as follows:
-
Frequency: Daily
-
Time: 08:00 in your timezone
-
-
Run export to activate it.
Set up the daily purchase item export
Repeat the steps above with these differences:
- Select the purchase_item event with a Last 24 Hours filter.
- Use the Order Line Item events file name value from Replenit as the file name.
- Name the export Daily purchase items.
Result
Once all exports have run, you'll have four exports on the listing page:
- Historical purchases (one-time)
- Historical purchase Items (one-time)
- Daily purchases (recurring)
- Daily purchase Items (recurring)
Replenit will ingest this data automatically to power its replenishment analytics.
Updated 20 days ago