
First agentic experience in Affinity
This walkthrough guides you through creating your first journey with Affinity. You'll learn how to describe a journey goal, review Affinity's proposal, and launch your first agentic journey.
If you haven't already, read How to think about Affinity to understand how Affinity's AI agents work together to build journeys.
Prerequisites
To complete this walkthrough, you need:
- Access to Affinity in your Bloomreach Engagement platform
- Basic understanding of email campaign concepts (target audience, timing, messaging)
- Familiarity with your customer data and typical journey goals
Access Affinity
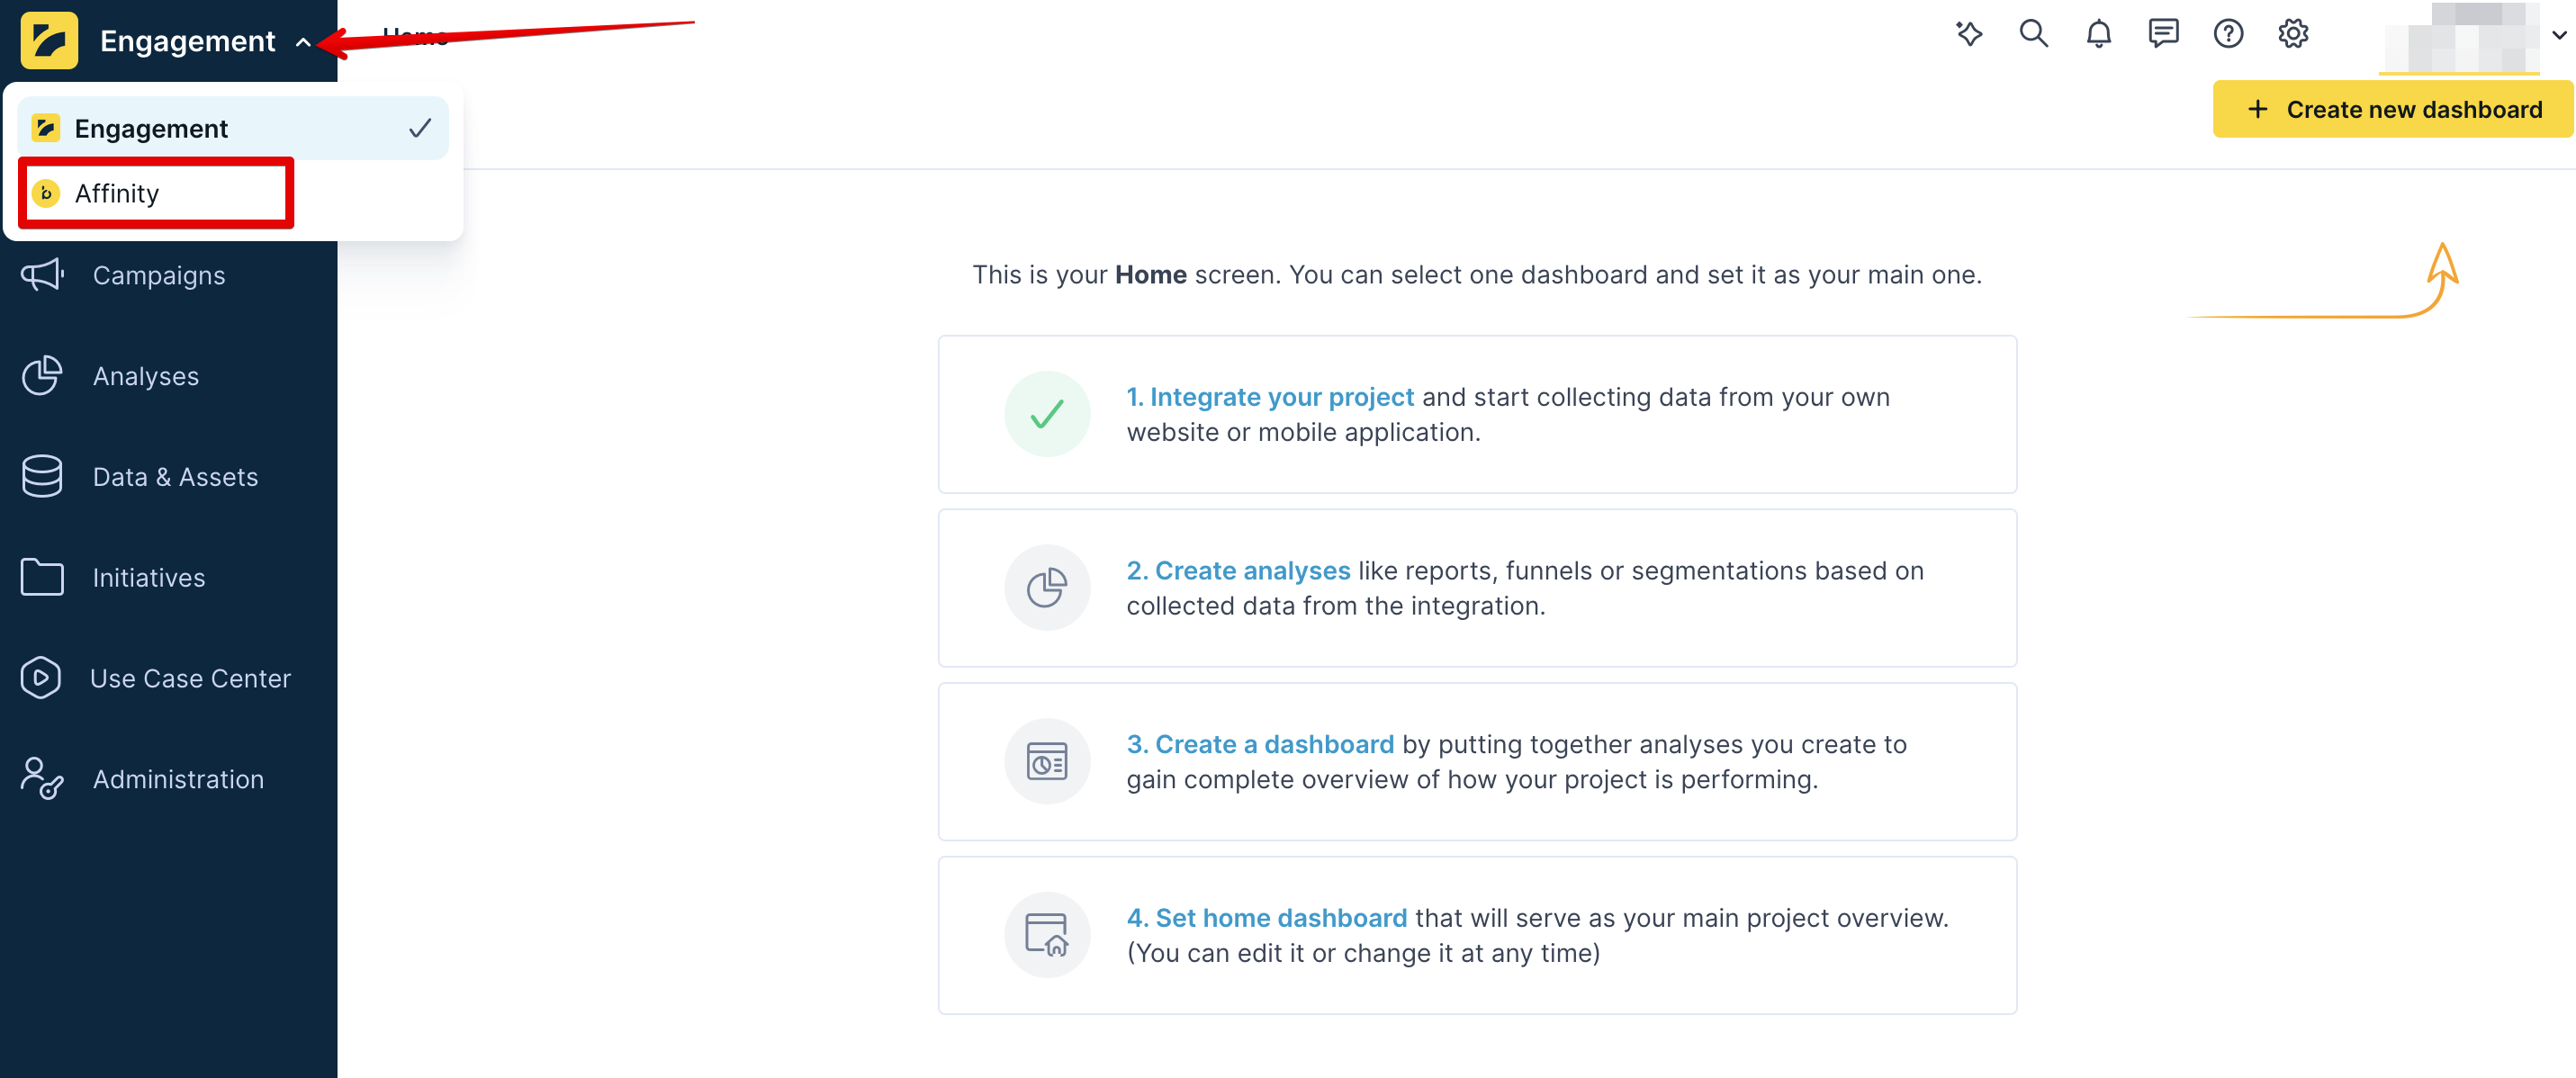
- Log into your Bloomreach Engagement platform.
- Click the arrow next to Engagement in the top navigation bar.
- Select Affinity from the dropdown menu.
The Affinity interface appears, showing a conversation window and options to get started.
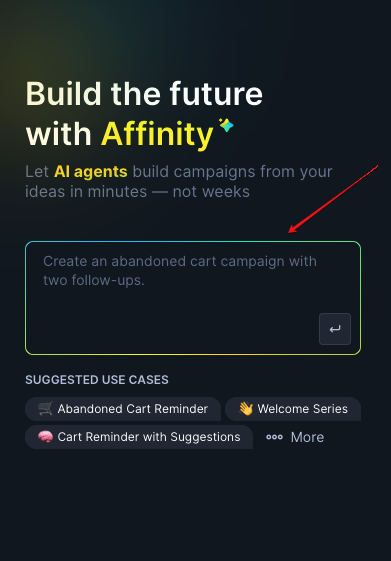
Step 1: Write your prompt
- Click the text field in the conversation area.
- Describe your journey goal in everyday language. Be specific about what you want to achieve.
Example prompt:
"Create an abandoned cart journey with two follow-ups sent 24 hours and 72 hours after abandonment."
- Press Enter or click the send button.
- Wait a few seconds while Affinity processes your request and generates a journey brief.
The clearer and more specific your prompt, the better Affinity's initial journey brief will be. Learn more about writing effective prompts.
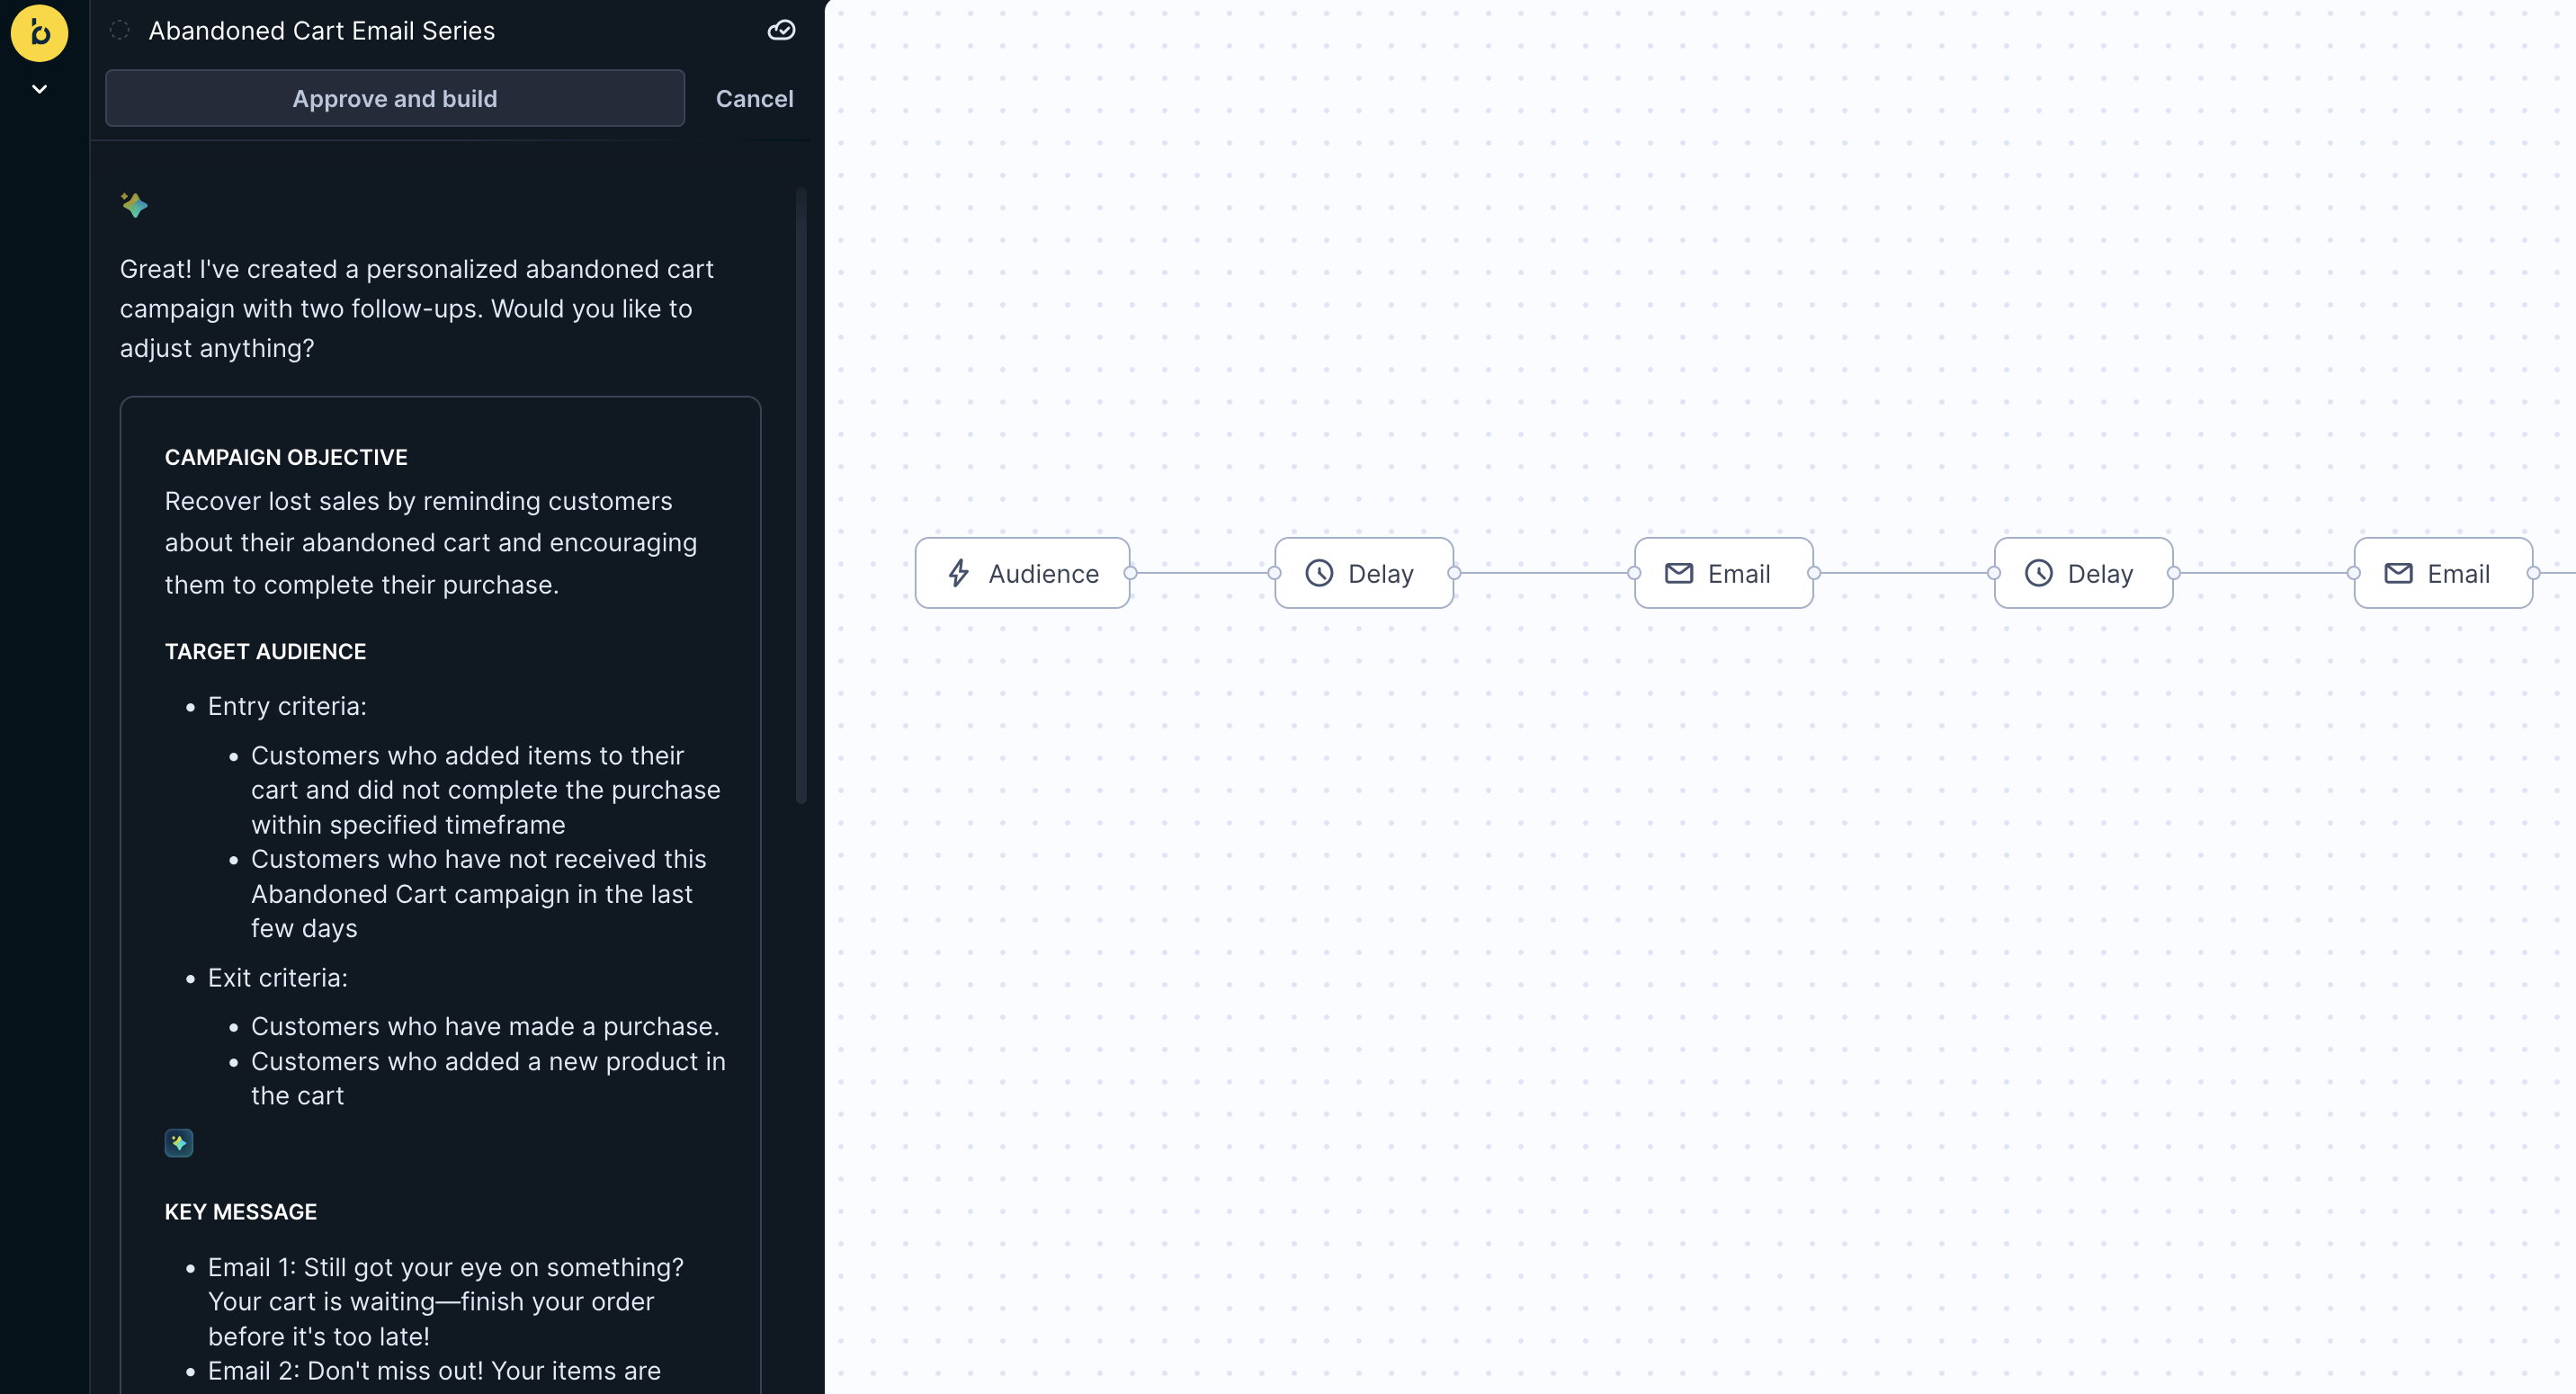
Step 2: Review the journey brief
Affinity presents a journey brief showing how it interpreted your request:
- Journey objective: What the journey aims to achieve and expected outcomes
- Target audience: Customer segments and criteria, including:
- Entry criteria: Who can enter the journey (checked once at start)
- Exit criteria: When customers should leave (monitored continuously)
- Key message: Example subject lines and messaging themes demonstrating the content approach
- Additional context: Journey timing recommendations and overall strategy
The right panel shows a visual outline of your complete journey structure, displaying how different components connect.
To understand how Affinity made these decisions, see How to think about Affinity.
If the journey brief doesn't match your needs, use the conversation window to request specific changes.
Example refinement request:
"Change the first follow-up timing to 12 hours instead of 24 hours."
Continue refining until the brief aligns with your objectives. Learn more about journey brief and generation.
Step 3: Approve and generate journey
- When you're satisfied with the journey brief, click Approve and build at the bottom of the brief.
- Affinity automatically generates an agentic journey with all components. Journey generation typically takes 2-10 minutes, depending on complexity.
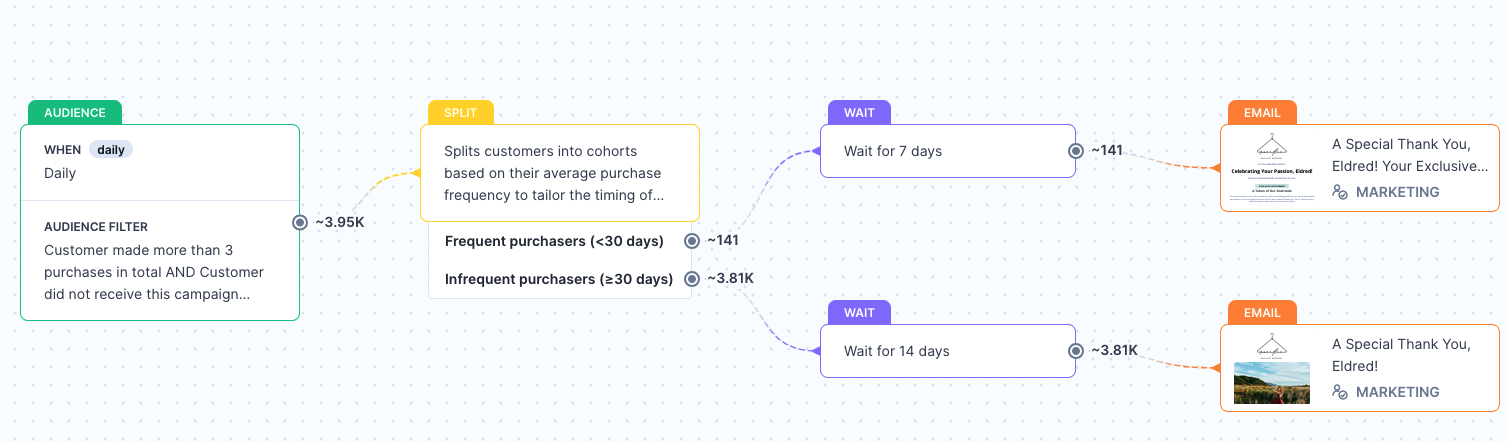
- The Canvas appears on the right, showing your complete journey flow.
The generated journey includes all elements needed to run:
- Audience nodes: Define who enters and exits the journey.
- Wait nodes: Control timing between touchpoints.
- Split nodes: Segment audiences for personalized paths (when applicable).
- Content nodes: Contain email messages and personalization.
Each node represents a specific journey component you can review and adjust. Learn more about journey generation and Canvas elements.
Step 4: Edit and refine
Review your generated journey and make adjustments using two approaches:
Conversational editing: Use the chat window to request structural changes like adding journey steps, modifying flow logic, or adjusting content strategy. Affinity will rebuild the journey with your requested changes.
Manual editing: Click individual nodes to adjust specific properties like audience filters, timing delays, control group percentages, and entry limits. Changes save immediately when you click Save.
For structural changes (adding steps, reordering flow), use conversational editing. For fine-tuning specific properties, use manual editing.
Learn more about editing and refining journeys, including when to use each approach and best practices for iteration.
Step 5: Launch and monitor
- When your journey is ready, click Start journey at the top of the Canvas to publish.
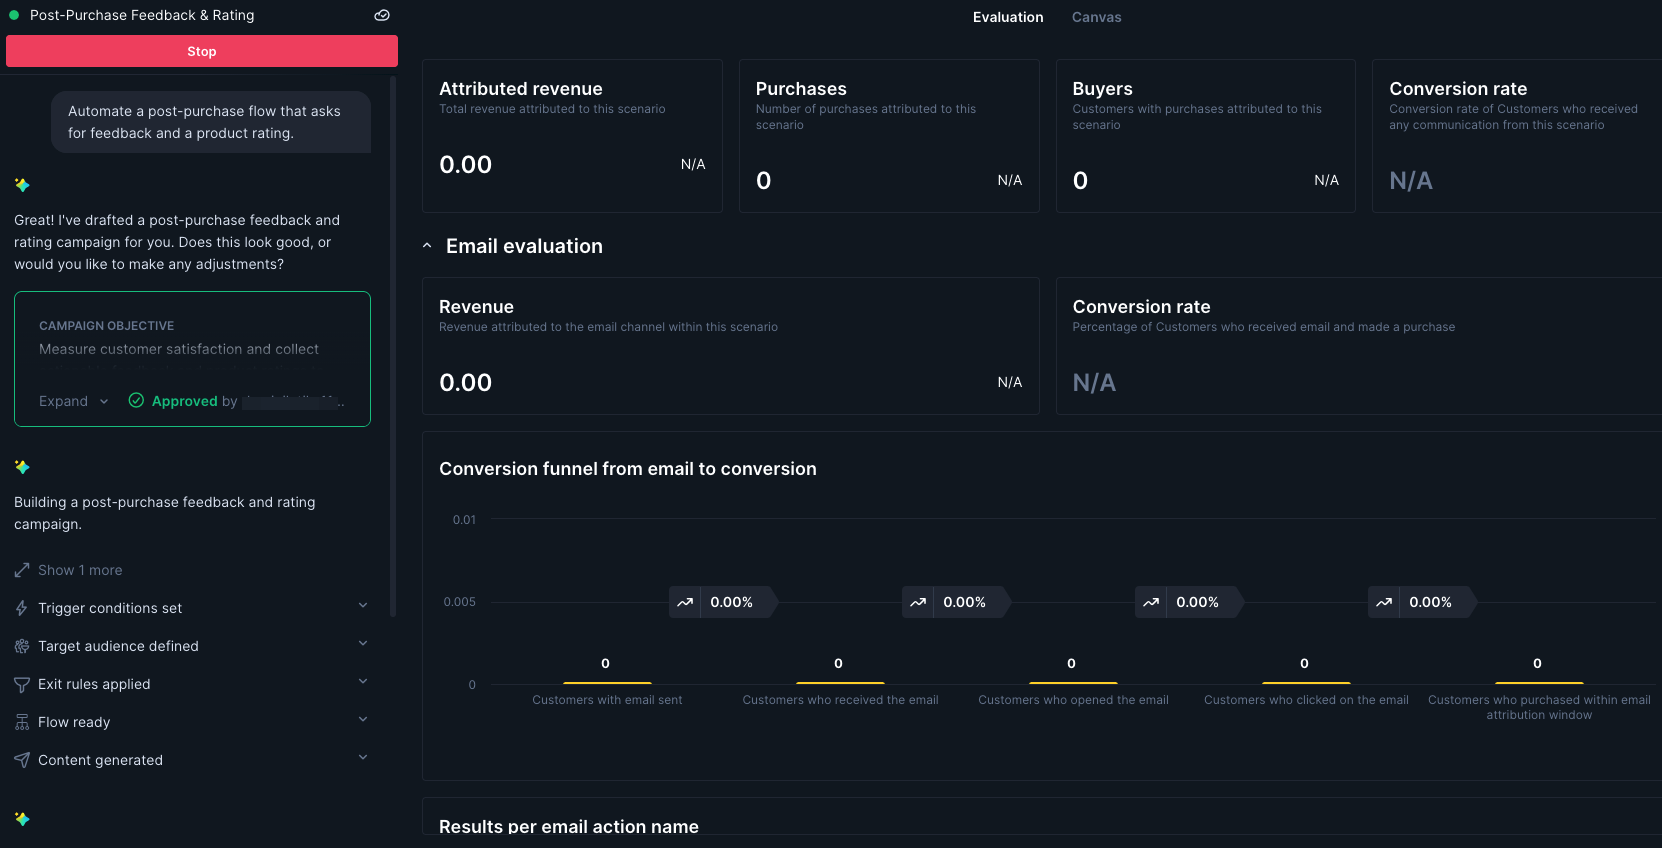
- After publishing, you'll be redirected to the Evaluation dashboard where you can monitor performance:
- Attributed revenue and conversions
- Email performance metrics (sent, opened, clicked, purchased)
- Conversion funnel analysis
You can continue adjusting journeys after launch by switching between the Canvas and Evaluation tabs. However, changes require republishing to take effect.
Learn more about launching and monitoring journeys, including how to use the evaluation dashboard and make post-launch adjustments.
Updated about 2 months ago