

Test scenarios
Test your scenarios to make sure they work correctly and deliver the results you expect. Testing helps you confirm that your scenarios are reliable, effective, and aligned with your business goals.You can test scenarios in 3 ways:
- Preview tab
- Event triggers
- "As live" email testing
Preview tab
Use the Preview tab to:
- Check customer flow while you build scenarios.
- Debug existing scenarios when data changes cause conditions to fail.
- Test scenarios that don't use an event trigger.
The Preview tab shows how many customers flow through each node.
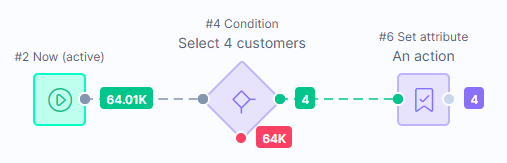
View how many customers pass through each node.
When you start a scenario, the confirmation window can show a higher number than the preview. Learn why in Start and stop a scenario.
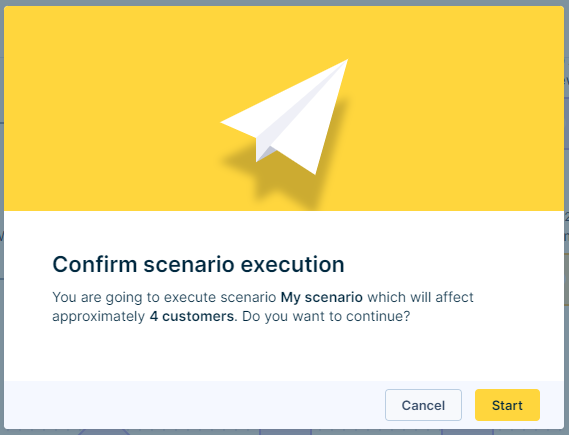
The warning message shows the total number of affected customers before you start a scenario.
Test event-triggered scenarios
When you build a triggered scenario, create a separate testing flow for test customers.
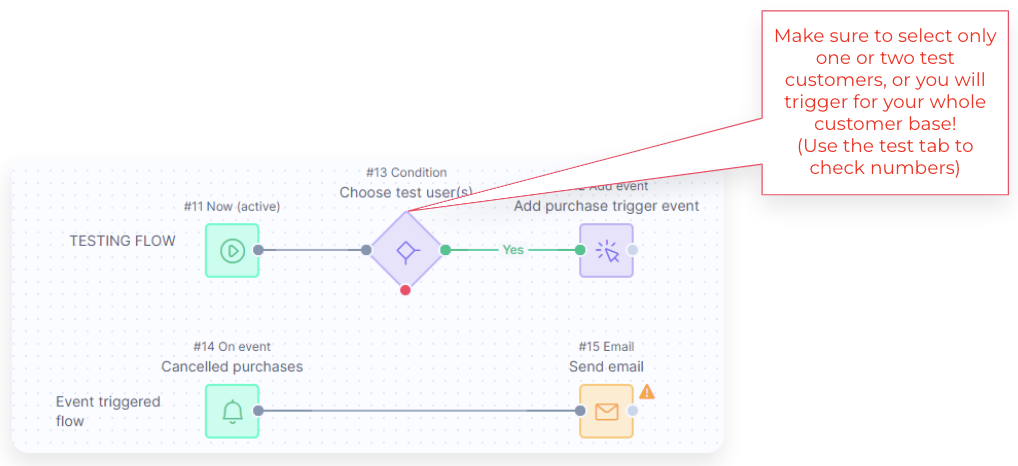
Create a separate testing flow to isolate test customers.
To set up event trigger testing:
- Add an Add event node with the required attributes, such as filters and email address.
- Select the Allow scenario triggering checkbox.
- Use test customer data to trigger the flow.
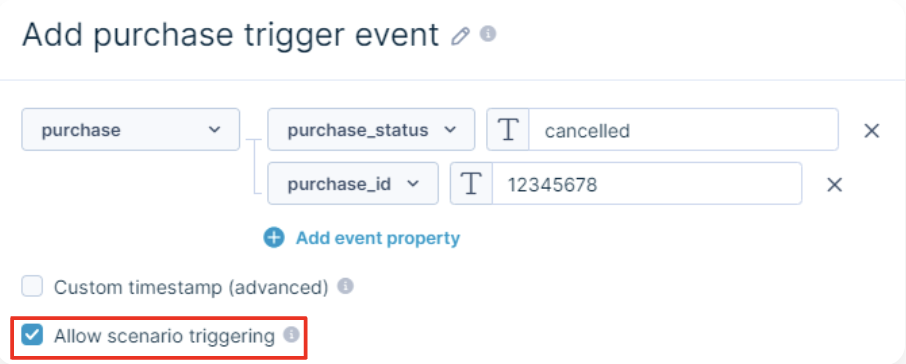
Select Allow scenario triggering in the event node to enable test customer flow.
Advanced event testing
For more complex testing, specify a Custom timestamp to make sure events occur in the correct order.
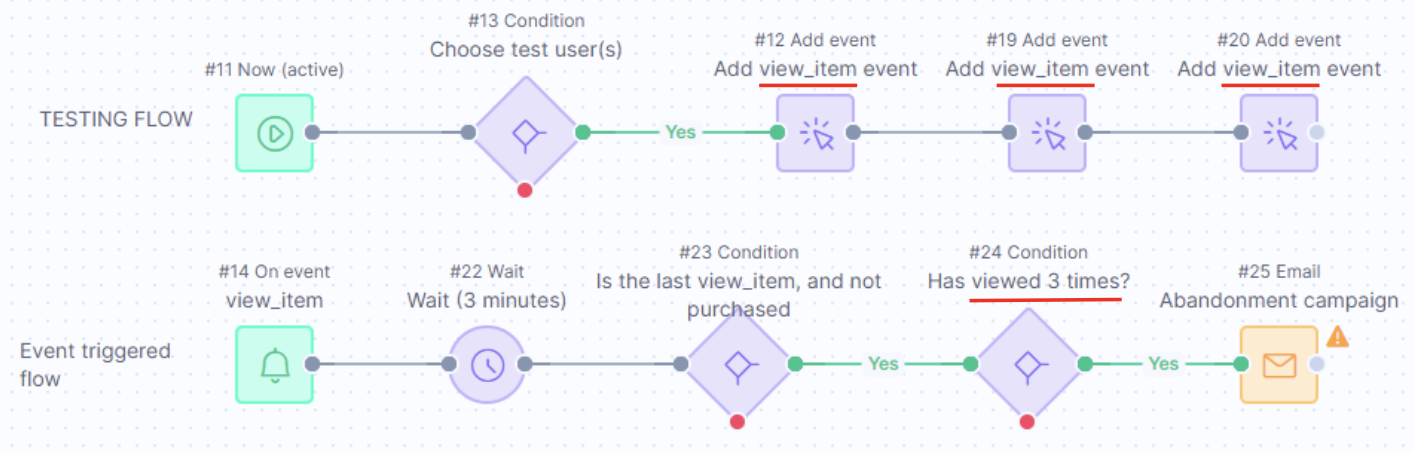
Use a custom timestamp to control event order during advanced testing.
Example: The Jinja snippet {{ time - 60 }} tracks an event 60 seconds before the current time.
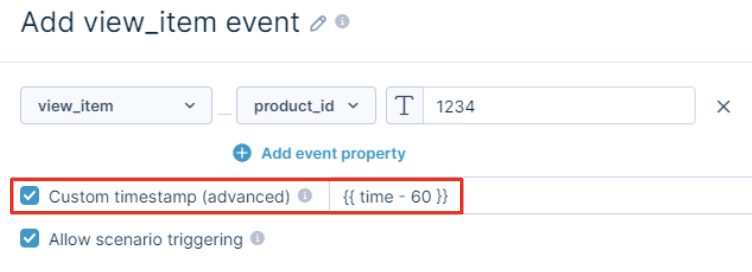
The Jinja snippet sets the event timestamp.
“As live” email testing
Use the custom recipient setting to send all emails to yourself instead of your customers. This helps you test complex scenarios that are difficult to test with simulated data.
WarningBloomreach sends you one email for every customer who enters the email node. If you don't filter your audience, you'll receive thousands of emails. Campaign events are still tracked to each customer's profile.
Prepare for testing
- Filter your audience to include only test customers. For example, create a test segment with 5–10 profiles.
- Check the audience size in the confirmation window before you start the scenario.
- Don't use this method without audience limits.
How it works
Set the scenario live for real customers, but deliver all emails to your configured address. Review the data afterward.
When you use proper audience filtering, this method acts as a safety net to prevent accidental sends during scenario development.
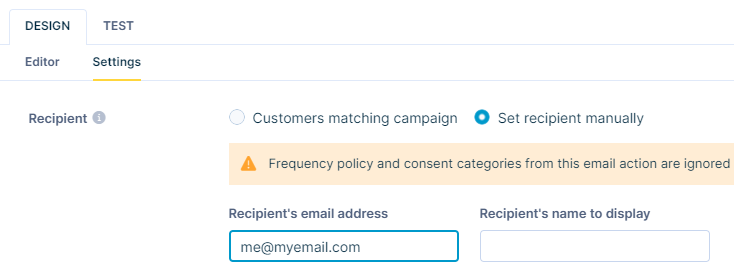
The custom recipient setting redirects all emails to your address while the scenario runs on your live audience.
When you choose email recipients manually, the campaign ignores frequency policies. Learn more in Scenario actions and operators.
Updated 20 days ago