

Merchandise with Dynamic categories
Edit/Create ranking rules
You can merchandise Dynamic categories similar to how you merchandise feed-originated Categories. Follow the steps given below to edit a Dynamic category ranking rule:
-
Go to Merchandising > Categories > All categories in the Bloomreach Dashboard.
-
Find the Dynamic category you want to merchandise by searching its ID/name. Dynamic categories will have a green tag next to them.

Note: Your Dynamic category will only show up in the “All categories” list when it has at least one product and has been indexed into the Catalog.
-
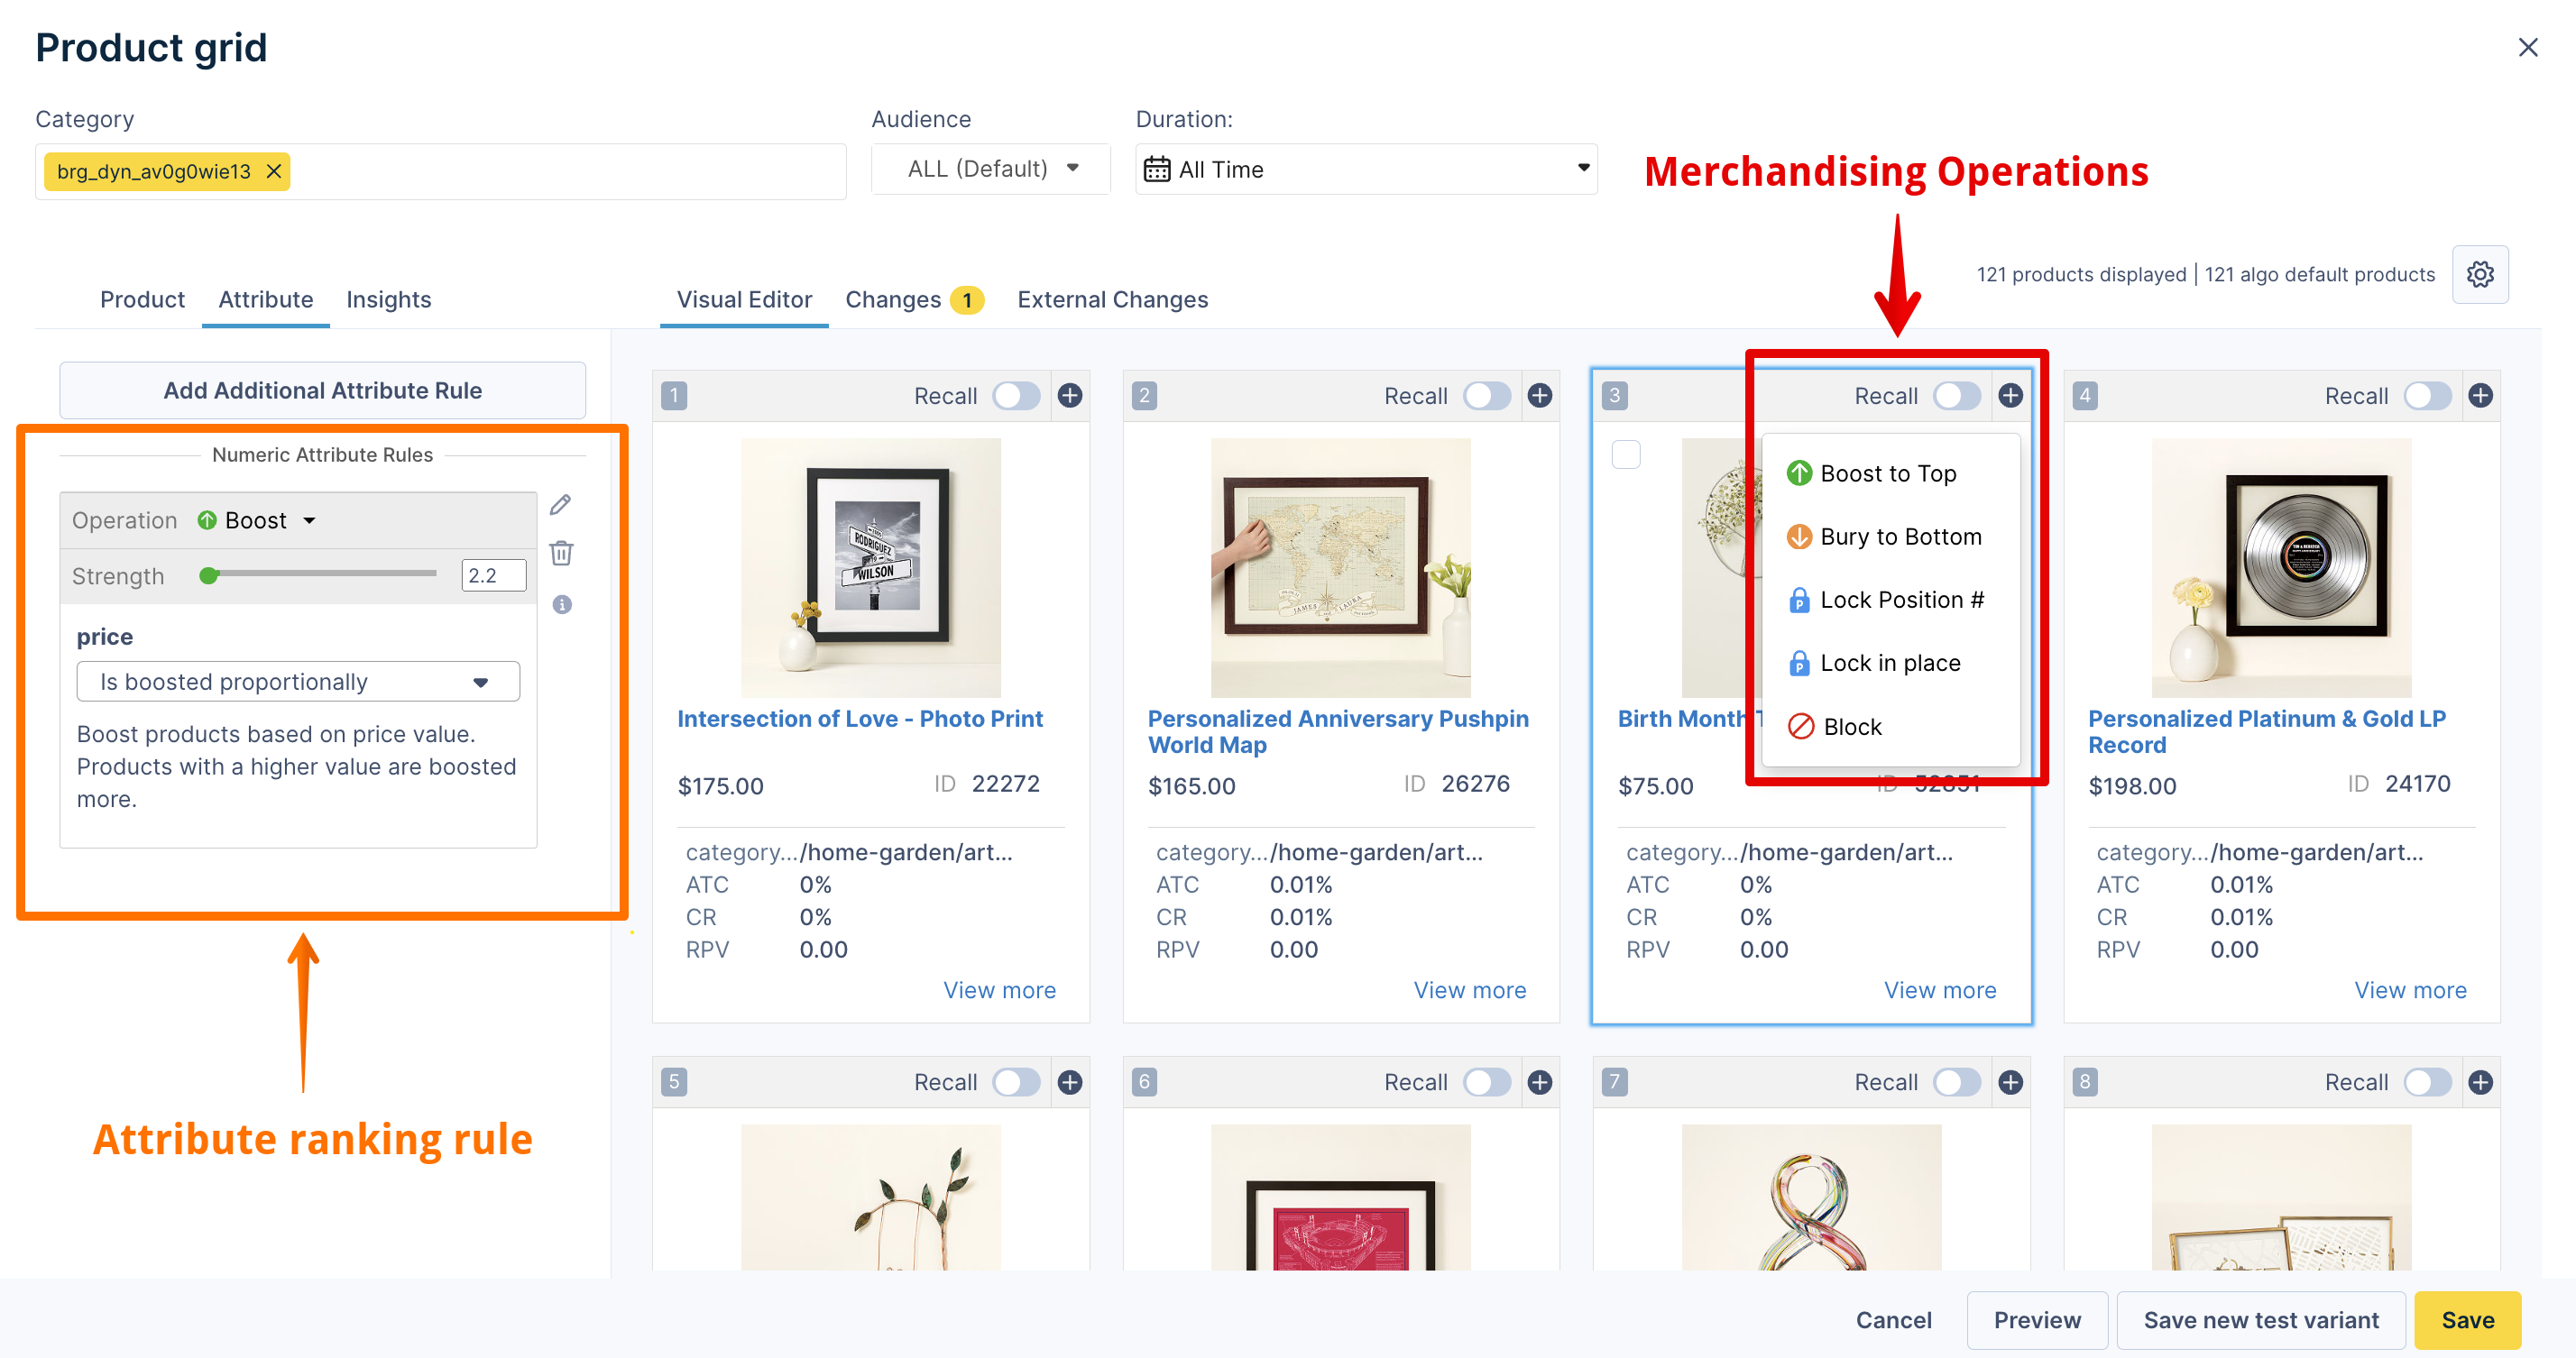
Hover over the desired category and click “Edit ranking rule” on the right.
-
The Product grid editor will open, where you can start applying merchandising operations/features to the products. You can start by boosting, burying, or locking the products.
-
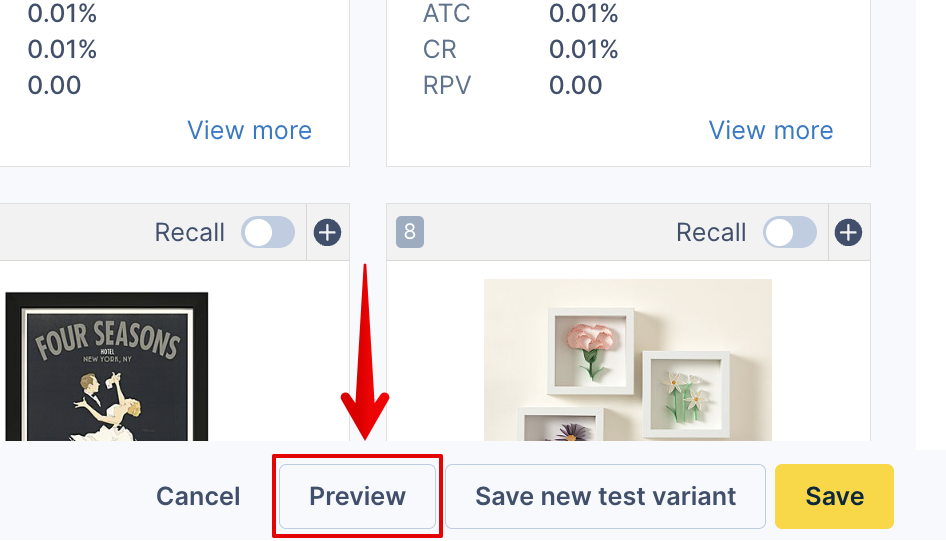
After making the customizations, review the changes in the Preview tab from the bottom.
-
If you’re satisfied with the changes, click on Save. The rule now appears on the Dynamic categories Ranking Rules homepage. Copy and note the unique Dynamic category ID for passing in the API call.
You can add additional ranking rules for your Dynamic category by navigating to Merchandising > Categories > Ranking rules and creating a new rule. Choose your desired Dynamic category under the Category field.

Merchandising features
All merchandising features available for feed-originated categories can be applied to Dynamic categories as well. These include, but are not limited to:
-
Facet Management (Facet inheritance will not apply because Dynamic categories are created at the root level)
Support for Configurations Cloner is coming soon for Dynamic categories.
Global ranking rules impact
Global Ranking and Global Category Ranking Rules will apply to the product ranking of Dynamic categories. However, there will be no impact on the Dynamic category creation process (no impact on the product recall), unless the Add to Recall operation is applied globally.
Inherited rules (from a higher site level) will also be applicable to the ranking of products in the Dynamic category.
Updated 4 months ago