

Android Application Pixel Integration
Integration PrerequisiteThe version of the Android SDK used in your application should be 24 or above.
To set up Bloomreach pixels in your Android application, follow the steps below:
1. Add the dependency for pixels
The first step is to add the dependency that contains the Bloomreach Pixels for the Android client library.
To add the dependency, follow these steps:
-
Download the
.aarfile from https://github.com/bloomreach/discovery-android-sdk/releases under "Assets".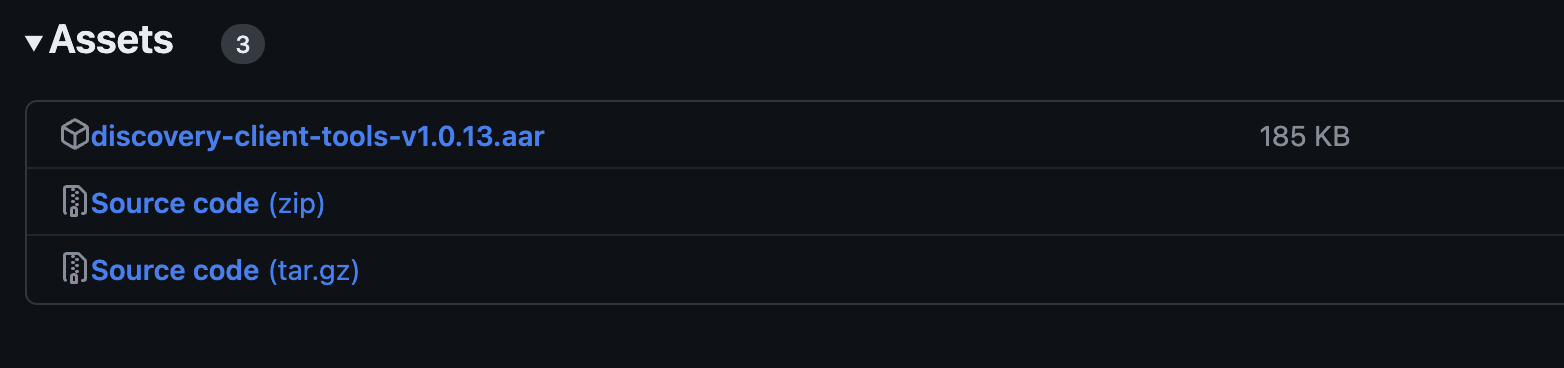
-
Add the
.aarfile in thelibsdirectory at the root level of your project. If thelibsdirectory does not exist already, create the directory and add the.aarfile. -
Now, to add the local
.aarfile as a dependency, add the following code to thesettings.gradlefile:
flatDir {
  dirs 'libs'
}- Finally, add the following code to the app level
build.gradlefile under the existingdependenciessection inside it:
dependencies {
…
implementation (name: 'bloomreach-client-<LATEST-RELEASED-VERSION>', ext: 'aar')
}
2. Initialization
In order to initialize the pixel library with your correct credentials at the start of your application, call the following method at the launch point of your app, in the onCreate() method inside the Applications file or Launcher Activity:
val brPixel = BrPixel(
  accountId = "<ACCOUND_ID>",
  uuid = “<13_digit_rand>”,
  visitorType = VisitorType.NEW_USER,
  baseUrl = "http://app.merchantname.com/"
)
PixelTracker.init(brPixel)
Make sure to replace all the placeholder values for the parameter values in the snippet above.
NoteCreate a synthetic base URL to track navigation in mobile apps. The synthetic URL could be a modified version of your website domain.
For example, if your website is
https://www.bloomique.com, your synthetic base URL could behttps://app.bloomique.com.
For more granular tracking, use a structured format likehttps://{app-version}-{platform}.app.{site}.com. The path after the hostname can be anything, as long as you use it consistently.
Here is a reference of all the different parameters you can set based on your requirements:
| Parameter | Description |
|---|---|
| accountId | Your Account ID provided by Bloomreach during integration |
| uuid | A 13 Digit random number. Eg: 2342698118212 |
| visitorType | enum type for new or returning visitors |
| baseUrl | Synthetic base URL of your app. This represents the current page |
| domainKey (Optional) | The Bloomreach-provided ID of the domain receiving the request |
| userId (Optional) | Unique ID used to track the visitor. This parameter is only required if you track visitors via a universal customer ID |
| testData (Optional) | Enter a Boolean value. Set test_data to false in the pixel for your prod release app |
| currency (Optional) | Regional currency or currency used in the app |
| debugMode (Optional) | Set this to true to get valuable debugging info and insights from the Events Manager. By default, this is set to false |
| pixelUrlByRegion | URL for Pixel server based on region. Defaults to the NA region |
| customerTier | Tier that the visitor belongs to. eg: Premium, Gold. For use with Relevance by Segment |
| customerCountry | Country that the visitor belongs to or is accessing the site from. For use with Relevance by Segment |
| customerGeo | Geography or Region that the visitor belongs to. For use with Relevance by Segment |
| customerProfile | Profile of the visitor. For use with Relevance by Segment |
| viewId (Optional) | This parameter is only required if you are integrating on a site with multiple site versions with unique product catalog characteristics. Otherwise, viewId should not be declared in the pixel as this might cause issues with analytics. During your technical kickoff call, the Bloomreach integrations team will inform you whether viewId will be required for your pixel integration or not. The value must be consistent with the view_id value passed in the feed and API calls. |
The value of any of the above parameters can be modified later in the code, even after initialization. It can be done by using the following line:
PixelTracker.brPixel.<PARAMETER_NAME> = <VALUE>
3. Triggering Pixels
Refer to the following guides to trigger specific pixels in your Android Application:
4. Pixel validation
You can test the integration of the Pixel SDK using the Pixel validator built inside the SDK. No additional integration is needed.
The Pixel validator only works in debug mode. The response from Pixel validation will be printed in Logcat of Android Studio on its own, as below:

Pixel Validator logs in Logcat
Updated 4 months ago