Managing Banners, Assets, and Campaigns
Warning
"Campaigns" have been enhanced and replaced by the Personalized media in grid feature. This page is deprecated, and we request you to refer to the linked guide for media in grid.
Merchandising banners, assets and campaigns
You can display banners/assets on search results pages. For example, Lydia is a shopper at an apparel site. She enters a search for a rockabilly-style dress. Her search results include a banner at the top of the page for the brand, Rockabilly Grace.
You need to define rules to display banners/assets. These rules define when to display a banner or asset, which banner or asset to display, and the banner's or asset's hotspot links.
At a high level, there are a few steps for displaying a banner/asset:
- Create a banner/asset.
- Create a campaign for the banner/asset.
You use a campaign to trigger your banner/asset. A campaign is associated with a banner/asset and runs for a specific time period. You configure the campaign to display the banner/asset when triggered by keyword searches or category browsing.
Create an Asset
A banner consists of an image and has hotspots associated with it. A hotspot link is a link embedded in the banner that opens to a particular URL when your customer clicks that spot.
To create an asset:
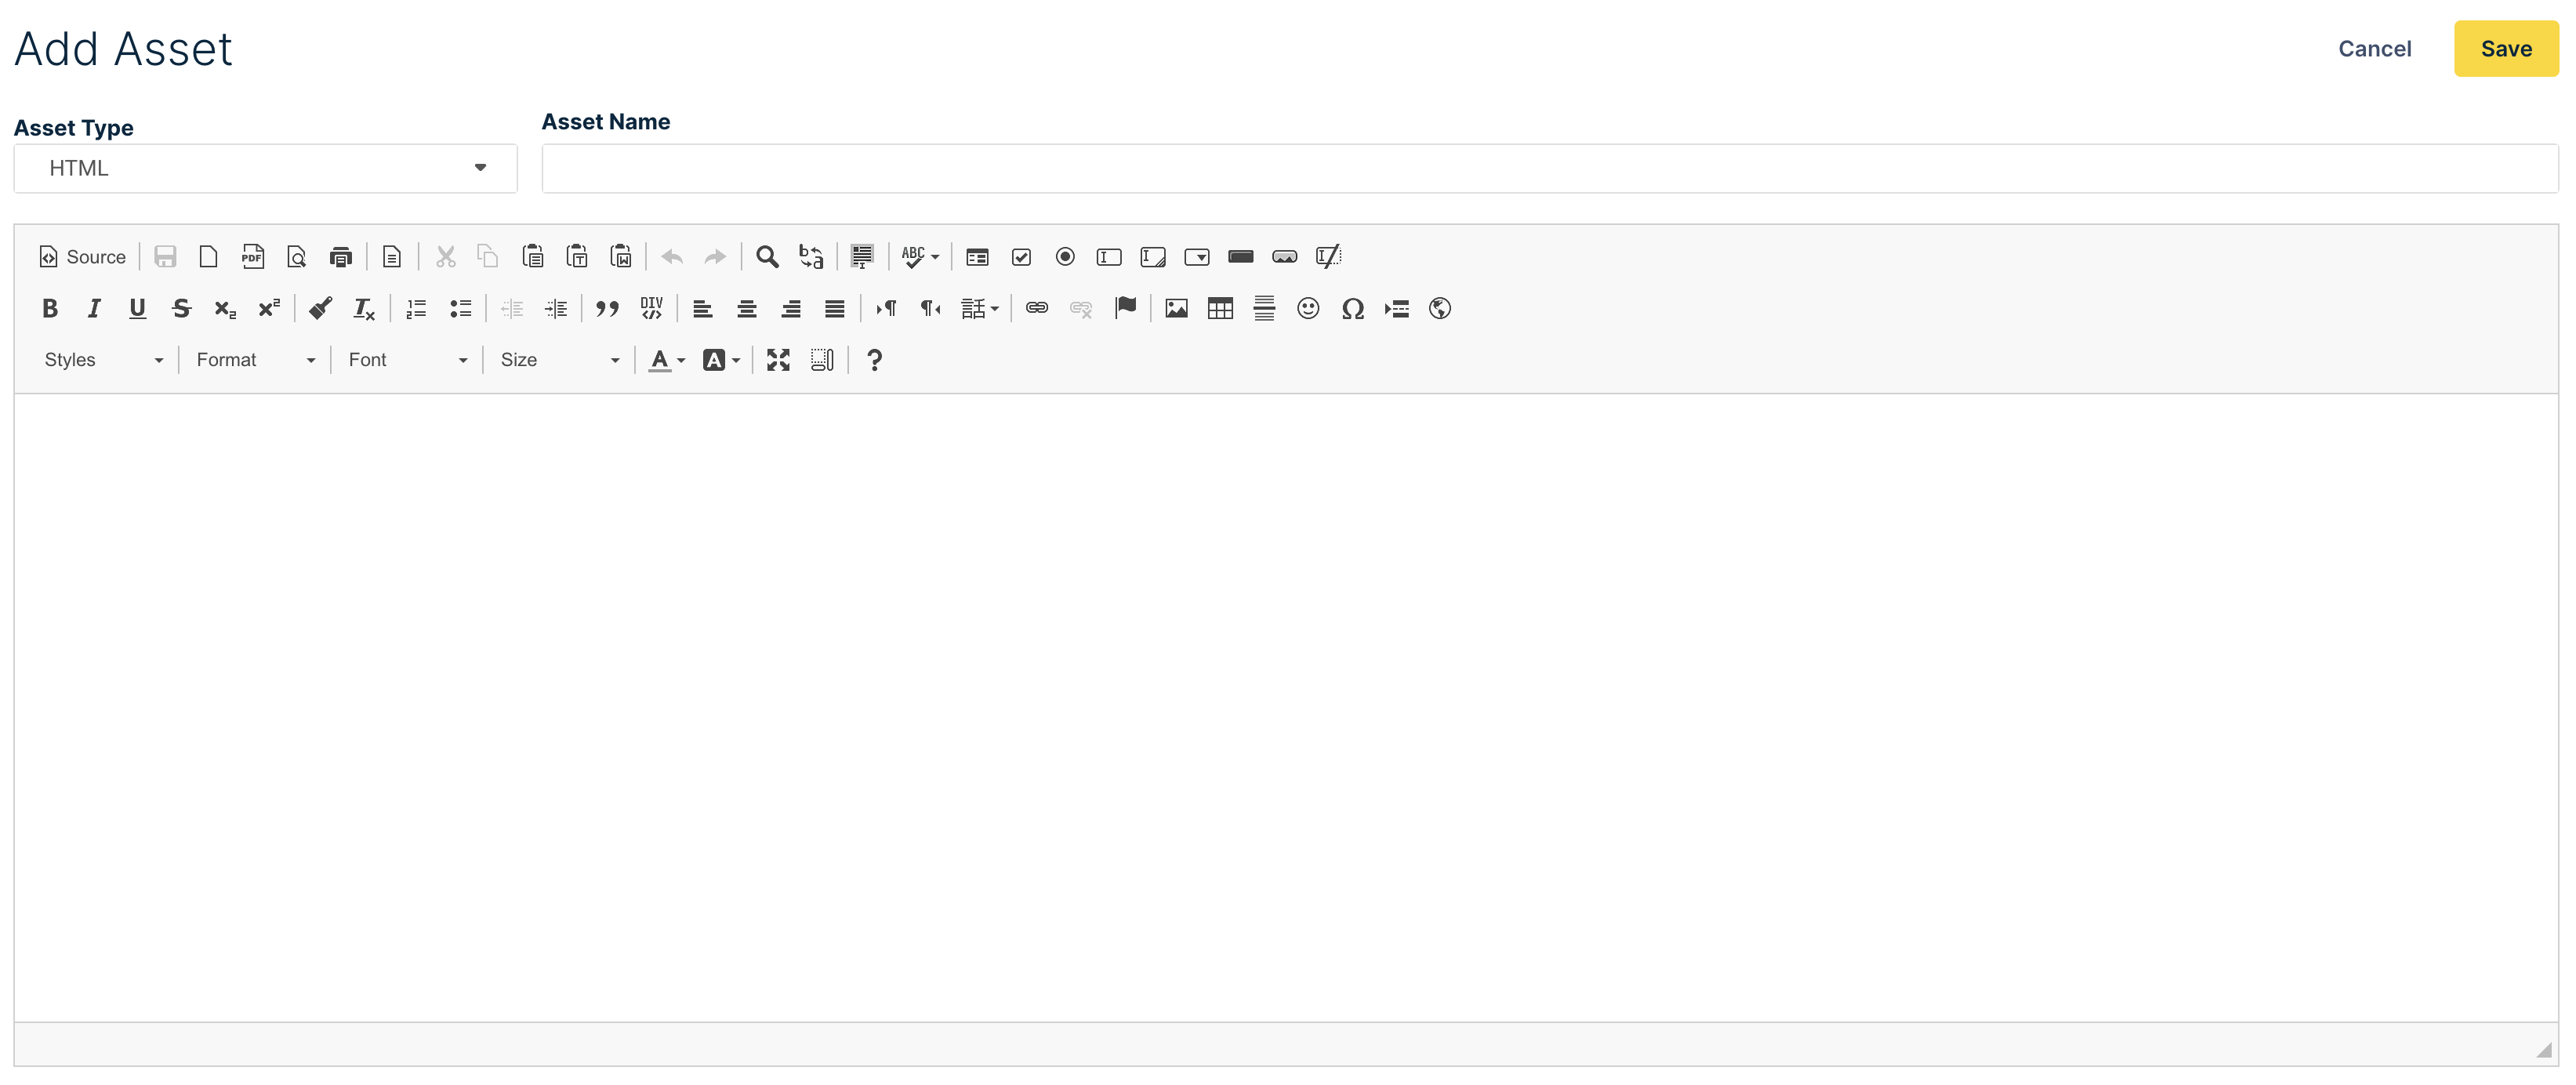
- Go to Merchandising > Campaigns & assets > Assets. Click on the + New asset button.

- Upload your banner or asset and select the Asset Type in the dropdown menu. You can upload an image file, an image URL, plain text, or rich text HTML.

Once you save your asset, you will see a preview of your banner so you can make sure it looks the way you want it.
Please note that your team must consume the API response for each Asset Type you'd like to use. For ease of accessibility, we recommend your team to consume all three Asset Type responses (Image, Plain Text and HTML).
-
Give your asset a name in the Asset Name text field.
-
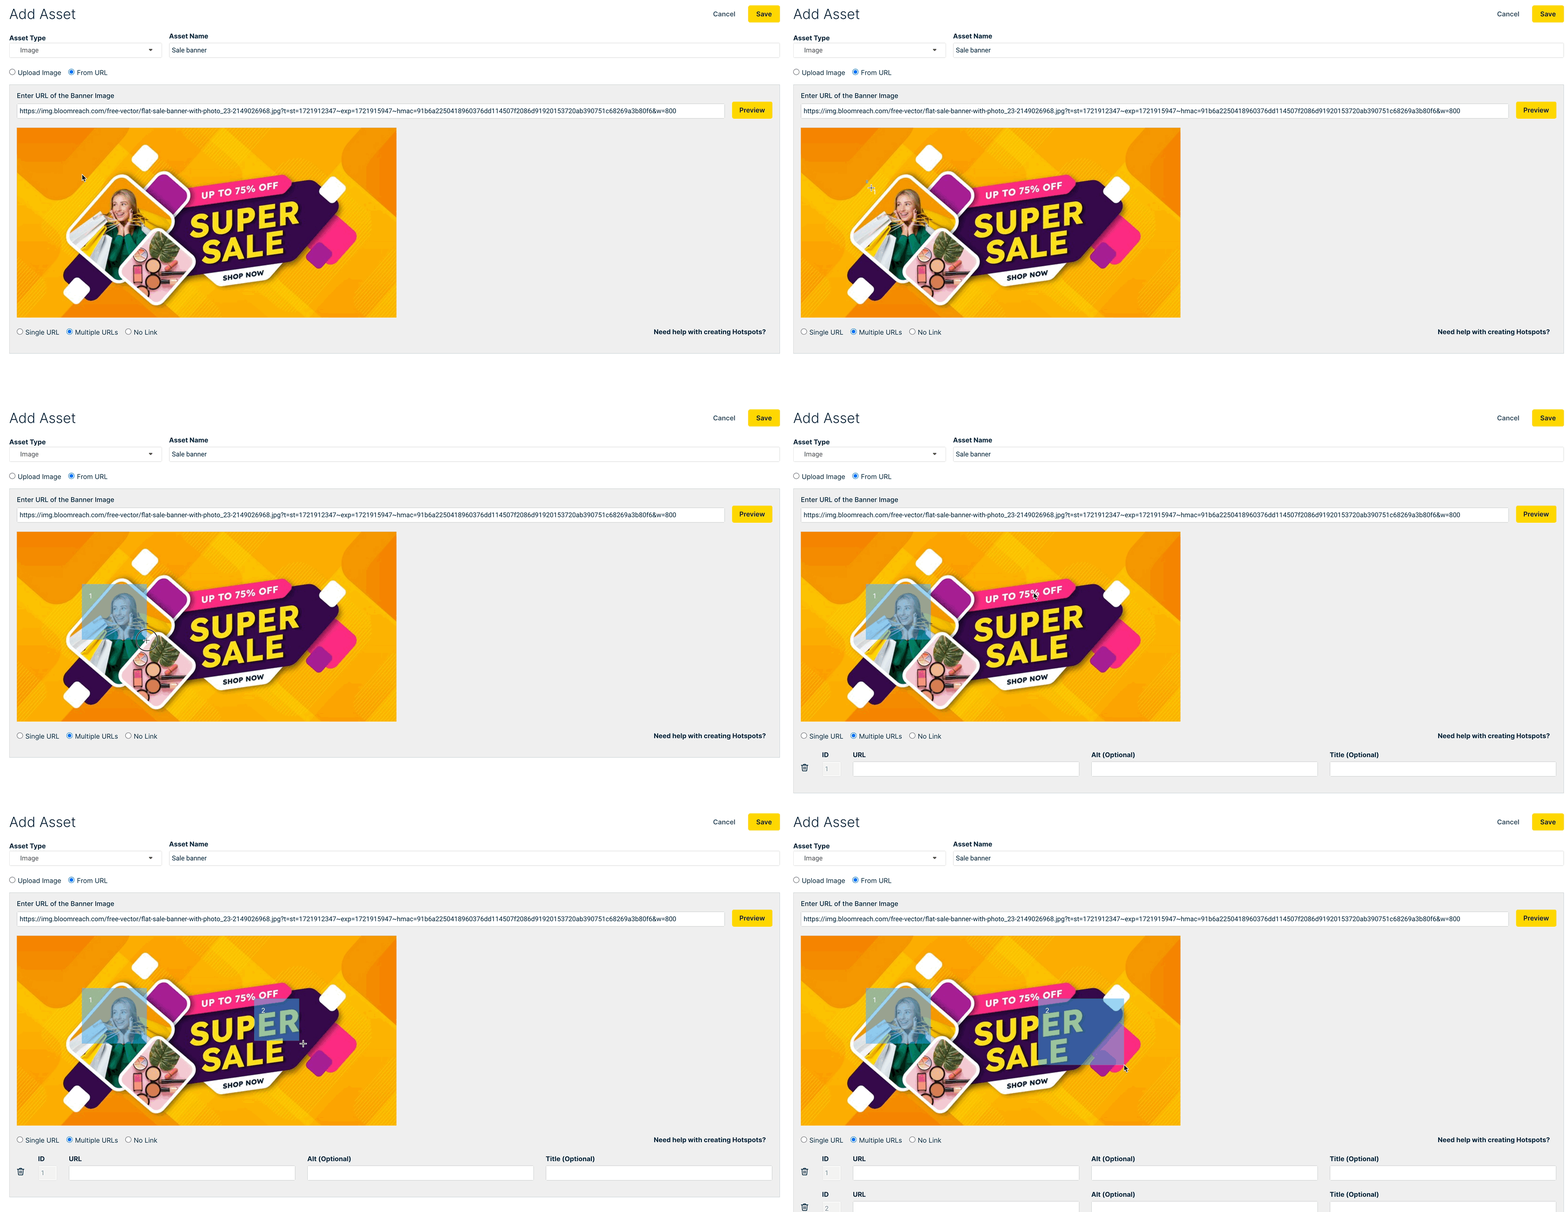
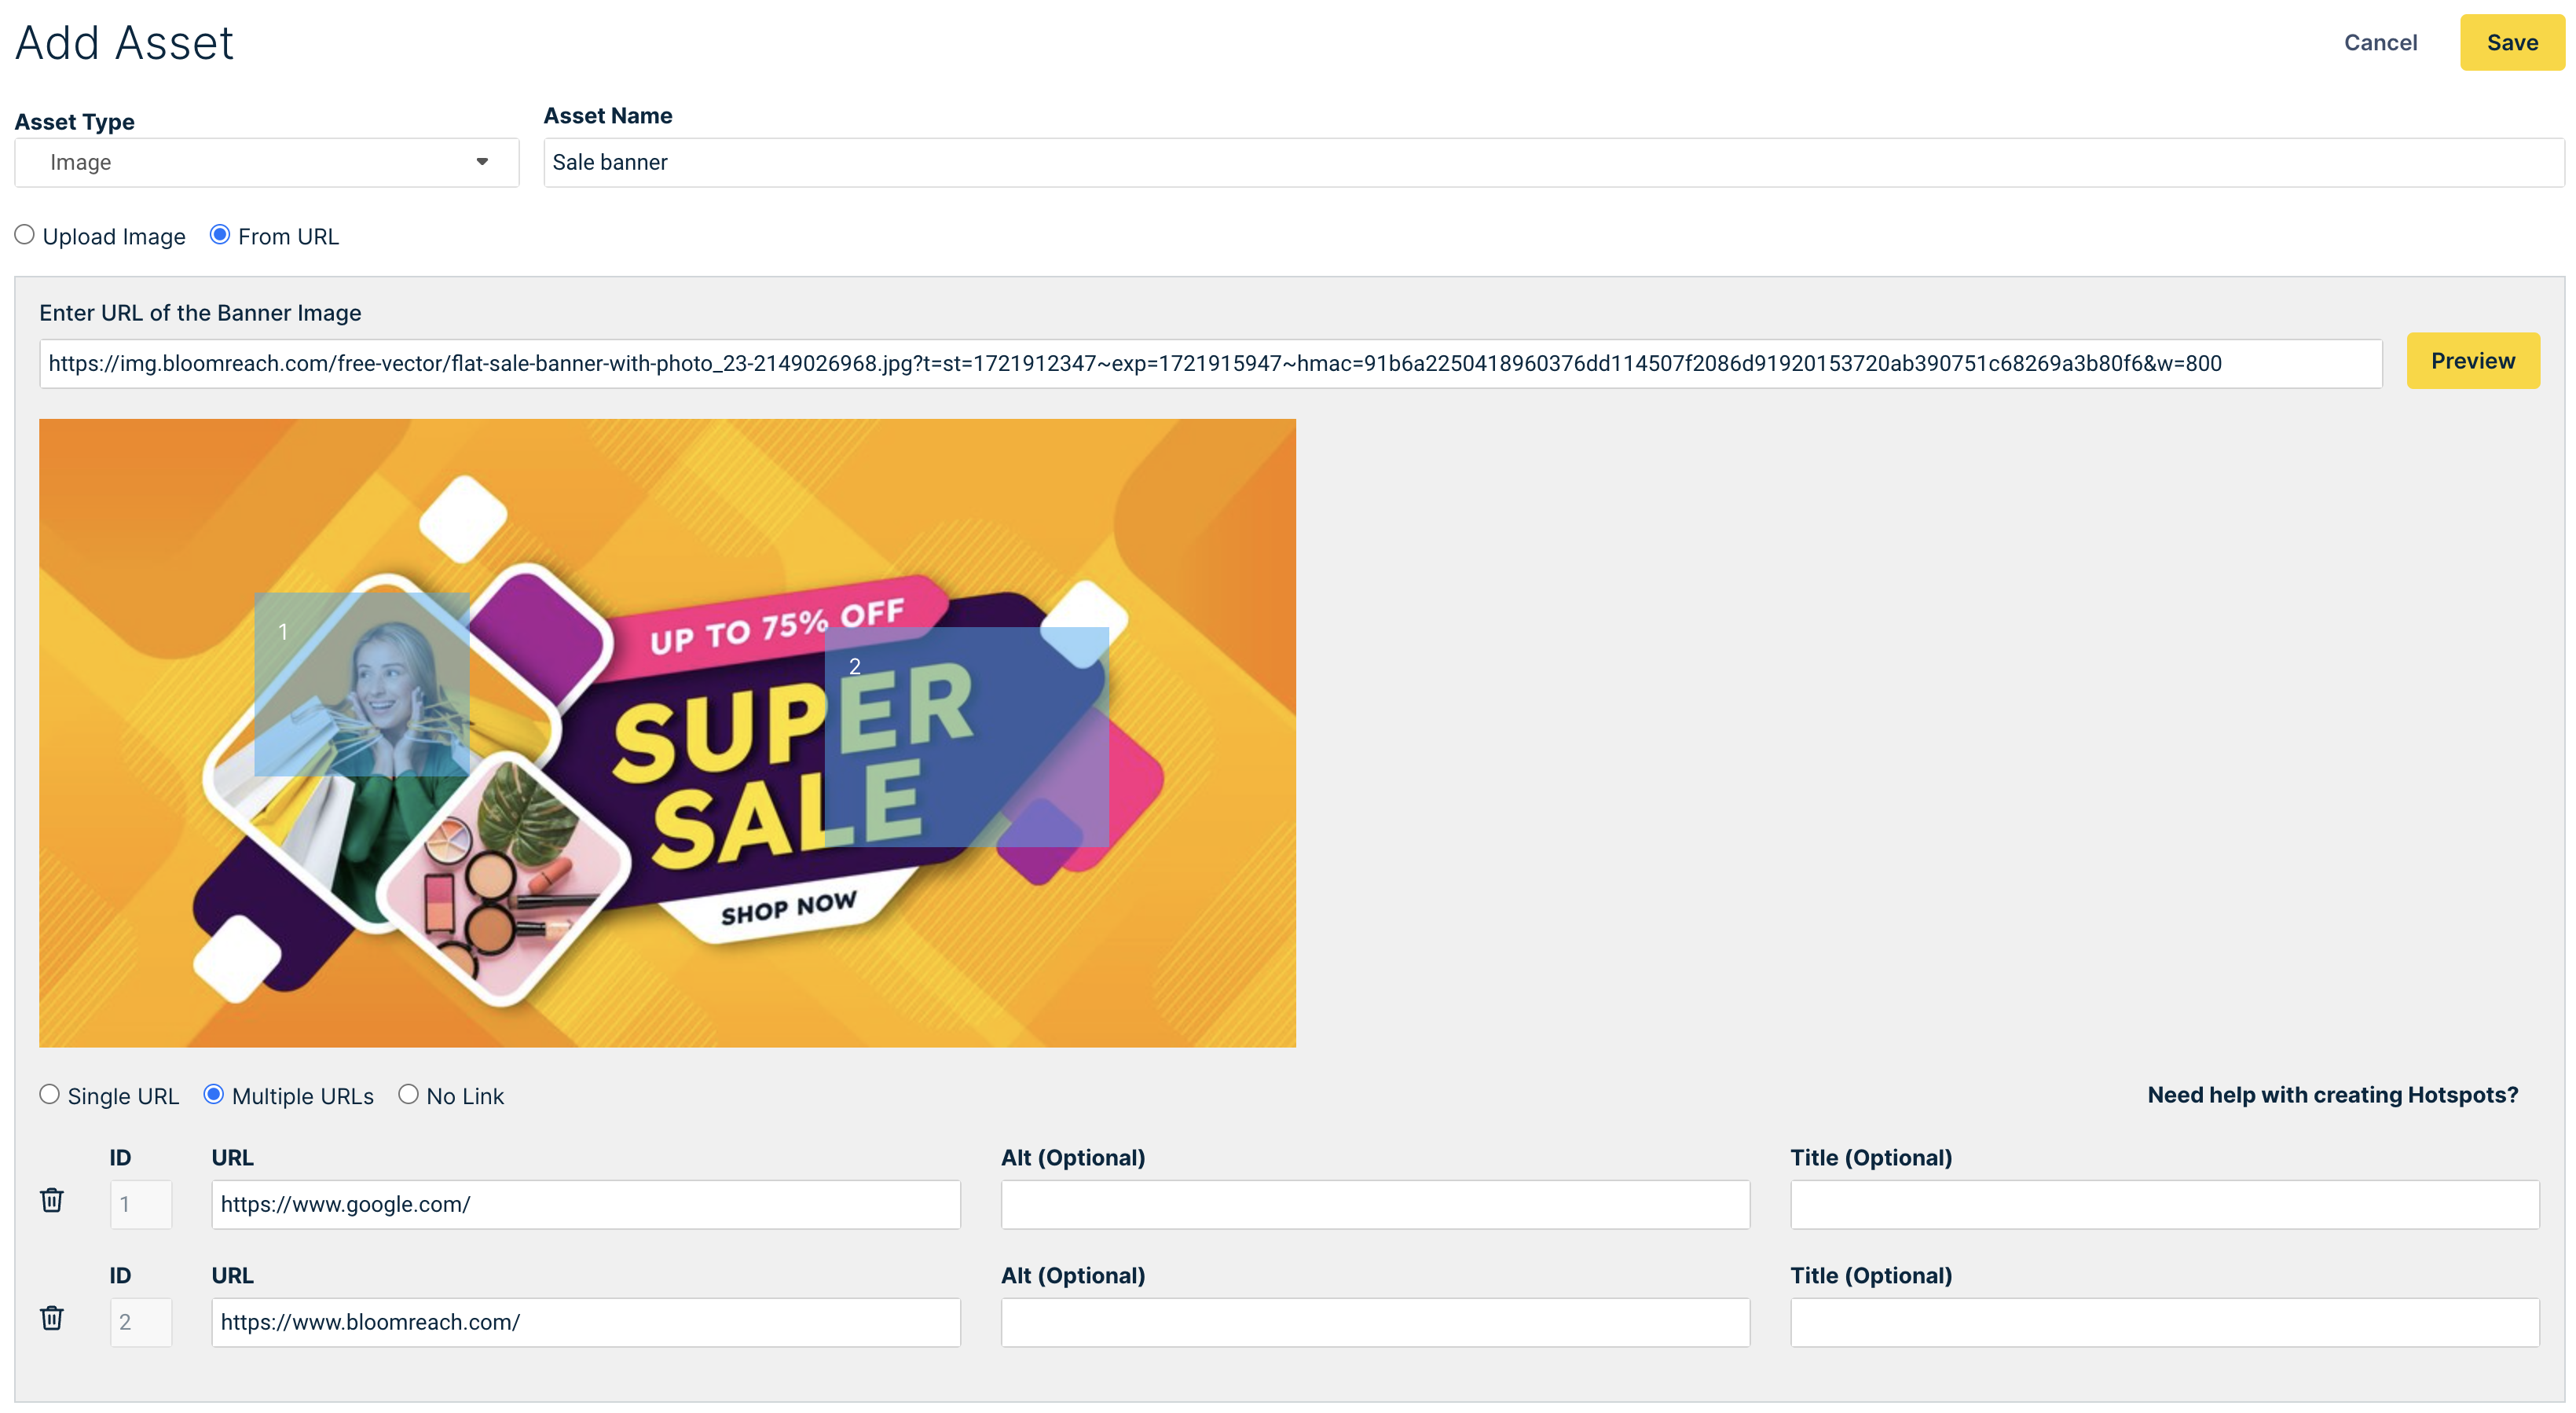
To add hotspots (note: you can only add hotspots to images), click the part of the image in the Preview section and draw a box with your mouse (you must drag from top left to bottom right). This area is for the hotspot link.

- Enter values in the following fields to define your hotspot link:
- ID (default) — The unique identifier for the hotspot.
- URL — The URL to open to when a site visitor clicks the hotspot area.
- Title — The name of the hot link.
- Alt — The text to display when a site visitor hovers over the hotspot.

- Continue creating hotspot links until you're finished.
- Click the Save button to finish creating your asset.
What are the image size requirements for a banner?
There is no image size requirement. We return the image as uploaded. Your web development team renders the image on your site. Typically, organizations have a particular size or set of sizes that work with their page templates. You can ask your web development team or a similar group for this information, but this information is generally not useful after Bloomreach is integrated with your site.
If you're testing banners/assets for the first time, then we recommend that you run your test in a staging environment. These tests are usually done during the integration process. Your integration team can upload various image sizes to see what works best for your site before you, as a business user, configure banners/assets and campaigns in the Bloomreach dashboard.
What types of image files can I use for a banner?
You can use any of the following types of image files:
- GIF
- Animated GIF
- JPG
- PNG
- BMP
Create a Campaign
To create a campaign:
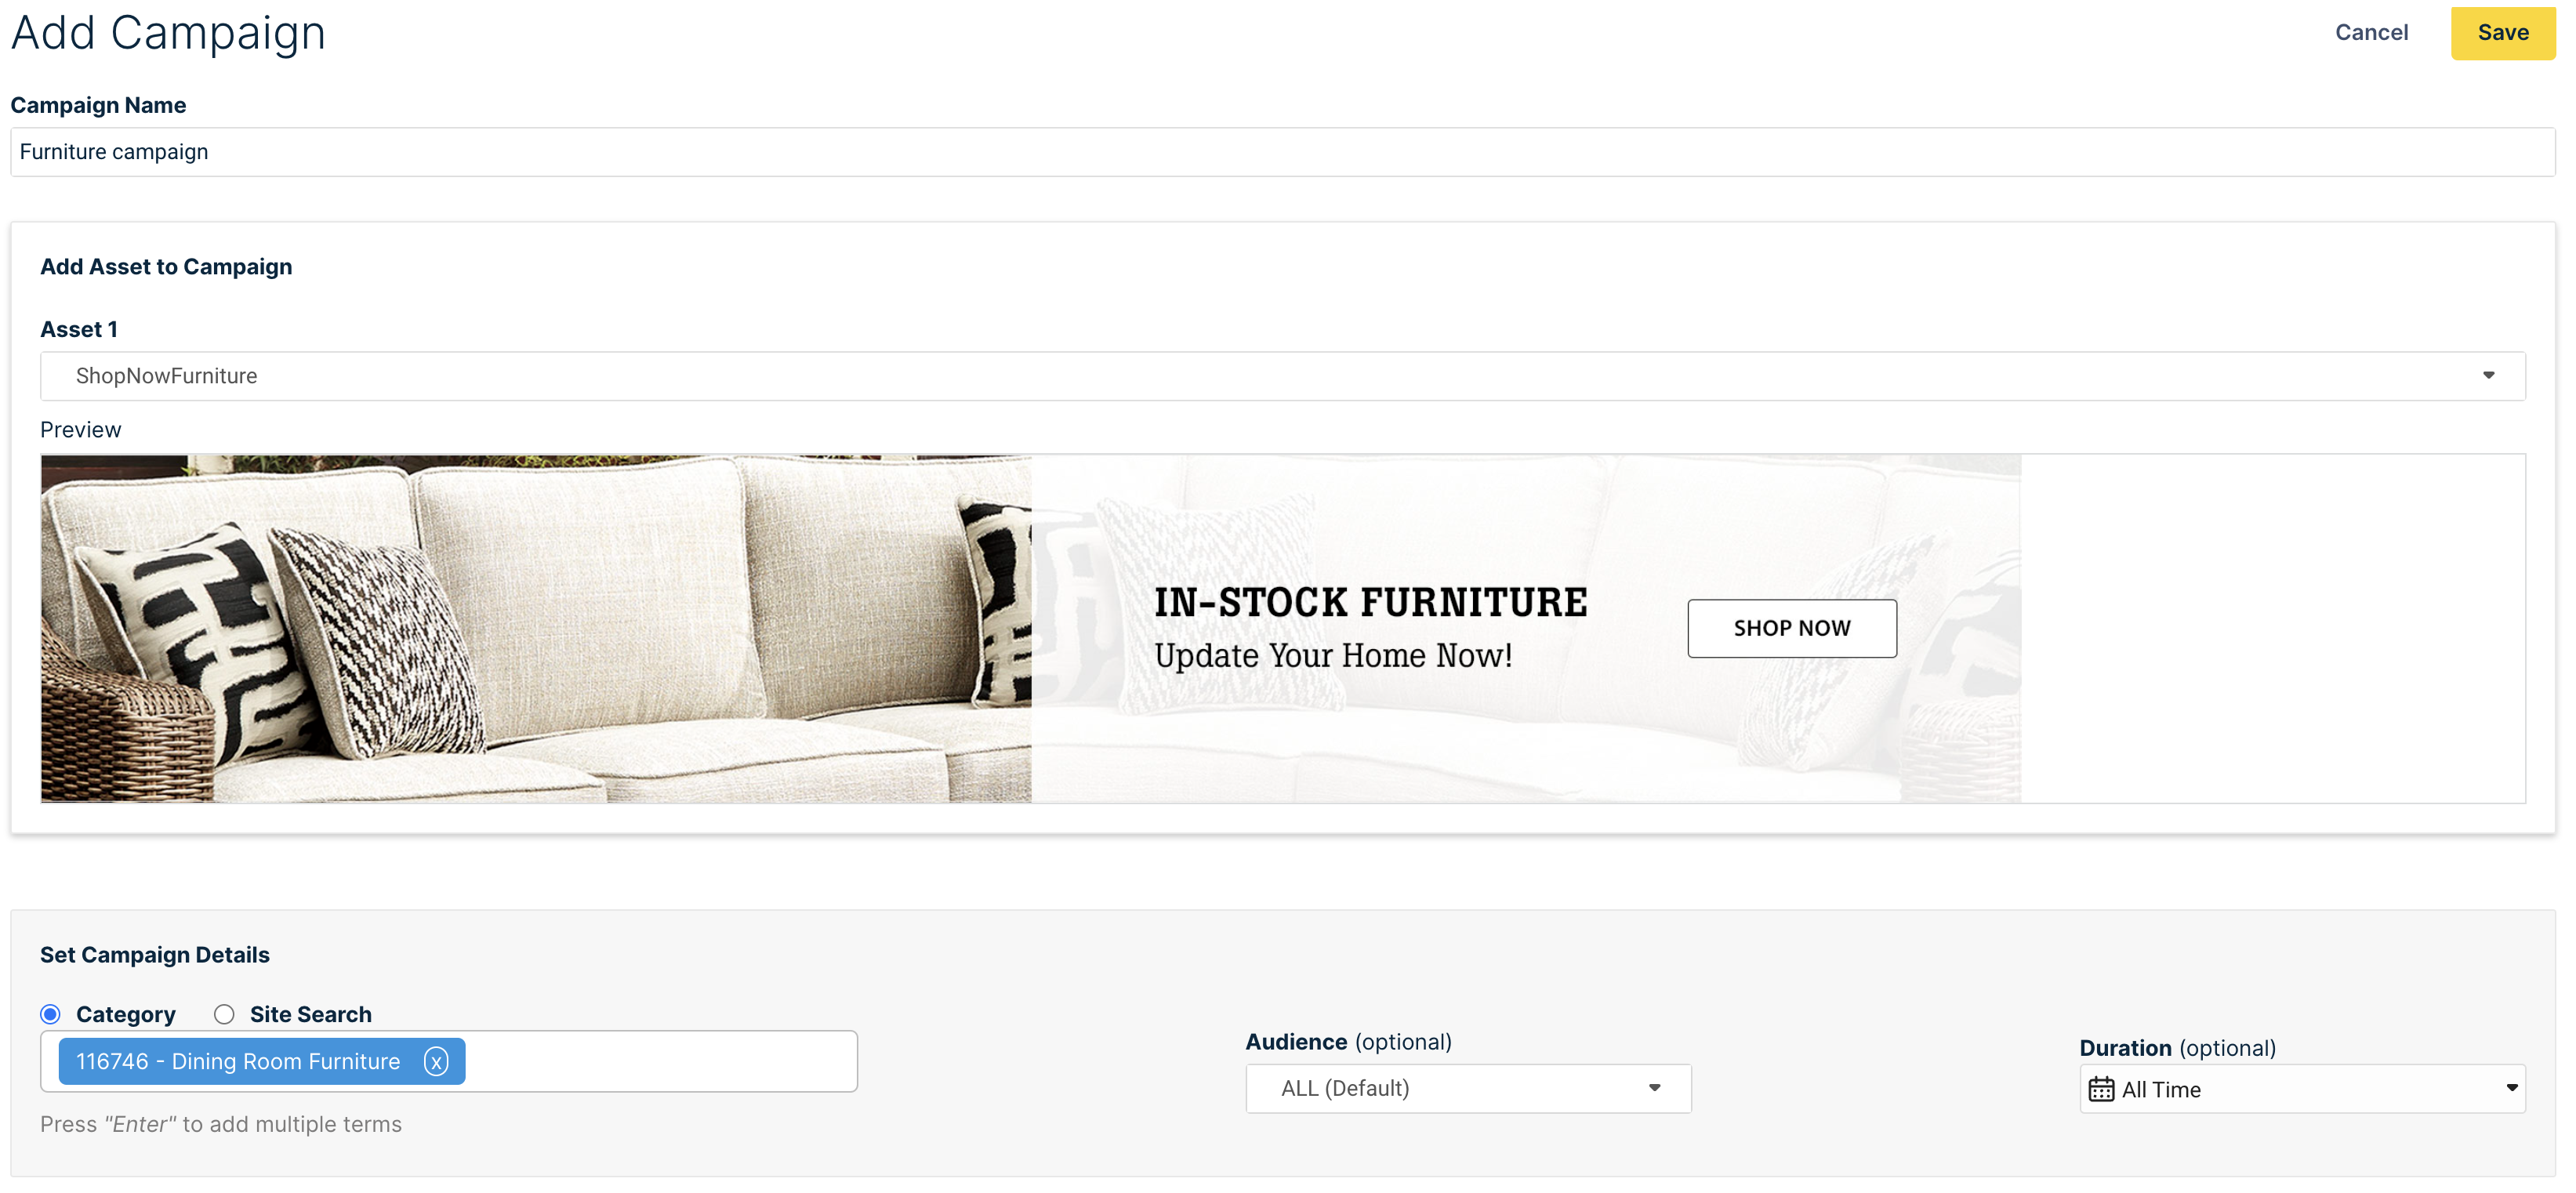
1. Go to Merchandising > Campaigns & assets > Campaigns. Click the + New campaign button.

- Give your campaign a name in the Campaign Name text field.
- Select the asset that you want to use from the Asset dropdown menu.

- Set Campaign Details by entering the following:
- Select the radio dial to specify whether the campaign is for a Category or a Site Search term.
- Enter the Category or Site Search term in the text field.
Creating multiple keyword or category values per campaign
To trigger an asset for multiple keywords, click on the Site Search radio dial, type in one keyword, hit Return/Enter, and then type another keyword.
You can also trigger a multi-value campaign for categories. Click on the Category radio dial, type in the category, hit Return/Enter, and then type another category name.
For example, you can enter dress and rockabilly dress in the Site Search field. - Select the Audience you would like to target for this Campaign.
- Set the time period that this campaign is active in the Duration field.
- Click the Save button to finish creating or modifying your campaign.
Can multiple campaigns be associated with the same Search term?
Exact term match does not allow a rule to be saved. However, if the overlap of search terms is not complete between 2 rules, they can be saved. We allow saving the campaigns on scope basis. Scope is defined as Queries + Audience + Duration.
For example:
When you try saving 2 campaigns with some sets in common.
Campaign 1 (C1): Tuthill & Fill-Rite Brand - Carousel - Banner - SRC
Campaign 2 (C2): Fill-Rite Brand - Carousel - Banner - SRC
Here, C1 and C2 have different scope because the query set is not the same.
Actually C2 is a subset of C1. Ideally one shouldn't be creating campaign 2 as its search terms are already present in Campaign 1. Hence, we always recommend planning your campaign set-up first.
For the overlap search term, which is 'Fill-Rite' in the above scenario, which Campaign will be returned and take effect?
There is always one campaign returned in api call as we don't have multi campaigns support for the same search term. Hence, on the API we should see the last updated campaign rule so the last updated rule will get applied.
Updated 4 months ago
