Content-driven component
Introduction
Goal
Make the Hello World component content-driven.
Prerequisites
Make sure to follow the Hello World component tutorial before starting this one.
Make the Hello World component content-driven
Let’s replace the title string parameter with a document picker and update the React component to display the title of the document selected by the user.
Configure document parameter and picker
Retrieve current catalog component configuration and version:
GET https://<your-content-host>.bloomreach.io/management/site/v1/channels/tutorial-vI43R/component_groups/brx-reference-spa/components/hello-world
Save the JSON response, you will modify and use it in the next request to update the configuration.
Also look for the response header:
x-resource-version: f1e7611da20be8dad93821a3abde049662a7c3d7660ecd6930c3aea014d394a7
Note its value (the above is just an example). You will need it for the next request.
Adapt the saved JSON representation of the component configuration as follows:
{
  "id": "brx-reference-spa/hello-world",
  "extends": "base/component",
  "hidden": false,
  "system": false,
  "xtype": null,
  "ctype": "HelloWorld",
  "label": "Hello World",
  "icon": null,
  "parameters": [
      {
        "name": "document",
        "valueType": "string",
        "required": true,
        "hidden": false,
        "overlay": false,
        "defaultValue": "",
        "displayName": null,
        "system": false,
        "config": {
          "pickerConfiguration": "cms-pickers/documents-only",
          "pickerInitialPath": "content",
          "pickerRememberLastVisited": true,
          "pickerSelectableNodeTypes": [
            "content"
          ],
          "relative": true,
          "pickerRootPath": null,
          "type": "contentpath"
        }
      }
  ],
  "fieldGroups": []
}
Note the picker configuration. It specifies a document picker, the default folder to open in the picker, and the content type to be picked.
Now use PUT to update the configuration for the Hello World catalog component.
Make sure to use the X-Resource-Version value returned by the previous request (see above).
PUT https://<your-content-host>.bloomreach.io/management/site/v1/channels/tutorial-vI43R/component_groups/brx-reference-spa/components/hello-world
Update the React implementation
Tip
Before updating
HelloWorld.tsx, you may look at existing components in the Reference SPA (likecomponents/BannerCTA/BannerCTA.tsx) for inspiration. Can you figure out yourself how to adapt the Hello World component to get the title from the selected document?
As a start, modify HelloWorld.tsx as follows to pull the "title" field from the selected document:
import React from 'react';
import { Document, Reference } from '@bloomreach/spa-sdk';
import { BrProps } from '@bloomreach/react-sdk';

interface HelloWorldParameters {
  document?: Reference;
}

export function HelloWorld({ component, page }: BrProps): React.ReactElement | null {
  const { document: documentRef } = component.getModels<HelloWorldParameters>();
  const document = documentRef && page.getContent<Document>(documentRef);

  if (!document) {
    return page.isPreview() ? <div/ > : null;
  }

  const { title } = document.getData<BannerDocument>();

  return (
    <div className="mw-container mx-auto my-4">
      {title && <h3 className="mb-4">{title}</h3>}
    </div>
  );
}
As you can see, the HelloWorldParameters interface has been updated to reflect the changes you made in the catalog component configuration.
The HelloWorld component now pulls the document reference from the parameters, then uses it to retrieve the actual document.
Before retrieving the title from the document, a null check is done on the document. If the document is indeed null, an empty div element is rendered in a preview context, or nothing is rendered in a live context. The empty div in preview context is to make sure a newly added component that has no document selected yet is visible and clickable in the page preview.
If a document is available, the title is retrieved from the document data.
Create a document
Navigate to the Content application, then to the [your channel name] > content folder.
Add a new content document, name it "Hello World", and add it to your development project.
Enter a title (e.g. “Hello Content!”) and click Done.
Update the component on the homepage
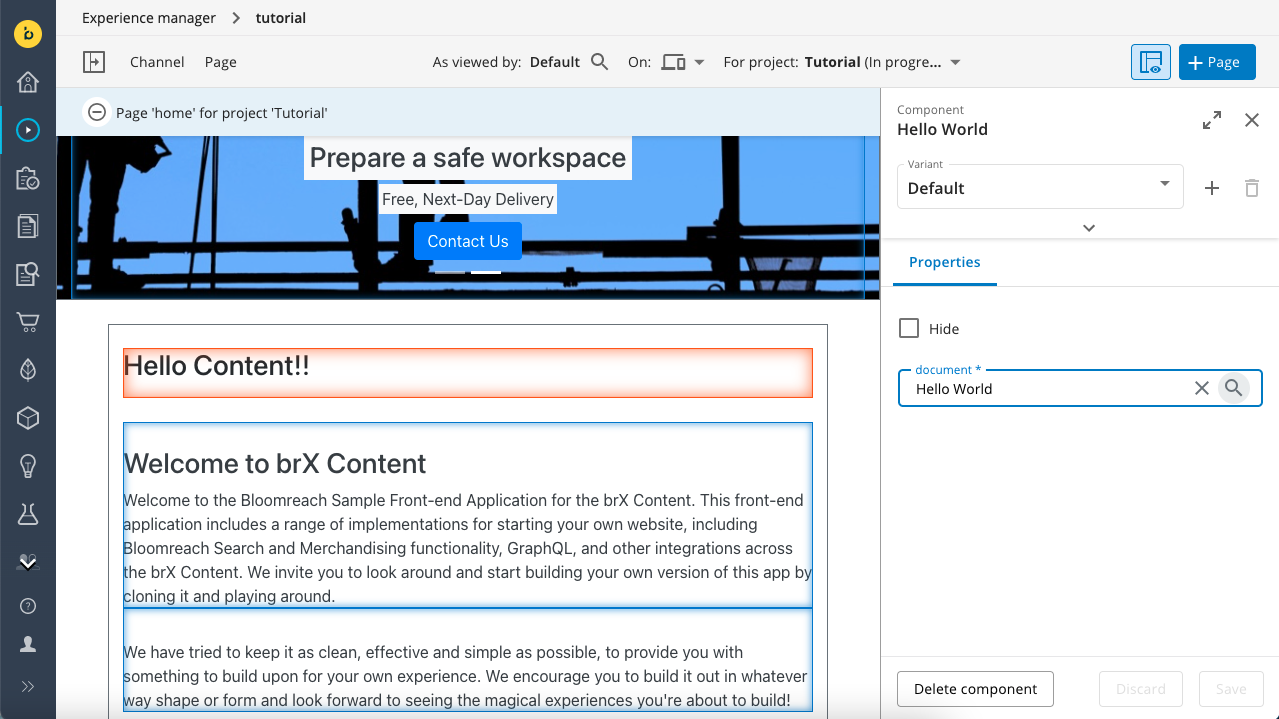
In the Experience manager application, you’ll notice the "Hello World" component you added previously is now blank.
Click on it to open the configuration in the right sidebar.
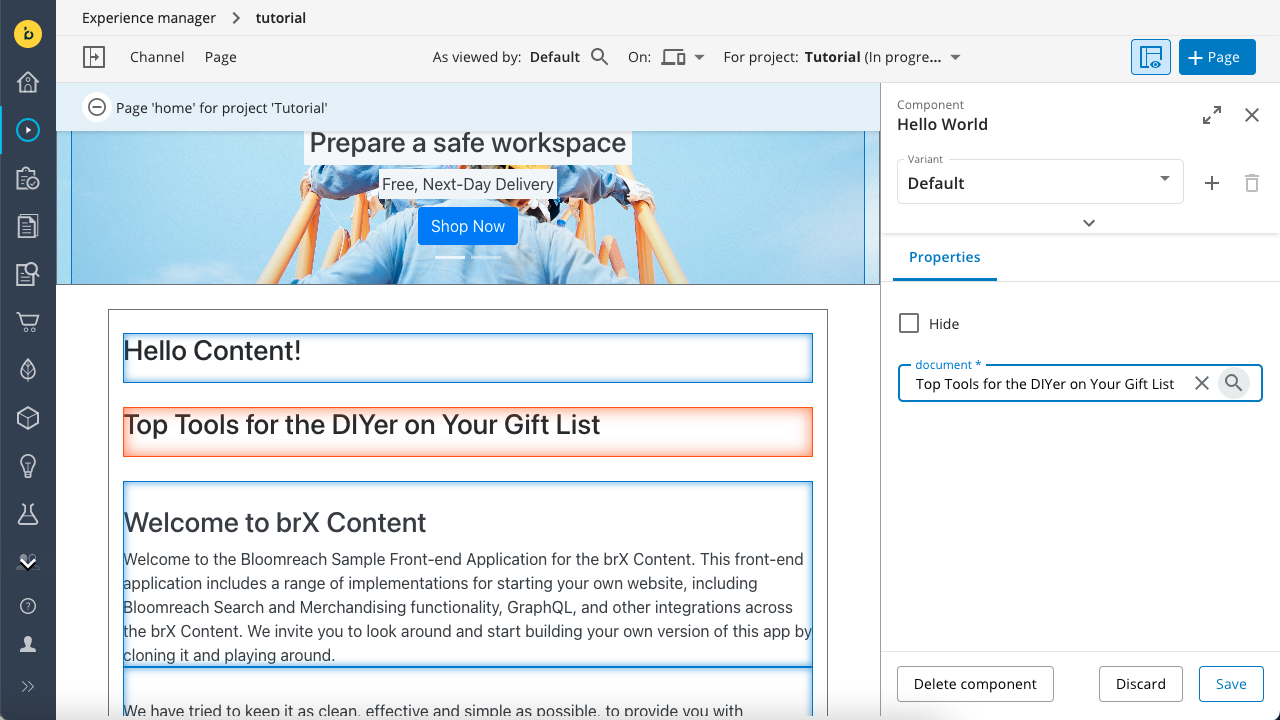
Pick the "Hello World" document you created.
The component will now display the title of the document!

Go back to the Content application and change the title of the "Hello World" document.
Go back to the Experience manager application. The component will show the updated title!
Now open the left sidebar and add a second "Hello World" component to the same container.
This time, select a different document. The page now contains two instances of the same component but each rendering different content!

Render rich text (HTML) content
While the title of the document is stored in a simple string, the content body contains rich text content and is therefore a slightly more complex object.
If you were to look at the Delivery API's Pages endpoint response for the page, a rich context field would be represented like this:
content: {
  value: "<p>HTML content here</p>"
},
Let's try rendering the content.value string the same way you rendered the title.
First make sure your "Hello World" document has some content in the Content field. Use some styling like bold or italic.
Now adapt the HelloWorld React component as follows:
const { content, title } = document.getData<ContentDocument>();

  return (
    <div className="mw-container mx-auto my-4">
      {title && <h3 className="mb-4">{title}</h3>}
      {content?.value && <div>{content.value}</div>}
    </div>
  );
If you now look at the preview in the Experience manager application, you will see the raw HTML source rendered. Your component needs to handle it differently in order to render the HTML properly.

Tip
Again you may look at existing components in the Reference SPA (like
BannerCTA.tsx) for inspiration.
Use React’s dangerouslySetInnerHTML attribute to add the HTML content to the div element properly.
Also make sure to use the Page.rewriteLinks method provided by the SPA SDK to make sure all links in the HTML content are rewritten for the current context.
Adapt HelloWorld.tsx as follows:
return (
    <div className="mw-container mx-auto my-4">
      {title && <h3 className="mb-4">{title}</h3>}
      {content && <div dangerouslySetInnerHTML={{ __html: page.rewriteLinks(content.value) }} />}
    </div>
  );
Now edit the "Hello World" document again and add some links and images to the rich text content field and check the result in the Experience manager application.

Render an image field
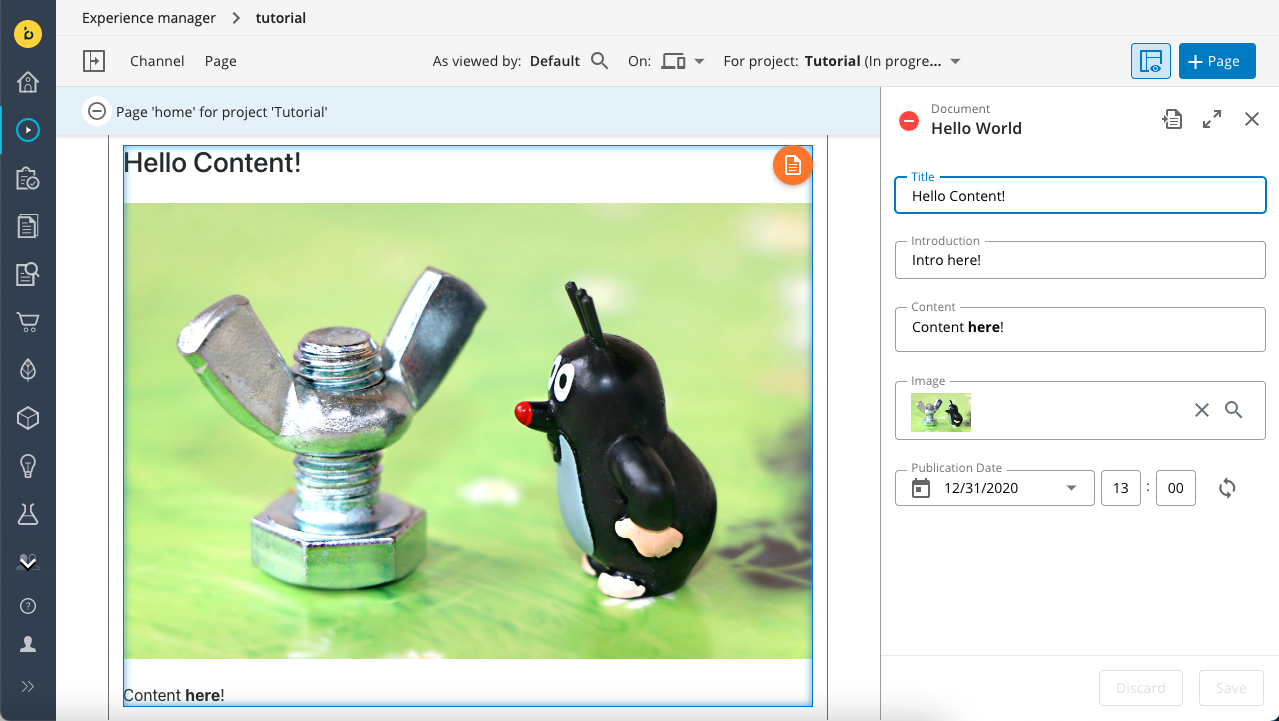
Edit the "Hello World" document again and add an image to the Image field. This image is not part of the rich text content and needs to be rendered separately.
In HelloWorld.tsx, import Image from react-bootstrap and ImageSet from @bloomreach/spa-sdk.
Add image as parameter to document.getData, specify imageRef as type.
Use Page.getContent.getOriginal to retrieve the original image from the image set.
Use an Image component to render the image and use image.getUrl to set the src attribute.
import React from 'react';
import { Image } from 'react-bootstrap';
import { Document, Reference, ImageSet } from '@bloomreach/spa-sdk';
import { BrProps } from '@bloomreach/react-sdk';

interface HelloWorldParameters {
  document?: Reference;
}

export function HelloWorld({ component, page }: BrProps): React.ReactElement | null {
  const { document: documentRef } = component.getModels<HelloWorldParameters>();
  const document = documentRef && page.getContent<Document>(documentRef);

  if (!document) {
    return page.isPreview() ? <div /> : null;
  }

  const { content, image: imageRef, title } = document.getData<BannerDocument>();
  const image = imageRef && page?.getContent<ImageSet>(imageRef)?.getOriginal();

  return (
    <div className="mw-container mx-auto my-4">
      {title && <h3 className="mb-4">{title}</h3>}
      {image && (
        <div className="mb-4">
          <Image className="d-block w-100 h-100" src={image.getUrl()} alt={title} />
        </div>
      )}
      {content && <div dangerouslySetInnerHTML={{ __html: page.rewriteLinks(content.value) }} />}
    </div>
  );
}
Render a manage content button
Finally, let's add a Manage Content button to enable Bloomreach Commerce Experience Cloud users to edit the content linked to your component directly in the Experience manager app.
In HelloWorld.tsx, import BrManageContentButton from @bloomreach/react-sdk.
Add a BrManageContentButton to the div containing the content and set its content attribute to the document object.
Use the Page.isPreview method to conditionally add the CSS class has-edit-button to the component’s outer div.
import React from 'react';
import { Image } from 'react-bootstrap';
import { Document, Reference, ImageSet } from '@bloomreach/spa-sdk';
import { BrManageContentButton, BrProps } from '@bloomreach/react-sdk';

interface HelloWorldParameters {
  document?: Reference;
}

export function HelloWorld({ component, page }: BrProps): React.ReactElement | null {
  const { document: documentRef } = component.getModels<HelloWorldParameters>();
  const document = documentRef && page.getContent<Document>(documentRef);

  if (!document) {
    return page.isPreview() ? <div /> : null;
  }

  const { content, image: imageRef, title } = document.getData<BannerDocument>();
  const image = imageRef && page?.getContent<ImageSet>(imageRef)?.getOriginal();

  return (
    <div className={`${page.isPreview() ? 'has-edit-button' : ''} mw-container mx-auto my-4`}>
      <BrManageContentButton content={document} />
      {title && <h3 className="mb-4">{title}</h3>}
      {image && (
        <div className="mb-4">
          <Image className="d-block w-100 h-100" src={image.getUrl()} alt={title} />
        </div>
      )}
      {content && <div dangerouslySetInnerHTML={{ __html: page.rewriteLinks(content.value) }} />}
    </div>
  );
}
In the Experience manager app, you should now see the Manage Content button in the top right corner of the component (if you don’t, make sure the component overlay is disabled).
Click on it to open the document editor in the right sidebar. You may be asked to add the document to your development project.

Updated over 1 year ago
