Navigation menu
Create a new navigation menu and add it to the footer of the site.
Introduction
Goal
Create a new navigation menu and add it to the footer of the site.
Prerequisites
Before starting:
- Familiarize yourself with how to set up a Development environment with a channel created using the Reference SPA template and a local copy of the front-end app configured.
- Have the Site Management API, Menus and SPA SDK and React SDK reference documentation handy.
- If you want to use the Site Management API directly (rather than using the Site development app in the UI), obtain an authorization token.
To make the site configuration changes in this tutorial, we recommend using the Site development app in the Bloomreach UI or use the Postman collection to make the Site Management API requests. However, you can use any other method or tool you like such as curl or httpies.
Preparation
Create a new channel using the Reference SPA channel template and call it 'tutorial'.
Clone the Reference SPA front-end app and set your Bloomreach Content environment's Delivery API URL in the .env configuration file.
Create a development project called 'Menu Tutorial', add the 'tutorial' channel to it, and configure the channel to use your local front-end app to render the preview in the Experience manager.
Create a 'footer' menu
The first step is to create a new menu entry for the footer menu. Follow the instructions below for a smooth process.
Open the Site development app and choose your development project channel.
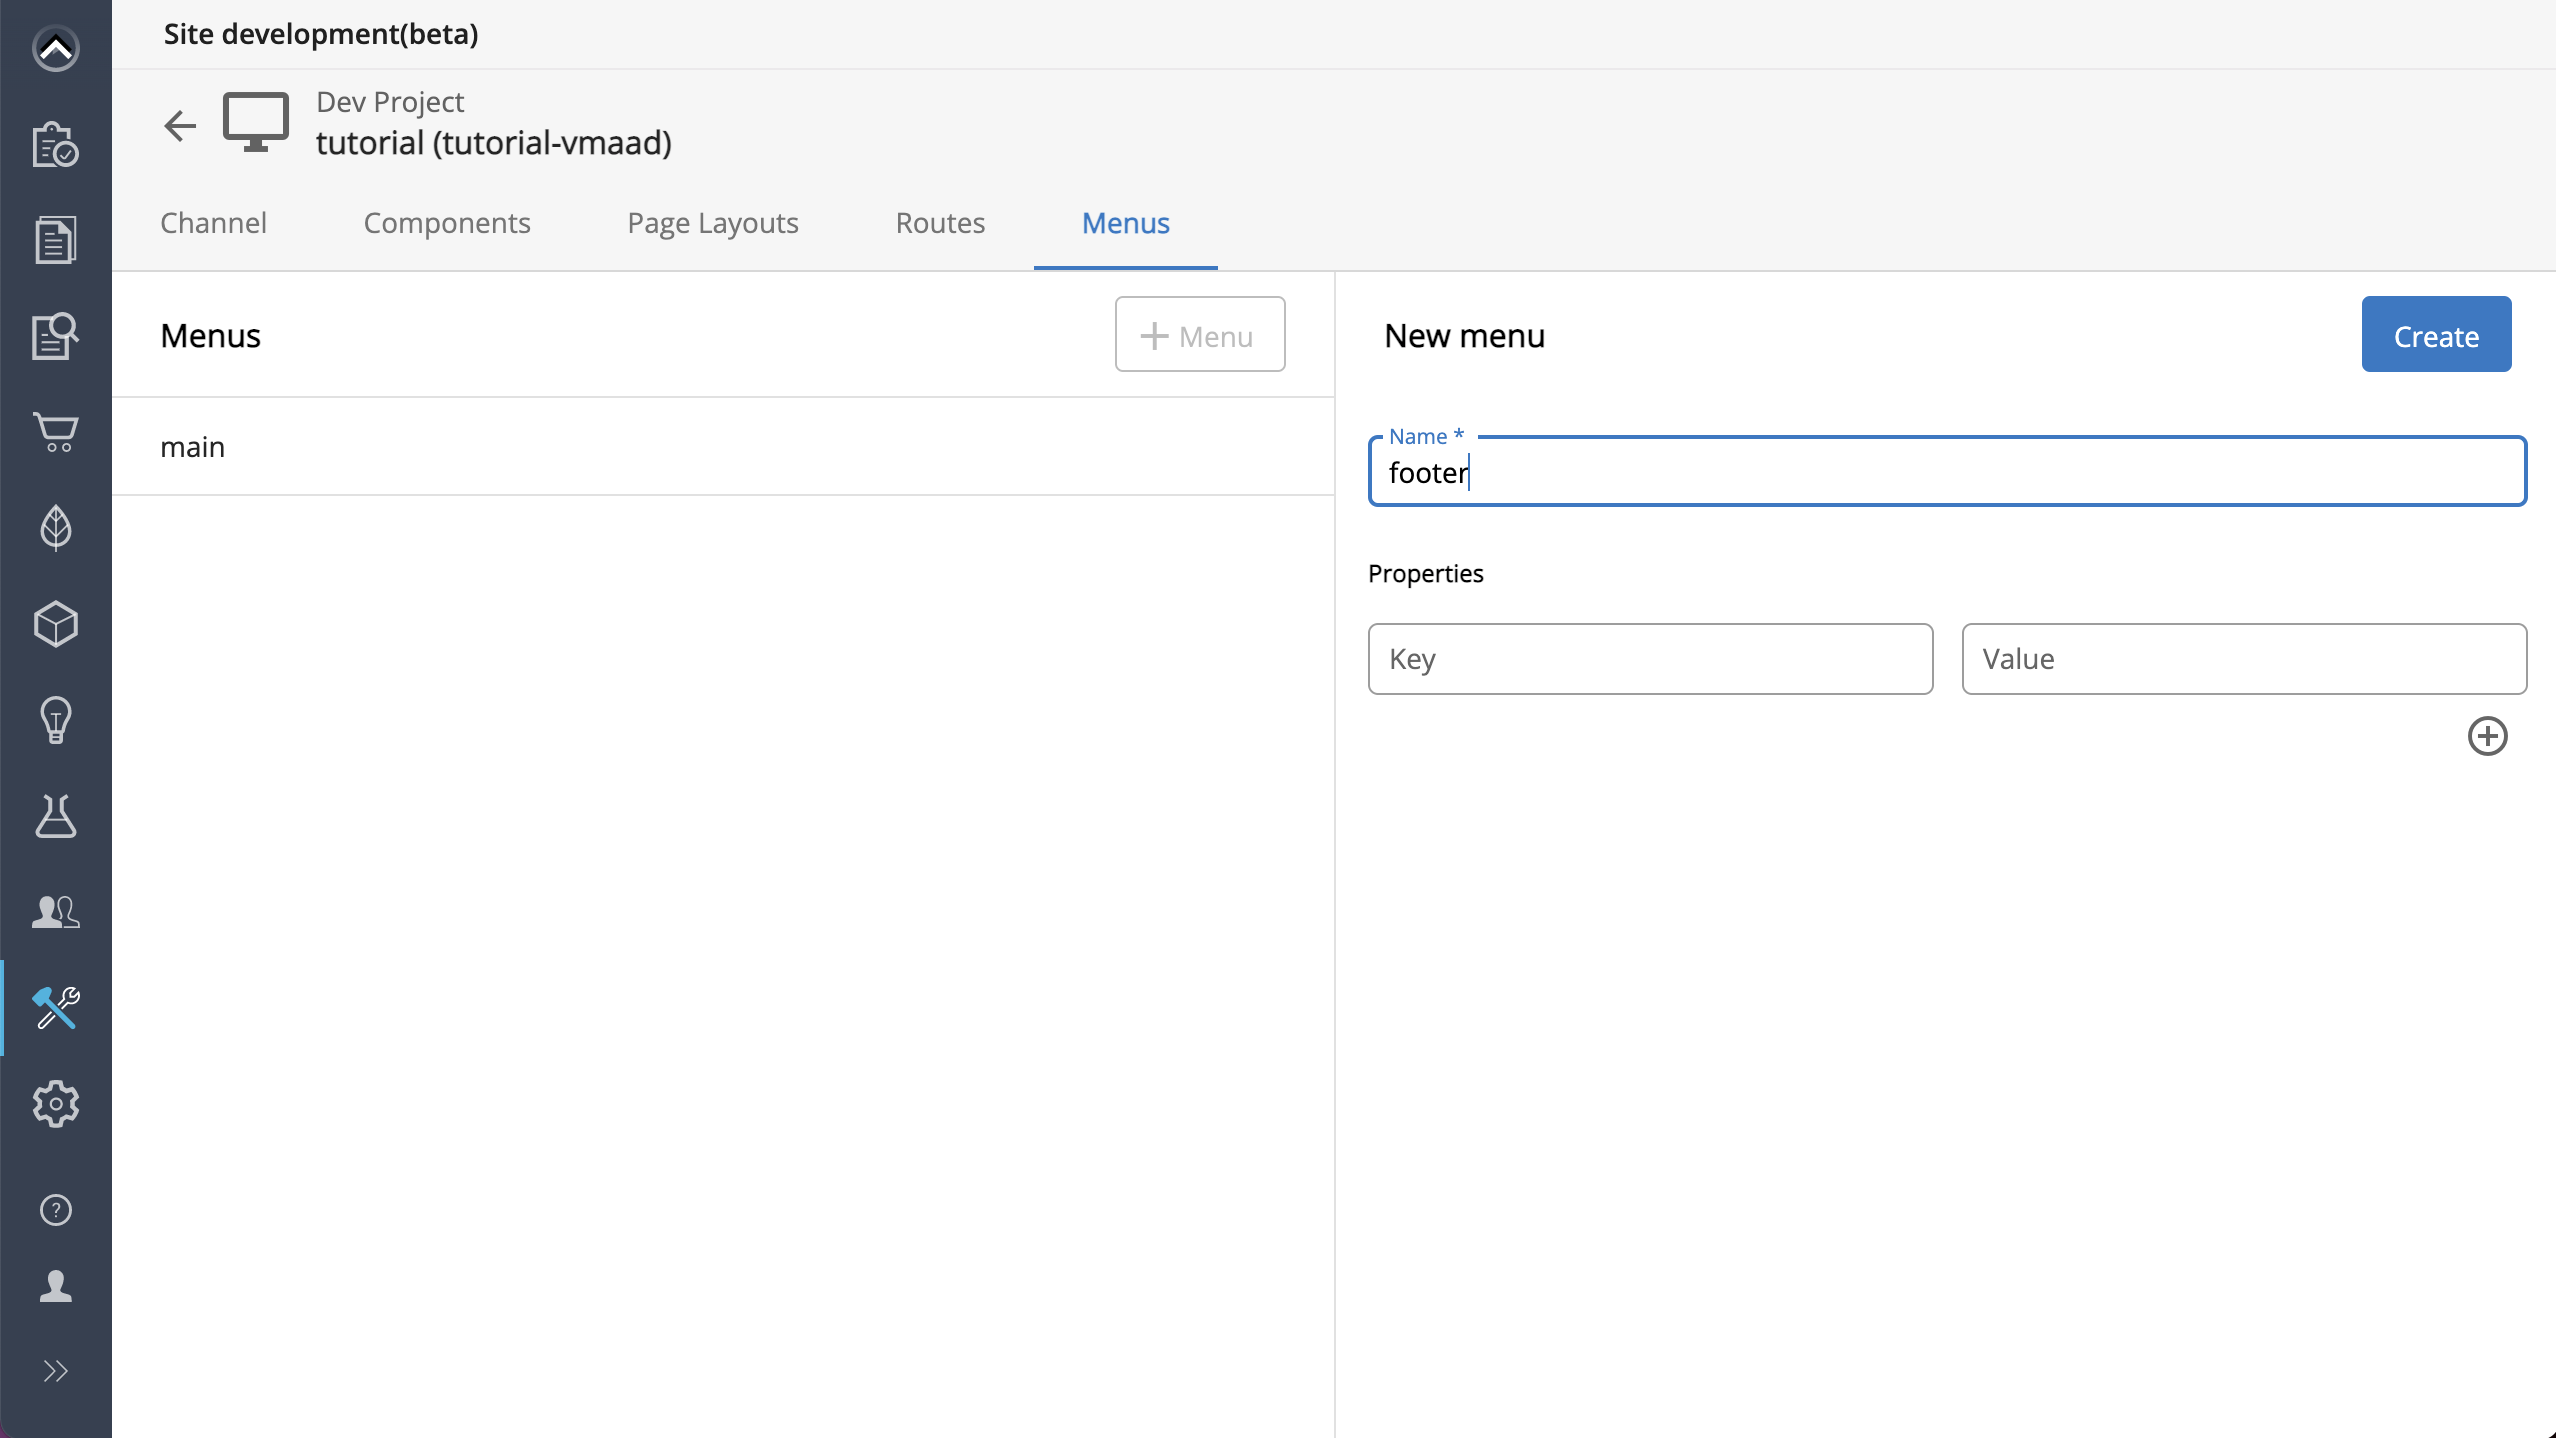
Select the Menus tab and click on the + Menu button to create a new menu.
In the New menu form, enter 'footer' in the Name field and click on the Create button.

Alternatively, if you prefer to interact directly with the Site Management API, use the following PUT request to the menus endpoint:
PUT https://<your-content-host>.bloomreach.io/cms/management/site/v1/channels/tutorial-vsggO/menus/footer
At this point the footer menu is just an empty, unused entry in the configuration.
Add the footer menu to the base layout
In order to make the 'footer' menu appear in the page footer on all pages across your channel, you will use the base menu component, add it to the base page layout, and configure it to display the 'footer' menu.
In the Site development app, choose the Page Layouts tab and select the "base (abstract)" layout.
In the Layout Structure column, find the 'footer' static component in the component hierarchy. Open its context menu by clicking on the three dots on the right side and select Add static component.
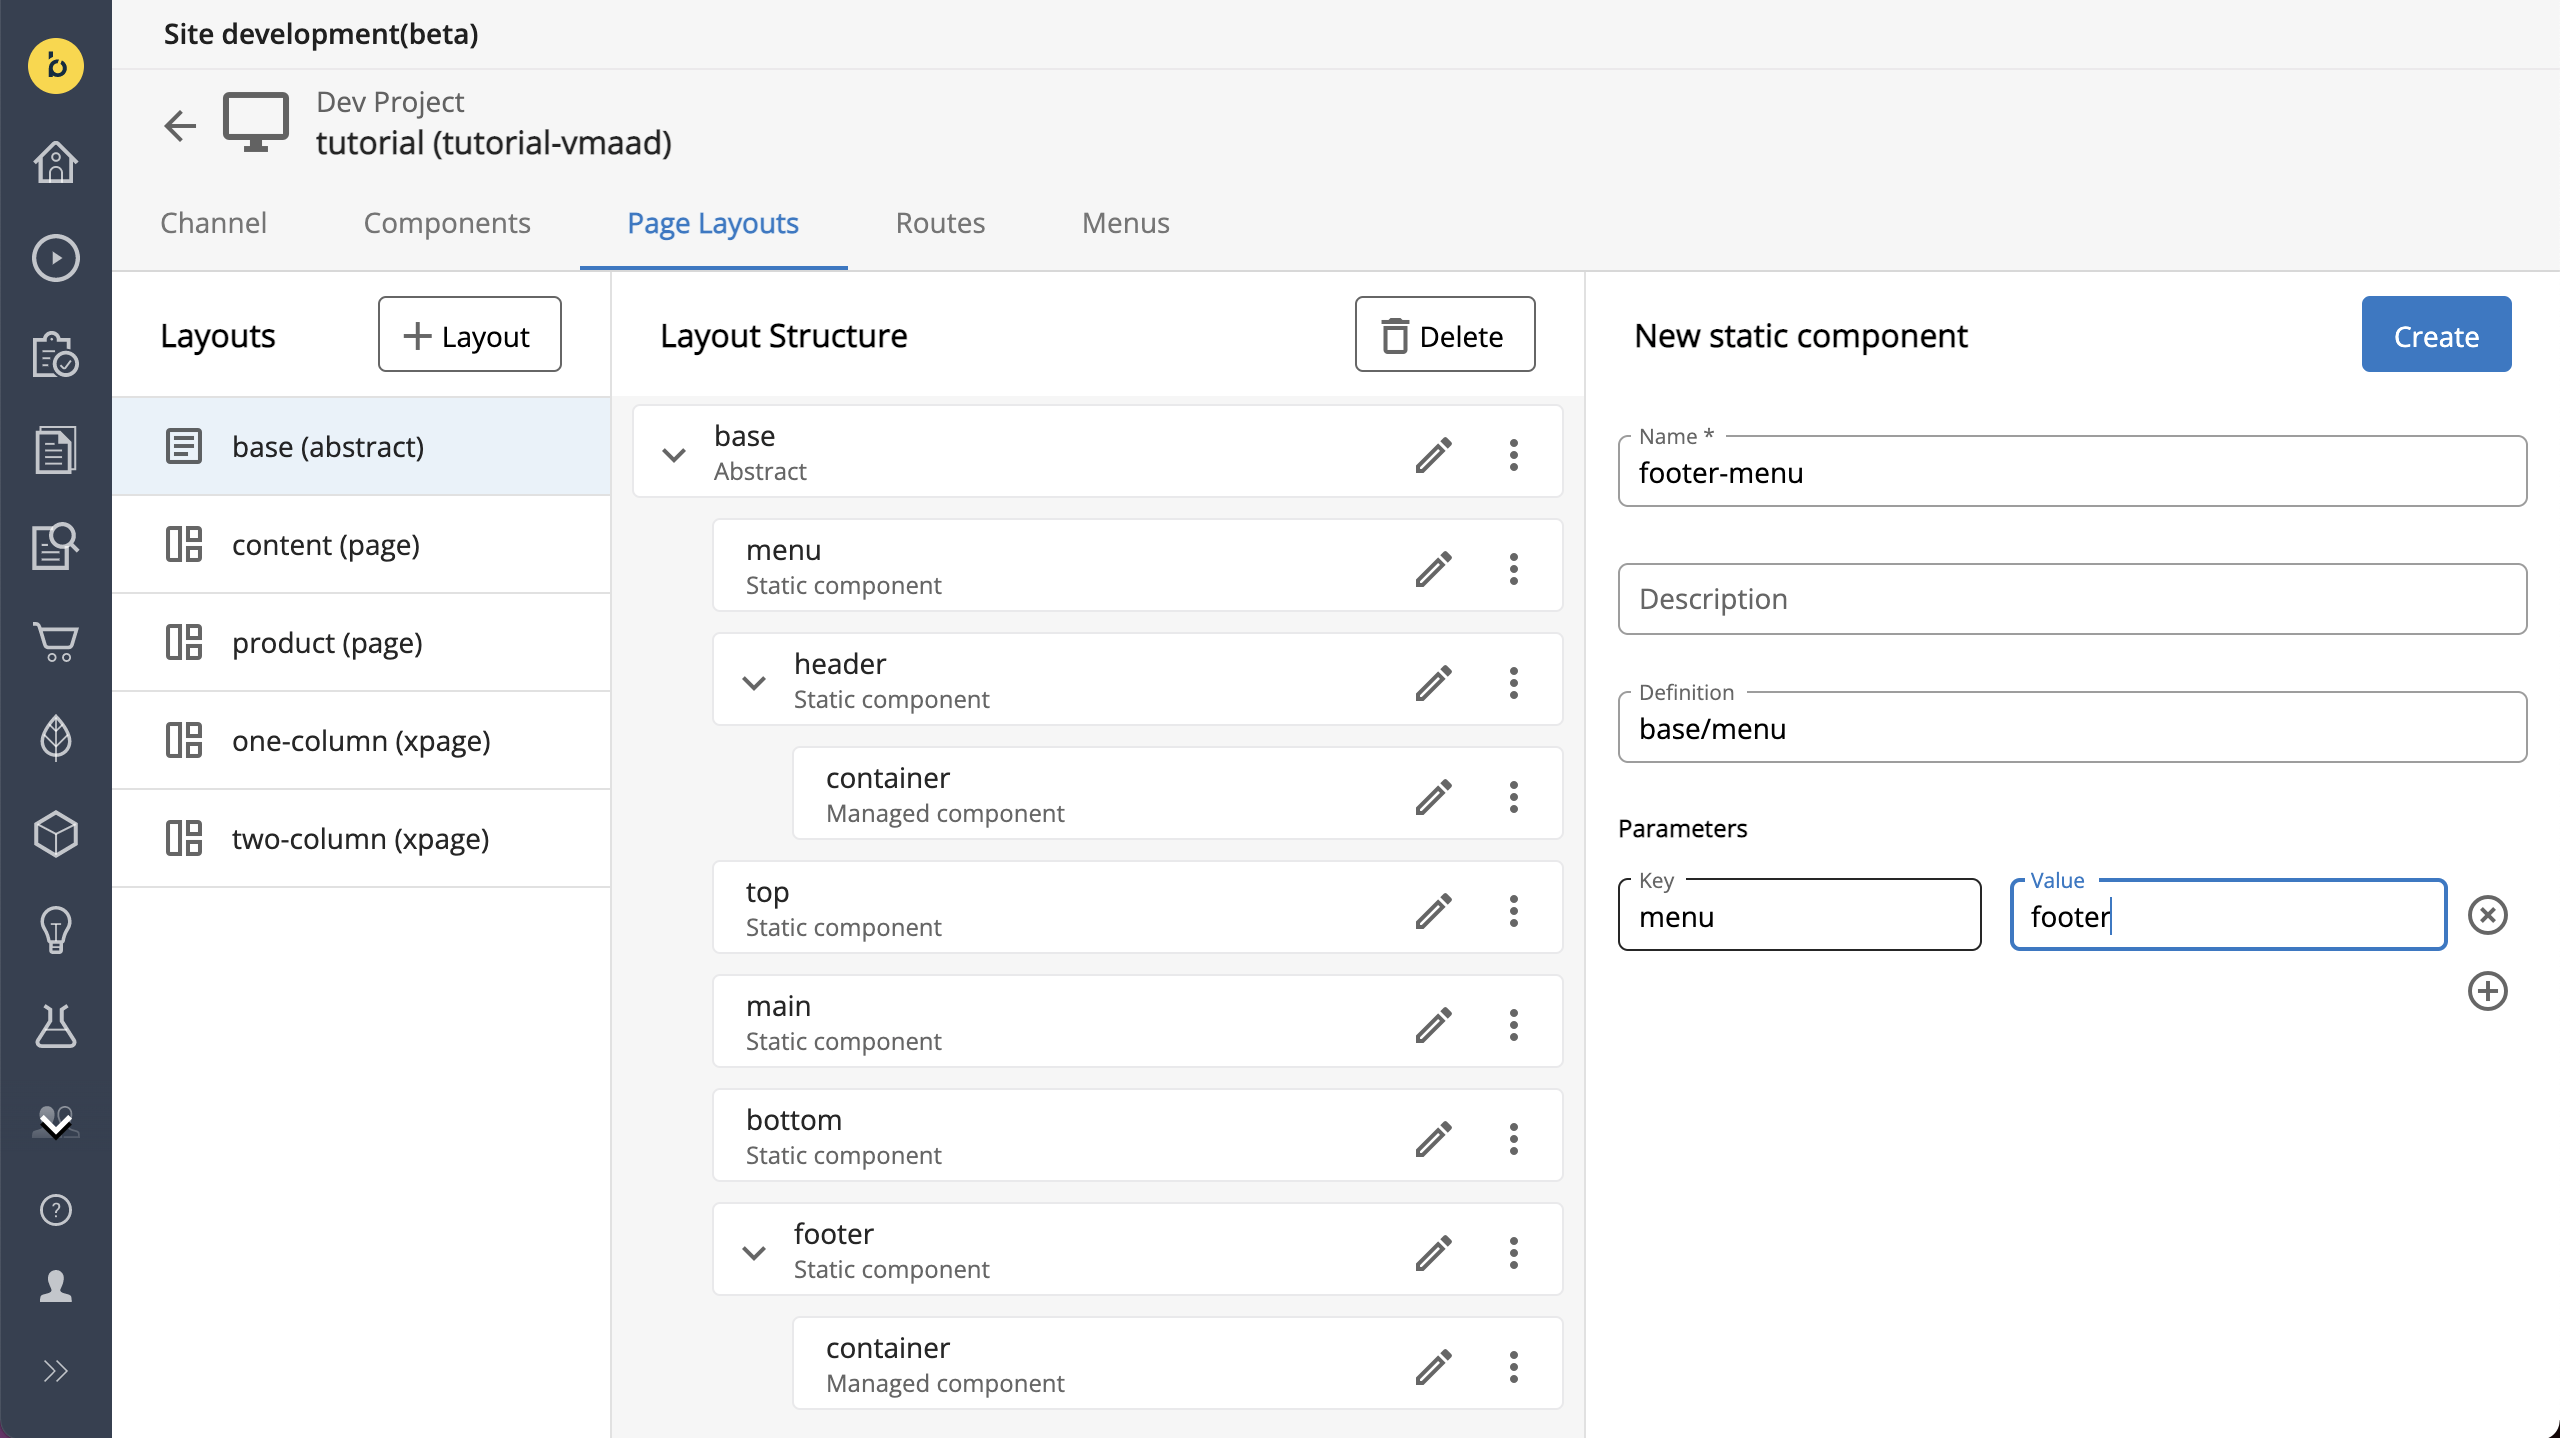
- In the Name field, enter 'footer-menu'.
- In the Definition field, enter 'base/menu' (referring to the base menu component).
- Under Parameters, enter 'menu' in the Key field and 'footer' in the Value field (referring to the 'footer' menu entry you created in the previous step).
Click on the Create button to save.

Alternatively, if you prefer to interact directly with the Site Management API, use the following PUT request to the Layouts endpoint to update the base layout:
PUT https://<your-content-host>.bloomreach.io/cms/management/site/v1/channels/tutorial-vsggO/layouts/base
And use the following request body (containing the entire base layout configuration with the new addition to the footer):
{
   "name":"base",
   "label":null,
   "description":null,
   "parameters":{

   },
   "type":"abstract",
   "extends":null,
   "components":[
      {
         "name":"menu",
         "label":null,
         "description":null,
         "parameters":{
            "selectedMenu":"on",
            "menu":"main",
            "level":"2"
         },
         "xtype":null,
         "definition":"base/menu",
         "type":"static"
      },
      {
         "name":"header",
         "label":null,
         "description":null,
         "parameters":{

         },
         "xtype":null,
         "definition":null,
         "components":[
            {
               "name":"container",
               "label":"Header",
               "description":null,
               "parameters":{

               },
               "xtype":"hst.nomarkup",
               "type":"managed"
            }
         ],
         "type":"static"
      },
      {
         "name":"top",
         "label":null,
         "description":null,
         "parameters":{

         },
         "xtype":null,
         "definition":null,
         "type":"static"
      },
      {
         "name":"main",
         "label":null,
         "description":null,
         "parameters":{

         },
         "xtype":null,
         "definition":null,
         "type":"static"
      },
      {
         "name":"bottom",
         "label":null,
         "description":null,
         "parameters":{

         },
         "xtype":null,
         "definition":null,
         "type":"static"
      },
      {
         "name":"footer",
         "label":null,
         "description":null,
         "parameters":{

         },
         "xtype":null,
         "definition":null,
         "components":[
            {
               "name":"container",
               "label":"Footer",
               "description":null,
               "parameters":{

               },
               "xtype":"hst.nomarkup",
               "type":"managed"
            },
            {
               "name":"footer-menu",
               "description":null,
               "definition":"base/menu",
               "parameters":{
                  "menu":"footer"
               },
               "type":"static"
            }
         ],
         "type":"static"
      }
   ]
}
At this point the footer menu is still not visible in the channel preview in the Experience manager.
Update the front-end app to render the footer menu
To make the front-end application render the new footer menu, you need to open components/App.tsx in your code editor and look for the <footer> element.
Within the <footer>, there is a <Container> containing a <Row>. Within the <Container> add the following code snippet before the existing element:
<Row>
  <Col className="footer-menu mx-n3">
    <BrComponent path="footer-menu">
      <Menu />
    </BrComponent>
  </Col>
</Row>
The <BrComponent> React component is mapped to the static 'footer-menu' component you added to the base layout. The <Menu> React component renders the actual menu.
Add the following snippet to pages/_index.scss to style the footer menu:
.footer-menu {
  a, a:hover {
    color:#ffffff;
  }
}
Add menu items in the Experience Manager
Open the channel in the Experience manager and make sure your development project is selected in For project.
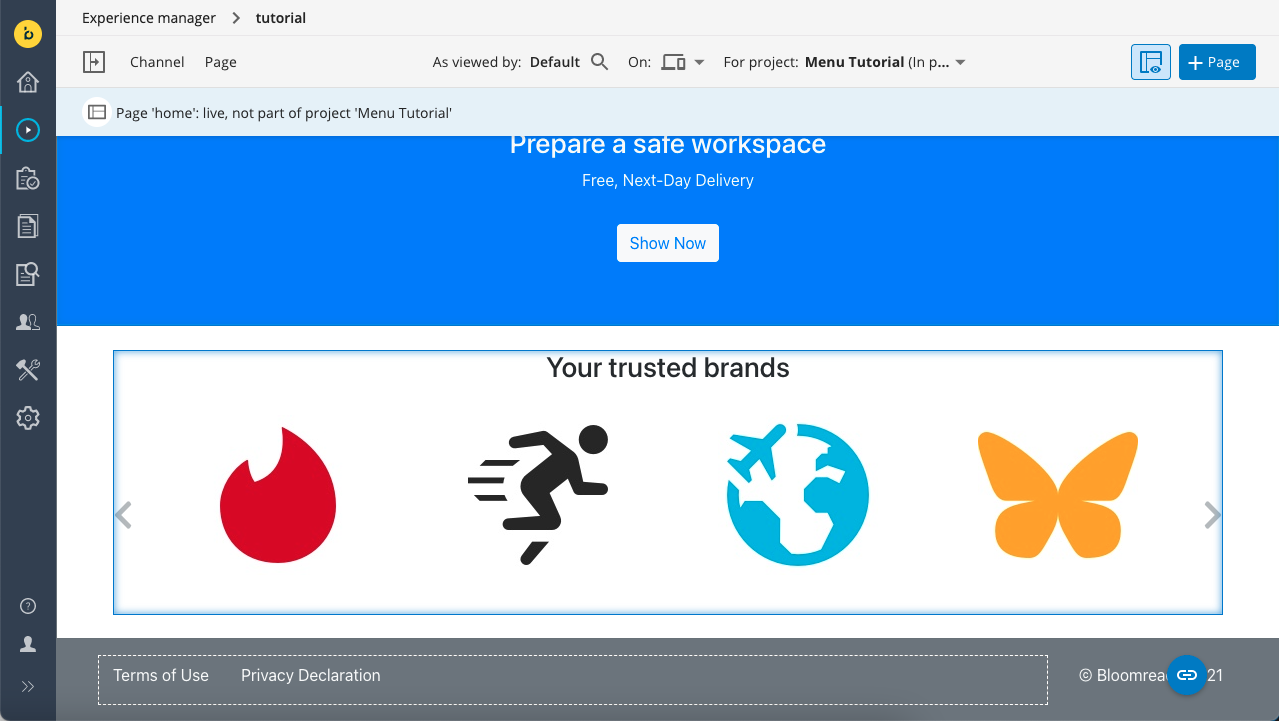
At this point you should see the Edit menu button in the footer:

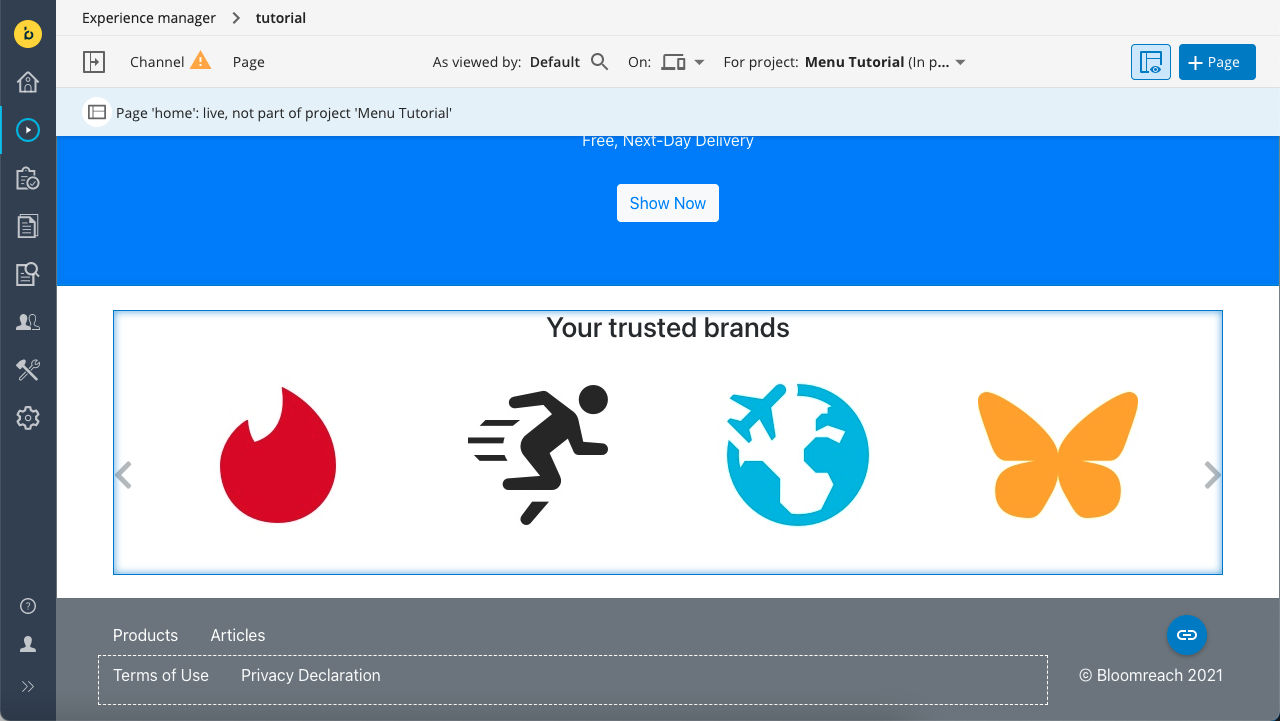
Click on the Edit menu button to open the menu editor and add some menu items. Make sure to save the new menu items and click Done to return to the preview. You should now see the footer menu in the preview:

Open the Channel menu and select Submit to save the changes to your development project.
Updated over 1 year ago
