Personalized landing pages
This page will help you set up your landing pages for personalization.
Prerequisites
Before personalizing your landing page, read our Add a Campaign and Personalize a Page user guides to familiarize yourself with the personalization process. We recommend keeping them handy while personalizing landing pages.
This user guide will provide use cases of our personalized landing pages' possibilities and variations.
What are personalized landing pages?
Personalized landing pages leverage the best aspects of Content SaaS and Bloomreach Engagement. By setting up a targeted campaign, you can lead people to a personalized landing page. This allows for a well-curated user experience and a creative and fully customizable way for you to display your products.
How to best display your products using our components
Content SaaS offers several variants of customizable components for your personalized landing page. The components at your disposal are banners (galleries, carousels), category and product highlights, and product grids. This user guide will show you what your personalized landing pages could look like to provide your customers with an engaging and personalized experience using our components.
Banner carousel
A banner carousel is one out of many ways to entice your customers and show them curated products on your page. It offers customers multiple products they can choose from in a dynamic way.
The Content tab of the component details allows you to choose the right products to highlight based on your segmentation of choice as set up in your Content audiences (see Add a campaign for more details).
New variant
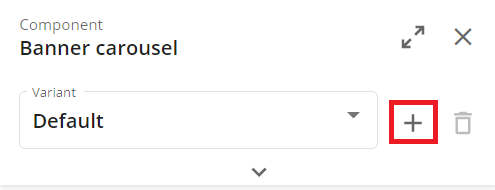
To make sure that your personalized component will be visible to your target audience, you need to change the Variant from Default to the segment in your campaign. To do so, click on the Create a variant symbol.
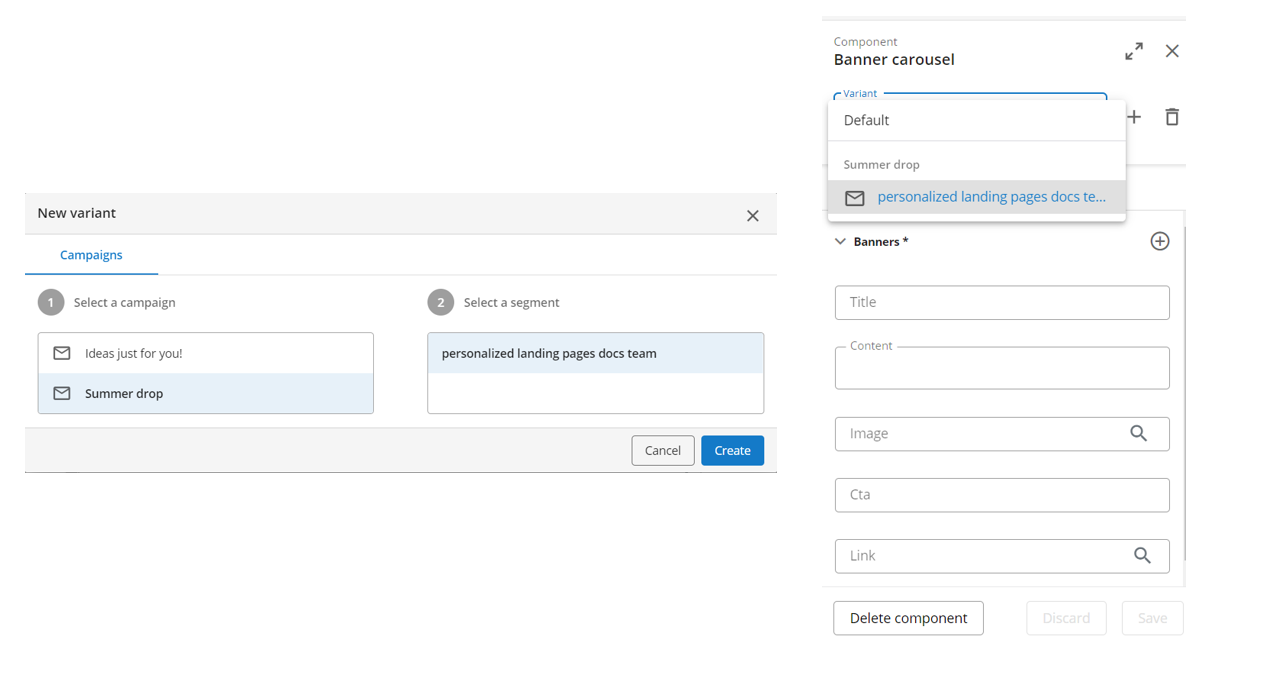
Select the campaign you wish to personalize your page with and click on Create. Once created, you can select the new campaign variant to apply to your component. (The process is the same for all components on your personalized landing page.)
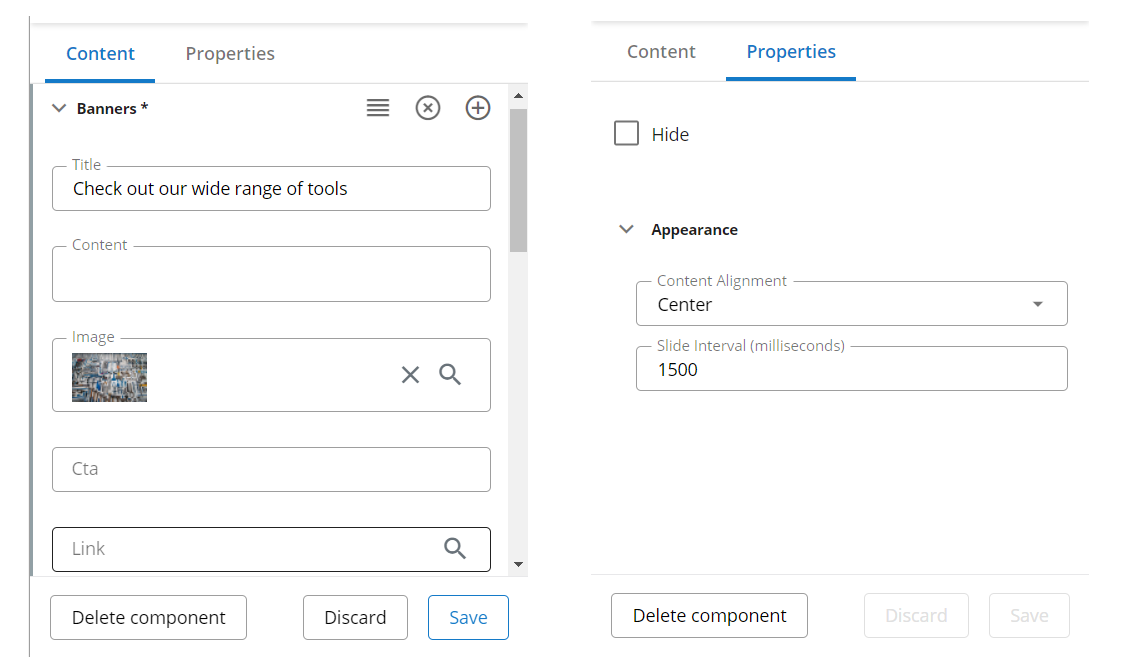
After setting your variant to the correct segment, you can customize your component. The Content tab lets you write desired titles and texts as well as choose images and links. The Properties tab of the component details allows you to customize the alignment and slide interval that best suits your landing page needs.
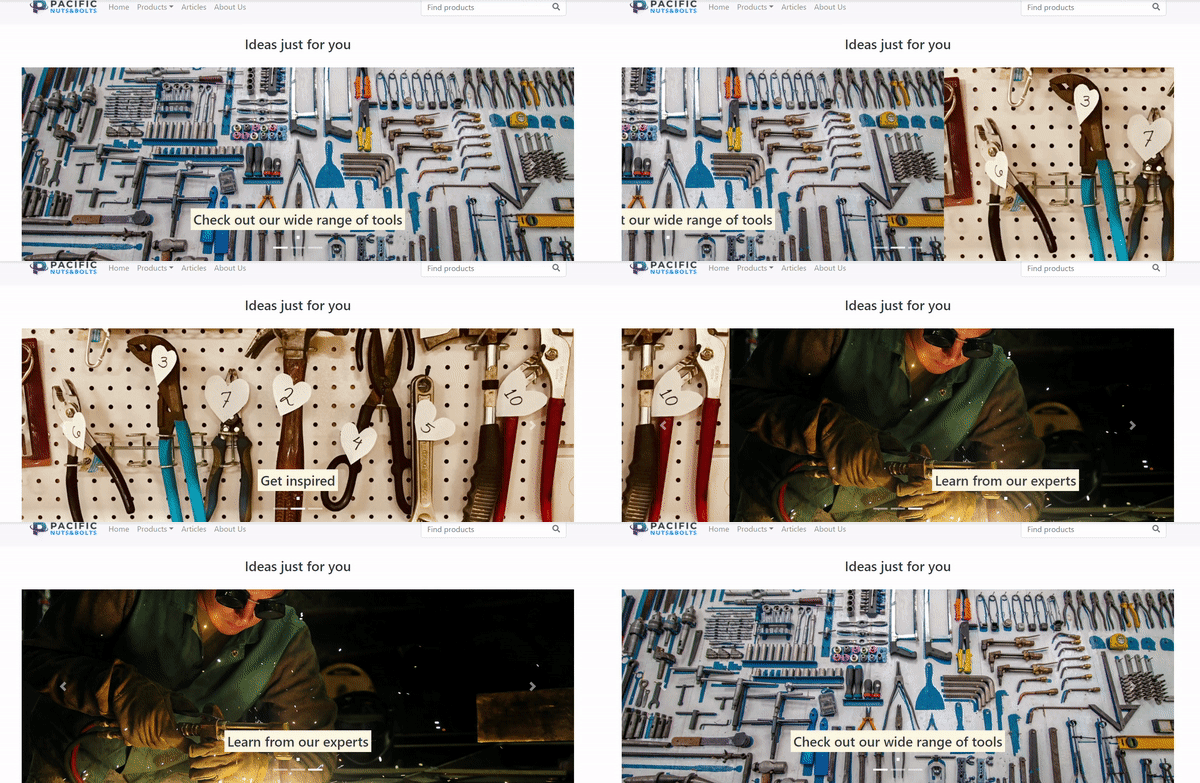
Once you add your desired content and customize its presentation, you've successfully made your own banner carousel! You can make as many variations as you wish for all your personalized landing pages. The example below gives you a general idea of what your banner carousel could look like!
Product highlight
To best showcase a series of curated products, you can create a product highlight based on the campaign of your choice set up in your Content audiences (see Personalize a page and Add a campaign for more details).
You can add a Title and Text component to provide a brief introduction for your clients that is curated to the specific landing page. To change the variant to your desired audience, follow the steps outlined above.
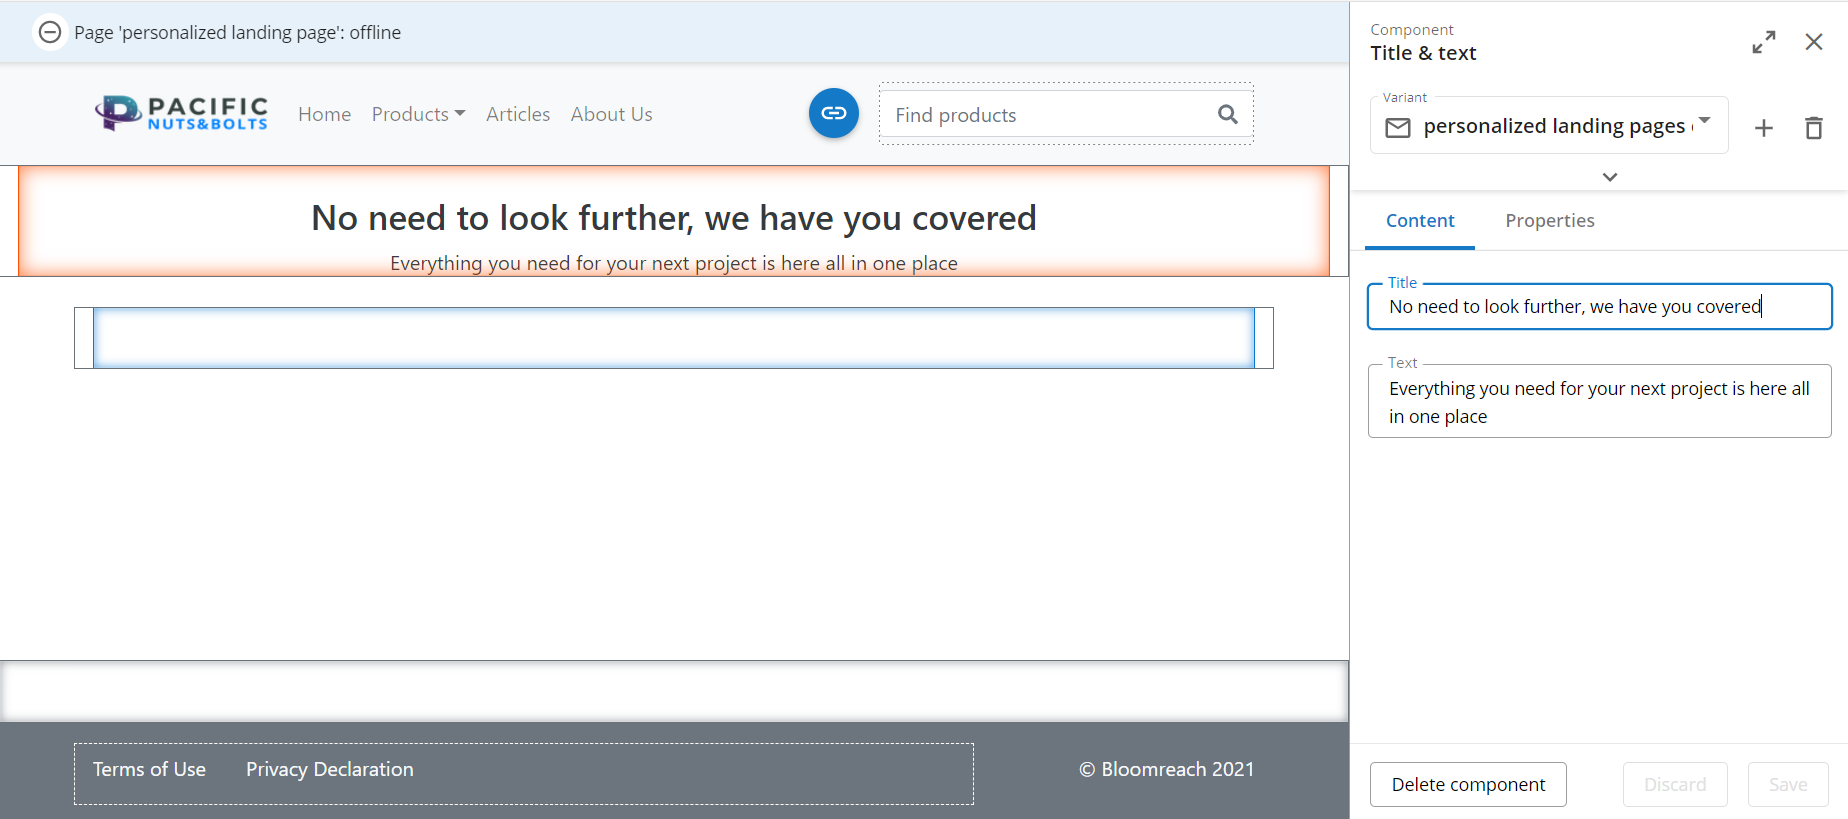
After typing up your text, you can move on to customizing the Product highlight. You can even give your product highlight a title, however, we chose not to as we already included a Title & Text component. Don't forget to set your commerce connector - you can use our very own Bloomreach Discovery, or other connectors we support such as commercetools, SAP, and Shopify.
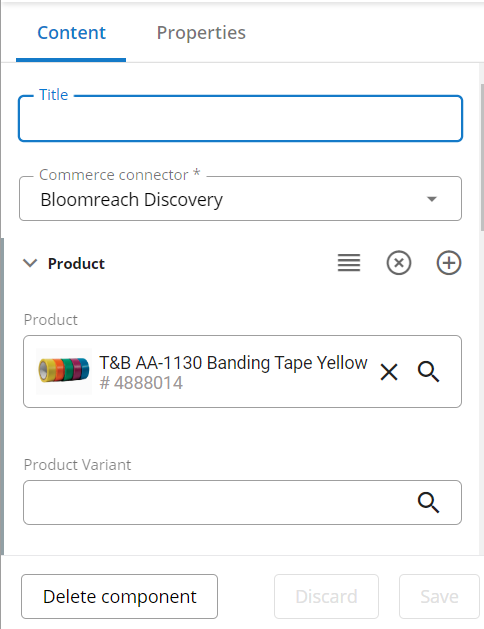
Once you save your Product highlight, your personalized landing page is ready! You can make as many variations as you wish for all your personalized landing pages. The example below gives you a general idea of what your page with a product highlight could look like!
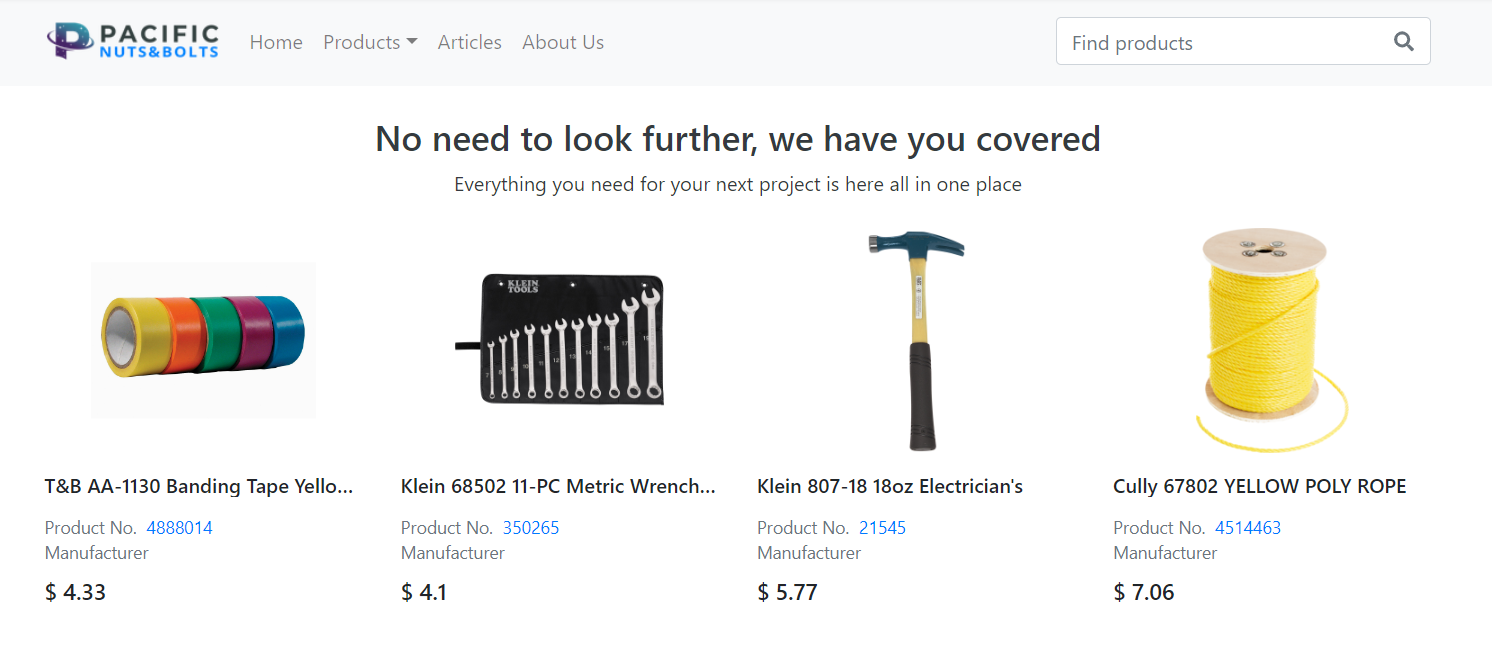
Preview a personalized page as your target audience
To preview your personalized page as the audience you chose in your segmentation and campaign, you need to change your As viewed by setting from Default.

Navigate to the top of the page and click on the magnifying glass icon next to Default to search for your alter egos. Since a campaign was used in this user guide, use the same campaign from the drop-down list. After choosing your campaign, you can choose the corresponding segment. After clicking Select, you can view your site as a member of the audience you wish to target.

Updated over 1 year ago
