Manage a navigation menu
Use the Experience manager to manage a channel's navigation menu.
Introduction
Goal
Use the Experience manager to manage a channel's navigation menu.
Background
Channels can have navigation menus. The Experience manager allows users with Site Editor privileges to add, modify, and remove items in the menus.
Access the menu editor
In the Experience manager, select the channel in which you want to manage a navigation menu.
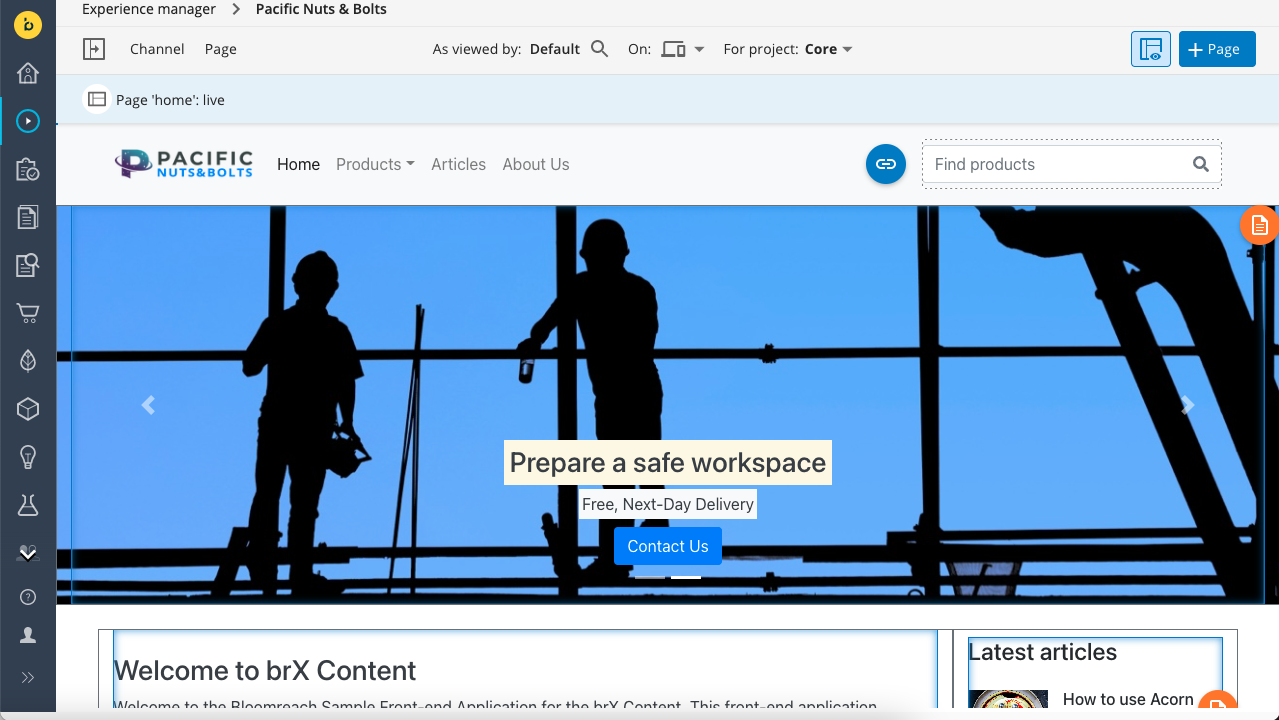
Make sure the editing overlay is enabled (overlay icon in the top right corner highlighted):

An Edit Menu button should be overlayed on your channel's navigation menu:

Click on the Edit Menu button to open the menu editor:

Add a new menu item
Click on the + icon in the bottom right corner. A new menu item is added and its configuration form shown:
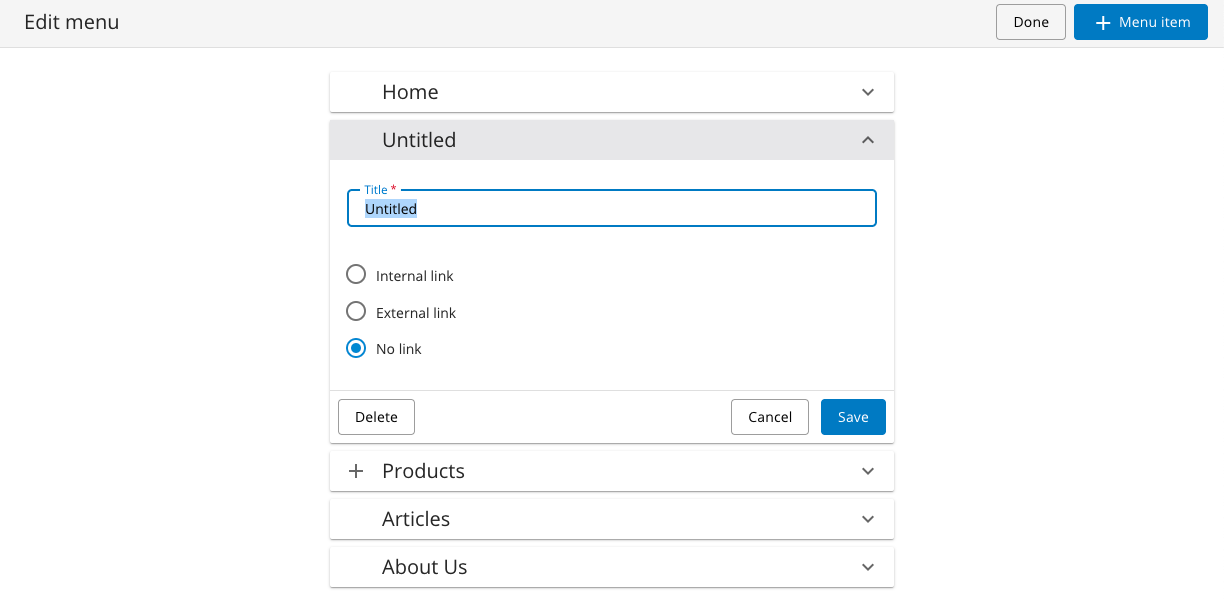
Enter a title and select Internal Link. Click on Select and select the desired page in the link picker.
Tip
To create a link to an experience page or to a document, choose Documents from the dropdown and then select the desired experience page or document in the content tree.
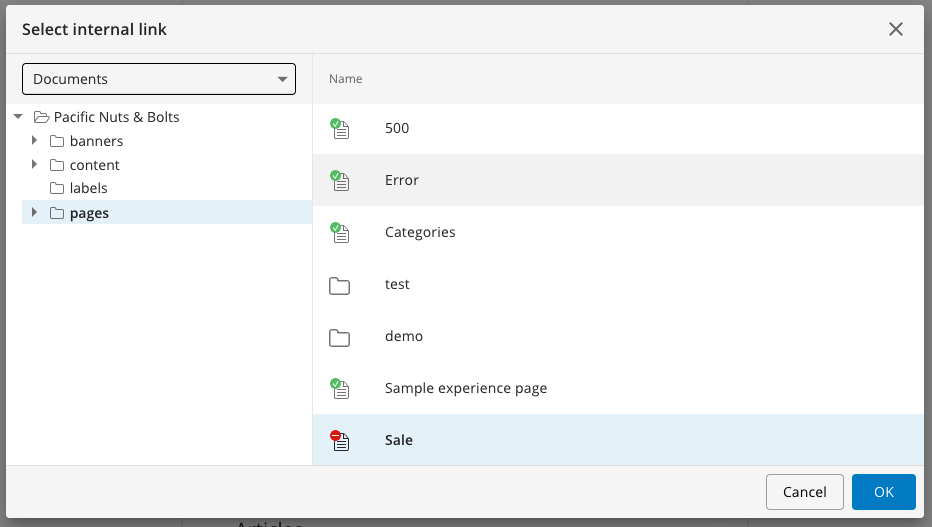
Click on OK to close the link picker.
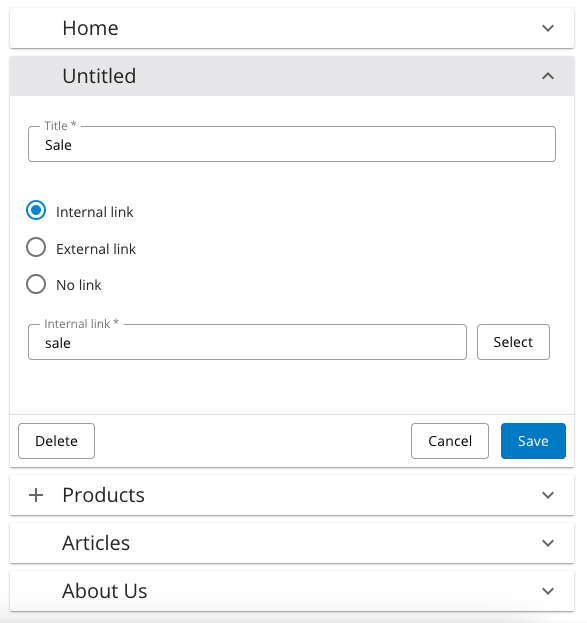
Click on Save to save the new menu item.
Optionally, drag the new menu item to the desired place in the menu:
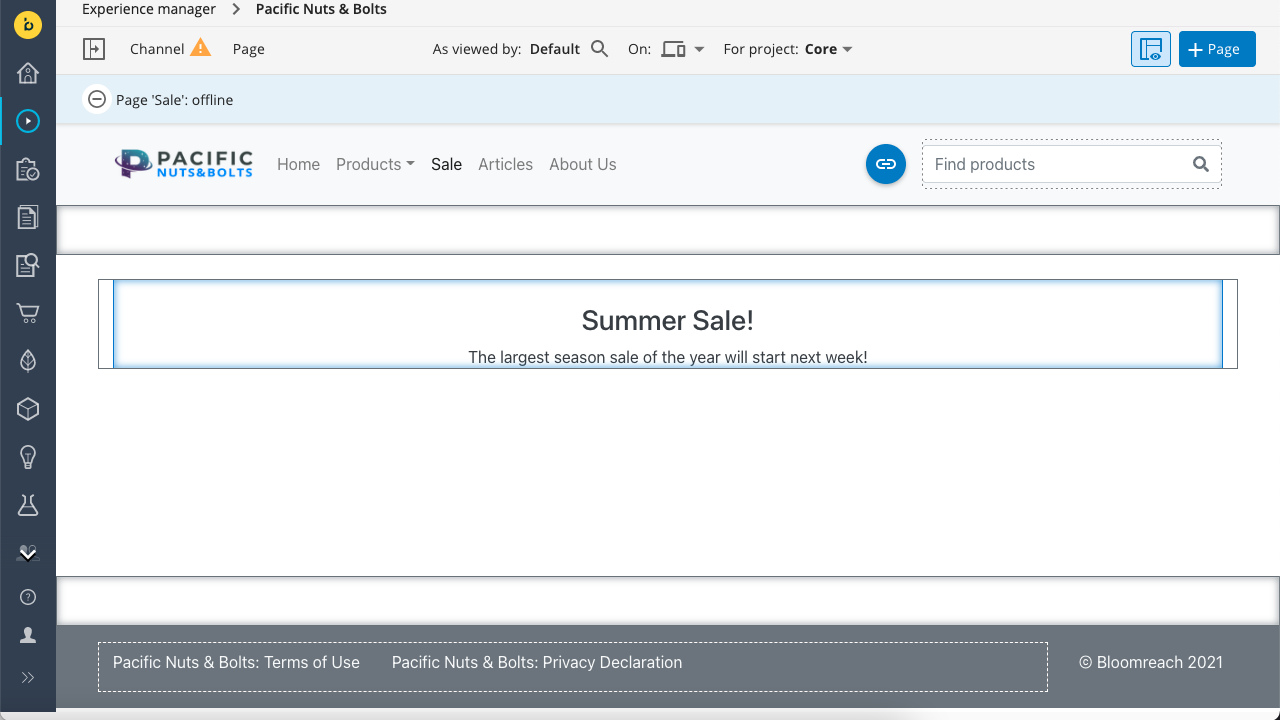
Click on Done at the top left corner to return to the channel preview. The new menu item should now be visible and it should link to the page you selected:
Modify a menu item
Click on a menu item to expand it, make your changes, then click on the Save button.
Delete a menu item
Click on a menu item to expand it, then click on the Delete button.
Updated over 1 year ago
