Milestone 1: Create a channel
Note
To make the most of this tutorial, acquire our publicly available credentials to log in to a shared developer environment. (This is different from your personal developer trial account credentials that leads you to a private trial environment.)
Milestone overview
Goal
Create a new channel in the Experience manager application.
Estimated time to complete:
2-5 minutes
Summary
In this milestone you are going to use the Experience manager application to create a very minimalistic new channel with a single page and add a single component to that page. This will serve as the backend for the frontend app you will create in the next milestone.
Create a channel
Watch the video below which will guide you through the steps on how to create a channel. This will be followed by a detailed step-by-step tutorial with screenshots below the video.
First, let's create the channel. Open the Experience manager application. In the Channels overview, click on the + Channel button in the top right.
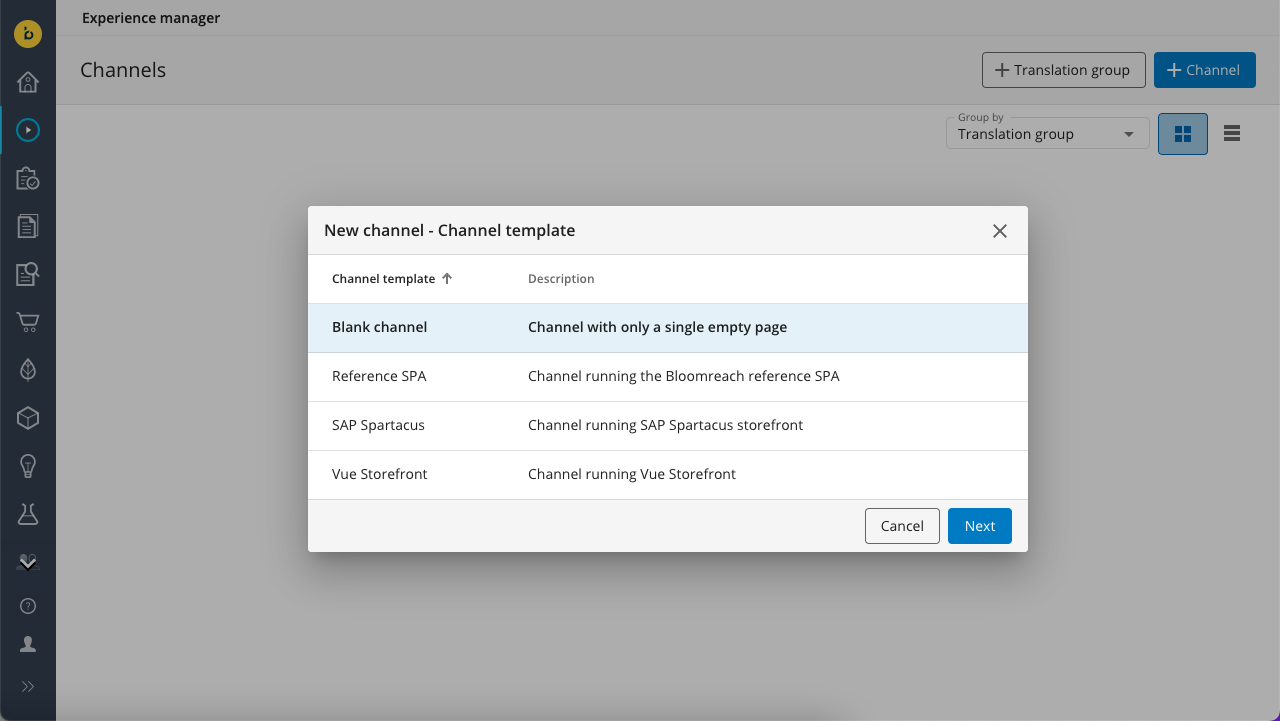
In the Select blueprint dialog that pops up, select Blank channel and click Next.
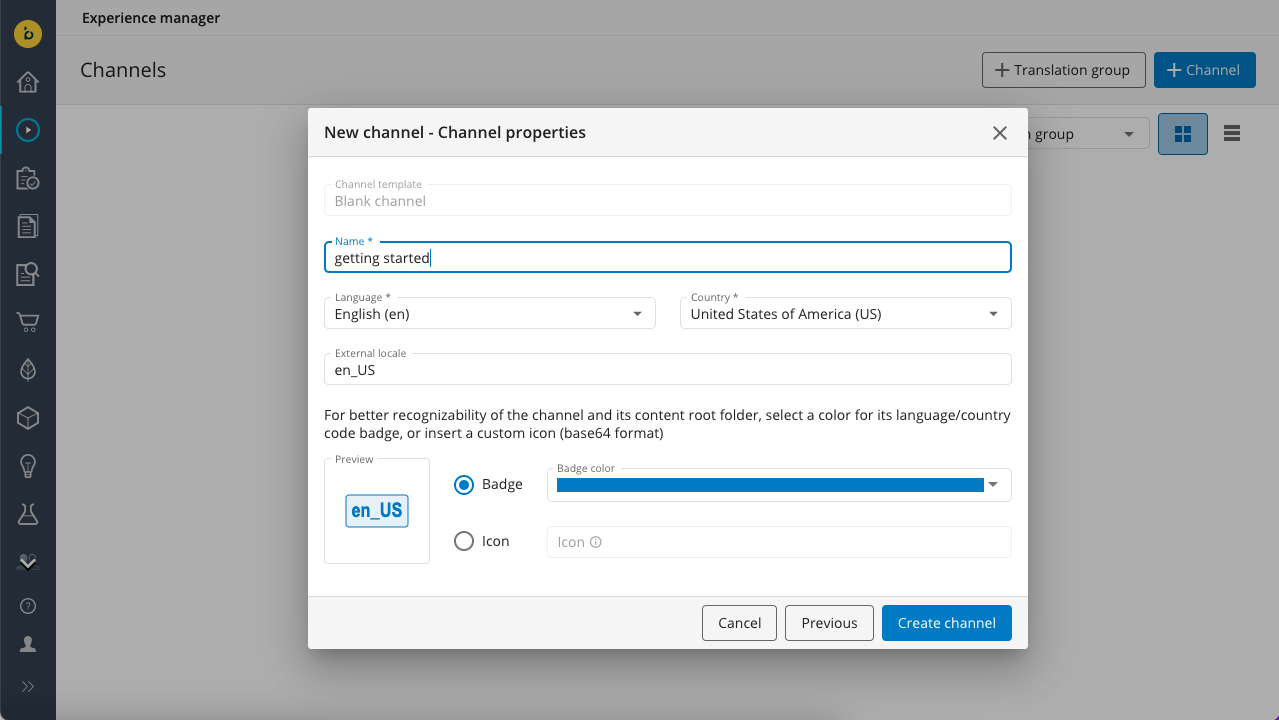
Next, enter a name for your channel (for example, "getting started"). Leave the other options (language, country, etc.) as they are and click on Create channel:
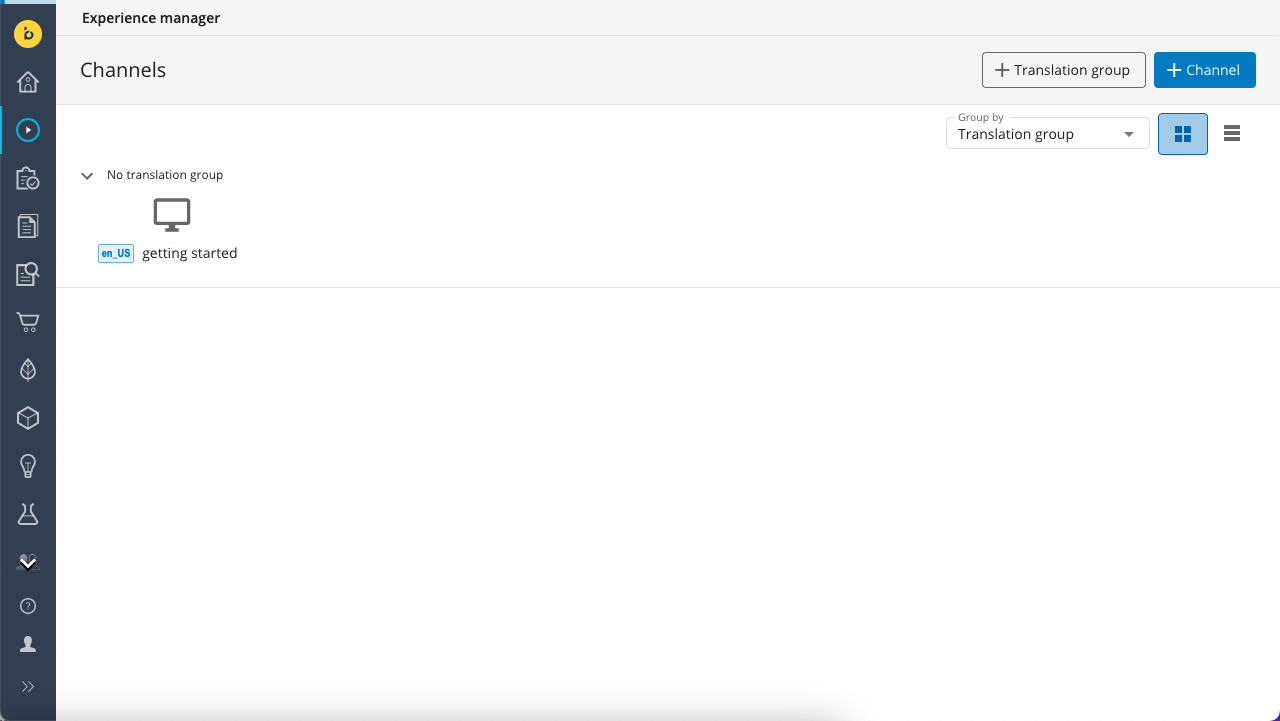
The new channel will now be listed in the Channels overview:
Click on the new channel to open its preview!
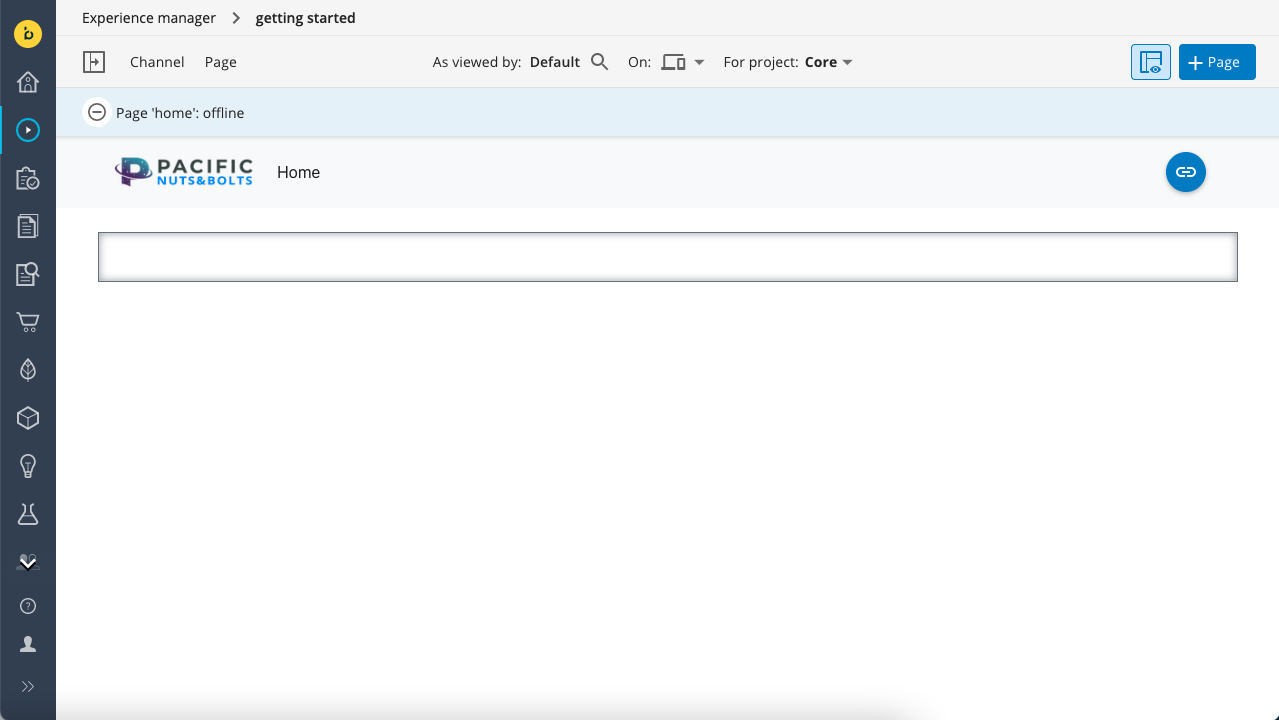
You are now on the homepage. A standard skeleton frontend app is currently used to render the preview. In Milestone 2 you will create your own frontend app and in Milestone 3 you will go through the steps to configure the Experience manager to use your app to render the channel preview.
Add a component
Note the black-bordered area on the page (if you don't see the area please click on the show components button in the top right). This is what we call a container.
Note:
A container is a placeholder for components. Multiple components can be placed inside a container. A page can have multiple containers. See the Manage Components on a Page user guide and the Site Configuration developer documentation for more info.
Open the left-side drawer using the button in the top left and open the Components tab. The component library for this channel contains only one component at the moment: Content.
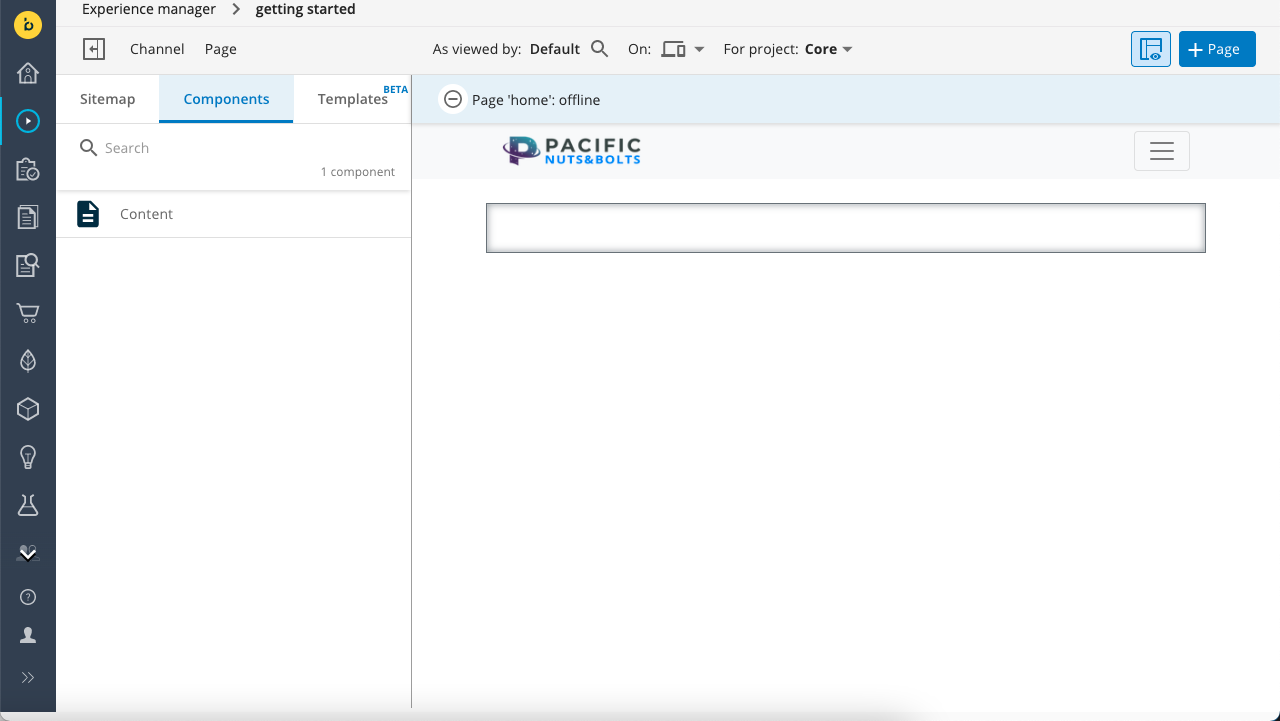
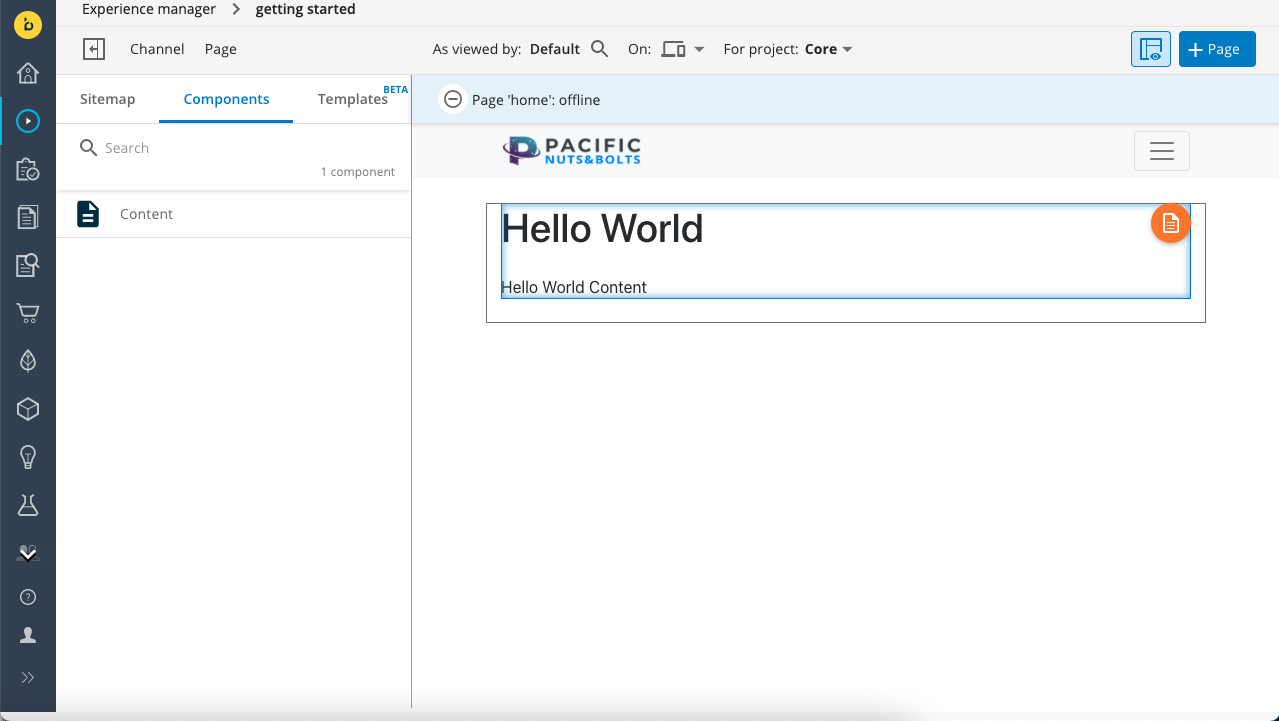
Click on the Content component in the left side drawer to select it, then click inside the container on the page to add the component. It will show standard "Hello World" content that is stored in the page object.
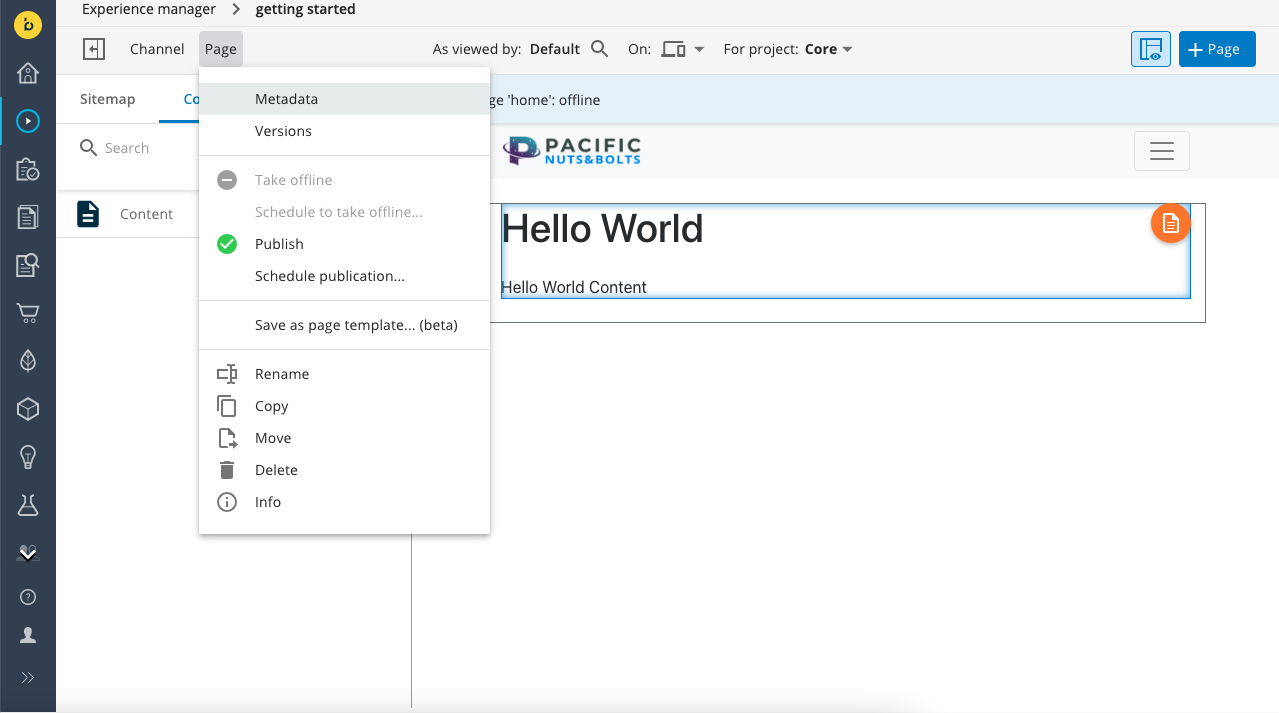
If you'd like to edit the text, open the Page menu and select Metadata:
The right side drawer will slide open and show an editor where you can edit the different fields. The page preview will update automatically while you edit the field values.
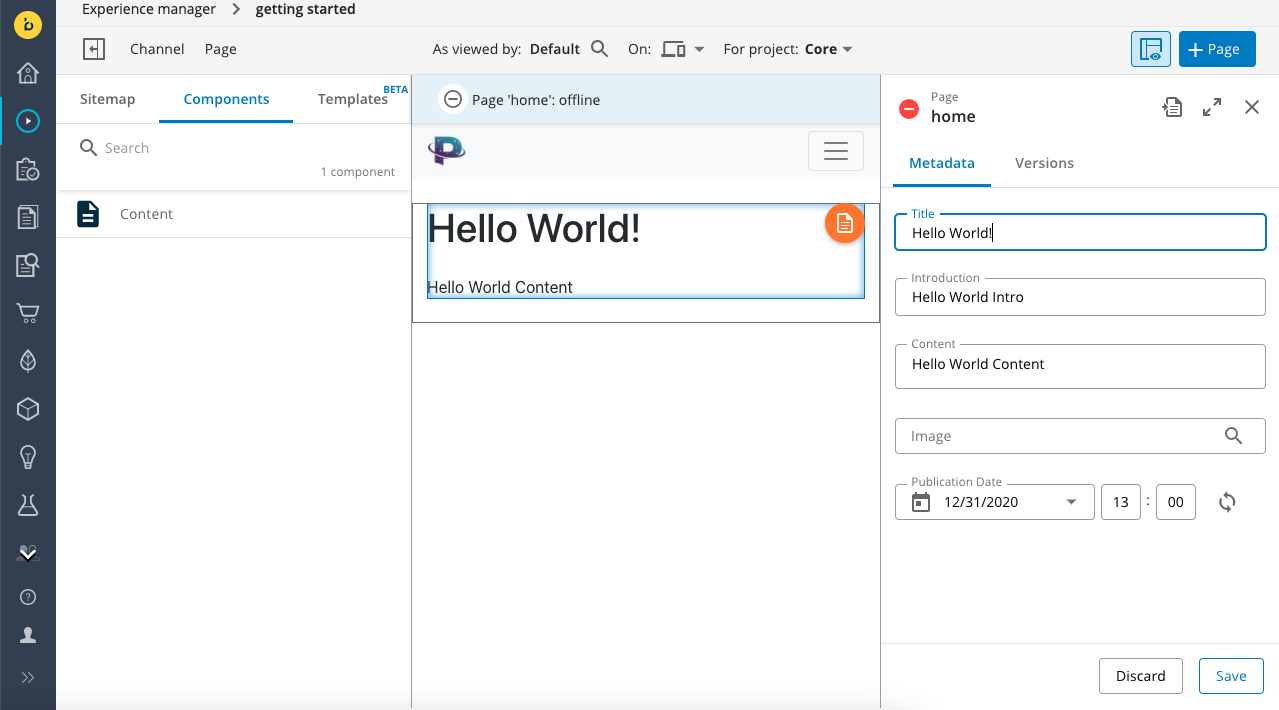
Click on Save to persist your changes.
At this point your changes are still unpublished and only visible in the preview. To publish the page and make it available through the Delivery API, open the Page menu again and choose Publish.
Updated about 1 year ago
