Run a campaign
Introduction
This page describes how to run a set of changes in a project as a campaign.
Before a project can be run as a campaign, you must request a review and two webmasters must review and accept the changes made in the project.
You can either schedule when the campaign will be started and stopped by the system, or you can manually start or stop a campaign at any time.
Schedule a campaign
Open the Projects application.

If you haven't created a project for your campaign yet, you can select a start and end date and time when you do so.
If you already have a project for your campaign but didn't already select a start and end date and time when you created it, you can do so on the Info & Schedule tab.
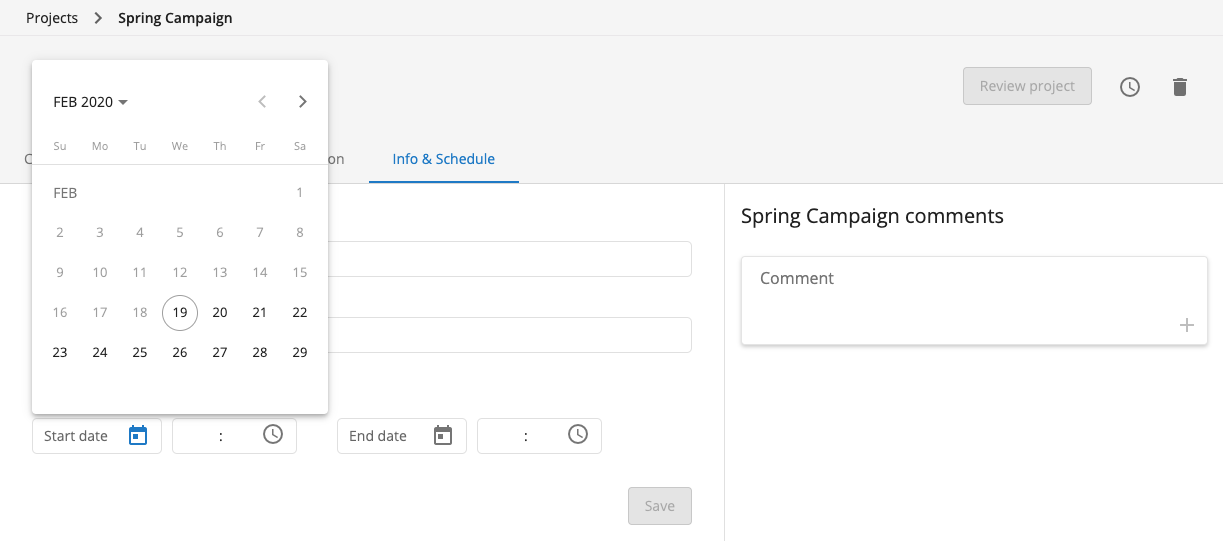
Click on the calendar icon next to Start date and select the date on which you want your campaign to start:

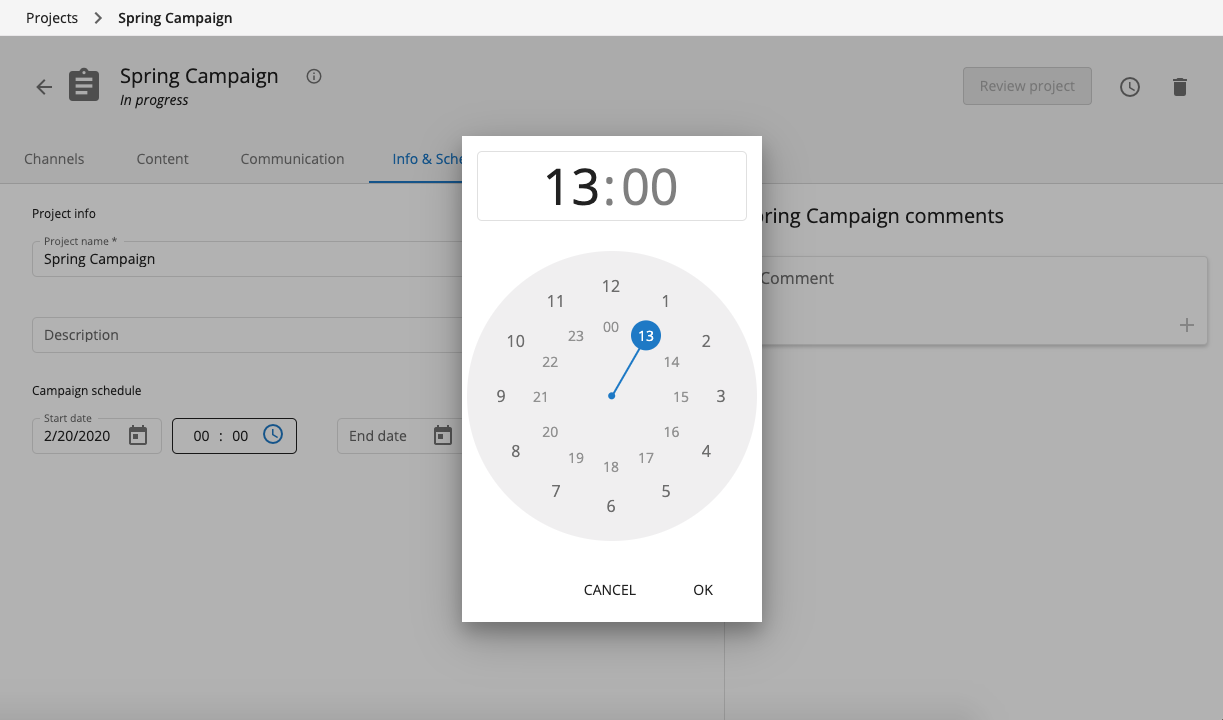
Click on the clock icon next to Start time and select the time at which you want your campaign to start:

Do the same for End date and End time, then click on Save to store the campaign schedule:

The campaign will start automatically at the scheduled date and time if the project is in "approved" state.
If you happen to look at the project screen at the scheduled start time, you will see the change in status reflected in the header.
Campaign scheduled, not yet running:

Campaign running:

A system message "Campaign started" will be also added to the comments when the campaign starts:

The campaign will automatically stop at the scheduled date and time.
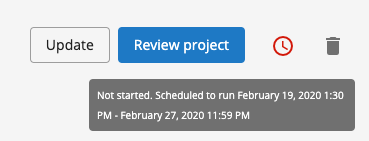
If the project is not in approved state at the scheduled start date and time, the campaign will not start and becomes overdue. As a warning, the color of the clock icon in the top right of the project screen turns orange 7 days before the scheduled start date and time, and red when the scheduled start date and time have passed. Hover over the clock icon to see the scheduled start and end dates and times.

You can still review a project with an overdue campaign, but once approved, the campaign must be rescheduled or started and stopped manually.
Remarks:
- You can override the start date of a scheduled campaign by manually starting the campaign before the start date.
- You can override the end date of a running campaign by manually stopping the campaign before the end date.
- You can merge a running campaign into core, effectively stopping the campaign immediately and making the changes permanent.
Manually start and stop a campaign
Open the Projects application.

Projects which have been fully accepted, and are therefore ready to be run as campaign, will have an Approved status:

Click on the project you want to run as a campaign and you will see three options at the top-right of the screen: Reopen, Merge, and Start Campaign:

Click on Start Campaign. A confirmation dialog will appear:

Click on Start Campaign to make the project go live as a campaign.
While the campaign is running, you will see two options at the top-right of the project screen: Merge and Stop Campaign.

If you want to take the campaign offline and revert all affected channels to core, click on Stop Campaign. A confirmation dialog will appear:

Click on Stop Campaign to take the campaign offline.
Alternatively, if you want to make the changes in the project permanent, you can merge the project into the core. This also effectively ends the campaign.
Multiple campaigns running concurrently
If, at a certain point in time, multiple campaigns are running concurrently for the same channel, the campaign that has the shortest running period will be served to visitors of that channel. For example, if today it is the 13th of February, and the following three campaigns have started but not yet stopped:
- Campaign 1: Started on 12th of February and runs until the 28th of February
- Campaign 2: Started on 9th of February and runs until the 14th of February
- Campaign 3: Started on 7th of February and runs until the 28th of February
Then today, Campaign 2 will be served because it has started, has not yet stopped, and has the shortest running period.
Updated over 1 year ago
