Manage content in a channel
Create, edit, select, and publish content in a channel directly within the channel preview.
Introduction
Goal
Create, edit, select, and publish content in a channel directly within the channel preview.
Background
Bloomreach Content provides two ways to manage content:
- In the Content application, using the document editor.
- In the Experience manager application, directly in the channel preview.
This page explains how to create, edit, select, and publish content directly in the channel preview.
Document content vs. page-specific component content
Content rendered on a page can be stored in different places:
- Embedded within a page-specific component on a page.
- In a separate document, feeding a document-driven page and/or referenced from a shared component on a page.
Manage content stored in a page-specific component
Open the Experience manager application and select a channel from the channel overview.
In the channel preview, browse to the page on which you want to manage content. Make sure that the editing overlay is enabled (overlay icon highlighted):

Click on a page-specific component on the page (or add a new one from the component catalog). The component configuration sidebar will have a Content tab on which the component's embedded content can be edited:
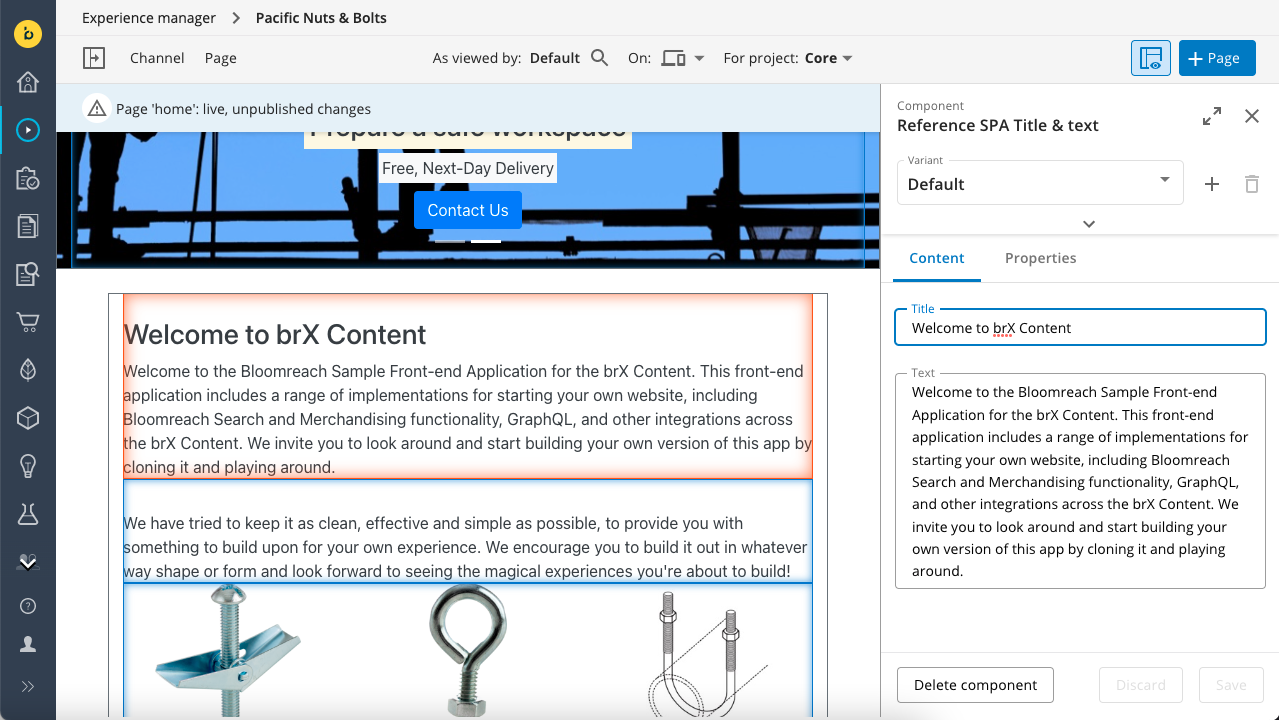
Once you finish editing the content, click on Save.
The lifecycle of a page-specific component and its content is tied to the page they are on. Your changes will be published when you publish the page (in case of an experience page) or the channel (in case of a document-driven page).
Manage content stored in separate documents
Open the Experience manager application and select a channel from the channel overview.
Notice the editing overlay icon at the top right of the toolbar. By clicking on it, you can hide or show the editing buttons in the channel preview.

In the channel preview, browse to the page where you want to manage content. Make sure the editing overlay (mentioned above) is enabled.
You will see Manage Content buttons on your page.
There are different types of Manage Content buttons:
In some scenarios, the ‘parent’ buttons may also have speed-dial buttons which appear when you hover over them:
This is because you may have the option of editing existing content, creating new content, or selecting existing content for a single content item.
Edit content
Click on the Edit Content button for that content item and a visual editor slides into the screen from the right side:
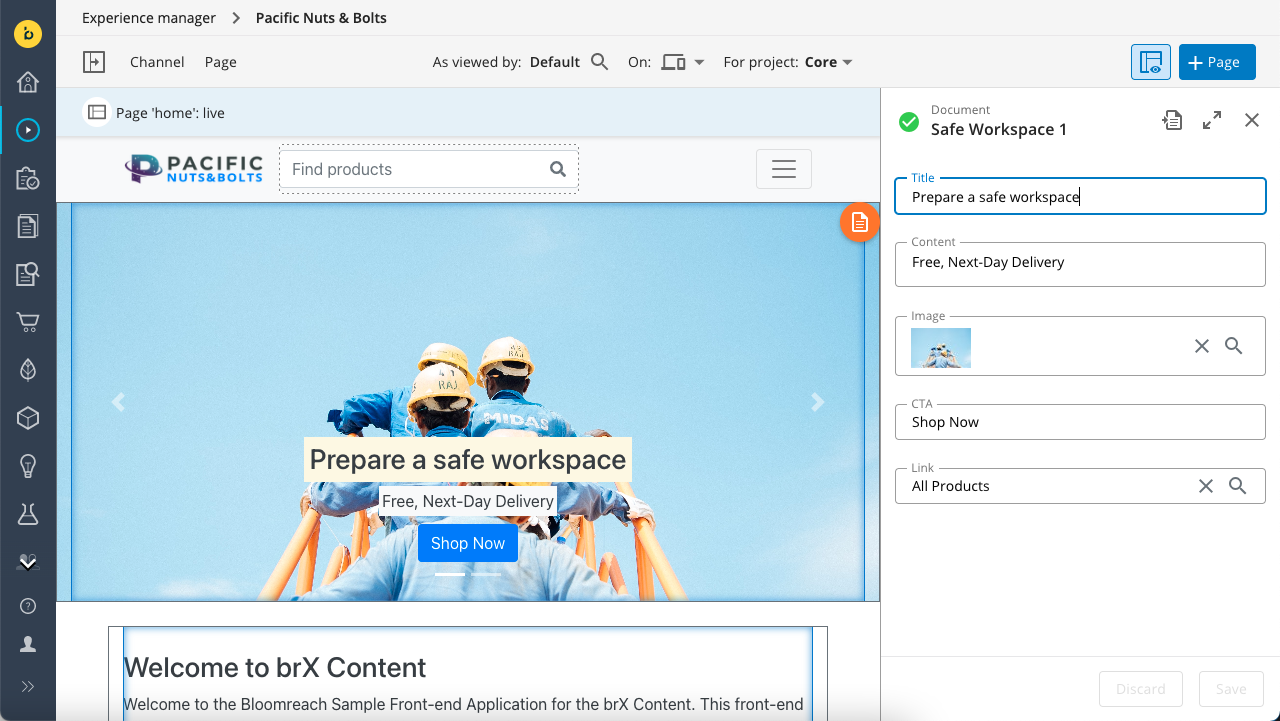
You can now edit the content fields for the relevant content item.
Click Save to save your changes, and X to close the editor. If you click _X _without saving your edited content, you will be shown a confirmation dialog to confirm if you want to save your changes or discard them:
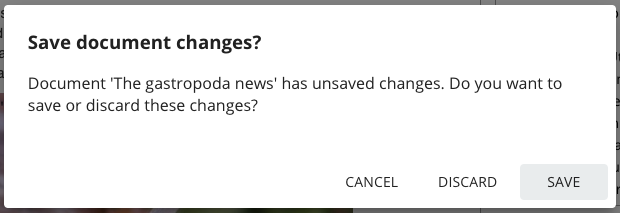
Clicking Discard will remove your changes to the document. Clicking Cancel closes the dialog; the visual editor remains open so you can decide what action you would like to take next; your changed content remains.
On saving your changes you will notice that the Save button switches to a Publish button:
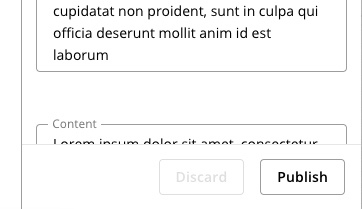
Users with editor privileges are able to click this button and directly publish the edited content within the context of the Experience manager. They are asked to confirm they want to publish the updated document before the action is taken:
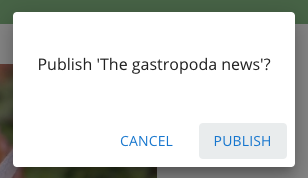
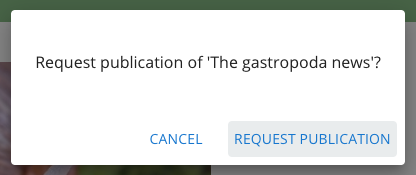
Users with author privileges cannot publish directly from the Experience manager, however they can submit a publication request from the Experience manager; on clicking the Publish button they are shown a lightbox asking them if they want to submit a publication request for the edited document:
If a publication request is submitted by an author, the document is no longer editable and goes into a waiting to be published state; the Experience manager visual editor updates to reflect this:
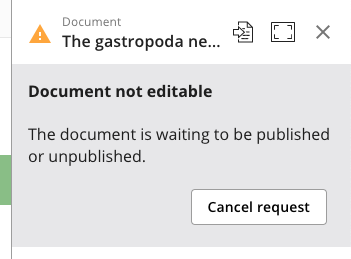
The author can choose to cancel the request via the Cancel Request button. On taking this action the document is released for editing and the visual editor again updates to reflect this.
An editor or admin can accept, or reject the author's request from the document editor view: read more about this process here.
You also have the following options through the icons in the toolbar at the top of the visual editor:
-
Switch to content editor. Switches to the Content application and opens the document in the fully-featured document editor.
-
Full width. Enlarges the editor to the full width of the Experience manager application.
-
This icon represents that the document currently opened in the visual editor is published and online. If you click on it you will be taken to the document viewer in the Content application.
-
This icon represents that the document is online but has unpublished changes. If you click on it you will be taken to the document viewer in the Content application.
-
This icon represents that the document is offline. If you click on it you will be taken to the document viewer in the Content application.
Notes
- Note that not all field types can be edited in the channel preview. Field types that can't be edited in the channel preview must be edited in the document editor.
- Any changes you make while editing a document within the channel preview are automatically saved to a draft version of that document. If you exit Commerce Experience Cloud or your login session expires, the saved draft version will still be there after you log in again so you can continue editing.
Select content
Click on the magnifying glass button for the content item you want to select content for; a link picker dialogue will appear which allows you to select what document you would like the content item to use.
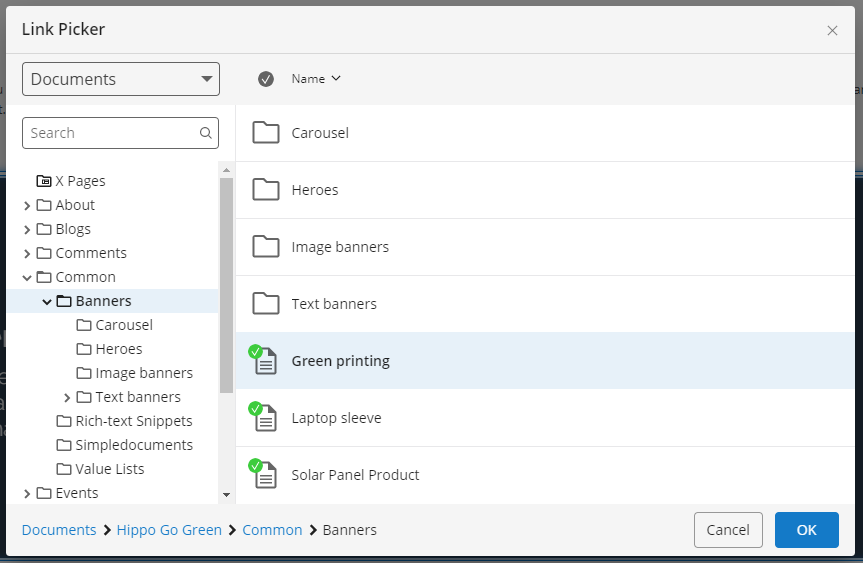
Search or navigate through the content folders to find the desired document. Click once to select a document and then click the OK button.
Clicking OK will close the link picker and the chosen document will be displayed in the relevant content item:
Create content
Click on the + button for the content item you want to create content for; on doing this a Create content panel will slide into view from the right-hand side:
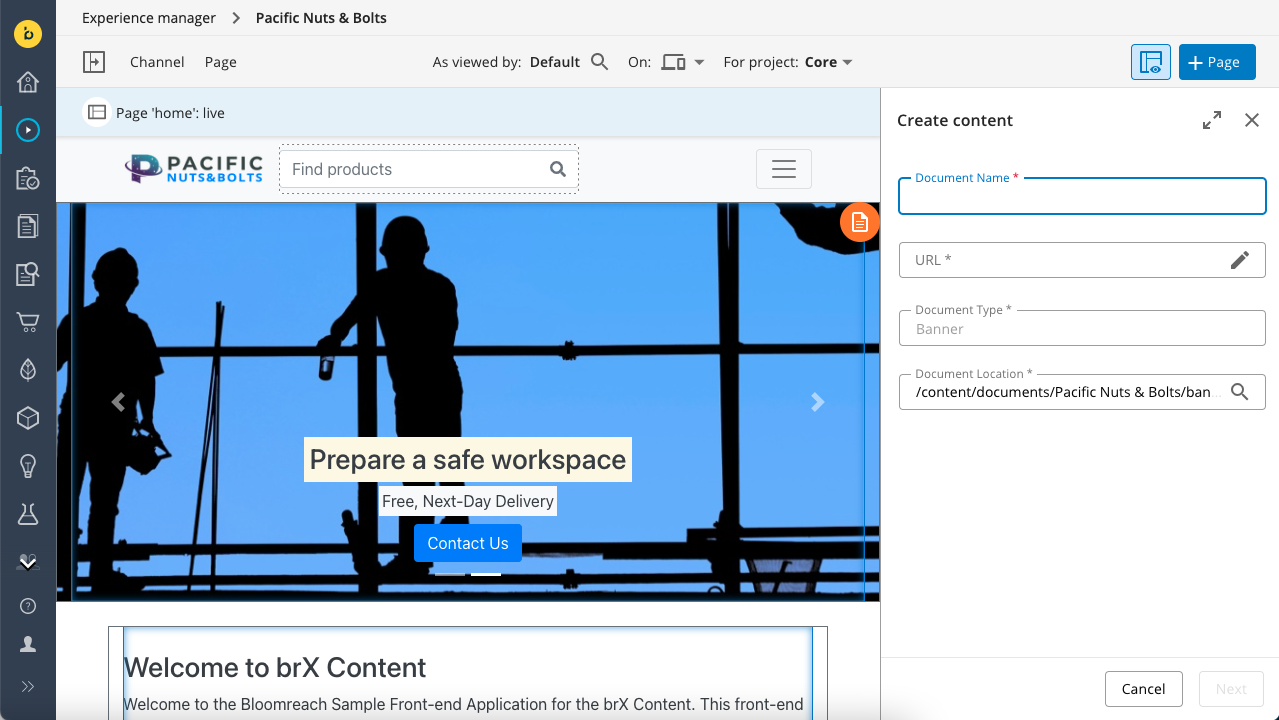
The Create content panel will ask you to give the new content a document name, type, URL, and folder location. The URL and folder location will be automatically populated for you based on the document name given and document type, but you can edit the default values given (choose a different folder location or edit the URL).
Once you have filled in these basic details click the Continue button; the panel will update and you will be asked to fill in more information which the new content will use:
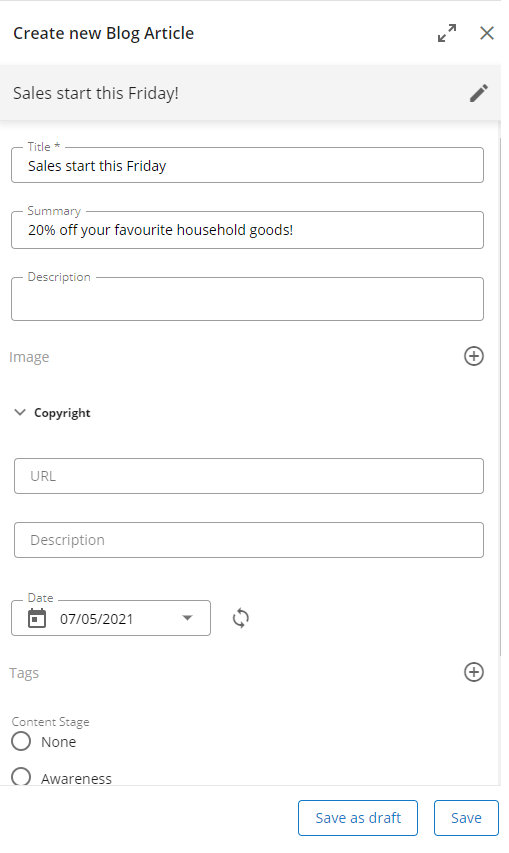
The fields you are asked to fill in are dependent on the document type.
While you are editing a newly created content item, you have the option to Save as draft (even if you haven't filled all the required fields yet). Clicking this button will persist a draft version of the new content item and close the editor. You can come back later to continue editing the new content item. Note that content saved as draft is not visible in the channel preview. However, you can find a saved draft back in the Content Application.
Please also note that closing the editor while editing an unsaved draft and choosing Discard will delete the new content entirely; it will not be present in the content repository, usable in the channel, etc.
Once you have populated all the required fields, click Save. Note, not all fields of this newly created document will be shown. To see all content editing fields switch to the content editor.

Once you have added all the relevant information, click Save & Done, then View in the top navigation menu to return to your website preview. Taking this action switches the Create content panel to the visual editing panel (allowing you to publish or continue editing the new content) and the new content will appear automatically in the relevant content item in the channel preview:

In the above example the newly created content appears automatically in the chosen content item; however, if the content is ‘dynamic’; such as an event or news item then this may not be the case.
For example:
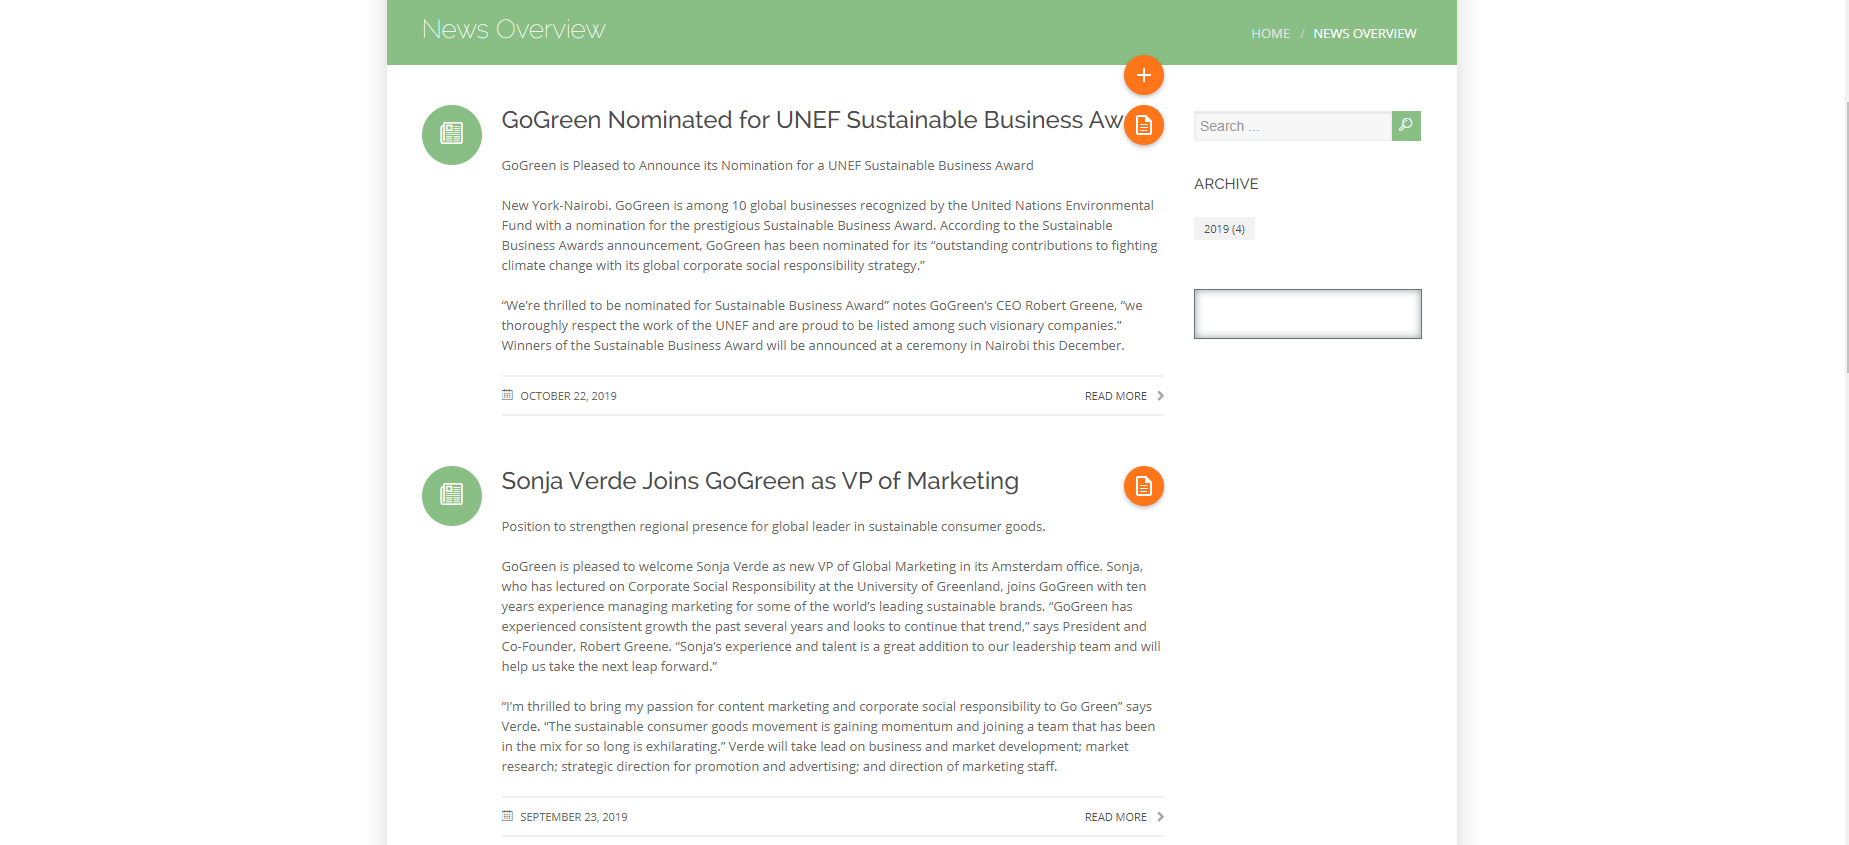
The above is an events list and you can click the orange + button to create a new event item. Doing this results in the same functionality as described above; the side panel slides out and asks you to create the new content.
However, after creating the new content in the side panel and clicking Save, the new event may not appear immediately in the content item. This could be because of the configuration of the content item. For example, the ‘events list’ is configured to only show 3 items at any one time, and if the new ‘event’ is item number 4 then it will not show. Perhaps the content item is configured to only show events within a certain date-range and the new event is not within this range. If you create new content, and it does not show automatically within the relevant content item, it is likely due to the configuration of the content item.
Updated over 1 year ago
