Manage components on a page
Use the Experience manager to add, configure, and/or remove components on a page.
Introduction
Goal
Use the Experience manager to add, configure, and/or remove components on a page.
Background
The Experience manager enables users to manage components on certain pages in a WYSIWYG manner. To be able to manage components on a page, that page must have one or more "component containers" defined to which components can be added. Which pages have component containers, which components are available, and to what extent components can be configured typically depends on how the channel has been configured.
Page-specific components vs. shared components
The components available in the Experience manager are grouped into two different types: Page-specific components and Shared components.
- Page-specific components have embedded content and are therefore completely self-contained. When adding a page-specific component to a page, the lifecycle of the component is tied to that page. A page-specific component's configuration, as well as its embedded content, get published along with the page it is on.
- Shared components may reference a separate document in their configuration to pull content from. Multiple component instances can reference the same document. A document has its own lifecycle, independent from any page or component it may be referenced from. This means that, while a shared component's configuration gets published along with the page it is on, any document referenced from that configuration must be published separately.
Instructions
In the Experience Manager application, select the channel you want to edit. Browse to the page on which you want to add, configure, and/or remove a component.
- Add a component to a page
- Configure a component
- Edit a page-specific component's content
- Remove a component from a page
- Edit page containers or shared containers
- Publish changes
Add a component to a page
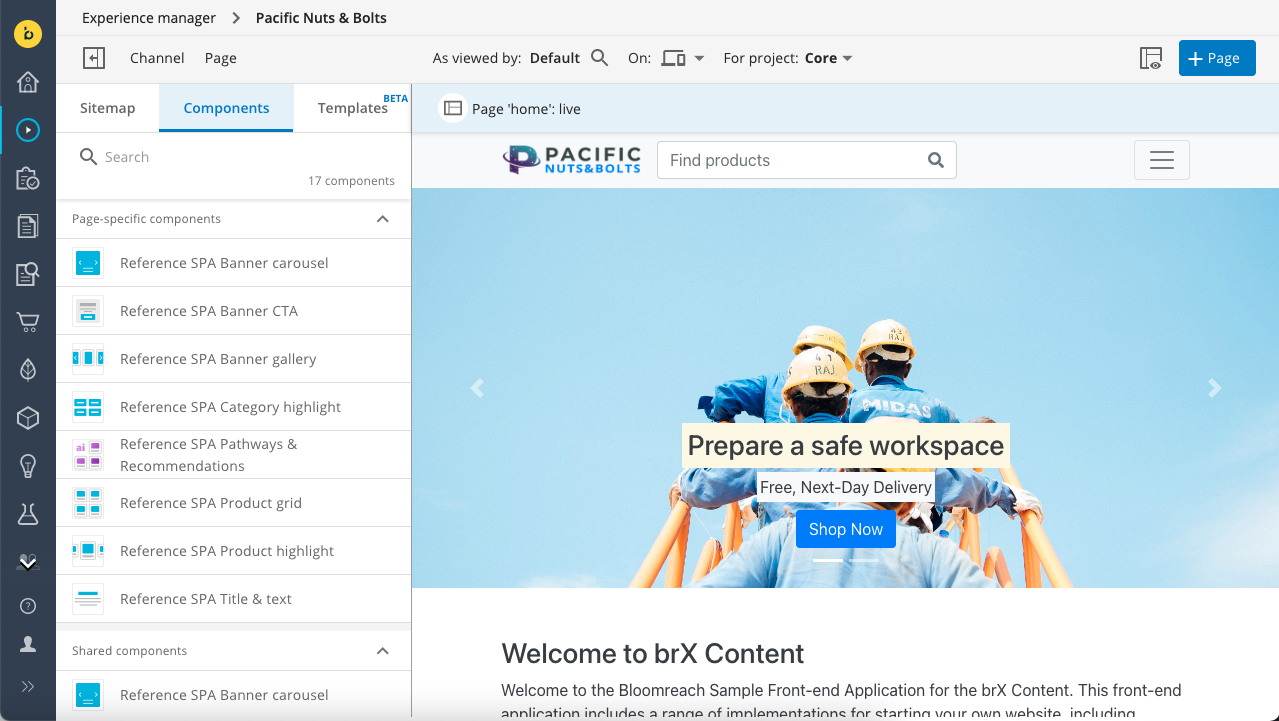
Open the sidebar and select the components tab:
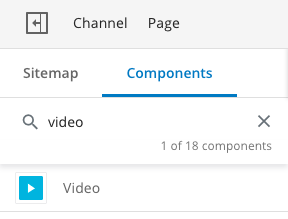
Optionally, enter a search term to find the component you are looking for:
Click on the component you want to add to the page:
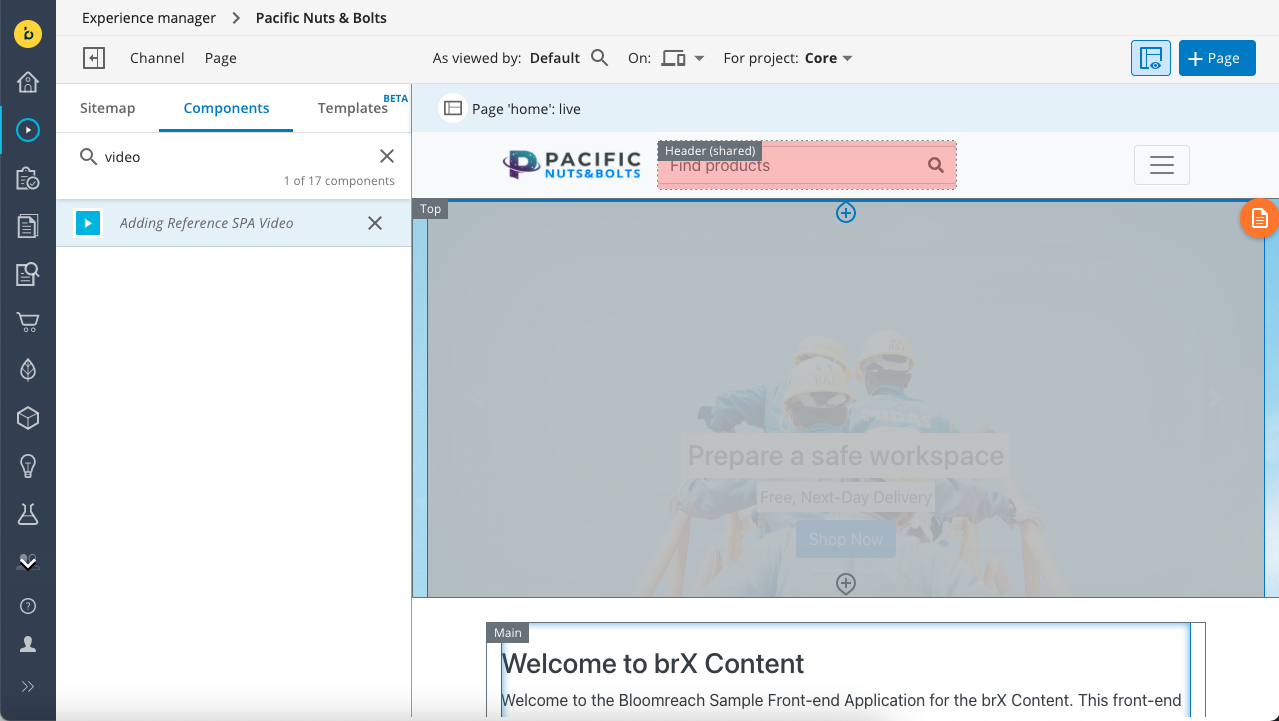
To add the component to the page, click inside the container to which you want to add the component. If the container already contains other components, move your mouse cursor following the visual indicators to add the new component at the desired position.
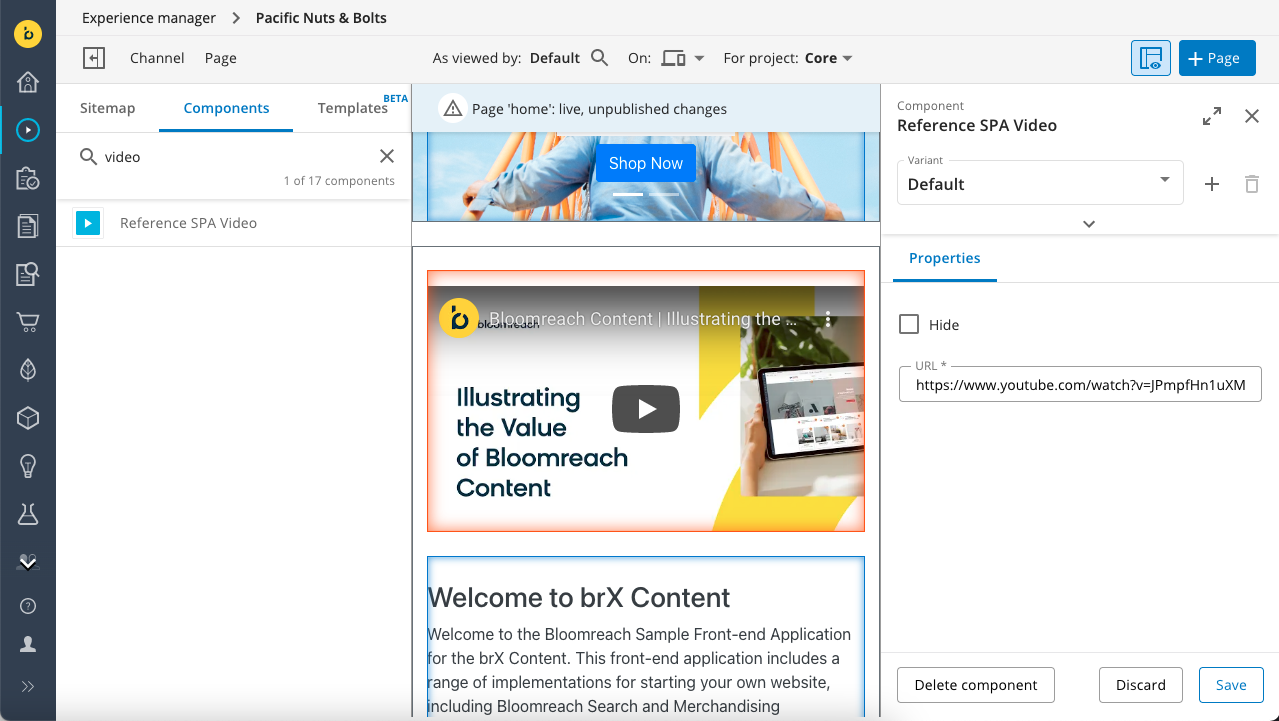
Configure a component
Make sure that the editing overlay is enabled (overlay icon highlighted):

Click on the component you want to configure to open the configuration sidebar. The configuration settings can be edited on the Properties tab:
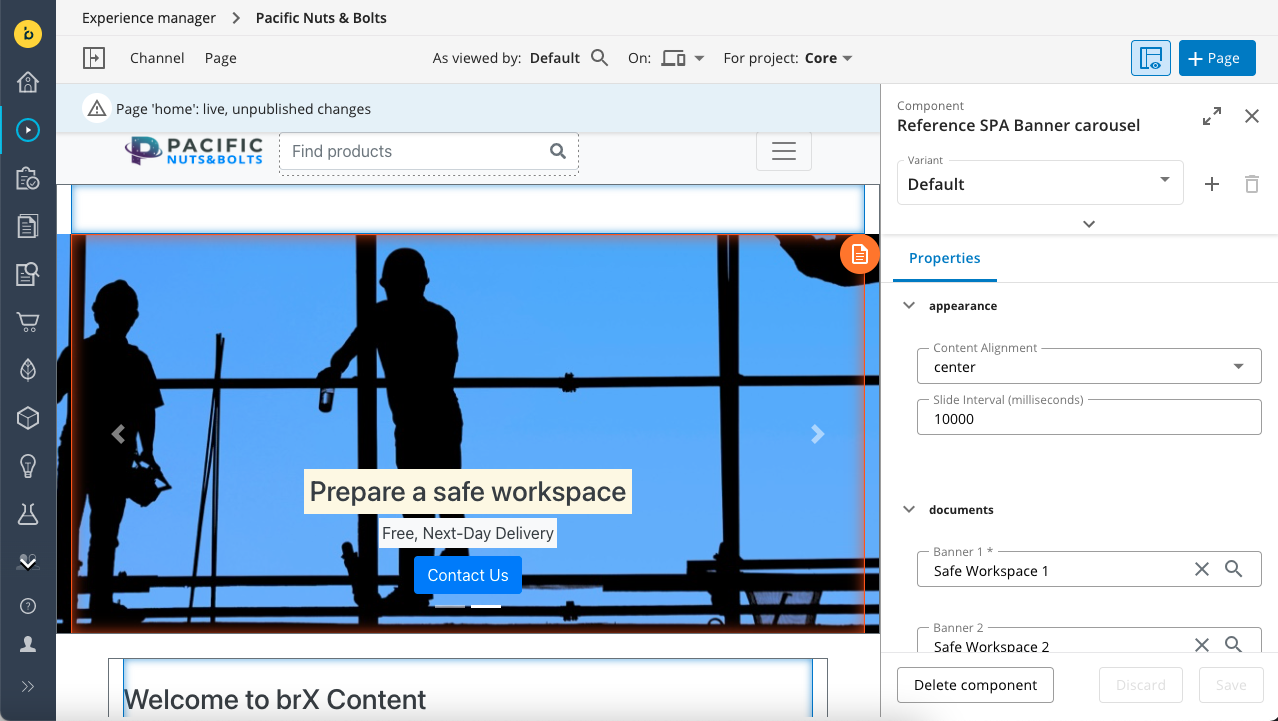
Depending on the type of component, the sidebar will show different configuration options. Typically, you can configure which content should be rendered by the component and a number of parameters that change the component's visual appearance.
Change any configuration option as needed - changes are reflected in the channel preview in real-time.
Once you are finished configuring the component, click on Save. Click on X to close the configuration sidebar.
Edit a page-specific component's content
If a component is page-specific, the component configuration sidebar will have an additional Content tab on which the component's embedded content can be edited:
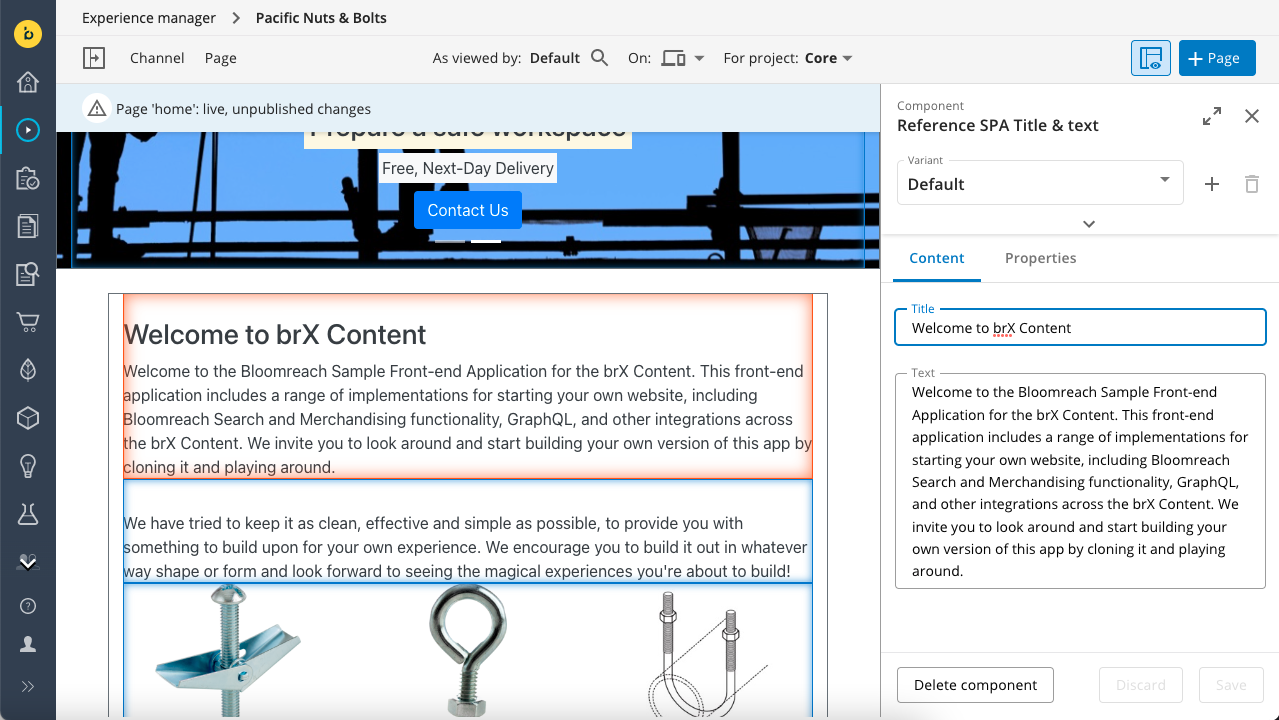
Remove a component from a page
Make sure that the editing overlay is enabled (overlay icon highlighted):

Click on the component you want to remove from the page to open its configuration sidebar (see above). Click on Delete component. In the confirmation dialog that pops up, select Delete:
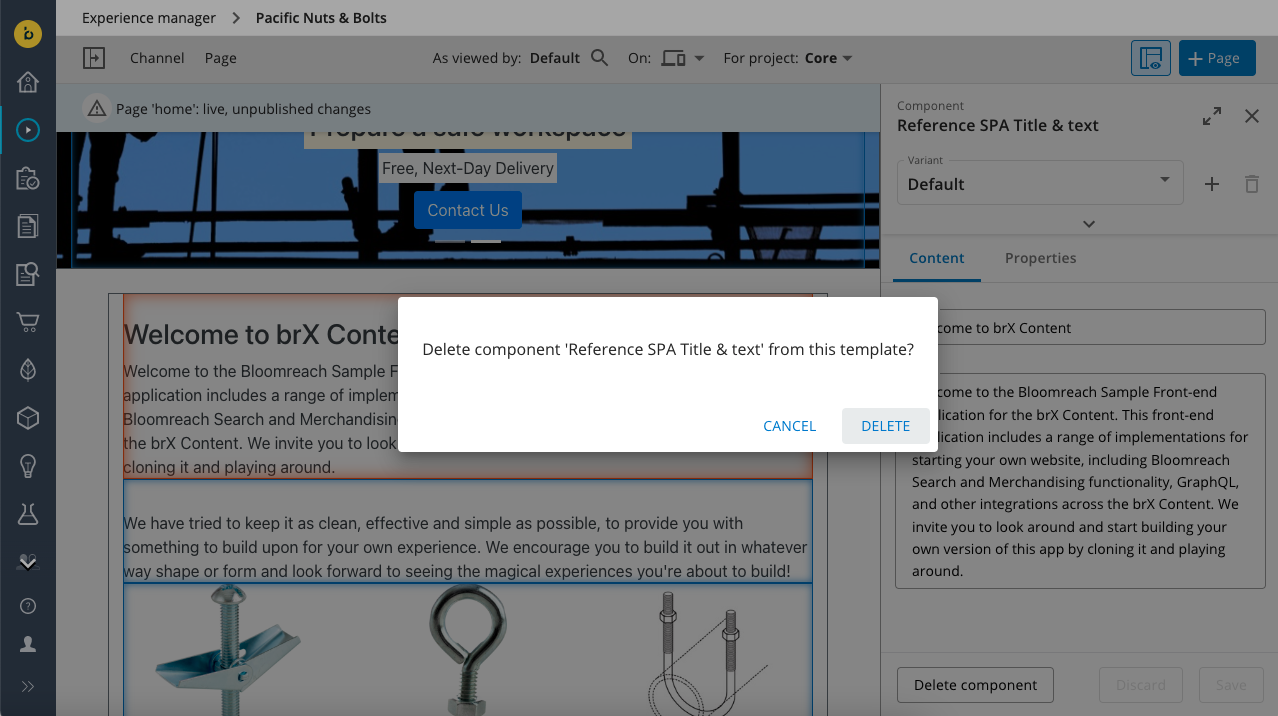
Edit page containers or shared containers
Parts of the page that you are editing can be shared by all (or multiple) pages within the site, like the page's header and footer and the navigation menu. Containers in these areas are marked as 'Shared'. Containers that are unique to the page are called 'Page containers'. Only webmasters are allowed to edit shared containers, for other users they are hidden from view.
To start editing shared containers, move the mouse pointer over a shared container and click the Edit shared containers button that appears.

To switch back to editing page containers, move the mouse pointer over a page container and click the Edit page containers button that appears.
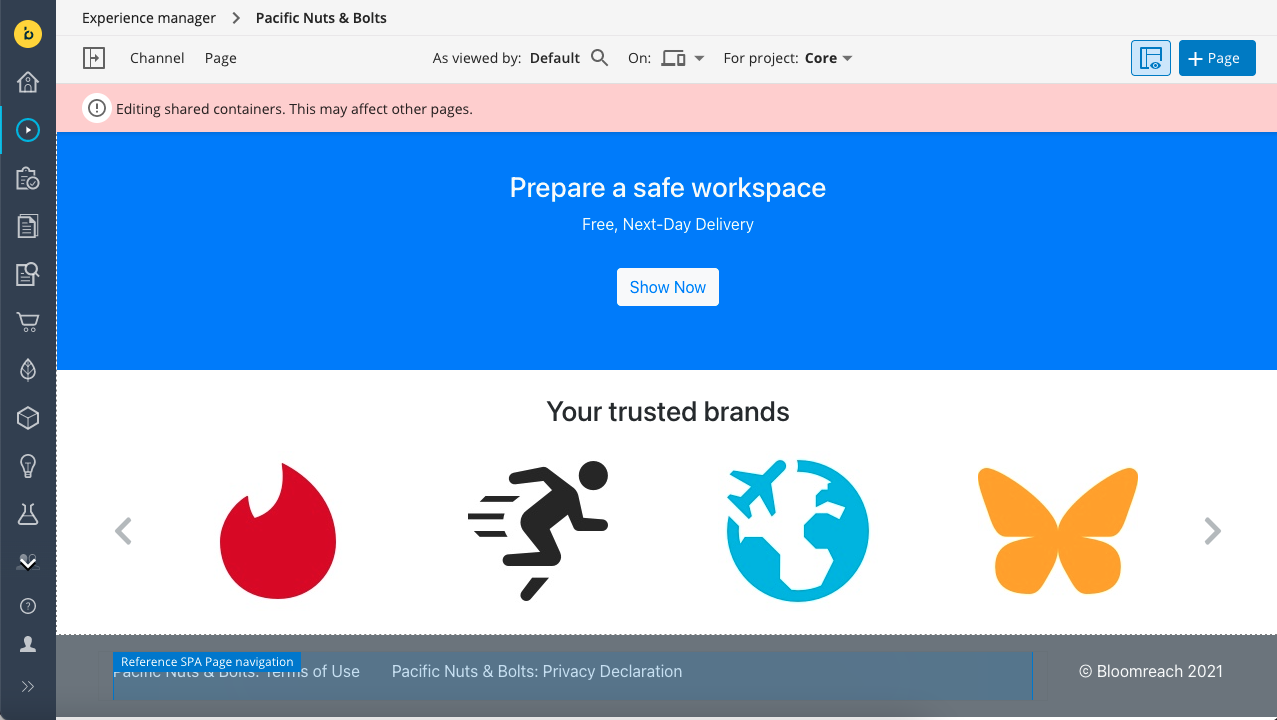
Publish your changes to shared containers using the Publish option (or Submit if you are working on a project) in the Channel menu.
Limitation
Changes to page containers on experience pages become live by publishing the page, changes to shared containers by publishing the channel.
Publish changes
How you publish your changes, depends on what kind of page you are editing:
- An experience pages can be published individually, using the Publish option in the Page menu.
- Component configurations for document-driven pages are published along with other changes that you have made to the channel, using the Publish option (or Submit if you're working on a project) in the Channel menu.
In the case of shared components, also make sure that any documents that are referenced from the component configurations and contain unpublished changes are published at the same time.
Tip
Consider using the Projects application feature to manage sets of related changes.
Updated over 1 year ago
