Milestone 4: Create a component
Note
To make the most of this tutorial, acquire our publicly available credentials to log in to a shared developer environment. (This is different from your personal developer trial account credentials that leads you to a private trial environment.)
Milestone overview
Goal
Create a basic component including site configuration and front-end code.
Estimated time to complete
10-20 minutes
Summary
In this milestone, you will configure a new component for your channel using the Site Management API (or the Site development app) and implement the front-end code to render that component. It will be a very minimalistic component with only one string property and no content.
In the video below, you can see a short demonstration of configuring a component through the Site Management API using Postman:
To simplify things for your first time configuring a component, you'll be using the Site development app, GUI layer on top of the Site Management API.
Limitation
The Site development app is currently in beta.
Obtain an API authorization token
Before you can use the Site Management API, you need to obtain an API authorization token.
- In Bloomreach Content, navigate to Setup > brXM API token management.
- Click on the + API token button in the top right.
- Fill in a Token name, choose an Expiration date (up to 1 month in the future), check the Read and Write checkboxes next to Site Management API, and click on Create.
- Copy the token to the clipboard or write it down. This is the only time it will be displayed.
Note
See API authorization for more information and detailed instructions with screenshots.
Configure the component properties and parameters
Open the Site development app and select your development project.
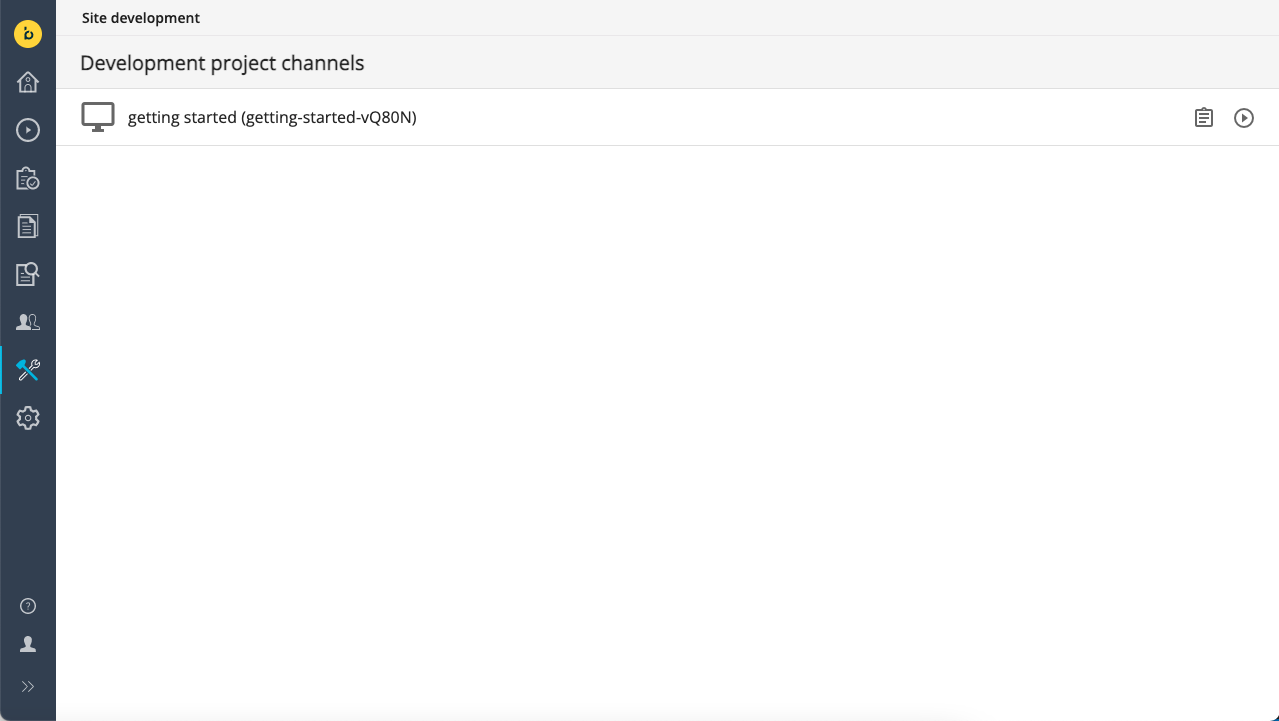
You are now ready to make site configuration changes.
Select the Components tab and open the sample group:
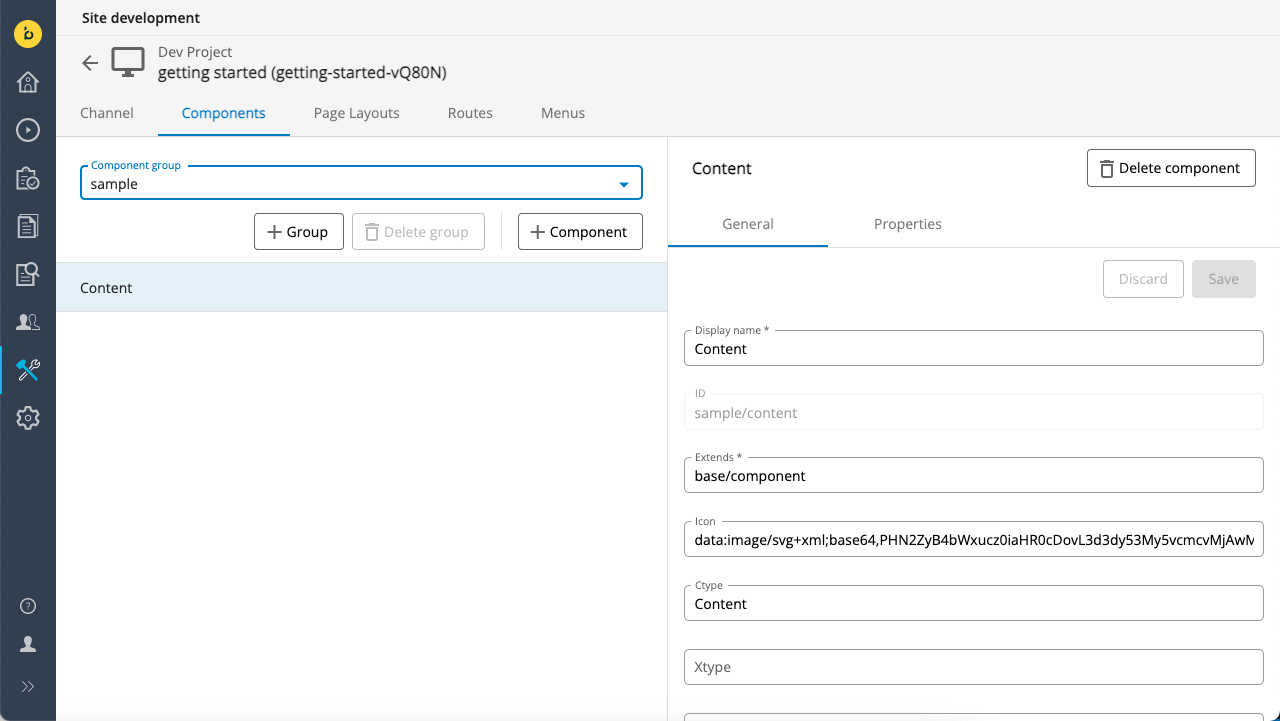
Click on + Component and enter the following values:
- Display name: "My Component" (this will automatically set ID to "sample/my-component")
- extends: "base/component"
- ctype: "MyComponent"
You can leave the other fields blank.
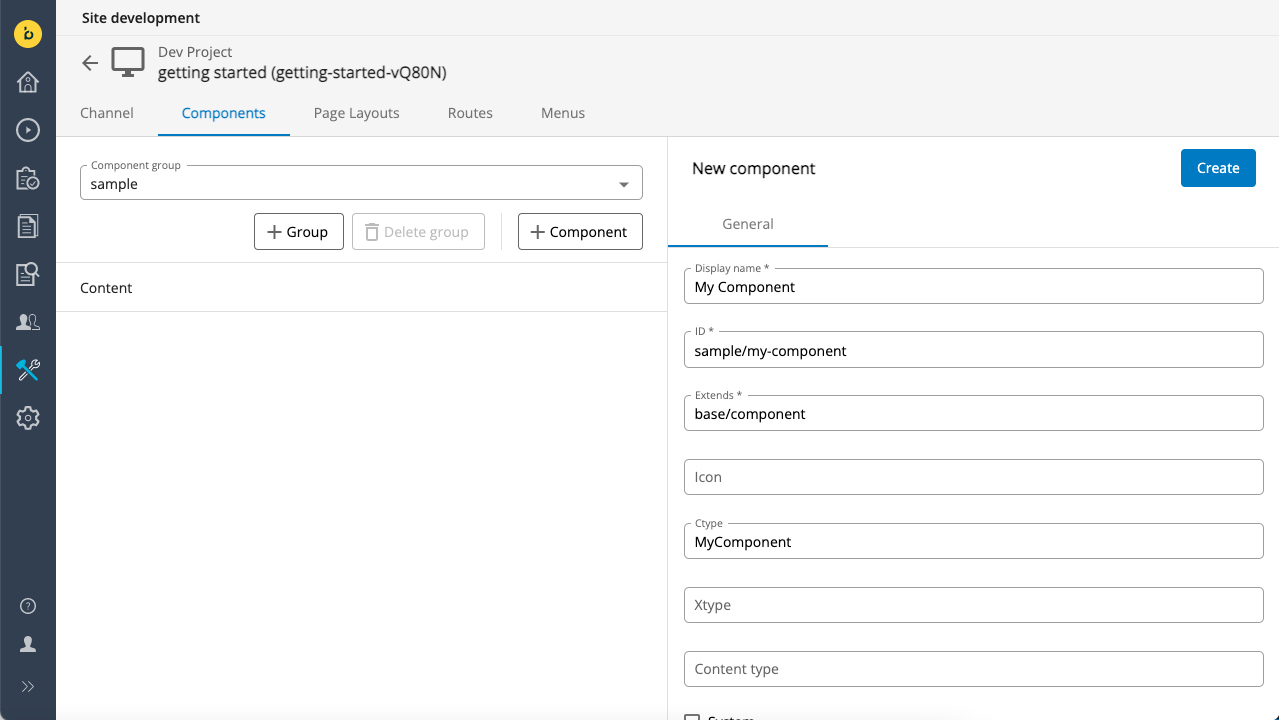
Click Create to add the component.
Once created, My Component will automatically be selected.
Open the Properties tabm click on + Property, and select New simple property.
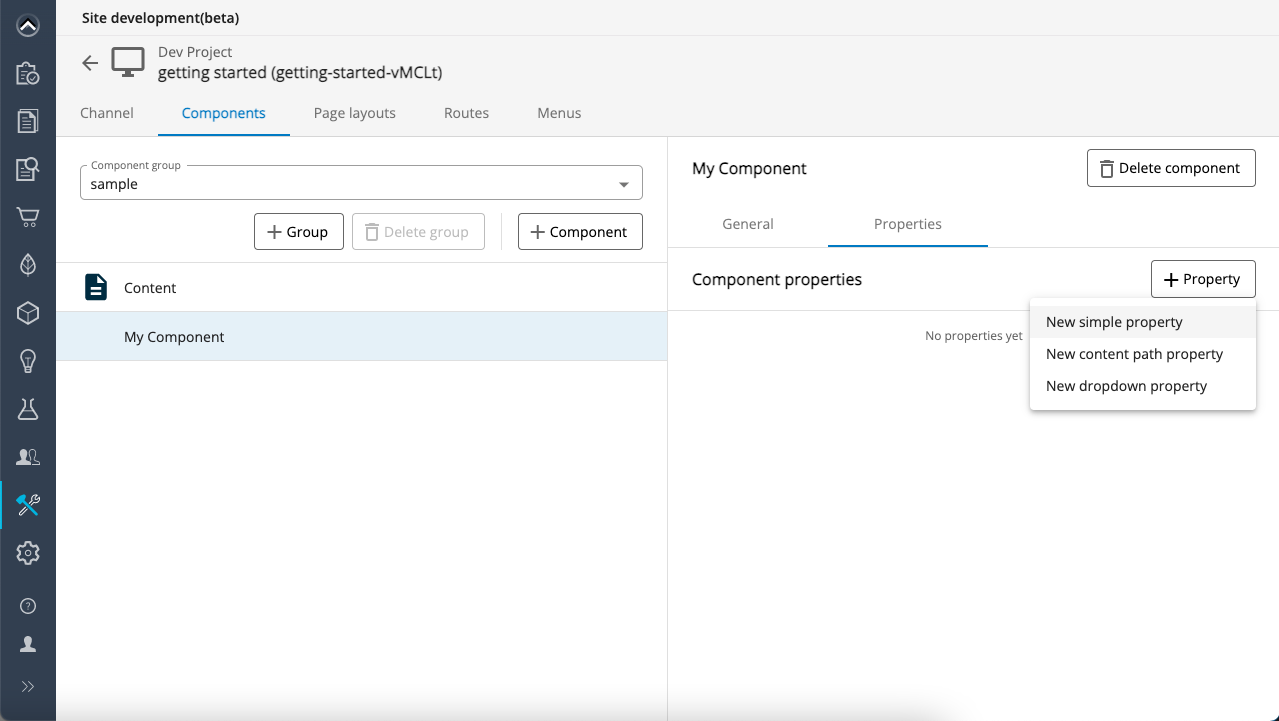
The New simple property dialog will pop up.
Set the name to "title", select "String" for Value type, and enter "My First Component!" for defaultValue.
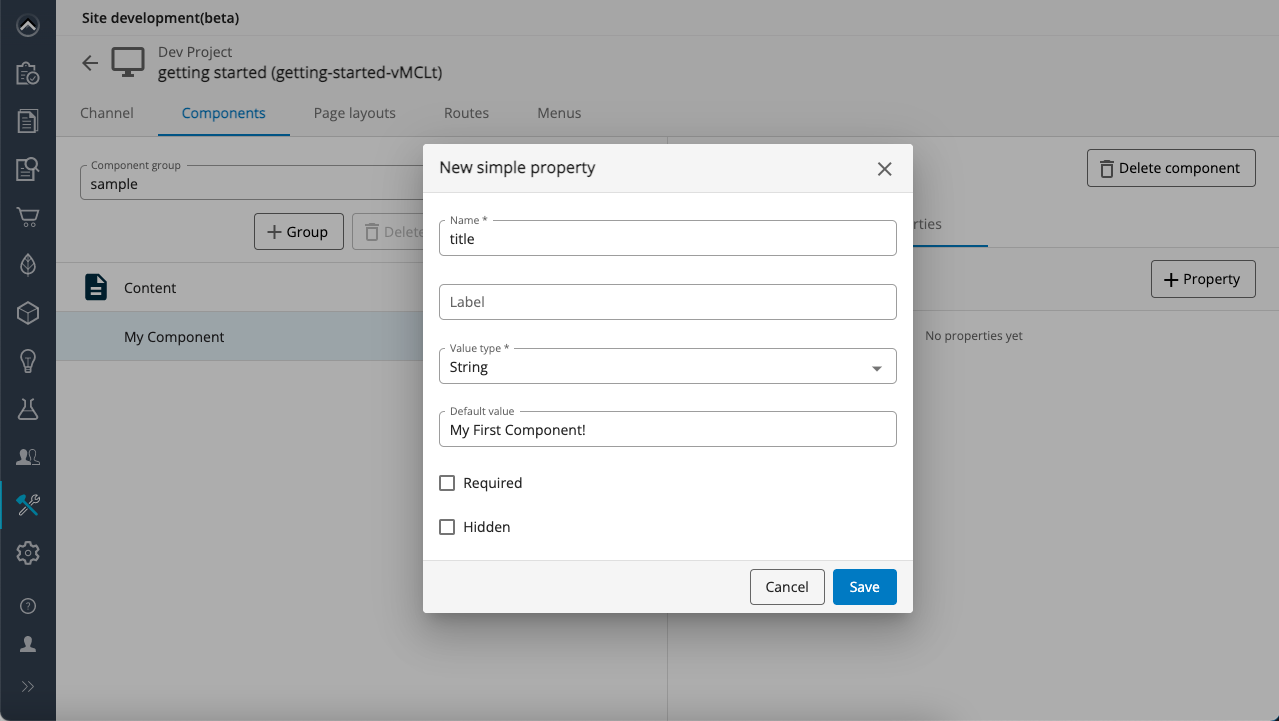
Click on Save to persist the new property.
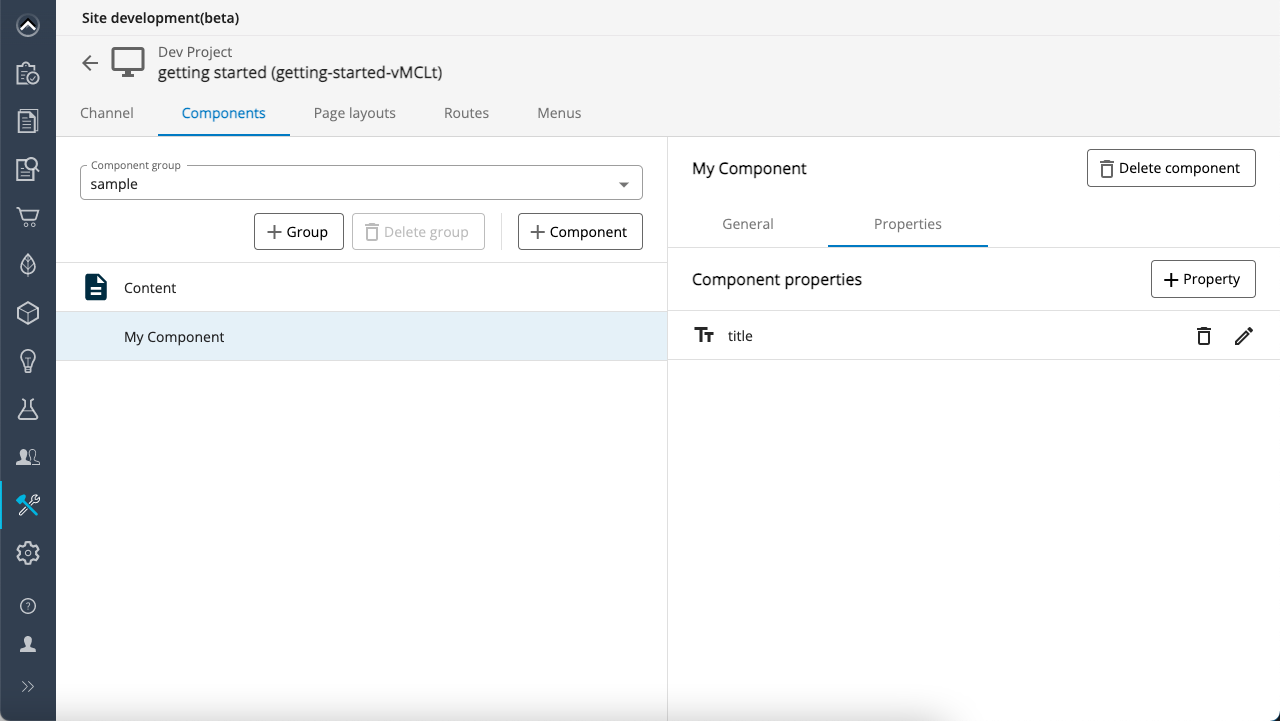
If you prefer to use the Site Management API directly instead of the Site development app, you can use the channel component operations with a PUT request of the following URL:
PUT https://[account_name].bloomreach.io/management/site/v1/channels/getting-started-vpAcR/component_groups/sample/components/my-component
Use the following payload:
{
  "id": "sample/my-component",
  "extends": "base/component",
  "hidden": false,
  "system": false,
  "xtype": null,
  "ctype": "MyComponent",
  "contentType": null,
  "label": "My Component",
  "icon": null,
  "parameters": [
    {
      "name": "title",
      "valueType": "string",
      "required": false,
      "hidden": false,
      "overlay": false,
      "defaultValue": "My First Component!",
      "displayName": null,
      "system": false,
      "config": null
    }
  ],
  "fieldGroups": []
}
Postman collection
Bloomreach provides a Postman collection for the Site Management API to make working with the API easier for developers.
409 conflict in Postman
If you use Postman to make the above PUT request, you may get a 409 response with the following error message:
Component definition my-component not found, but a version identifier was provided
In that case, Postman may have incorrectly set the
X-Resource-Versionheader automatically. Remove it from your request and try again.
Add the component to the page
Now that you have configured the component, you can already add it to the page in your channel.
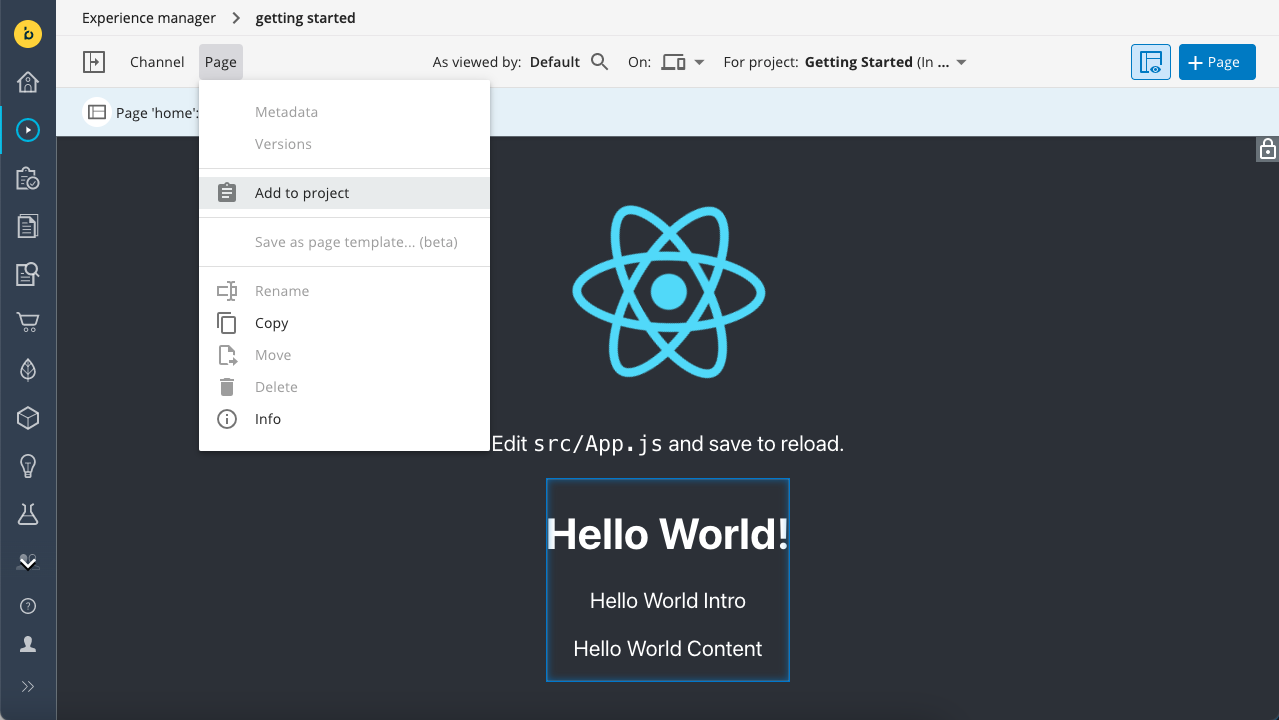
Open your channel in the Experience manager and make sure you have selected your development project in For project.
Before you can make changes to the page, it must be added to the development project. Open the Page menu and choose Add to project:
Open the left drawer and select the Components tab. "My Component" should be available in the library:
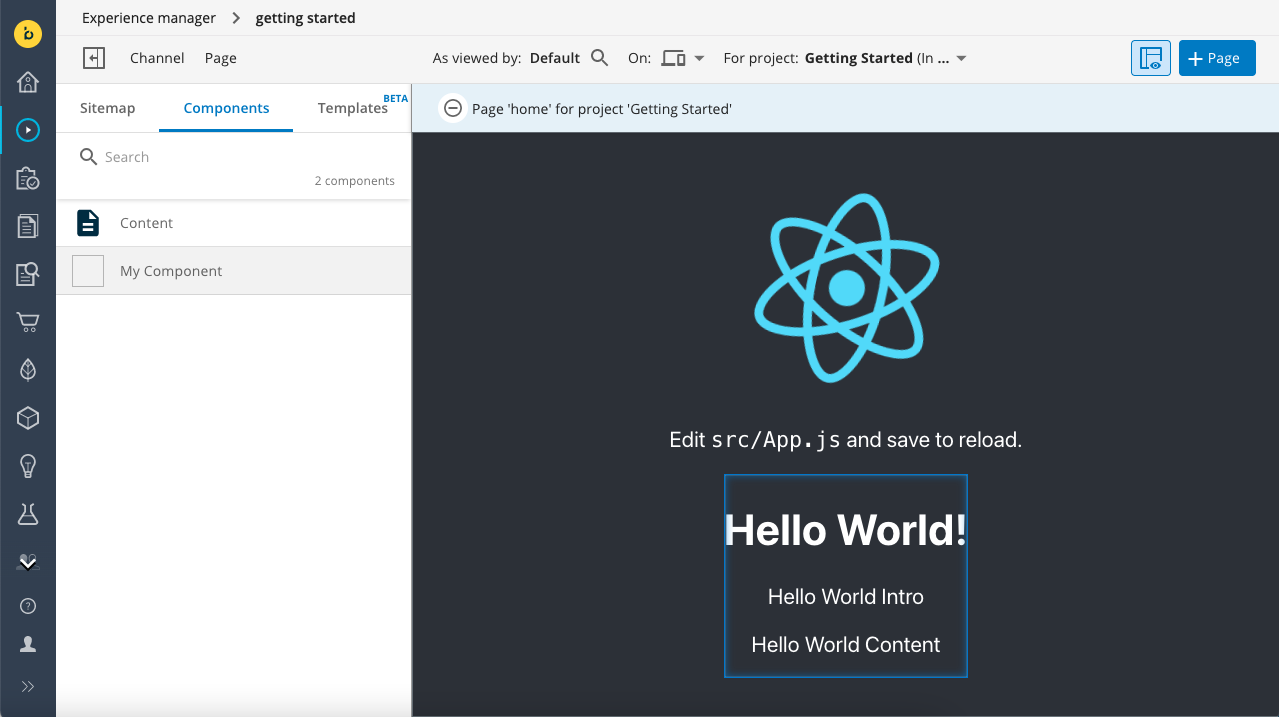
Click on My Component to select it, then click inside the container on the page to add the component. Because you did not yet implement the component in your front-end app, you will see a text Component "My Component" is not defined:
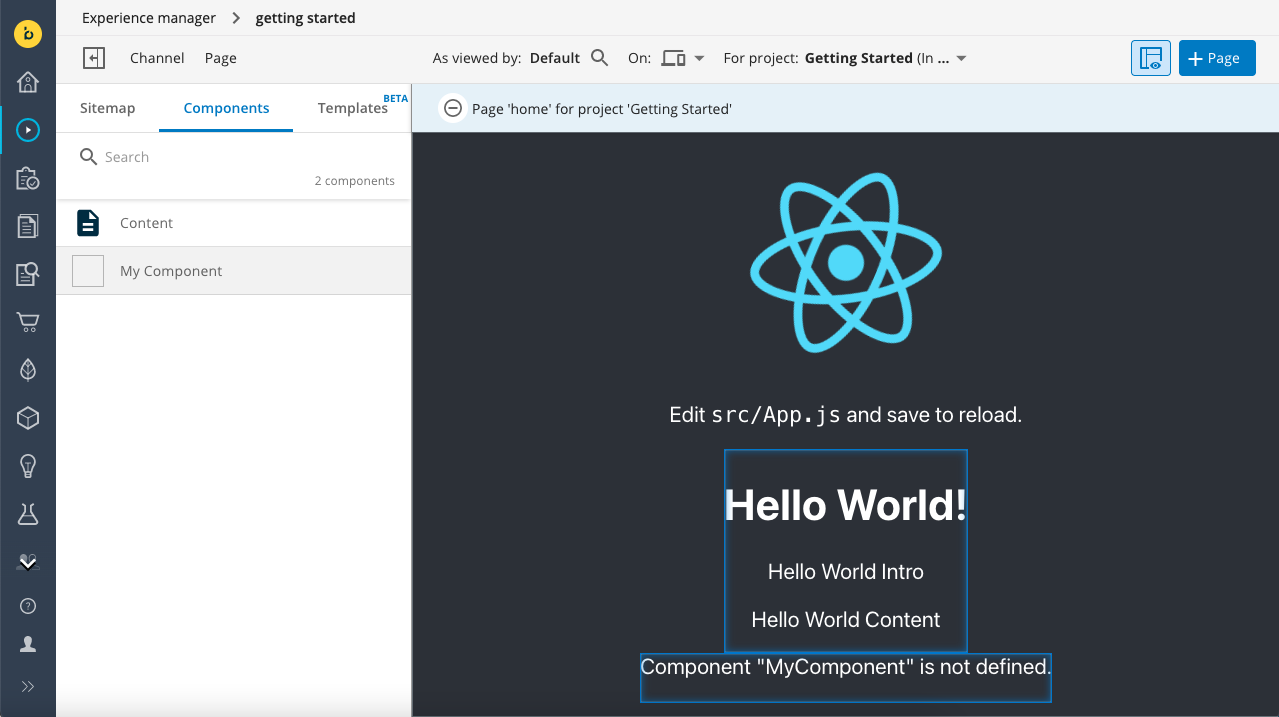
Everything in the backend is now in place and you can move on to implementing the component in your front-end app.
Implement the front-end code for the component
In your front-end app, create a file src/components/MyComponent.jsx and implement the component as in the code below:
src/components/MyComponent.jsx
export function MyComponent({ component, page }) {

  const { title } = component.getParameters();

  return (
    <div>
      <p>Title here below:</p>
      <h2>{title}</h2>
    </div>
  );
}
In src/App.js, import MyComponent:
import { MyComponent } from "./components/MyComponent";
And add MyComponent to the mapping property of the BrPage element:
}} mapping={{ ContentPage, MyComponent }}>
Return to the Experience manager. You should now see the component's title property displayed. Click on the component to open the right drawer and edit the component properties. Try changing the title property to see the preview update automatically.
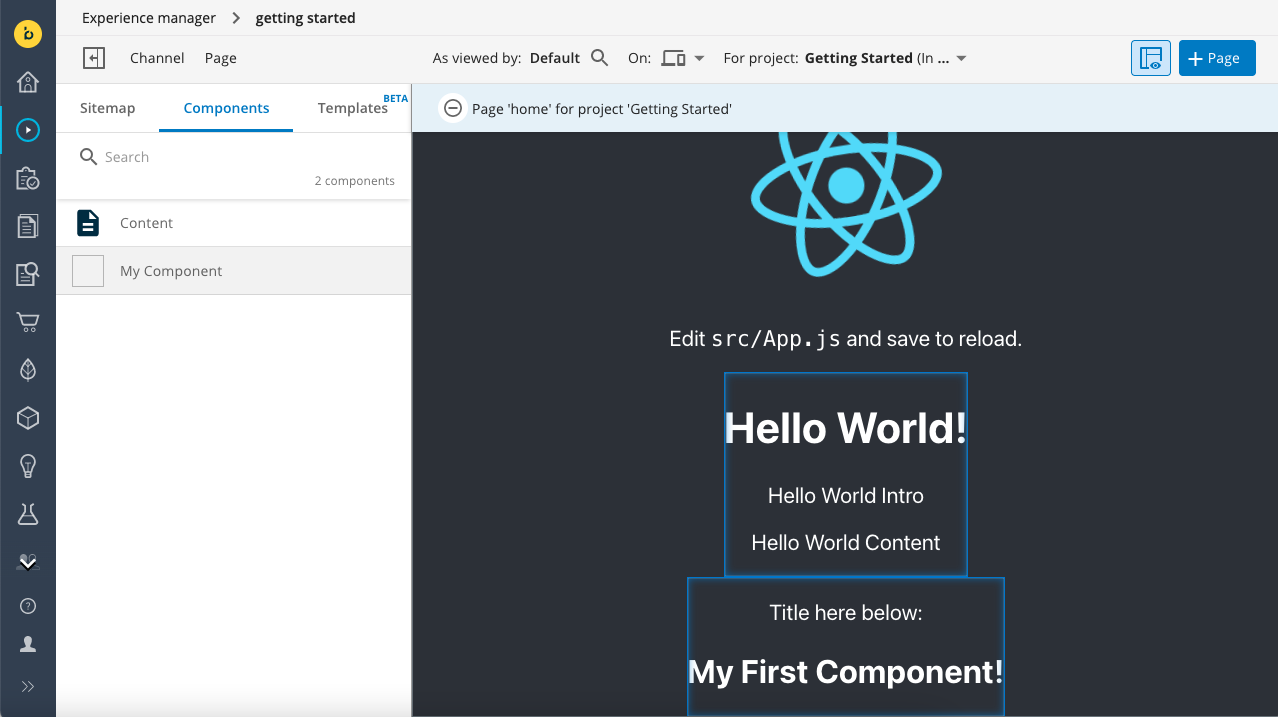
Congratulations, you developed your first component for Bloomreach Content!
Full code
Find the complete code for milestone 4 in React, Angular, and Vue in Github:
https://github.com/bloomreach/content-getting-started/tree/Milestone_4_Create_a_Component
Next
Now that you have some hands-on experience with basic Bloomreach Content development, you can dive into the developer documentation and learn about more advanced topics:
- For a better understanding of the platform, read about its high-level architecture and the concepts used in development.
- To learn more about site development, read about content types, site configuration, and front-end integration.
- To get more hands-on experience, follow the tutorials to learn about Bloomreach Content.
Updated about 1 year ago
