

Copy & paste imports
This guide covers how to import product or variant records by pasting raw CSV or XML content from the clipboard directly into the Data hub Imports UI. This method is suited for testing, troubleshooting, or importing small datasets without uploading or hosting a file.
Prerequisites
-
Data hub permissions: Ensure you have the required permissions.
-
Content preparation: Have your raw CSV or XML content ready to paste from the clipboard.
Import limits
Maximum columns: 260 columns per file.
Performance recommendations:
-
File size: Maximum of 1 GB per file.
-
Row count: For best performance, keep imports to 1,000,000 rows or fewer.
NoteTo import bigger files to the item collection, use the Item collections API and the upload file feature.
Configure a copy & paste import
-
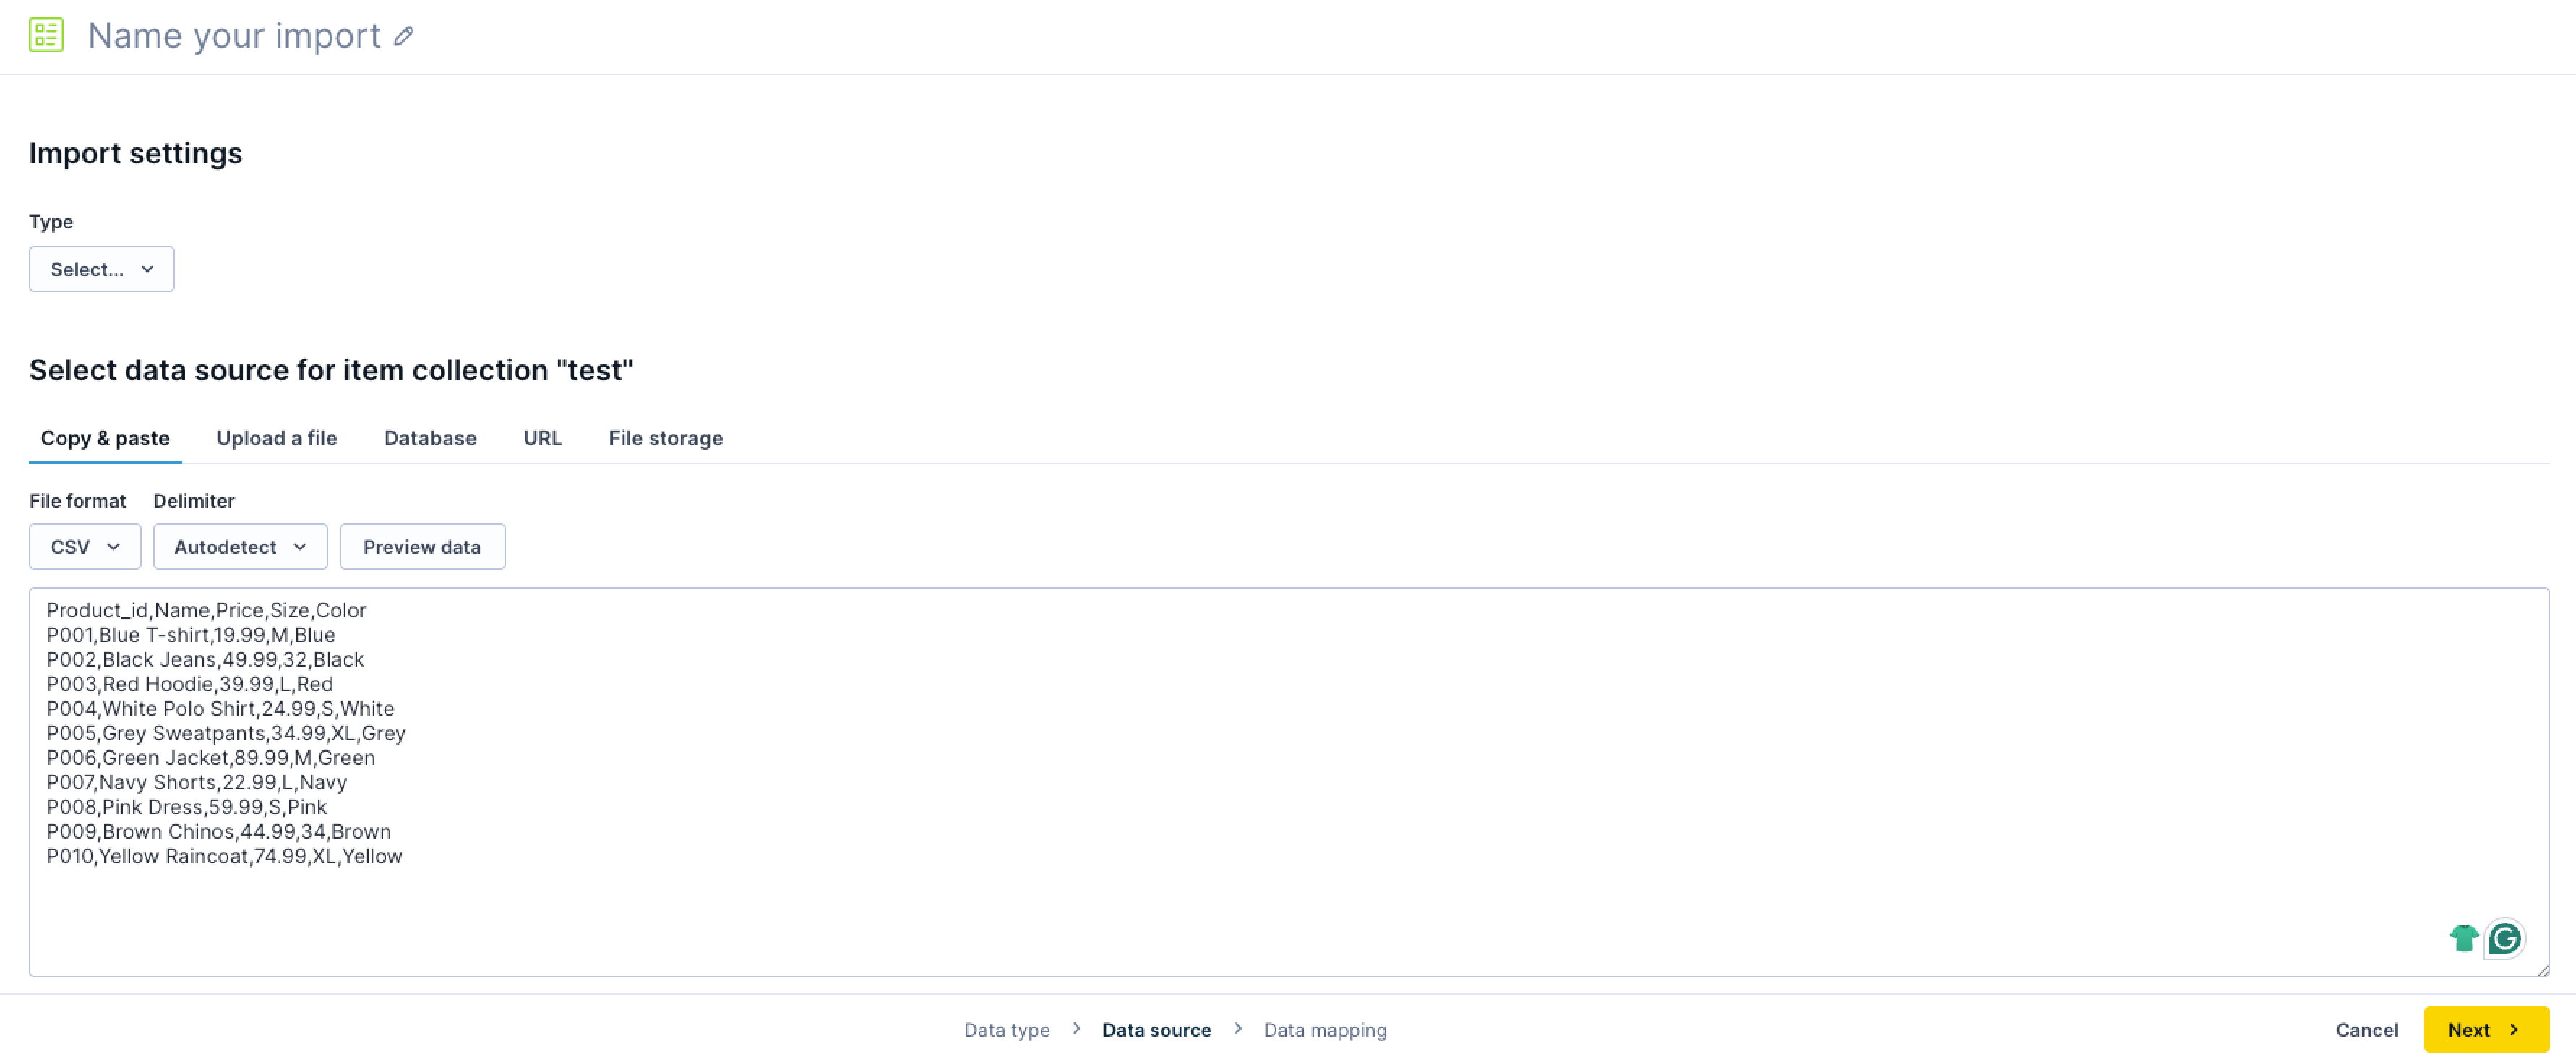
After creating a new import and selecting the import type, click the Copy & paste tab.
-
Paste your CSV or XML content into the text area.
-
Select the File format (CSV or XML) that matches your pasted content.
-
Optionally, select the Encoding. This is useful when the system can't detect the encoding automatically. For CSV content, you can also override the Delimiter. The system autodetects the delimiter by default. Supported delimiters include space, tab (
\t), comma (,), period (.), semicolon (;), colon (:), hyphen (-), pipe (|), and tilde (~). -
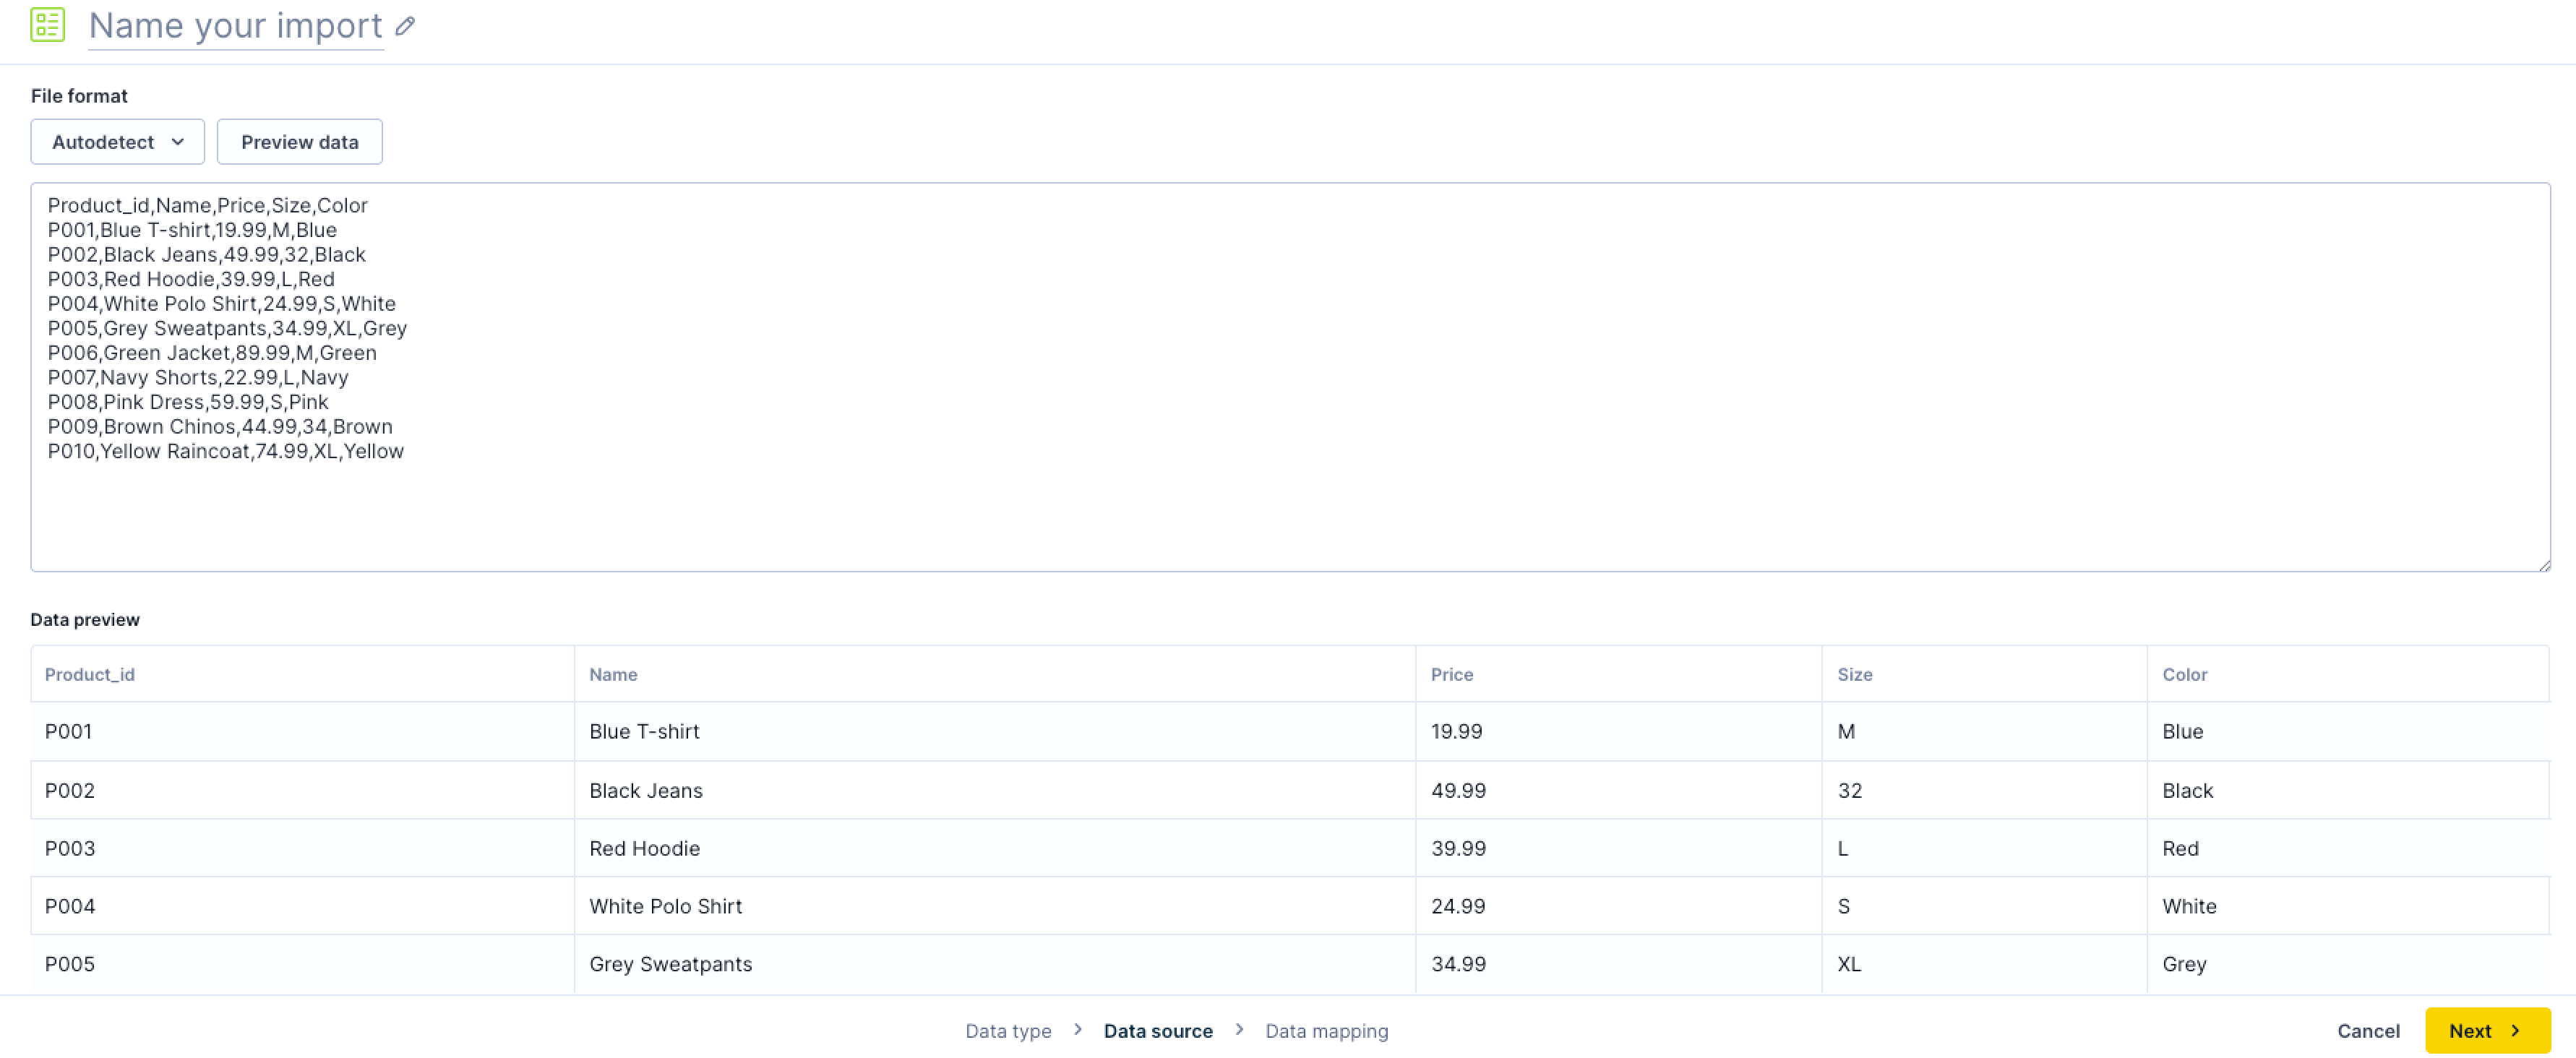
Click Preview data. The preview loads the first 5 rows of your content with column headers detected from the first row. Validate that the data appears correctly before continuing.
-
Click Next and proceed to specify the data mapping.
NoteCopy & paste imports are one-time manual imports. Repeated or scheduled imports are not supported for this source type. To automate recurring imports, use URL imports, file storage imports, or data warehouse imports.
Updated 4 months ago