Configure a Custom Integration
Introduction
Goal
Configure a custom integration in your Content SaaS environment.
Background
It is possible to integrate your apps in the UI of Content SaaS using predefined extension points. This page explains how to add and configure your custom integration.
Bloomreach Content Marketplace
Bloomreach provides a repository of example and out-of-the-box integrations at the Bloomreach Content Marketplace at marketplace.bloomreach.works.
Manage Integrations
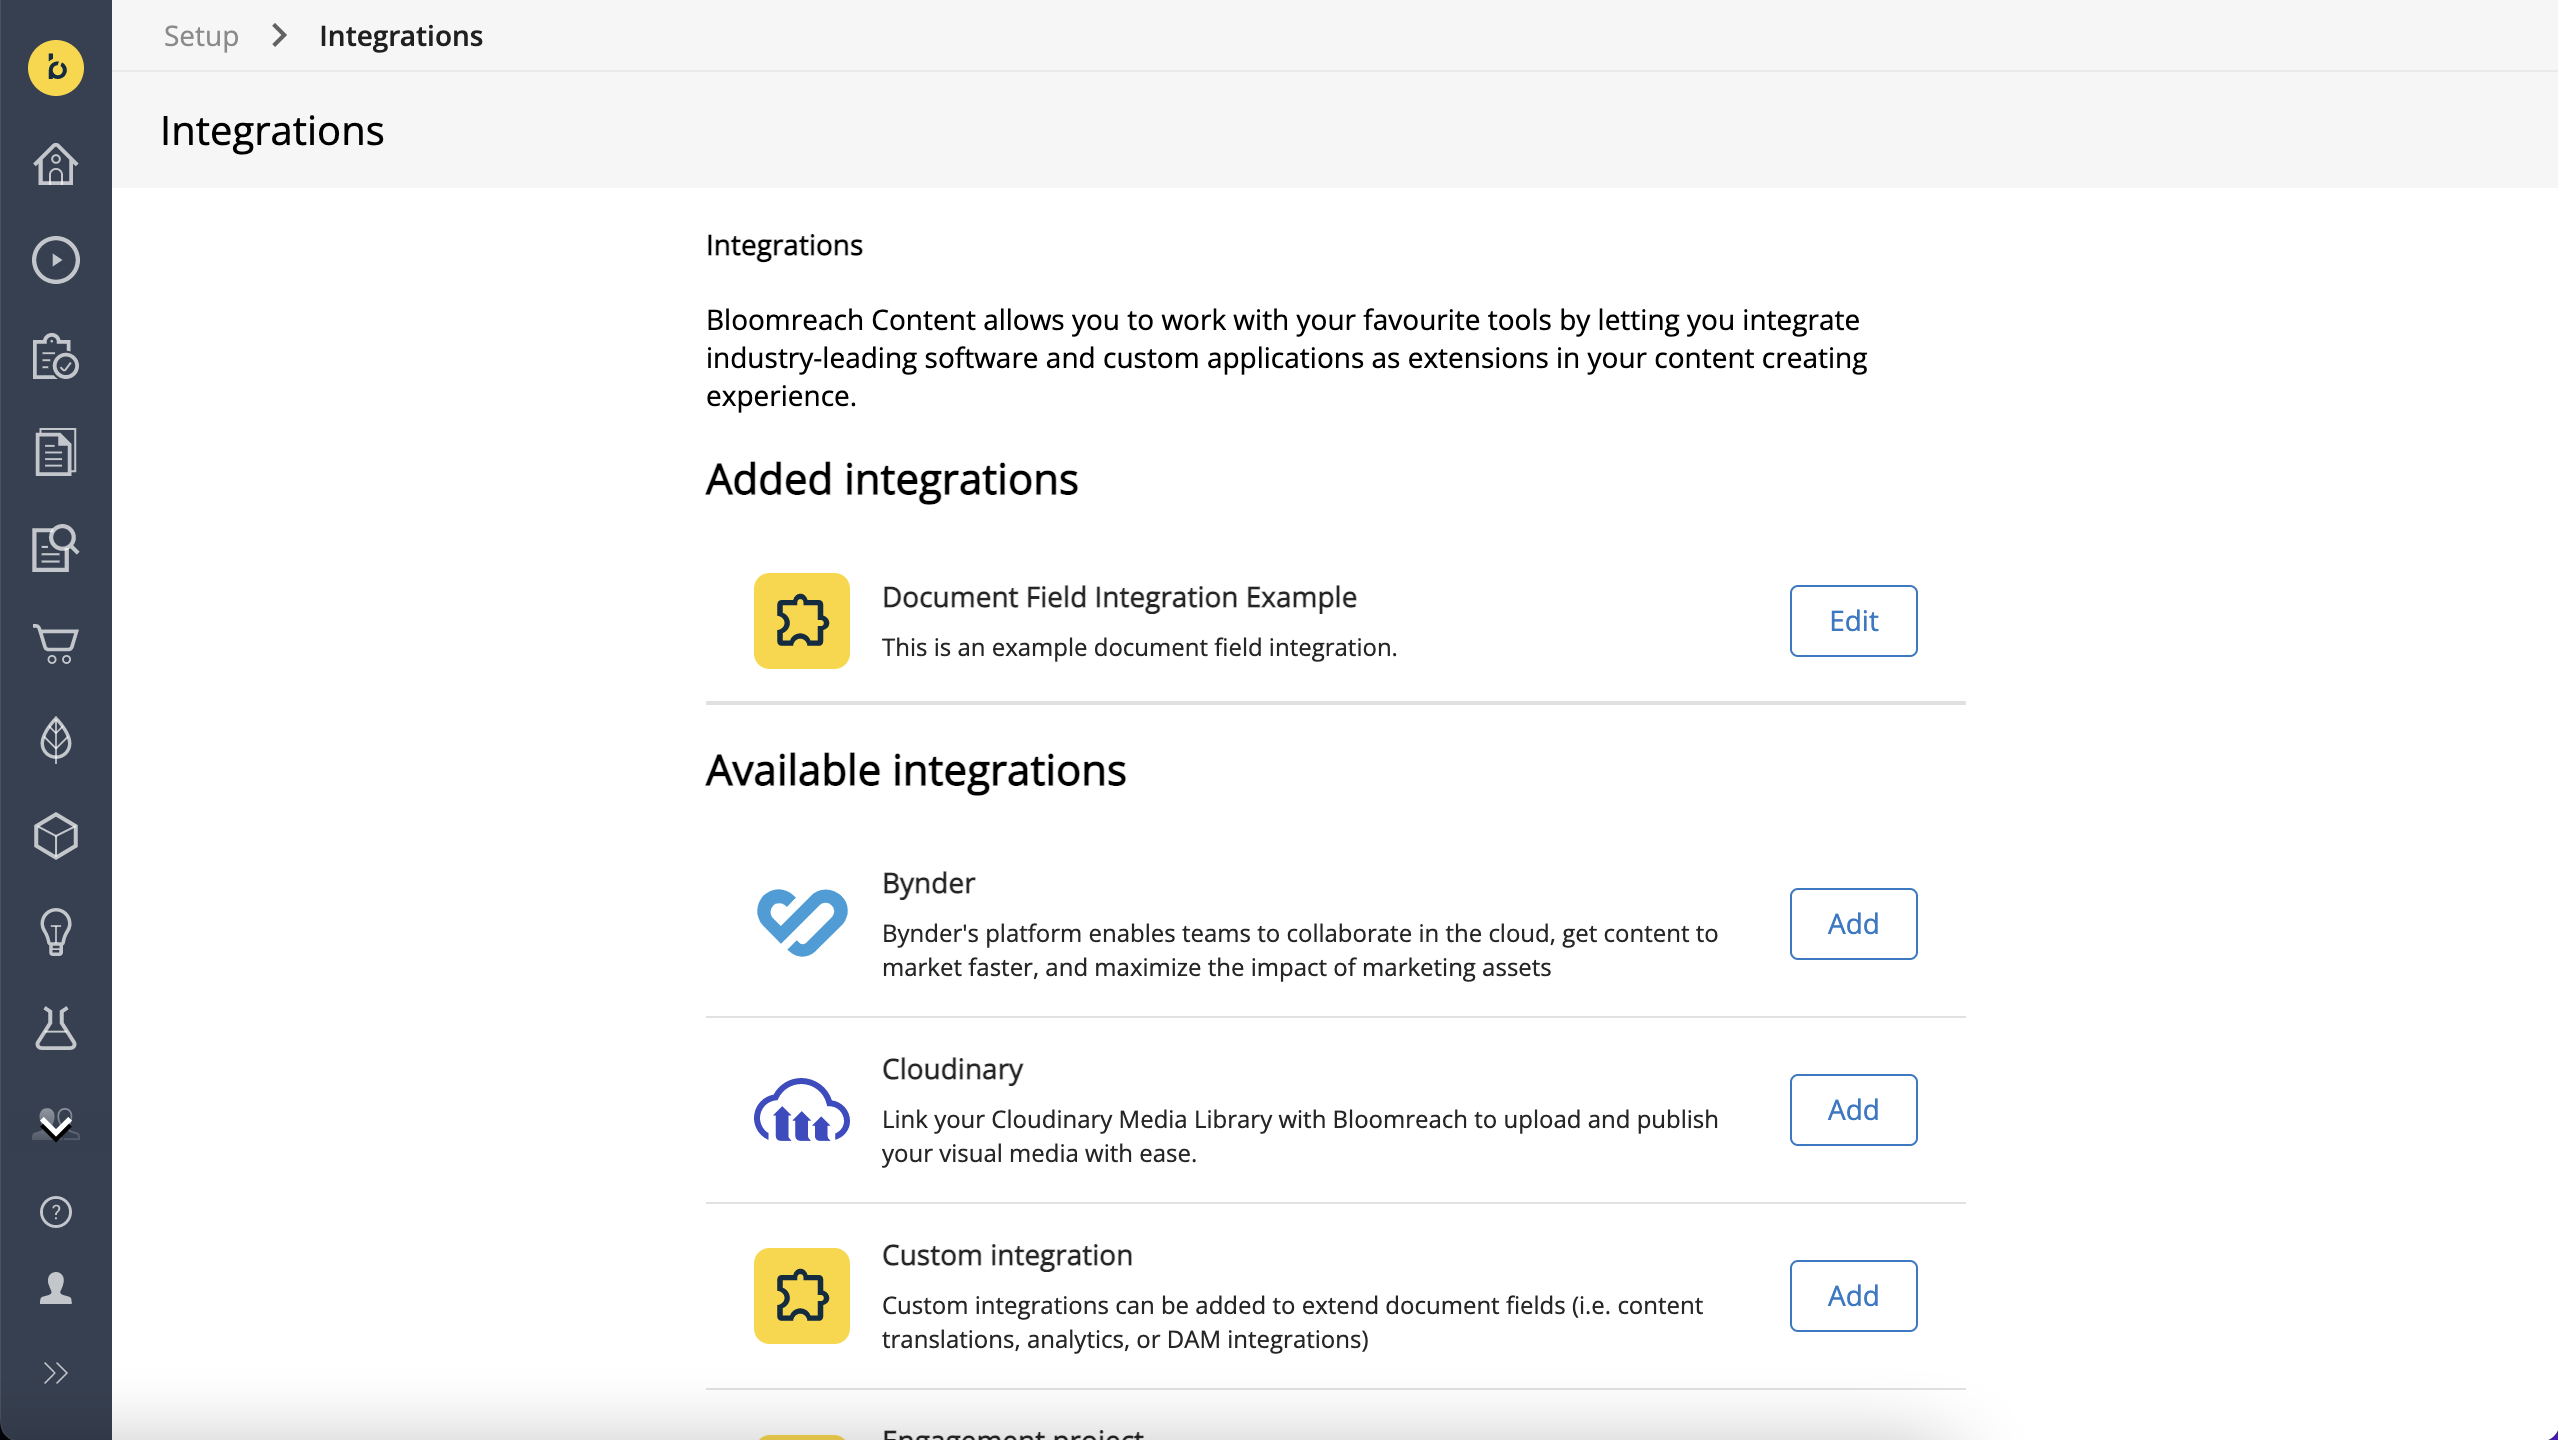
In the left navigation, select Setup, then Integrations. You will see the following screen:

If you have previously added any integrations, they are listed under Added integrations. Click on an added integration to modify its configuration.
Click on Custom integration under Available integrations to add a new custom integration.
Configuration
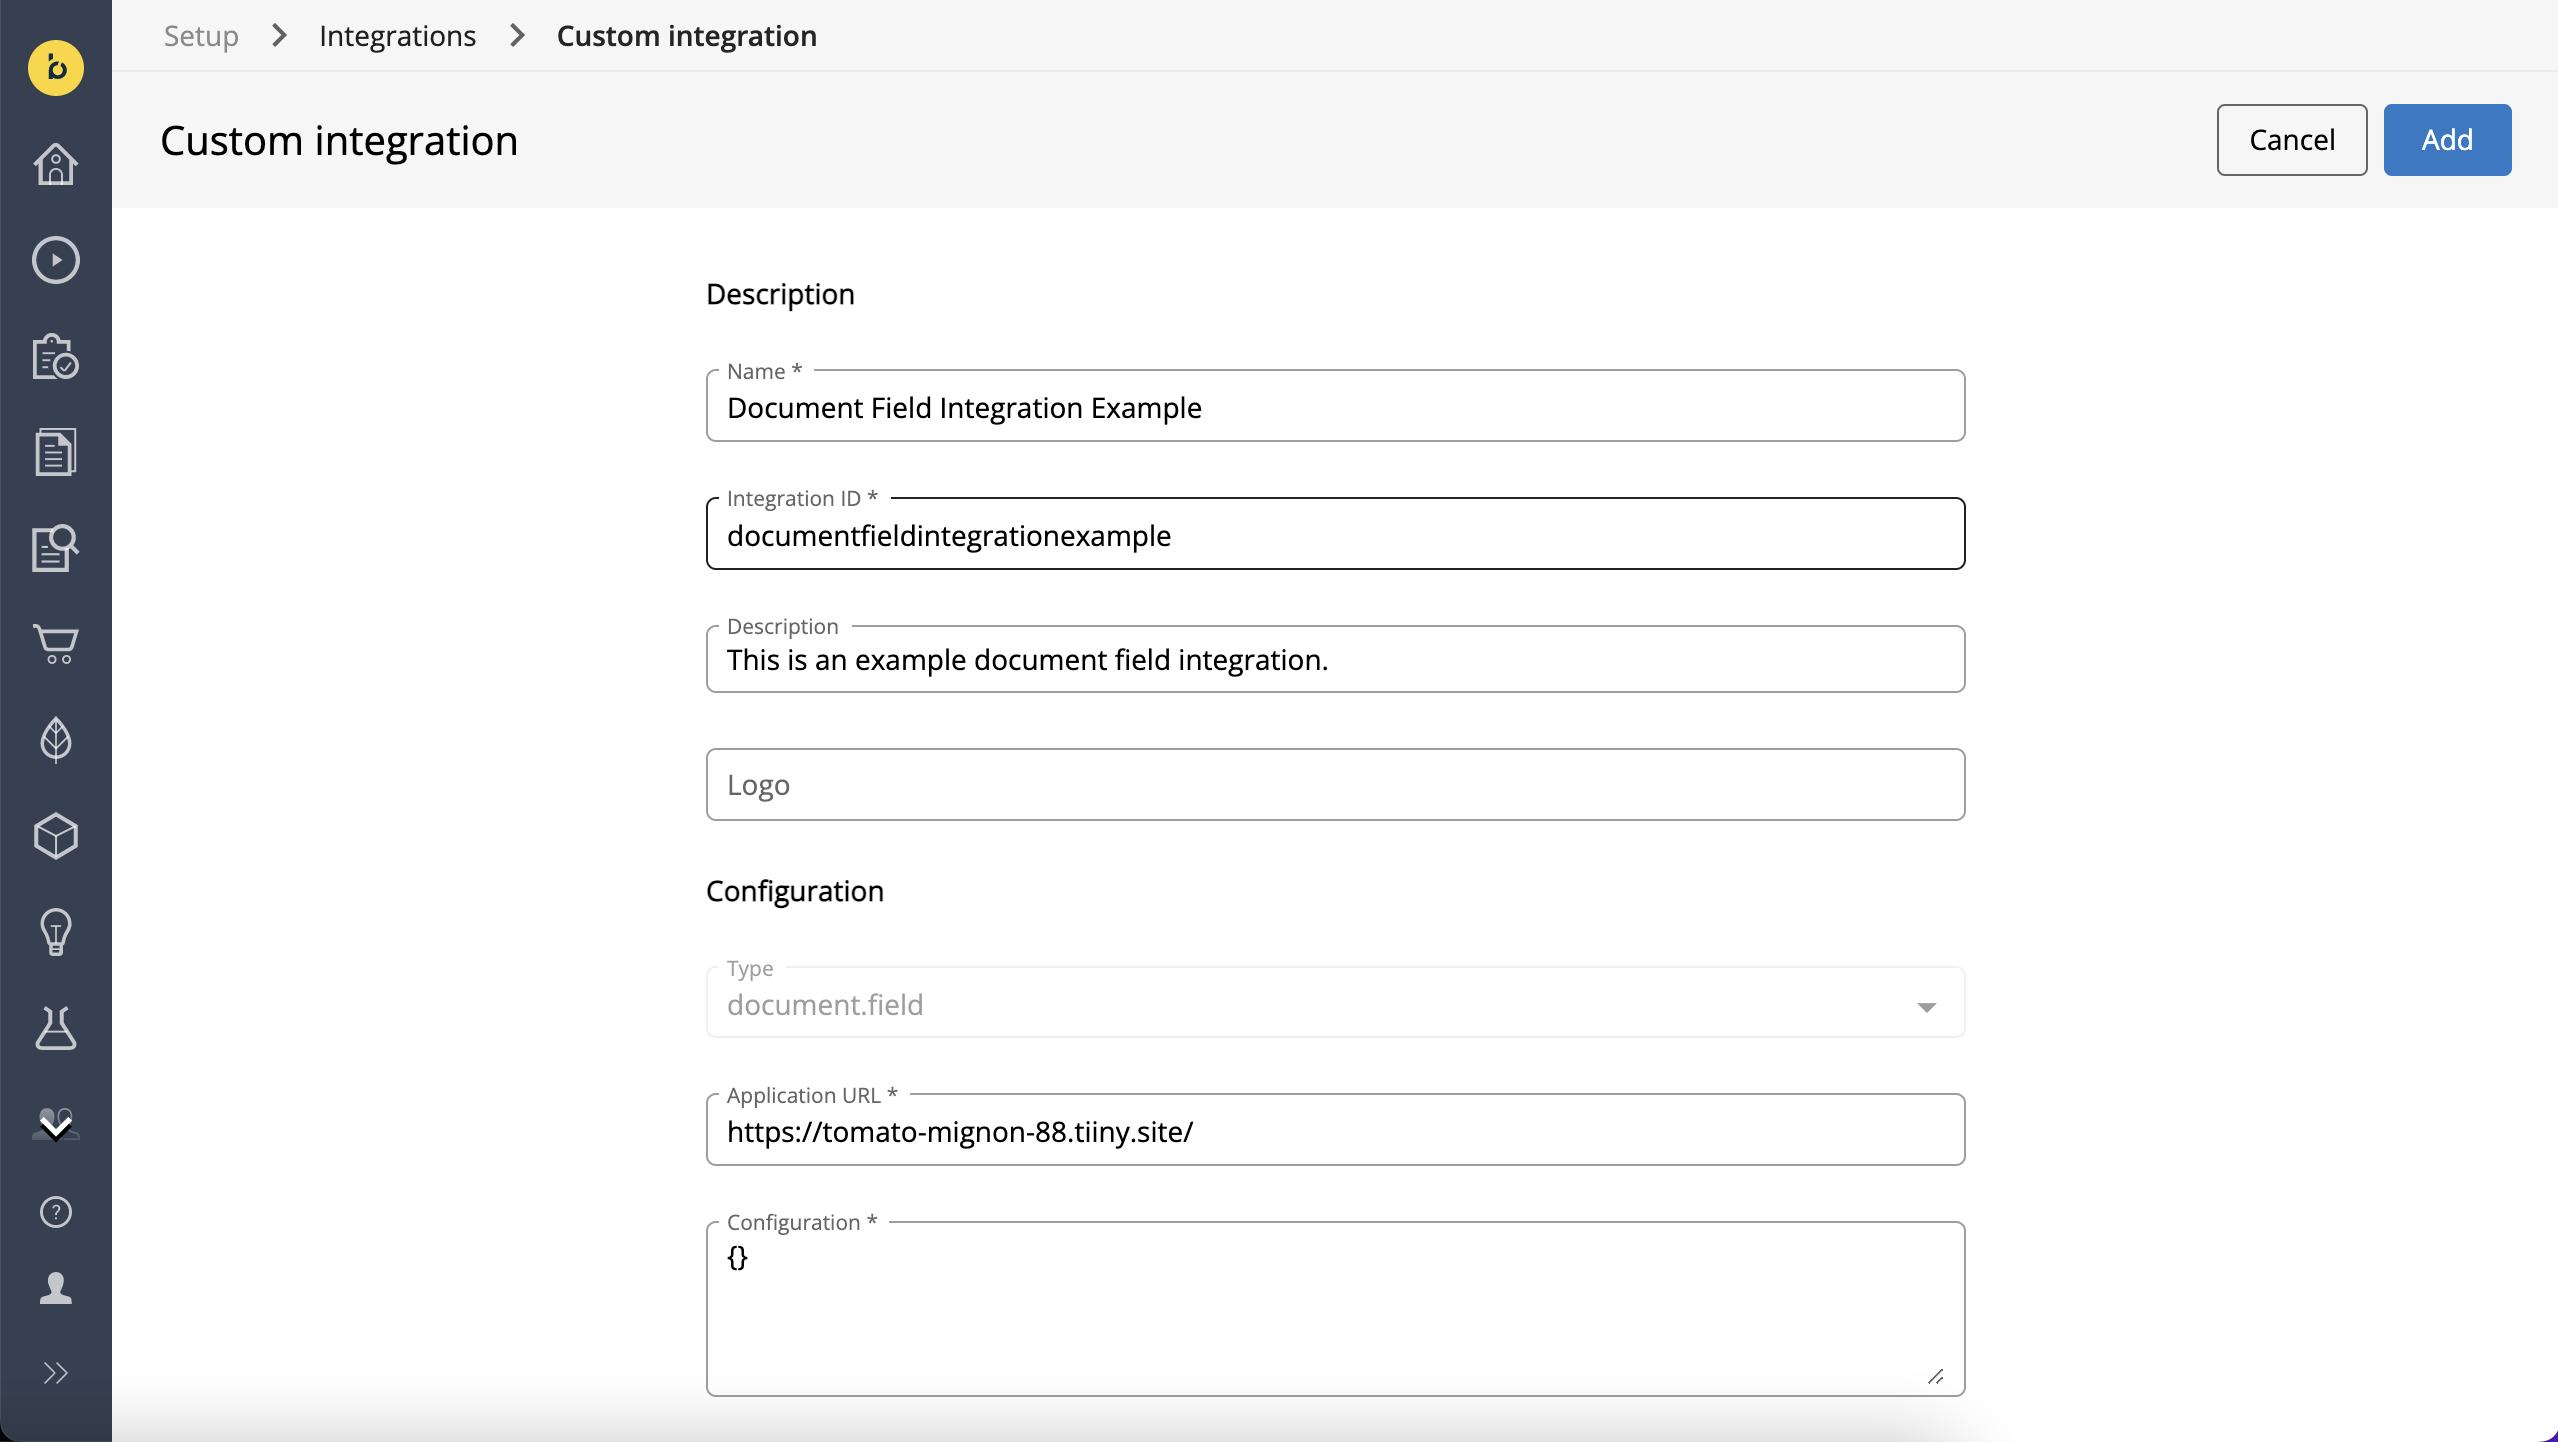
A custom integration is configured through a form:

The form contains the following fields:
| Field | Description | Example(s) | Default value |
|---|---|---|---|
| Name (required) | The display name for your custom integration. This can be any String. | My Custom Integration | |
| Integration ID | The Integration ID is automatically generated based on the value entered in the Name field. | mycustomintegration | |
| Description | Optional description to be displayed for the integration in the Added integrations list. | This is an example of a custom integration's description. | |
| Type | The type of integration. Currently there is only one supported type (document.field). | document.field | document.field |
| Configuration (required) | A JSON object containing any configuration parameters for your integration. Configuration is a required field but accepts an empty object ( {}). | { "foo": "bar" }{} | |
| Application URL (required) | The URL at which your custom integration is accessible. | https://example.com/mycustomintegration | |
| Height (px) | The height in pixels of the iframe in which the custom integration is rendered. | 100 | 60 |
| CSP Properties | Because custom integrations run on an external host and are displayed in an iframe in the UI, you must add the relevant domain(s) to the Content Security Policy of your Content SaaS environment. Select the relevant CSP Property in the dropdown and enter the domain in the text field next to the dropdown. You can add additional CSP properties using the + button. Any changes to an integration's CSP properties will only take effect after refreshing the browser or logging out and back in. | frame-src: http://example.com or https://example.com |
Once you have entered all the relevant configurations, click on Add (when adding a new custom integration) or Save (when modifying an already added integration) to persist your changes.
Any changes to an integration's CSP properties will only take effect after refreshing the browser or logging out and back in.
Updated over 1 year ago
